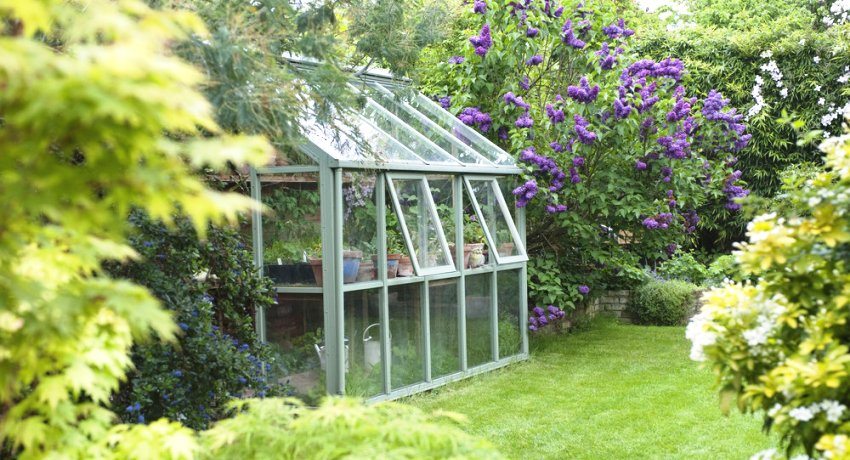
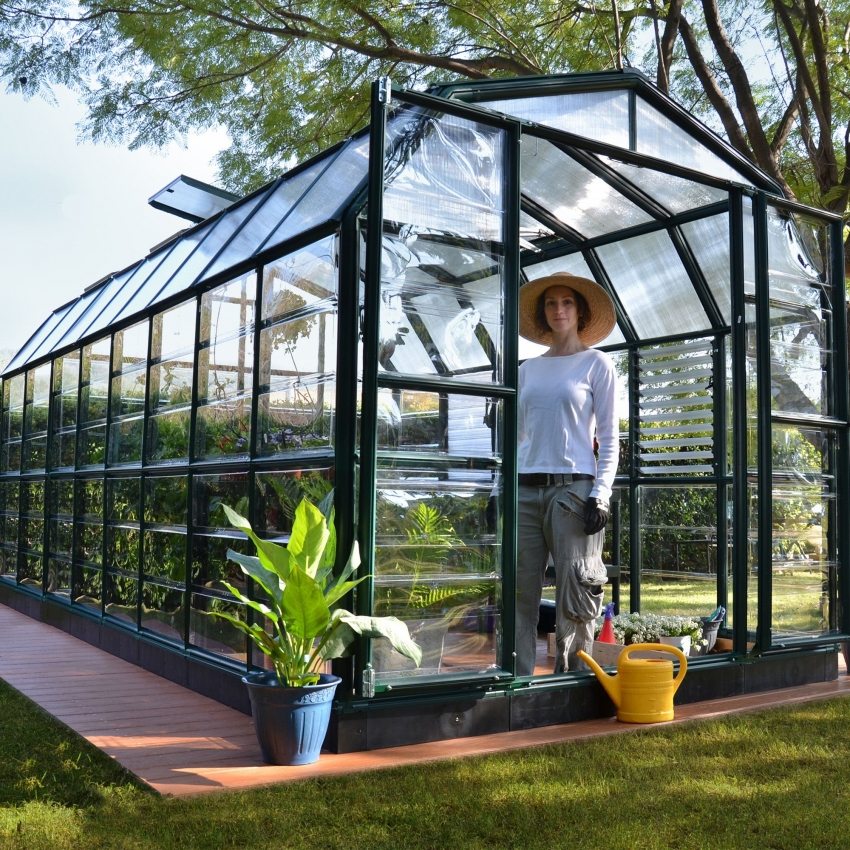
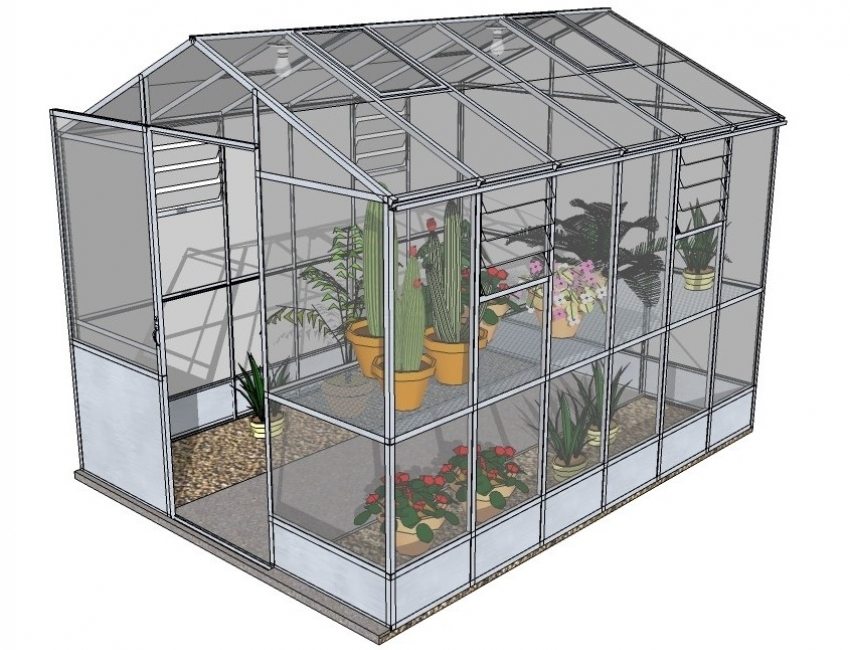
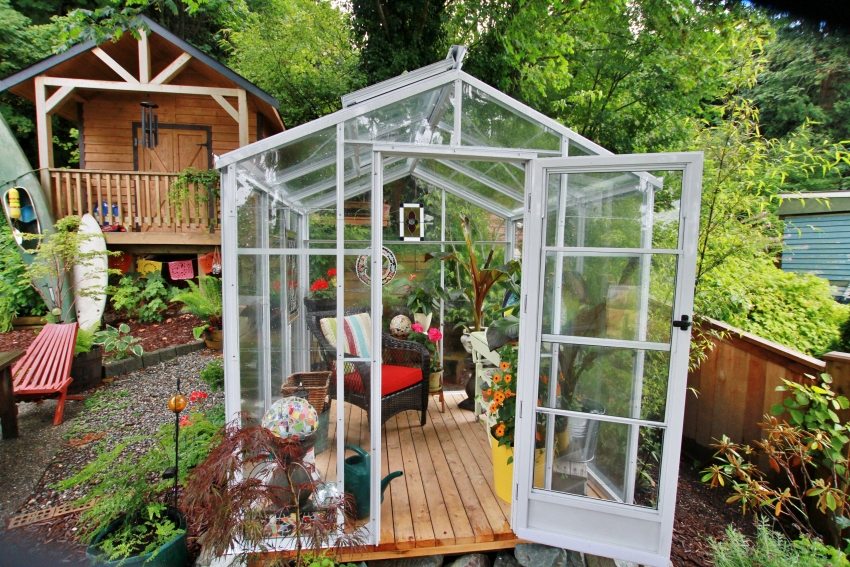
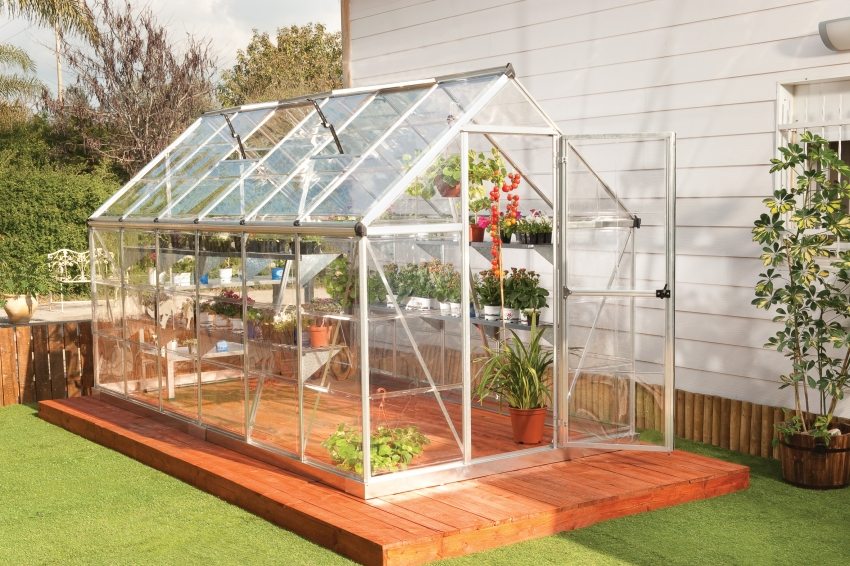
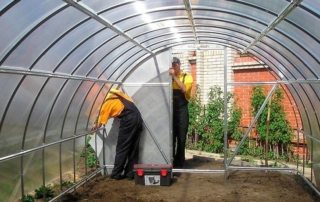
Profiled pipe is a multifunctional material that is suitable for the manufacture of many different structures. These include greenhouses and greenhouses. The process of making a frame from a shaped pipe does not require special skill and is quite accessible to everyone. Consider how to make a greenhouse from a profile pipe with your own hands: photos and installation tips will be great helpers during work.
Content [Hide]
Types of greenhouses and tips for placement on the site
In order for your greenhouse to be able to efficiently perform its assigned function, it is necessary to choose the right place for its installation. This will increase yields, as well as maximize the life of the structure.
Here are some guidelines to help you choose the right place:
- choose a flat, well-lit area;
- ideally, the length of the greenhouse should be in the direction from north to south;
- try to find a place that will be protected from excessive wind exposure;
- it is impossible to place the structure in low-lying places if there is a risk of water accumulation (melt or ground water).
Varieties of greenhouses
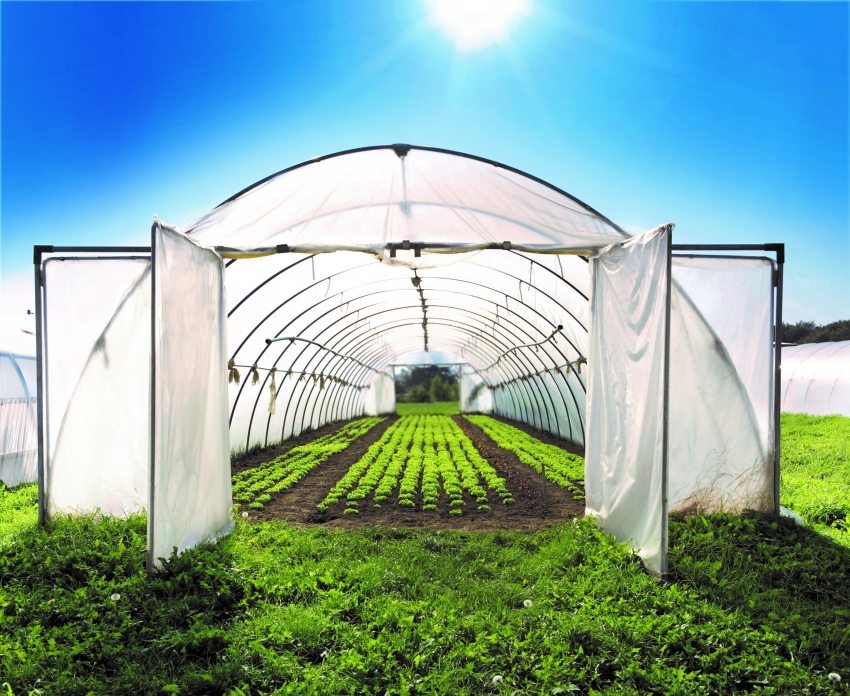
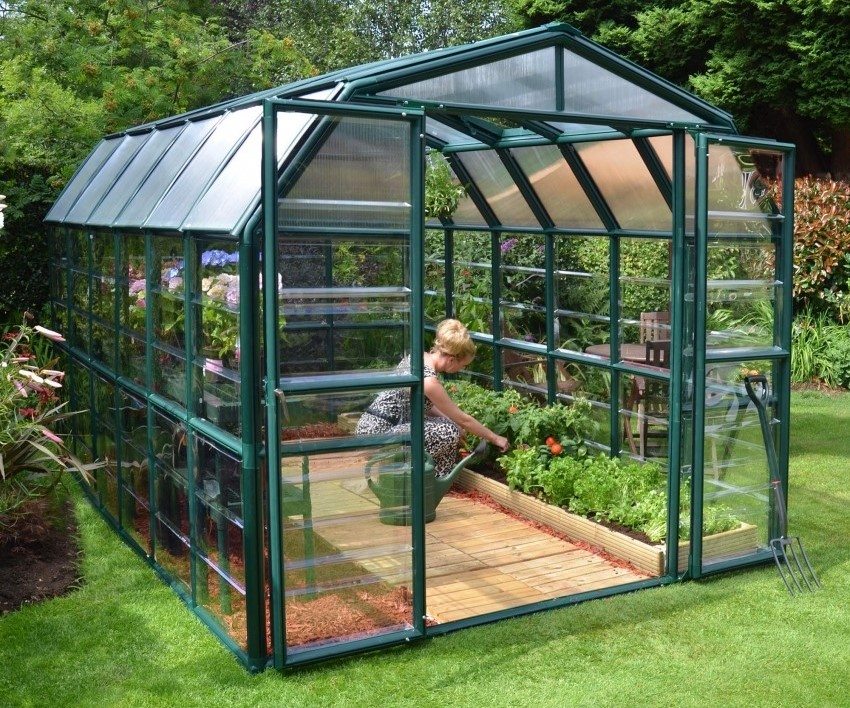
There are two main types of greenhouses, which differ in shape: arched and hipped.
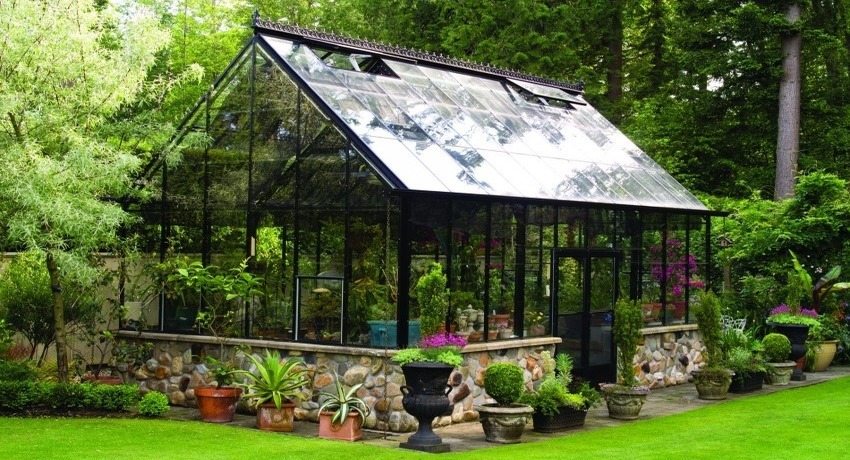
Greenhouse out shaped pipe art nouveau
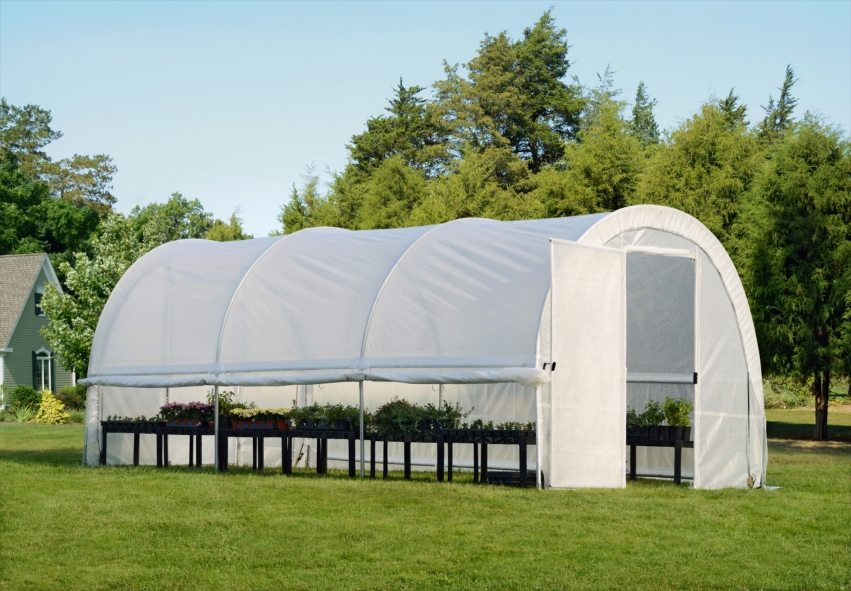
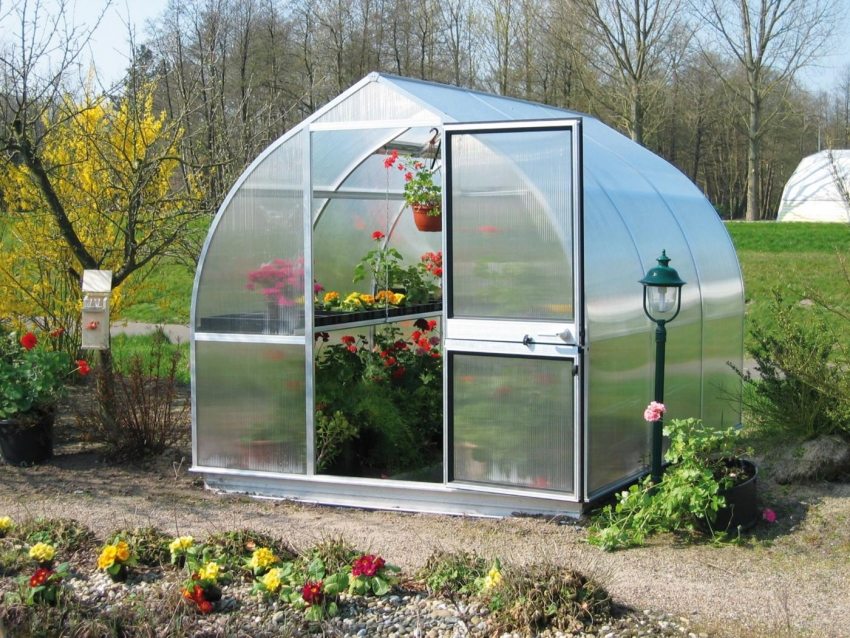
Arched greenhouses, in most cases, are made in specially equipped production facilities. This is due to the fact that it is quite difficult to bend the pipe into the desired shape on your own.
Among the advantages of greenhouses made of arches with a covering material, one can single out a simple collection of already bent parts and minimal costs for finishing the structure. Among the disadvantages of such a building, not too high functionality is noted, as well as restrictions on the height of the beds, which are located at the edges. Although it is often possible to find greenhouses for cucumbers made from a photo with your own hands, assembled according to this principle.
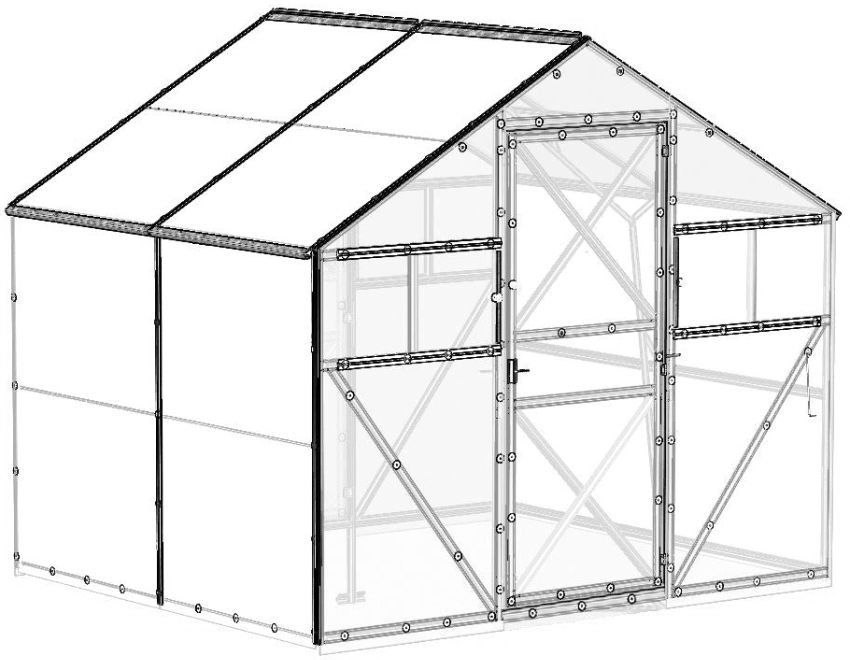
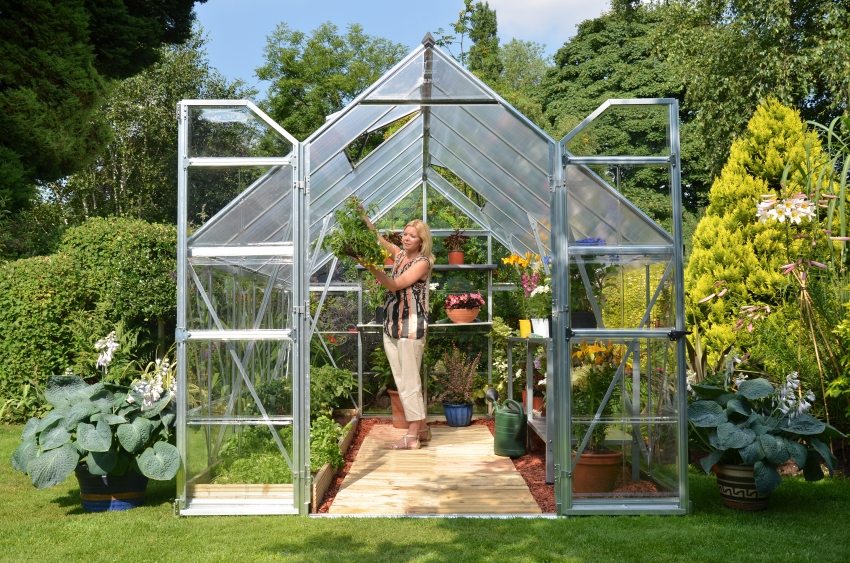
Tent greenhouses have a much simpler design, since their construction is not associated with the need to bend pipes. In most cases, tent greenhouses are made independently, although ready-made models are also available for sale.
Due to its hipped shape, the size of the greenhouse allows you to significantly expand the possibilities of movement inside, and also allows you to grow plants of almost any height, even in the extreme beds. However, you have to pay for an increase in functional characteristics, and the cost of such a structure will be higher than in the case of an arched greenhouse. This happens because in this case much more covering material is required for finishing.
Useful advice! To provide the greenhouse with maximum durability and stability, use only materials that have increased strength.
Do-it-yourself greenhouse from a profile pipe: photo and description of work
Any greenhouse consists of basic elements - a foundation, a frame and covering material... Their strength and durability directly depend on the materials used in the process of their construction. Profile pipes are one of the most affordable and at the same time strong foundations, which, if properly installed, can serve for many years. In addition, making a greenhouse from a professional pipe on your own is quite easy.
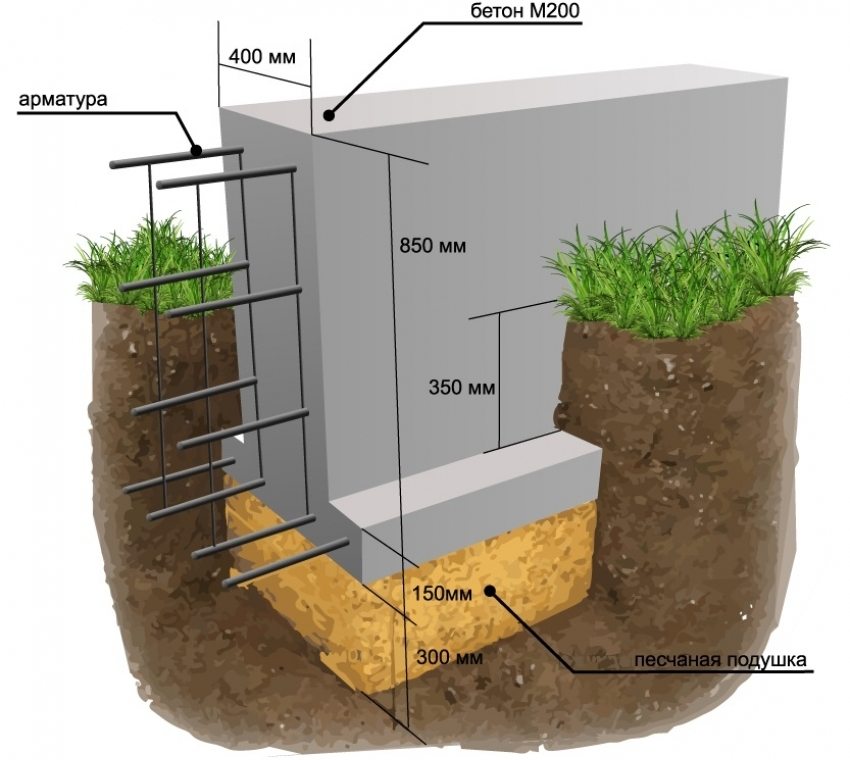
A simple foundation for a greenhouse with your own hands
A greenhouse will last you much longer if you install it on a foundation. What is the best base to use and how to make it if you decide to build a greenhouse with your own hands? Consider the most suitable foundation options.
The ideal basement for a greenhouse is brick or concrete. It is relatively easy to build, yet robust and reliable. Of course, a greenhouse is a non-residential building, and it can be quite costly to lay a full foundation.
Stages of pouring a concrete foundation for a greenhouse:
- in the selected area, make a markup, outlining the boundaries of the future greenhouse;
- remove the top layer of the earth, deepening 20-25 cm;
- pour fine gravel into the resulting trench, then tamp and level it as much as possible;
- then prepare a concrete solution using sand, gravel, cement and water;
fill the foundation with mortar; - give the concrete time to harden and settle.
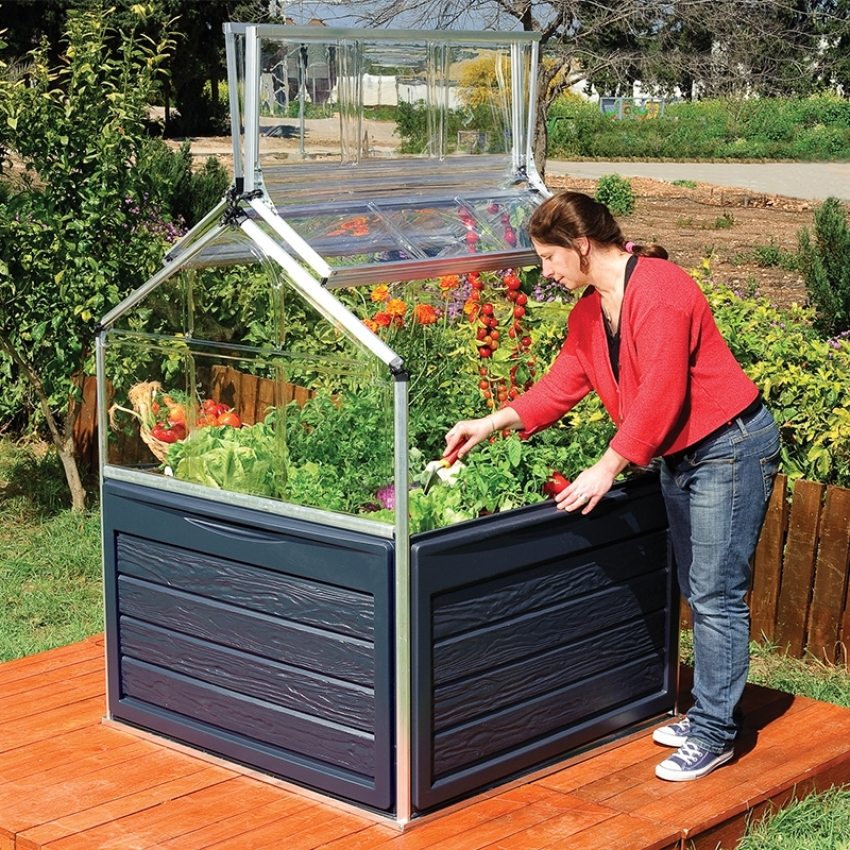
Mini-DIY greenhouse from a profile pipe
Useful advice! In order to improve the quality of the cement slurry and, accordingly, the foundation, it is necessary to flush the gravel and sand from possible additional impurities.
Preparatory work before erecting the frame
How does the construction of a greenhouse and a greenhouse for summer cottages begin? Naturally, with the purchase of all the materials and tools necessary for this.
Here is a list of what you will need to make a greenhouse according to drawings or a photo with your own hands:
- profile pipe measuring 20x20 mm, which will be used as longitudinal guides;
- profile pipe 20x40 mm in size for the installation of vertical struts of the structure;
- self-tapping screws for metal;
- conventional door hinges;
- paint and primer intended for outdoor use;
- welding machine (preferably with a power of more than 3 kW);
- good building level;
- tape measure;
- square;
- Bulgarian;
- screwdriver.
With all these tools available, you can safely start building a greenhouse frame.
How to make a greenhouse with your own hands: stages of construction
As a guide, you can use your own greenhouse drawing. In this case, use the dimensions indicated in it. On average, a standard greenhouse takes about 8 m in length, and about 3 m in width. However, much depends on the size and shape of your site, so you will have to navigate in this matter on the spot. Having dealt with the necessary measurements, proceed to cutting the profiled pipes of the required length.
When all the elements are ready, you can start assembling the structure. Using a welding machine or connector crabs, it is necessary to fasten the vertical and longitudinal parts of the greenhouse.
Useful advice! If you want to be able, if necessary, to disassemble the structure, then you do not need to weld the elements. Use bolted connectors.
After all the elements are connected together, take care of the presence of window and door openings. To do this, you need to take measurements, after which you can start making boxes for them. When everything is ready, all that remains is to weld the box to the bar, which is fixed on the extreme arcs of the structure.
There are two options for the location of windows and doors in the greenhouse:
- the window is located opposite the door;
- the windows are located opposite each other, on both sides of the greenhouse.
After completing the assembly, the finished structure must be treated with a special primer and paint.
How to choose a covering material for a greenhouse
Before you start building a greenhouse, you need to decide what material you plan to cover it with. Consider all the simplest and most popular options:
- glass - has an excellent ability to transmit sunlight, while maintaining a temperature inside the greenhouse that is most suitable for plants. Among the shortcomings, one can single out only the rather high cost of the material and the occurrence of certain difficulties during the installation process. There is also a high probability of damage to the coating, which entails considerable repair costs;
- polyethylene is a cheap and affordable material that is not used very often for building greenhouses. Its disadvantages are its low strength index, as well as poor response to exposure to ultraviolet rays;
- non-woven materials - acrylic, lutrisil or spunbond. This is a kind of alternative to the first two options. On the one hand, such a coating perfectly protects the crop inside the greenhouse, on the other hand, it provides sunlight. This is a great option if your goal is to protect plants from heavy rainfall or, conversely, drought. True, the service life of such materials does not exceed five years, but due to the not very high cost, replacement in such a period can be afford;
- Polycarbonate is by far the best greenhouse cover material. The combination of strength and light weight makes it indispensable. The wear resistance indicators of polycarbonate surpass ordinary glass by 200 times, while letting in sunlight and keeping heat just as well. Cutting and fitting this material to the desired size is made elementary, thus providing endless possibilities for self-construction.
Related article:
DIY polycarbonate greenhouse drawings from a profile pipe. Types, drawings and diagrams of greenhouse frames. Materials for covering pavilions. Features of the choice and construction of the foundation.
Whichever of the options you prefer, the greenhouse frame should be erected as professionally as possible, taking into account the loads and functions that lie ahead.
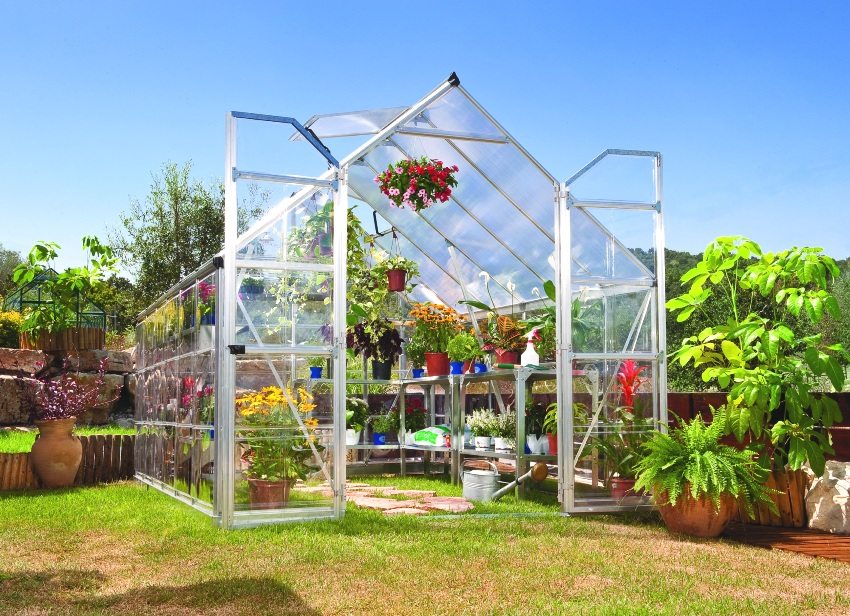
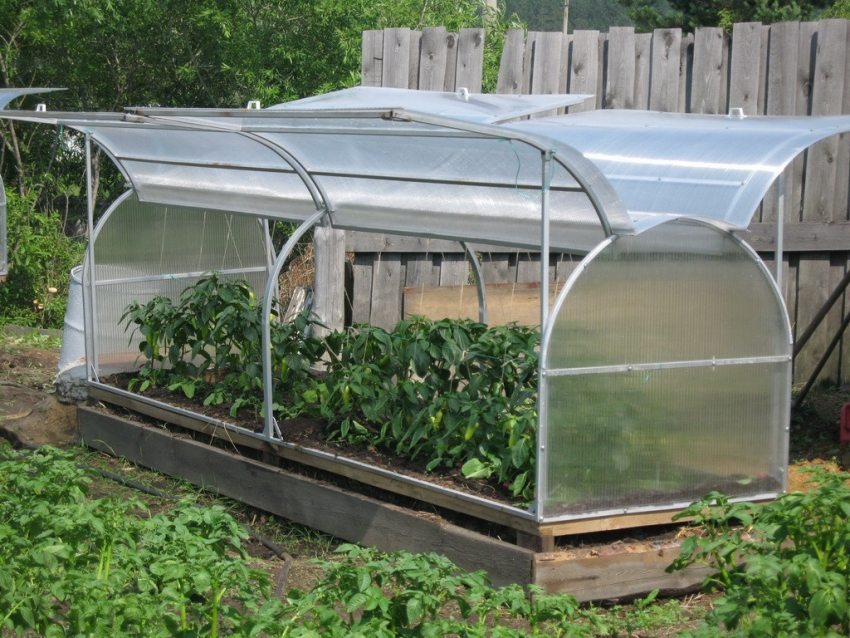
DIY butterfly greenhouse
The so-called butterfly greenhouse is distinguished by a special design. It got its name because of the similarity with the insect of the same name. When the greenhouse is open, it looks like a huge butterfly that spread its wings. This form of greenhouse has the following advantages:
- free access to plants from almost all sides;
- increased structural strength, its ability to withstand strong wind;
- better ventilation;
- quite simple to assemble and operate.
Manufacturing a butterfly greenhouse design has its own difficulties, and in this case, the drawing is a prerequisite for work. It will also be useful to watch a video on how to build a greenhouse with your own hands.
How to use a greenhouse effectively
How to properly use a greenhouse to get the most out of its existence? In warm weather, it is recommended to leave the greenhouse open to provide the plants with the most favorable living conditions. When it gets cool, the greenhouse is closed to maintain a microclimate inside that is suitable for plants. Due to the maintenance of the required temperature by the structure, it is possible to start planting plants in early spring, when the open soil has not yet warmed up. In autumn, even in case of frost, nothing will threaten the crop in the greenhouse.
If you are growing several different crops at the same time, then experts recommend delimiting the greenhouse into zones using plastic wrap. For watering plants, you can use both a regular watering can, and a more modern and convenient way - drip irrigation.
In the spring, after the greenhouse has stood idle all winter, it is necessary to prepare it for use. This applies to both the structure itself and the soil in it. First of all, conduct a thorough inspection of all elements for damage. If everything is in order, simply clean the greenhouse of accumulated dust and dirt. If defects were found during the inspection, carry out the appropriate repair or replacement of the part.
Depending on the material used to cover the greenhouse frame, there are several ways to wash it. The most common and easiest option is to use a regular garden hose.
Preparing a greenhouse for winter
In order for the greenhouse to stand for several winter months without damaging the structure, it is necessary to take care of this in advance and carry out preliminary disinfection. This can only be done when all plants and auxiliary materials have already been removed. At the same time, it is necessary to process not only the soil, but also the frame itself in order to destroy all pathogens of mold, fungus and bacterial infections.
How to treat a greenhouse in the fall? Sulfur is most often used to disinfect a greenhouse. Fumigation is carried out at a temperature of 10-15 ° C. In this case, the standard calculation is 40-50 g of sulfur per 1 m2. Small pallets with the substance are placed at some distance from each other and ignited. Fumigation should be carried out by lighting the sulfur towards the exit to the street. When the last hearth is set on fire, close the door tightly and leave the greenhouse in this state for several days. After this period, open all windows and doors and let the room ventilate.
Useful advice! When lighting a greenhouse, do not forget about self-defense and compliance with safety rules.
As you can see, independent construction and maintenance of a greenhouse from a profiled pipe is a simple science. All you need is basic tooling and a little patience. However, if everything works out, then you can greatly benefit from the results of your labor. And in order not to doubt the result, look at photos of greenhouses with your own hands from scrap materials. Some options are simply striking in their beauty and functionality.
