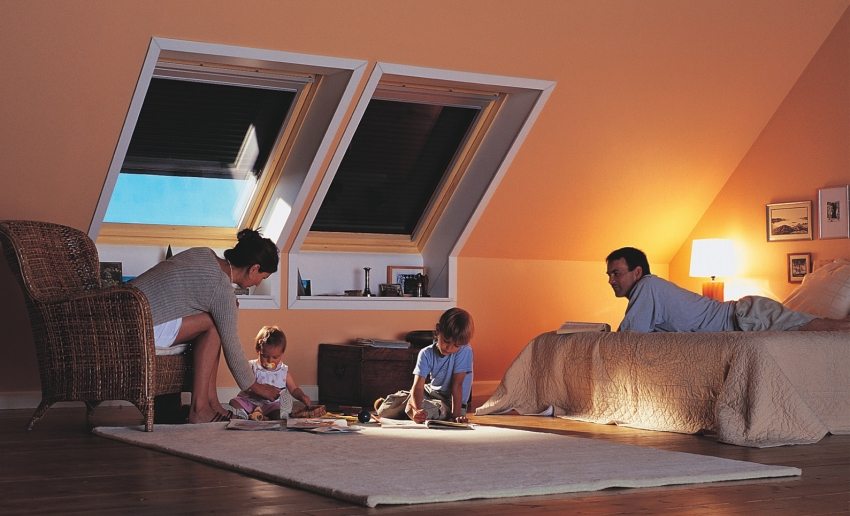
Experienced builders say that a layer of roofing insulation should be installed during the construction phase of a house. But if this is not done on time, then the only way out of the situation is to insulate the roof from the inside with your own hands.
Why is the presence of a thermal insulation layer so important in the roofing cake? We all know that heated air rises upward. Only properly laid insulation can stop it. If there is no thermal insulation, the heat freely goes to the sky. Neither a double floor nor thick walls will save the situation. Heat loss through a cold roof reaches 45%.
Content [Hide]
Materials for roof insulation
Glass wool has ceased to be a universal sound and heat insulation layer. Its place was taken by other, more technological and harmless heaters:
- mineral wool - rolled and in mats;
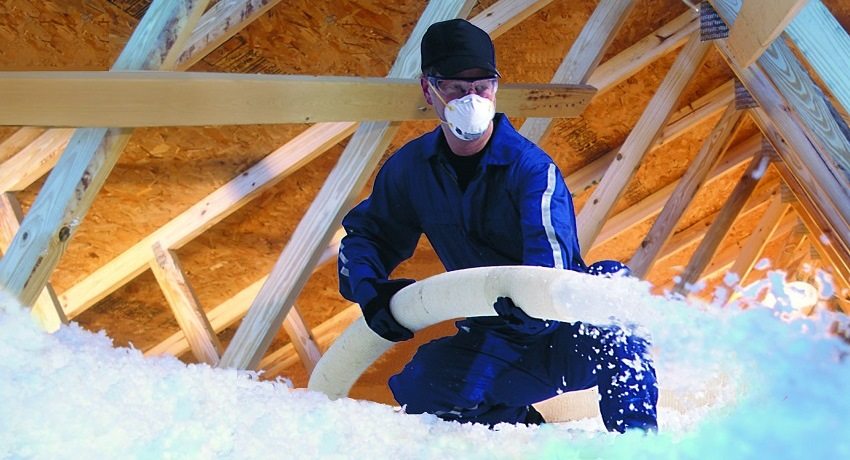
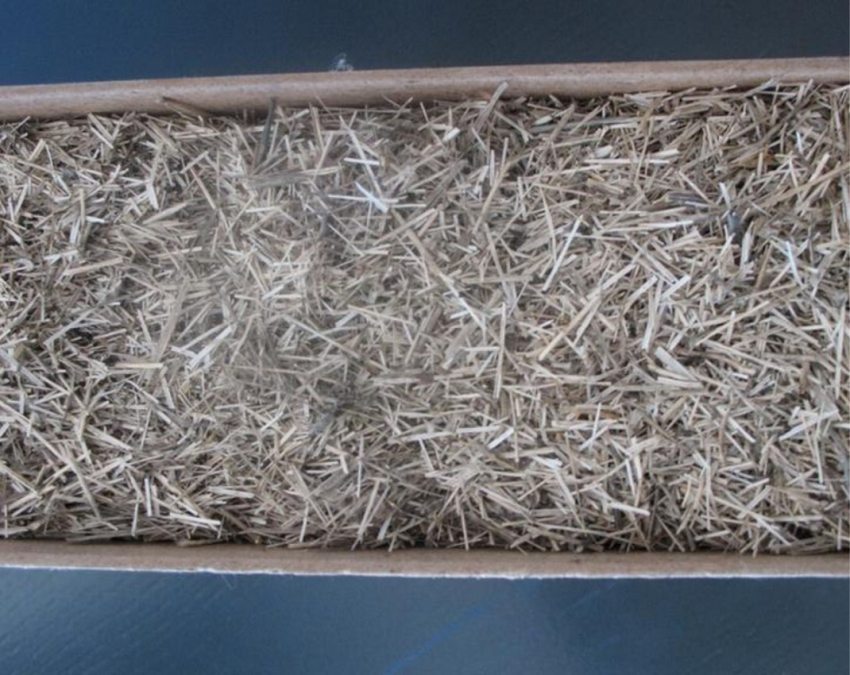
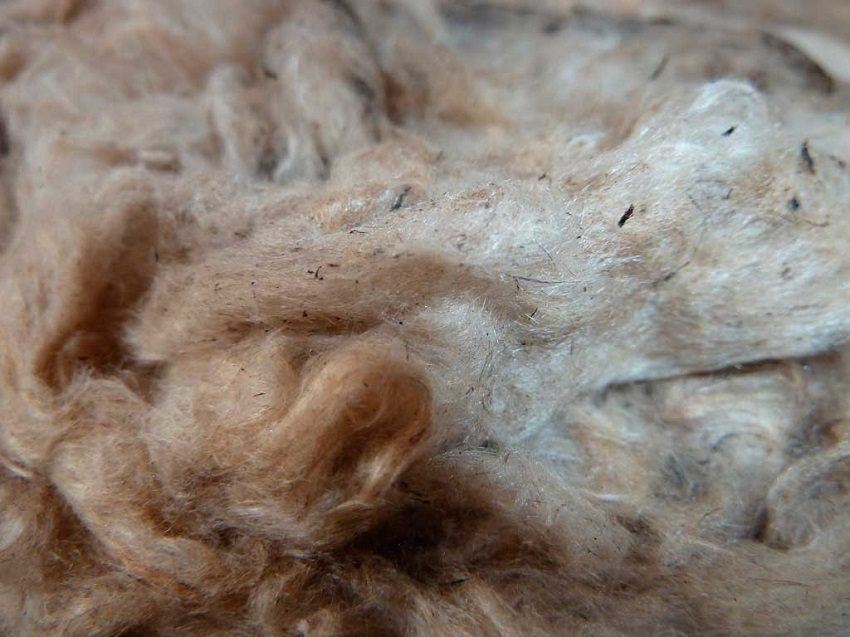
- ecowool (bulk fibrous cellulose);
- foam and rigid polyurethane foam plates;
- sheet penoplex - a special type is used for roof insulation - "Penoplex Roof";
- penoizol (liquid foam);
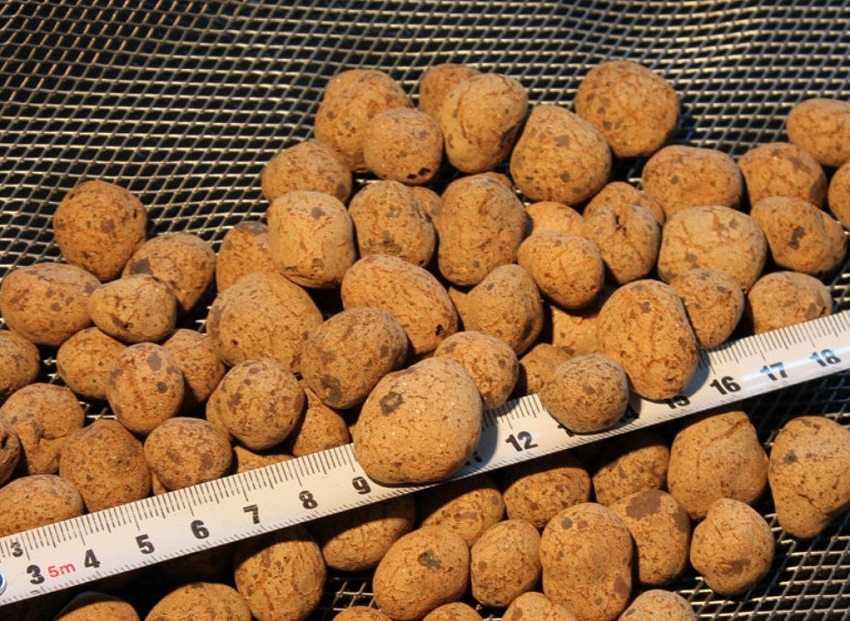
- bulk materials (expanded clay, slag, sawdust, cork). Today they are not used so often, since filling such a space is too laborious a task. But if the roof is curly, then it is easier and more effective to fill up its bends than to cut a sheet of insulation.
Helpful advice! If it is decided to take mineral wool slabs, then they must not be squeezed and bent before laying. In wrinkled places, the cotton wool will absorb moisture.
It is not enough to choose a heat-conducting material; it is also necessary to lay it correctly. Without knowing the technology of insulating the roof from the inside with your own hands, you can fill the entire attic space with a heat insulator, and the heat in the house will not increase.
Preparatory work
First of all, we go up to the attic and examine the roof from the inside. It is better to do this after rain, then the defects will be especially noticeable. But the roofing work itself is carried out on a warm dry day, with a carefully dried roof structure.
Preliminary work progress:
- we remove all unnecessary from the attic, take out the garbage;
- we clean and sweep the inner surface of the roof, along with the gables;
- we remove the remnants of the old insulation;
- we carry out repair of the detected damage;
- assess the condition electrical wiring and other communication channels. It is best when the power line runs away from the insulation.If the circuit cannot be changed, and the wiring will be located in the thickness of the thermal insulation layer, then all contacts and connectors must be qualitatively insulated;
- we treat the wooden parts of the roof with an antiseptic. This will help maintain the strength of the battens and rafters for a long time.
Do-it-yourself roof insulation from the inside
So, the roofing material has already been laid, and access to the rafters from above is closed. In this case, the work is carried out in the reverse order, according to the principle of a false ceiling. Our task is to insulate the roof for the heated attic space (attic).
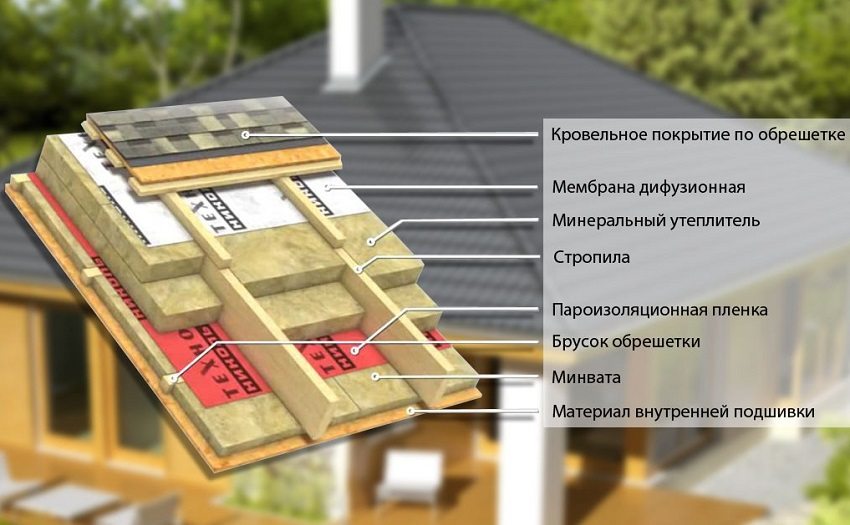
Installation of a waterproofing layer
First, waterproofing is mounted to the crate. Usually, roofing material, glassine or roofing paper is used for this. The disadvantages of traditional coatings are that their service life is a maximum of 20 years. Modern synthetic materials last 2-3 times longer.
These include Izoplast, Steklobit, Technonikol, Linokrom, Bikrost. Some people use plastic wrap, but this is an economical option. Waterproofing is laid with an overlap, with a 20-25 cm overlap. It is attached to the crate with a construction stapler or staples.
Insulation hemming
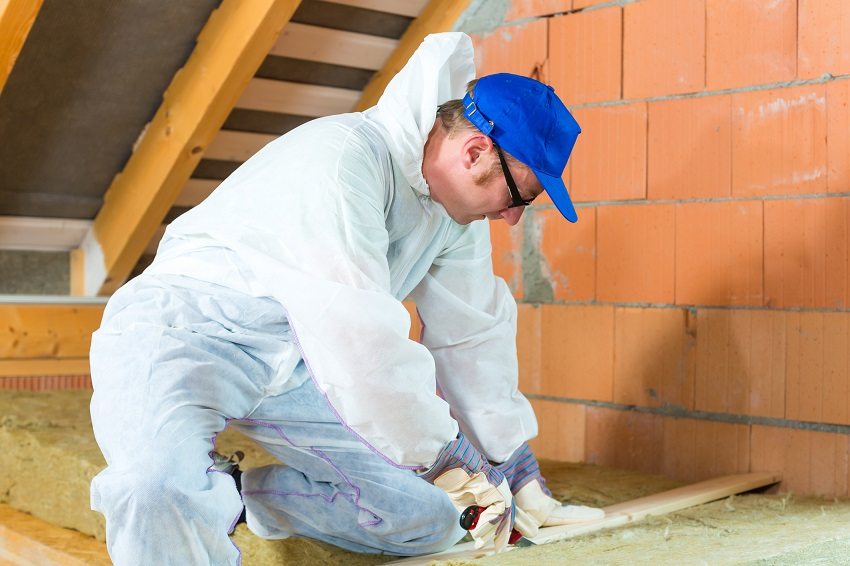
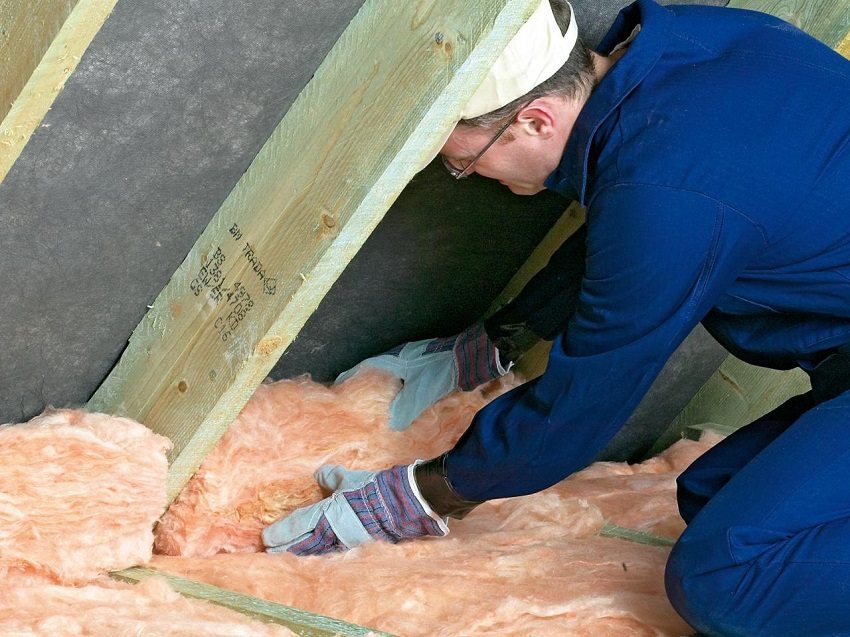
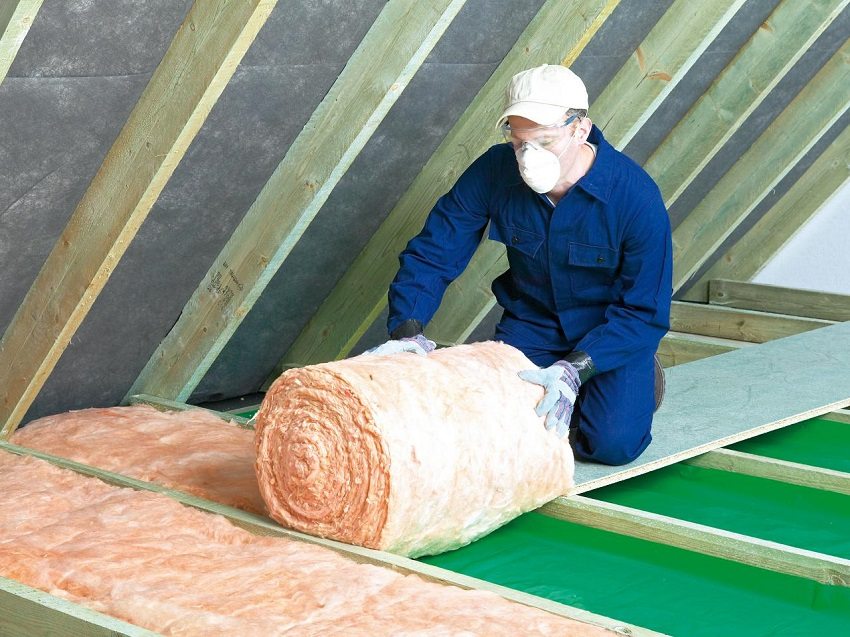
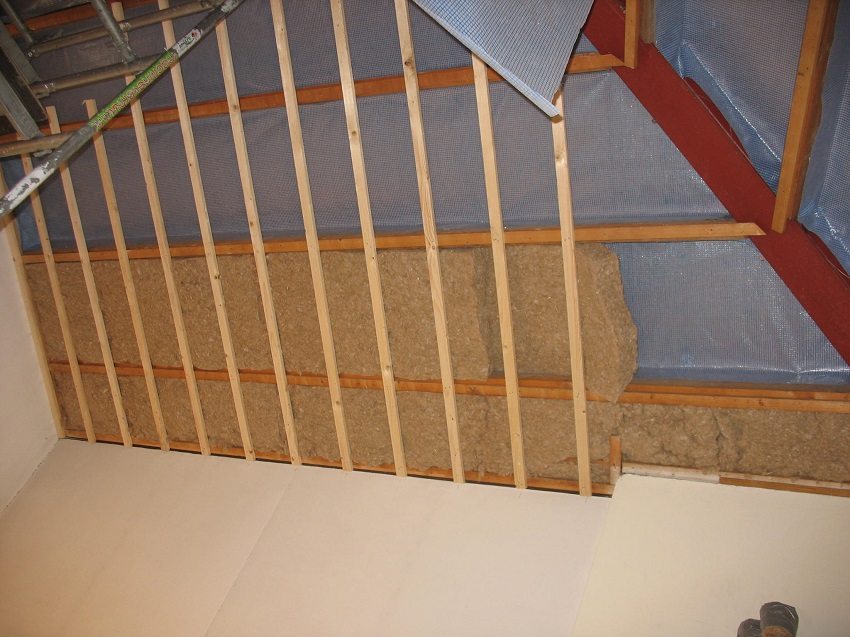
Next, the thermal insulation layer is laid. It is better to mount insulation plates with rafters so that they are held in a natural way. For this, the sheets must be slightly wider than the distance between the rafters. If there are no gaps, then the heat loss through the roof will be reduced to a minimum.
Achieving tightness in the process of insulating the roof from the inside with your own hands, the plates can be glued together. For reliability, arrange an additional crate. It will not only hold the plates, but also serve as the basis for the ventilation duct.
Important! The well-designed roof has two ventilation gaps. The first is between slate and roofing felt, the second - between roofing felt and insulation. And this is not just free space - air must circulate in it.
Laying a vapor barrier layer
Whatever water-repellent properties are described in the instructions for the insulation, the roof vapor barrier is necessary. The vapor that is generated in excess in our life support system rises up. It evaporates in summer and condenses inside the roof in winter. Moisture gradually renders both the insulation and the roof structure unusable.
Related article:
|
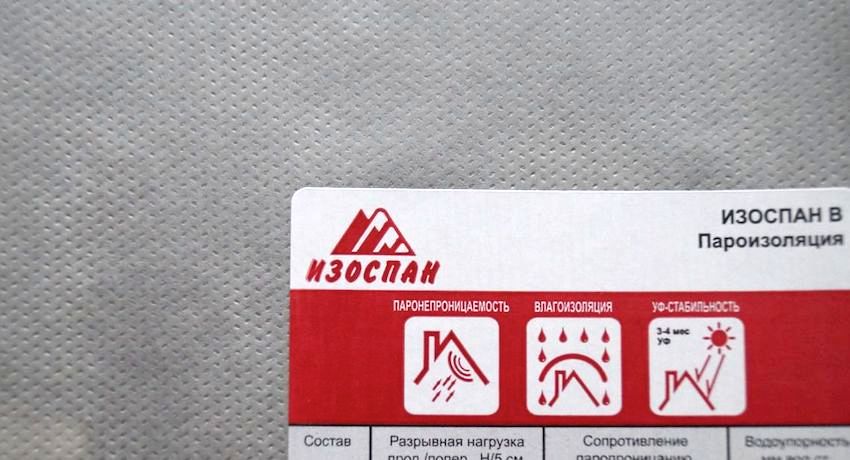
It is better to use a professional diffuse film that allows steam to pass in one direction. These include Izospan, Yutafol, Pentaizol. They are two-sided breathable materials that provide an optimal indoor microenvironment.
The film is hemmed to the rafters, with the smooth side to the insulation. The rough surface should be directed towards the room. It effectively traps condensate droplets that gradually evaporate. In order not to complicate this process, a space of 4-5 cm is left between the ceiling and the film. The vapor barrier strips are laid with an overlap of 12-15 cm, fixing them in a horizontal position. A construction stapler or galvanized nails are used for filing.
I would also like to warn home craftsmen about the dangers of excessive savings. Carrying out roof insulation from the inside with their own hands, some hem the roof with foam plastic, laying polyethylene as waterproofing. In this case, vapor barrier is either generally neglected, or a polyethylene film rolled with a needle roller is laid.
Such a "vapor barrier" layer only creates the effect greenhouses... The house becomes damp, the rafters from condensation begin to rot, and the smell of mold appears. In conditions of constant humidity, the life of the foam is sharply reduced. Therefore, it is not recommended to save on thermal insulation materials.
Insulation of the floor in an unheated attic
If the attic is arranged only for ventilation, then insulate the attic floor... Here, backfill with slag, expanded clay, loose ecowool is used. If the floor of the attic is a concrete screed, it is recommended to install logs on it before installing the slabs, between which the insulation will be laid.
Helpful advice! The thickness of the lag should be slightly greater than the thickness of the insulation so that there is a ventilation gap between it and the waterproofing layer.
Foam insulation technology
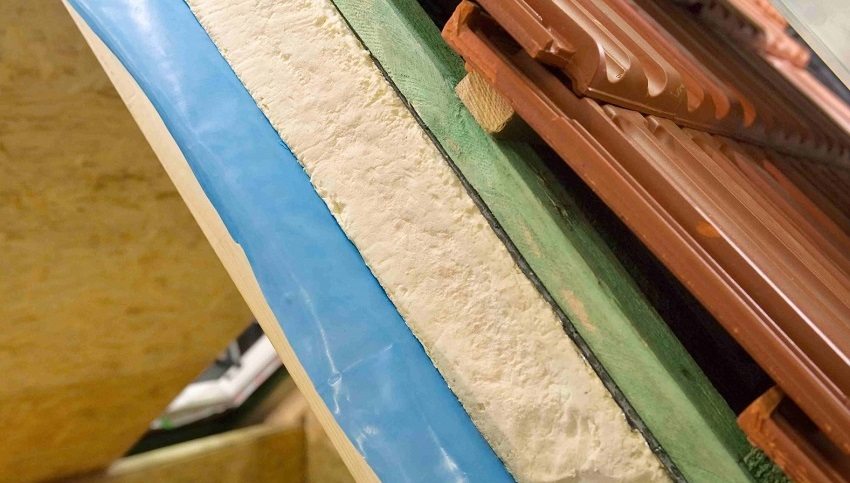
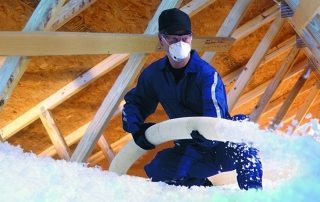
Foaming with penoizol has become a popular type of roof insulation from the inside with your own hands. For this, the contact surfaces are moistened in order to increase the adhesion of the materials. Then the liquid foam is sprayed in a thin layer. As soon as penoizol increases in volume and sets, apply another layer, if necessary. Foam fills all defects, cracks and holes, warming and sealing the floor.
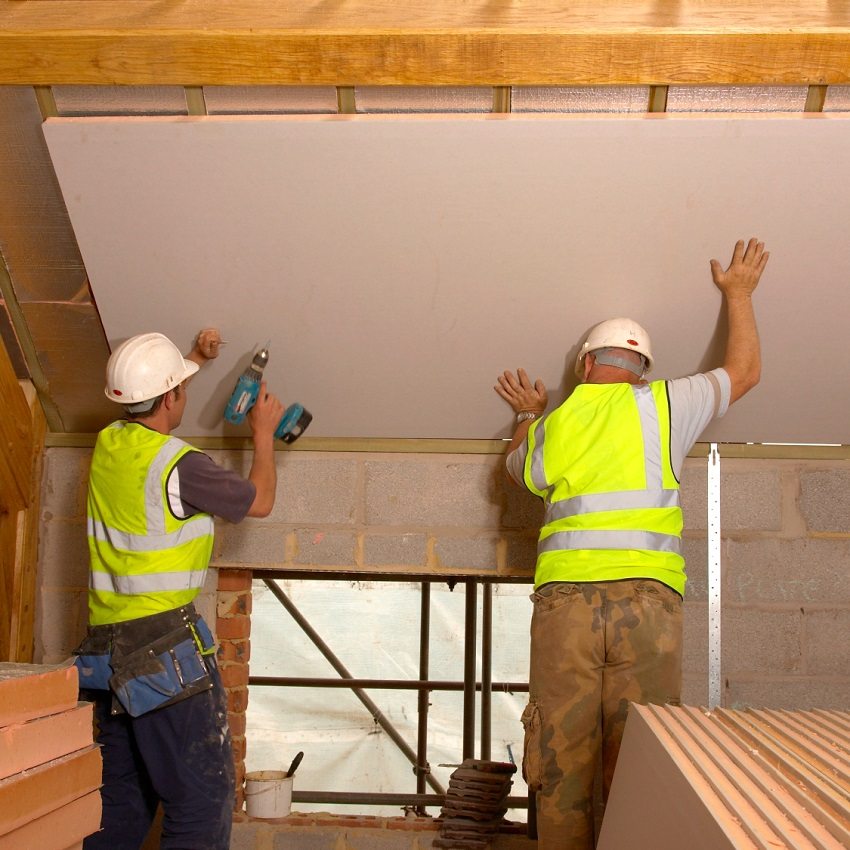
The frozen insulation is covered with roofing felt and sewn on top with plywood or drywall. This will protect it from sun damage and pollution. Penoizol has a long service life, does not crumble and does not shrink.
The technology for laying the roofing cake is the same - the foam insulation must be between the layers of waterproofing and vapor barrier. In this case, the vapor barrier film is attached to the supporting elements of the floor, after which it is closed with a clean ceiling. There must be a ventilation gap between the film and the ceiling so that the water has a place to evaporate.
Finally. There are many ways to protect a house from the cold, and one of them is to insulate the roof from the inside with your own hands. If desired, any homeowner will be able to perform such work if there is a desire to strengthen the thermal barrier of their home.
