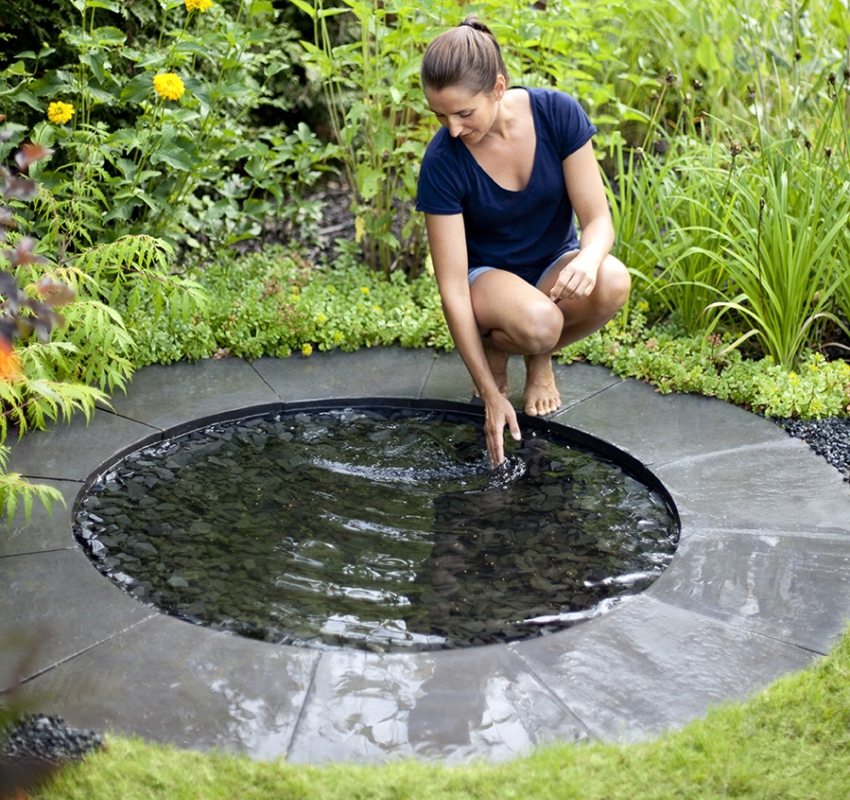
An artificial reservoir is an excellent decoration for any, even a small area, so information on how to make a pond in the country with your own hands will be very useful. A step-by-step photo instruction will tell you about what materials will be required to equip a beautiful water mirror and all the intricacies of this simple process.
Content [Hide]
- 1 Choosing a place for a reservoir and a shape
- 2 Do-it-yourself pond in the country. Step-by-step photo instruction
- 3 Water filtration and planting
- 4 Pond decoration in the country
- 5 Some tips for arranging an artificial reservoir
- 6 Preparing the pond for winter
- 7 Do-it-yourself pond in the country (video)
Choosing a place for a reservoir and a shape
There are no rules for choosing the shape of the reservoir. It can be of any size - round, square, asymmetrical. So that the pond fits perfectly into landscape design, when choosing a form, you should pay attention to the general style solution of the suburban area.
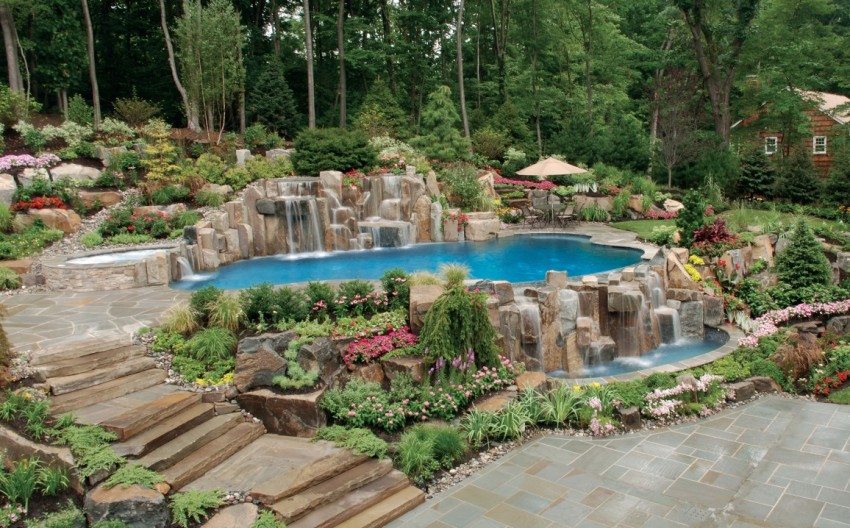
It is very important to choose a suitable place for such a decorative element. It is necessary to take into account the characteristics of the soil, to assess the relief of the territory. If the terrain is hilly, then it is better to equip a stream on it or fountain with a cascading runoff of water, and it is better to arrange a flat piece of land with a small pond. You should also consider the location of trees relative to the reservoir. Over time, the roots can destroy the integrity of the reservoir. In addition, leaves and other debris will fall into the water from the trees, due to which you will have to clean the pond more often.
The sun's rays will not interfere with the reservoir. They warm up the water, allowing plants and fish living in it to develop fully. It is worth positioning the pond relative to the cardinal points so that the sun is on its side for most of the day.
Do-it-yourself pond in the country. Step-by-step photo instruction
There are two ways to arrange a pond in the country with your own hands. A step-by-step photo selection demonstrates both processes. To simplify the work, you can purchase a ready-made form. Modern manufacturers offer tanks made of reinforced plastic or rubber rubber, but if funds are not enough, you can use ordinary insulating film, only of a thicker structure.
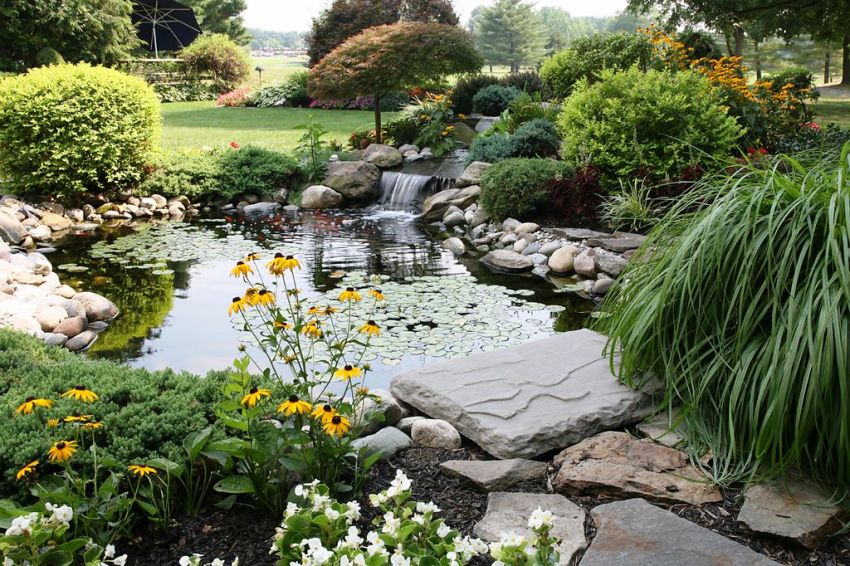
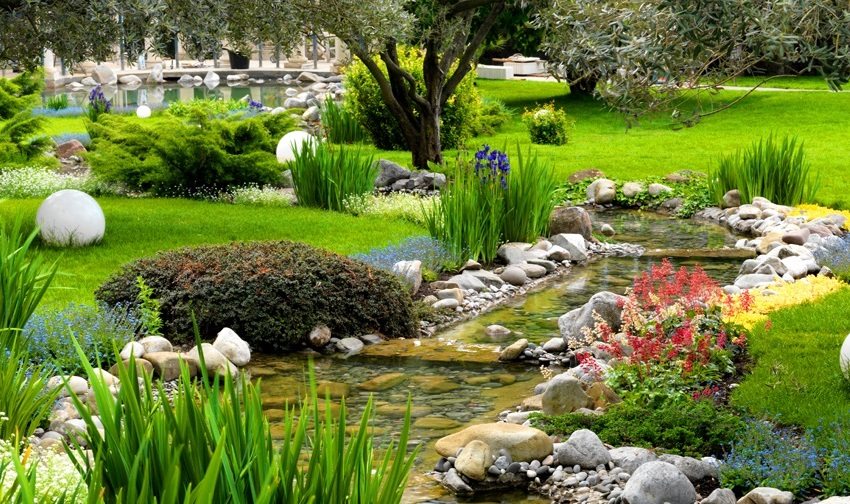
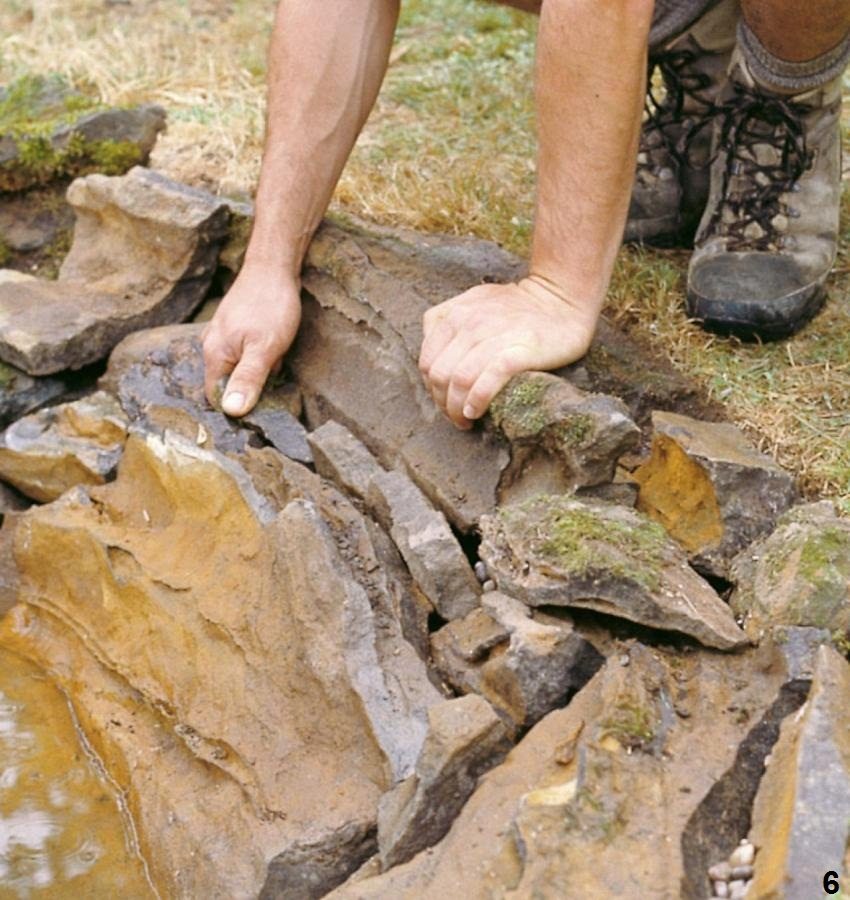
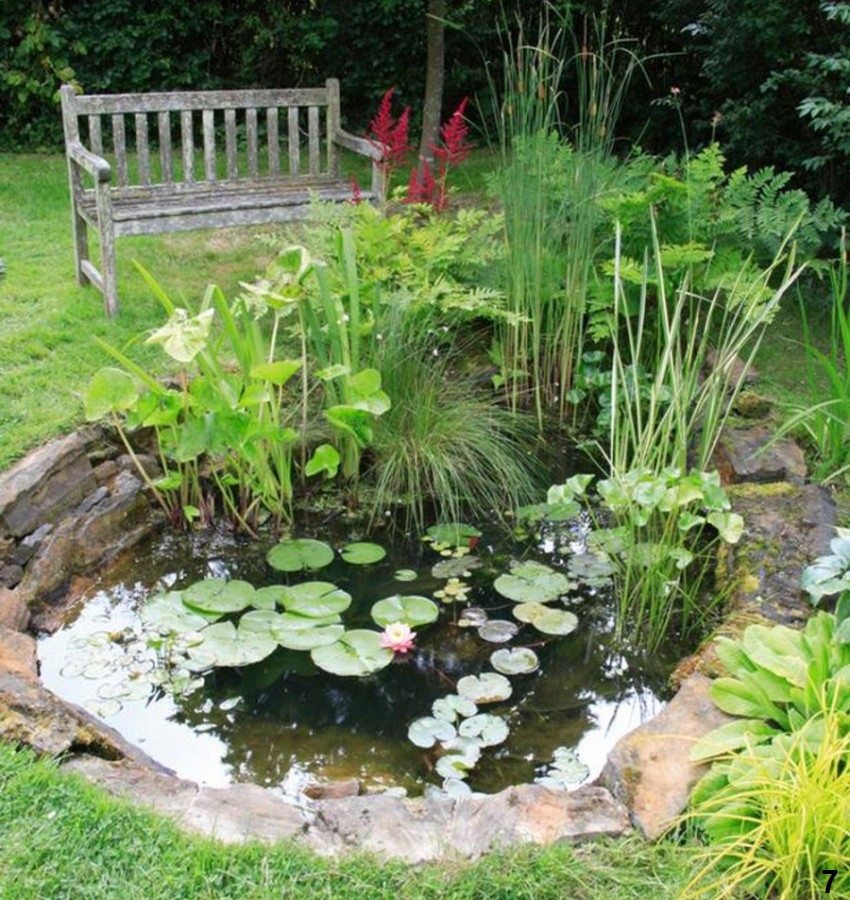
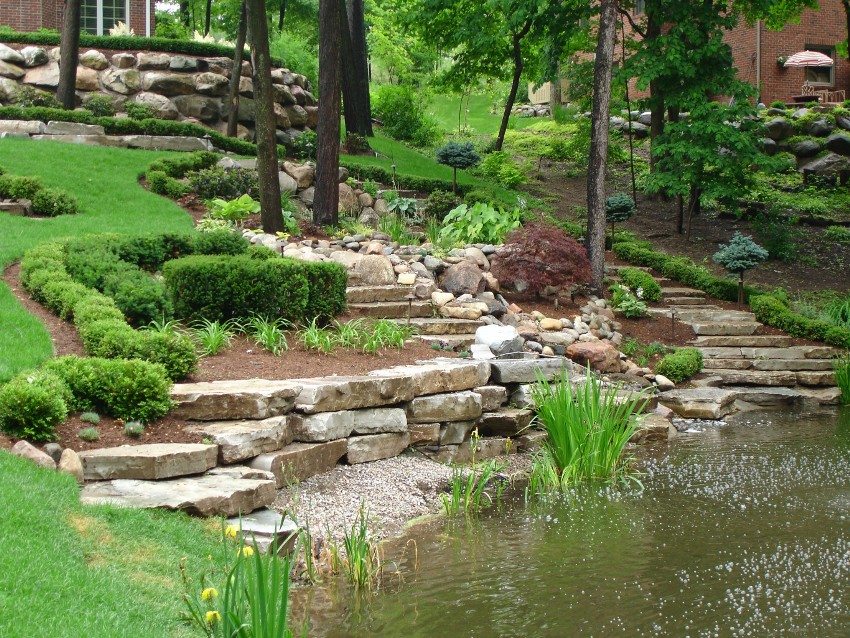
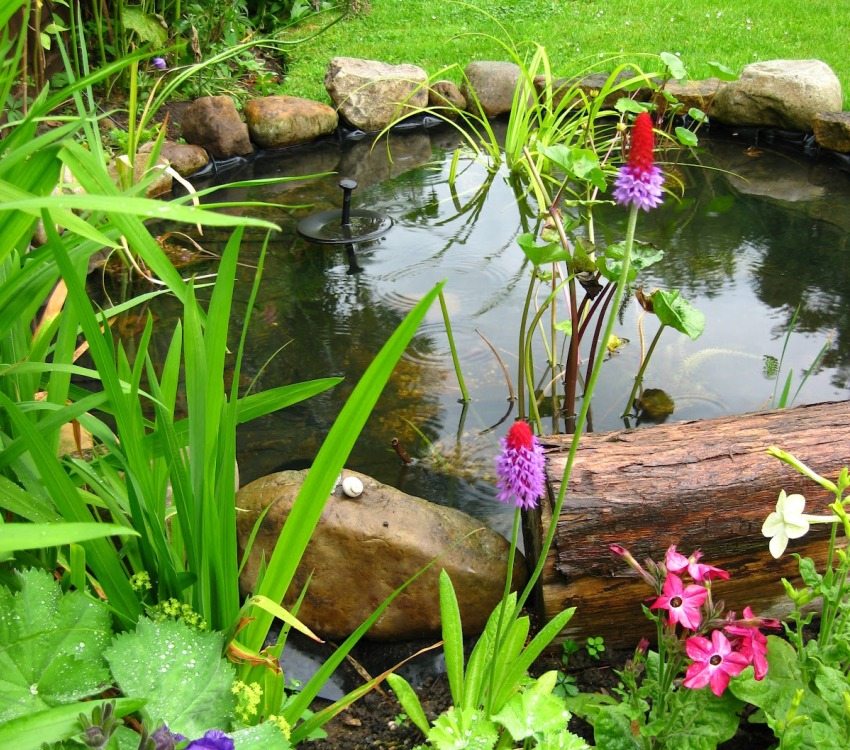
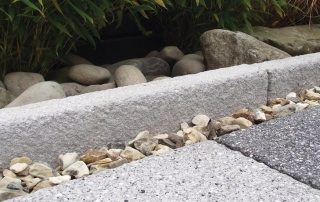
Along the edges of a small pond is arranged rockery
Arranging a pond using a ready-made form
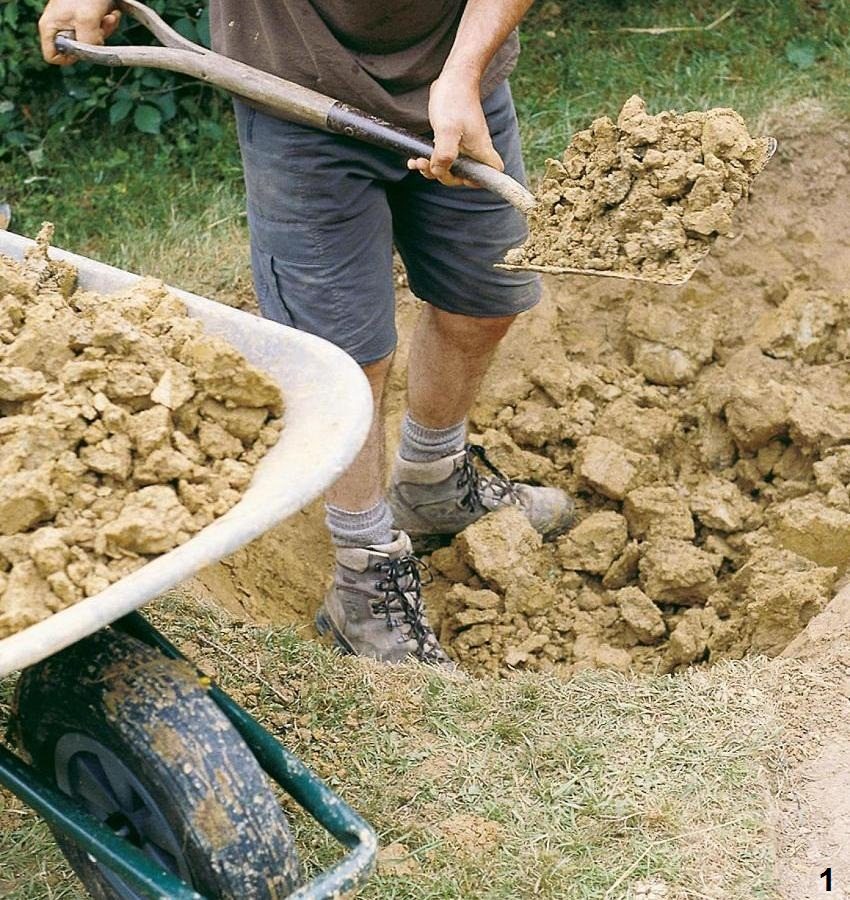
Having chosen the optimal place for the future reservoir, it is necessary to lay the finished form on the ground and mark the contour. A foundation pit is dug along the marked lines. Its dimensions should be about 8-10 cm larger than the shape itself. After installing the container in the prepared pit, it must be filled with water by about a third and gradually add sand around the voids.
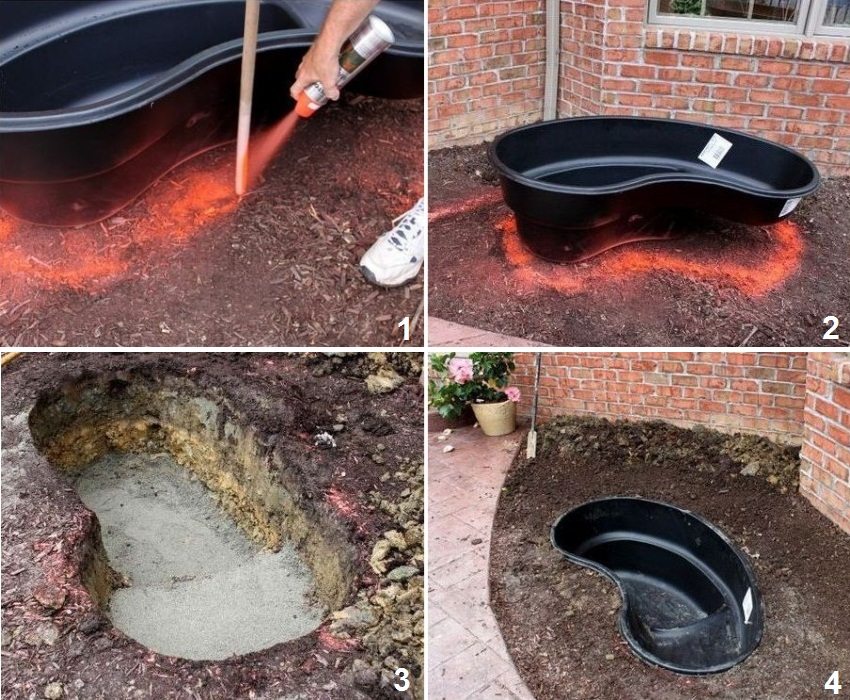
1 and 2 - choosing a plastic mold and marking the contour of the future reservoir, 3 - preparing the pit, 4 - installing the mold in the pit
As it is added, the container is filled to the top with water. A wild stone is laid along the edges of the established form or plants are planted. This can be done only after the container has completely shrunk.
We equip a pond with a film
In several stages, the arrangement of the pond in the country house is carried out with your own hands. A step-by-step photo instruction will help you not to get confused in the intricacies of the process. To build such a design element you will need:
- rope or fishing line;
- polyvinyl chloride film;
- brick;
- fine sand or gravel;
- round stones or slabs;
- shovel.
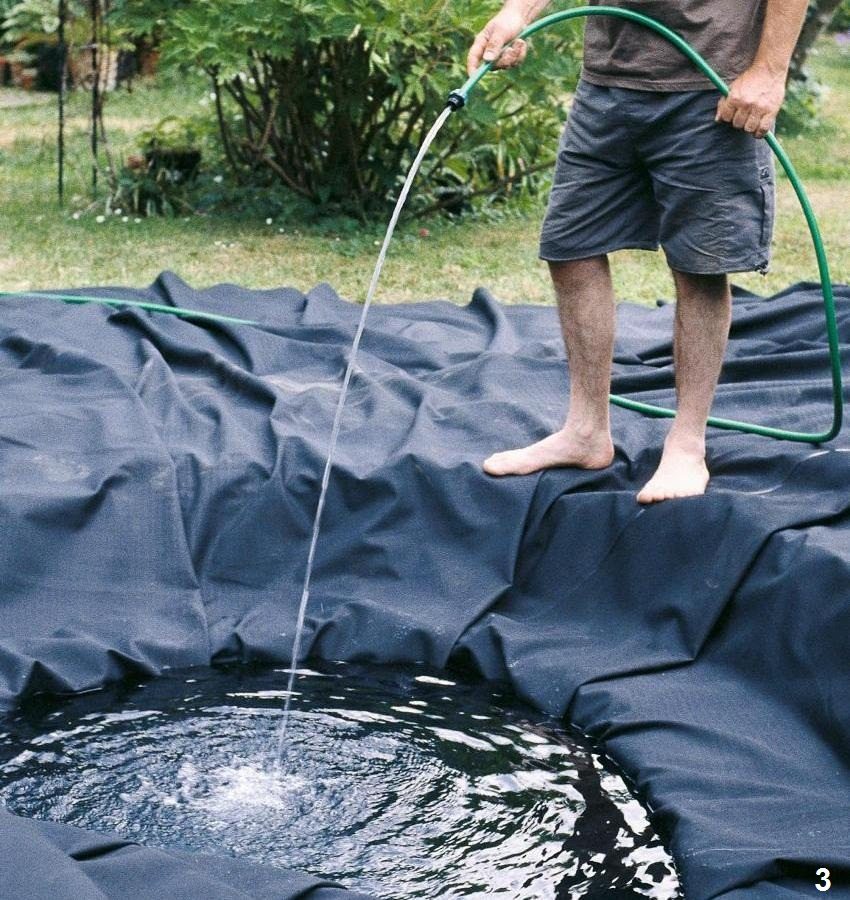
Using a fishing line or rope, they mark the outlines of the future pond. They dig a pit of the required size and remove all interfering debris from its bottom: stones, tree roots, and other objects that can ruin the film. After preparation, sand is poured onto the bottom of the pit. To prevent damage to the insulating film, the layer thickness must be at least 10 cm. After that, the film can be laid.
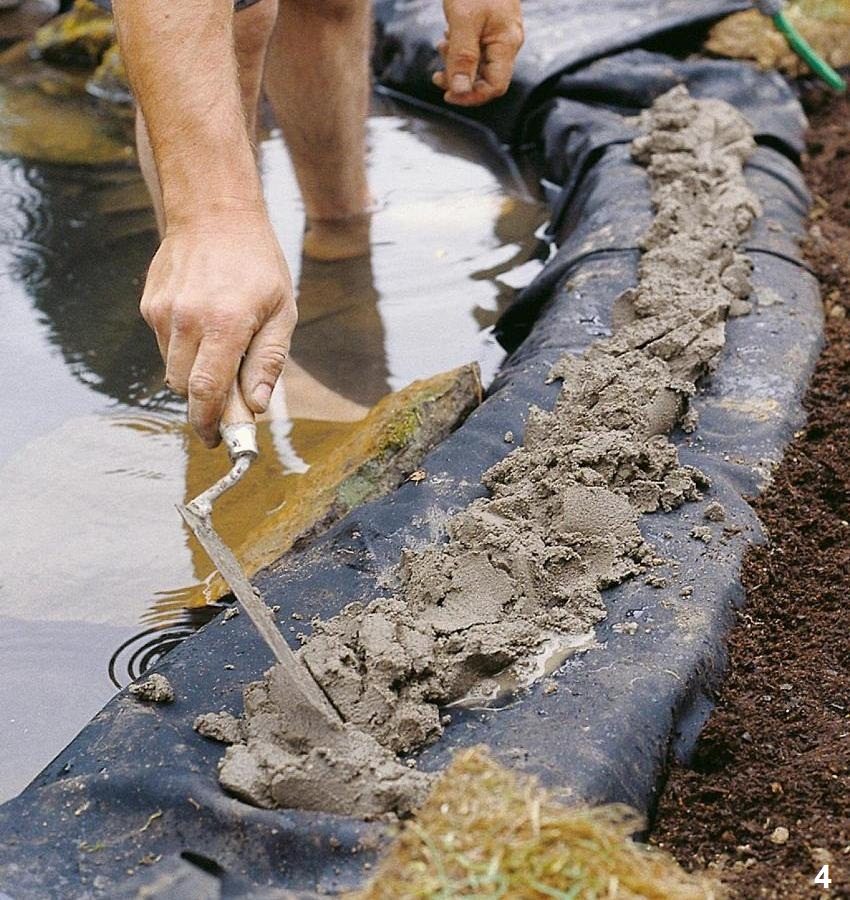
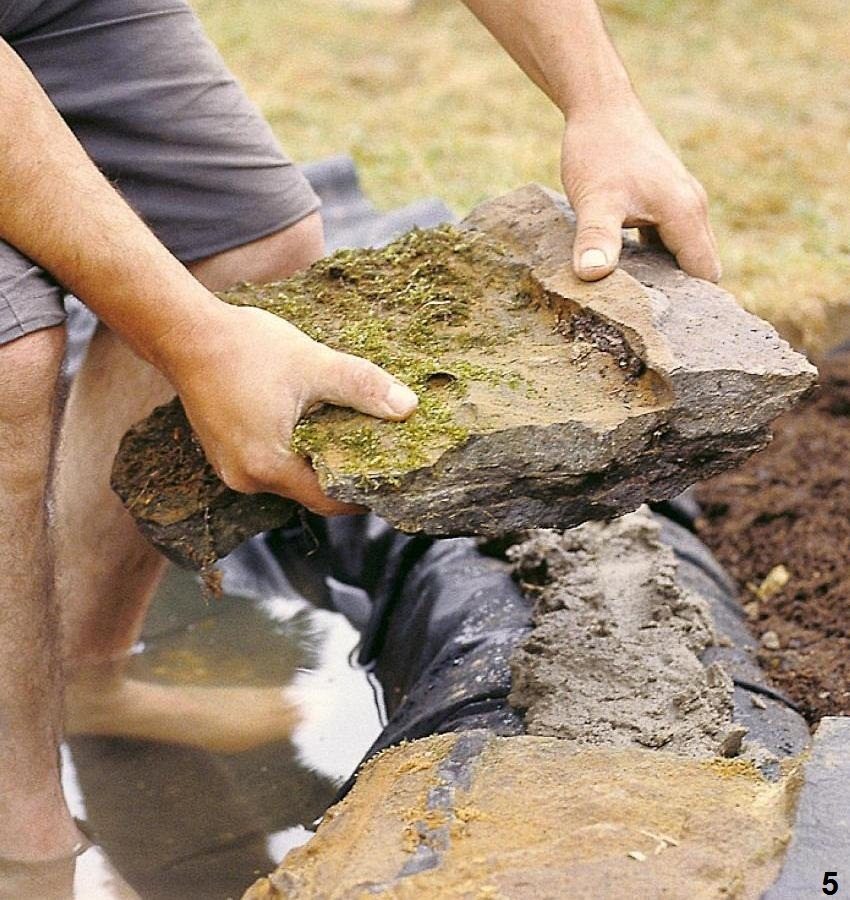
You need to dig a small ditch around the perimeter of the pond, 15-20 cm deep. It will serve as an assistant in securing the edges of the film. Subsequently, they are covered with stones or gravel. The allowance remaining on top should be at least 50 cm, only in this way it will be possible to securely fix the edges of the structure. The finished pond can be filled with water.
Water filtration and planting
The next and obligatory step in the arrangement of the reservoir should be the installation of a filter station. It is especially necessary if fish are planned to be introduced into the pond. Filtration kits can be found in stores. An instruction is attached to them, with the help of which it is easy to install and configure the station yourself.
After starting the filtration equipment, you can start planting plants. For the first deep level, plants such as tail or arrowhead are suitable. Floating plants look good. Among them, you can choose lilies, water hyacinths and others. Fern, reeds or reeds are used to decorate the space around the pond.
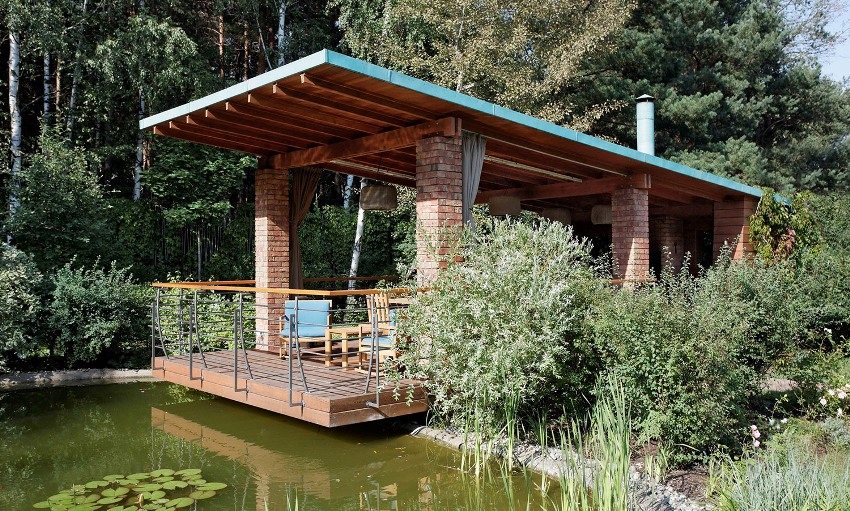
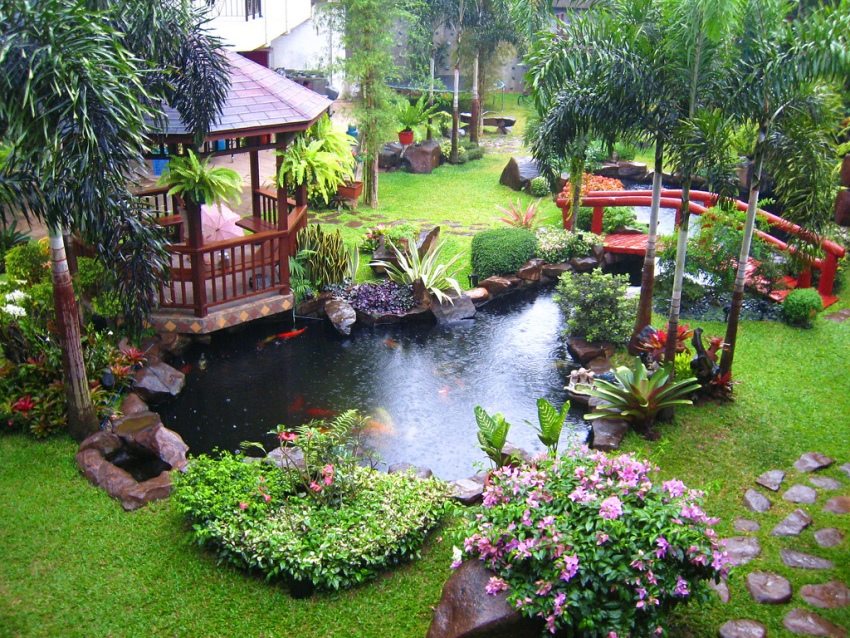
Near the reservoir is equipped alcove for relax
The bottom of the reservoir must be decorated only with rounded stones without sharp corners. Masking the edges can be done by planting broadleaf plants along the banks.If you wish, you can foresee the illumination of the pond in advance, for this it is necessary to stretch the electrical wiring at the digging stage.
Some tips for arranging an artificial reservoir
It is very difficult to avoid mistakes when creating something for the first time. The arrangement of the reservoir is no exception. The following tips will help you create a pond in the country yourself without any problems. A step-by-step photo gallery will help you with this:
- equipping the reservoir with stones of approximately the same diameter will give it a rather dull look. It is best to combine large lumps with smaller stones;
- do not dig a deep pond with steep walls. It is much more difficult to decorate such a reservoir; it is also difficult to plant aquatic plants;
Related article:
Alpine slide with your own hands. Step by step photo instruction. Choosing a place and creating a rock garden. Rules for arranging the drainage base and the location of stones. Suitable plants.
- container gardening is much more convenient, but does not allow plants to grow much. You can try to fill the bottom of the pool with a special soil designed for aquatic herbs and plant them directly there.
Preparing the pond for winter
You need to start preparing the pond for the winter period long before the onset of cold weather. At the first signs of leaf fall, it must be covered with a fine-mesh net so that excess dirt and leaves do not get into the reservoir. Falling foliage rots, which leads to a sharp jump in the concentration of bog gas. It is very harmful to plants and fish. The net is removed after the first frost.
Now you should start cleaning the bottom from silt and debris. This procedure is mandatory, because all this, decomposing, poisons the inhabitants of the reservoir. Cleaning is most convenient with a water vacuum cleaner. This is done after pumping out the water. Any body of water should overwinter without equipment, so everyone filters, pumps, nozzles and lamps are thoroughly cleaned and put into the room.
Small ponds freeze completely to the bottom in winter. All plants and fish are removed from the artificial reservoir for the winter and sent to winter in warm rooms. If the base was a ready-made container, it is necessary to lower several bottles filled with sand into it so that the form does not crack and burst in cold weather. You can start the pond after night temperatures rise above zero.
