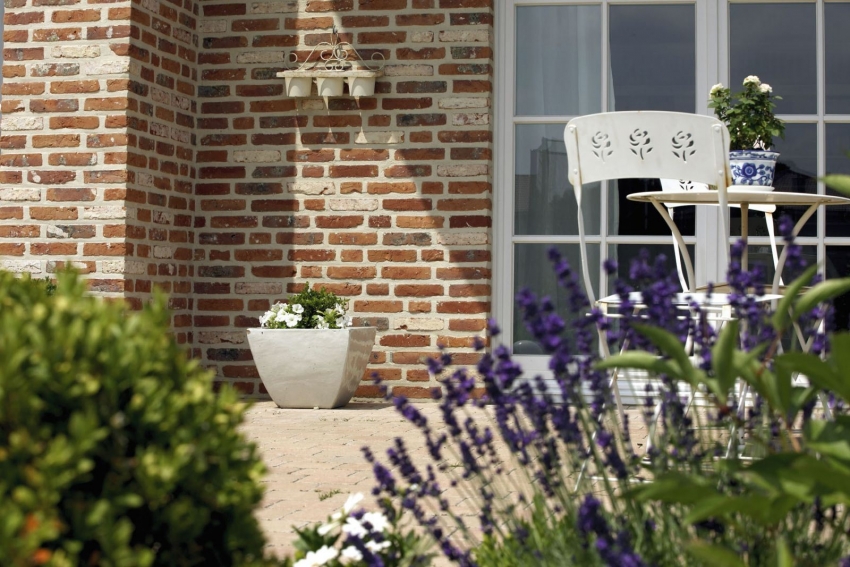
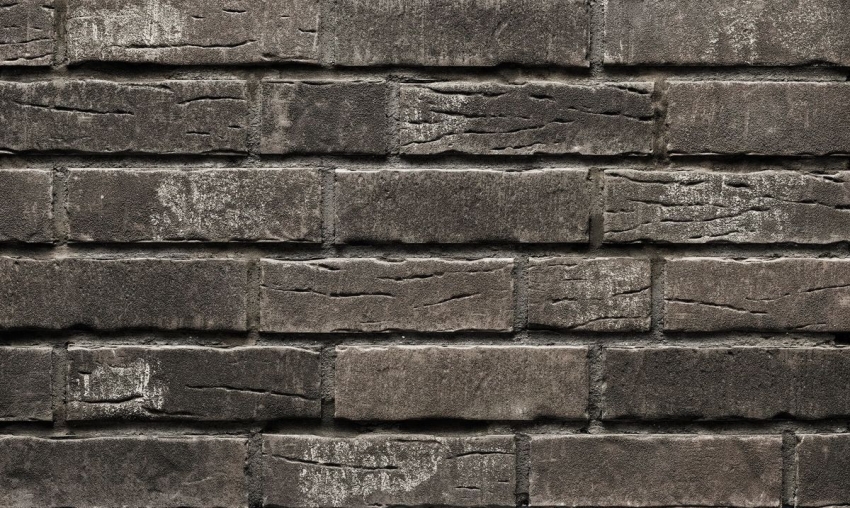
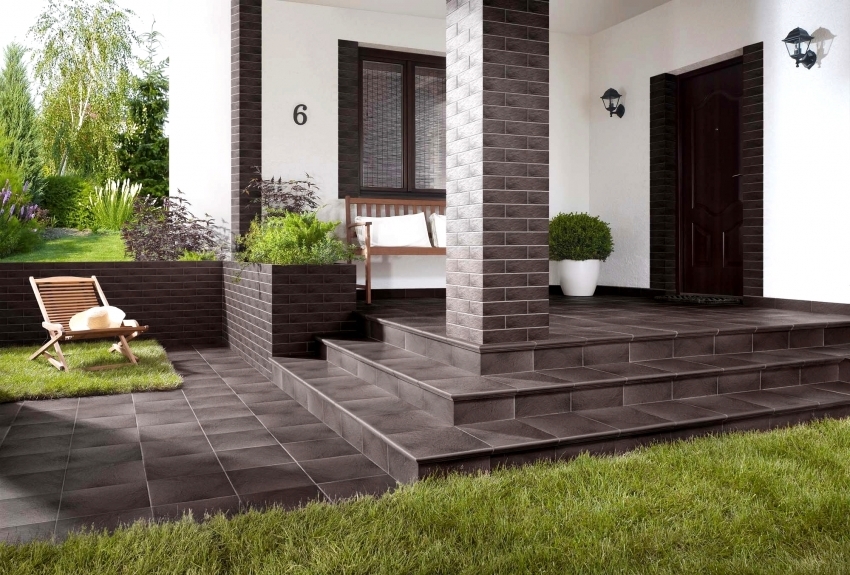
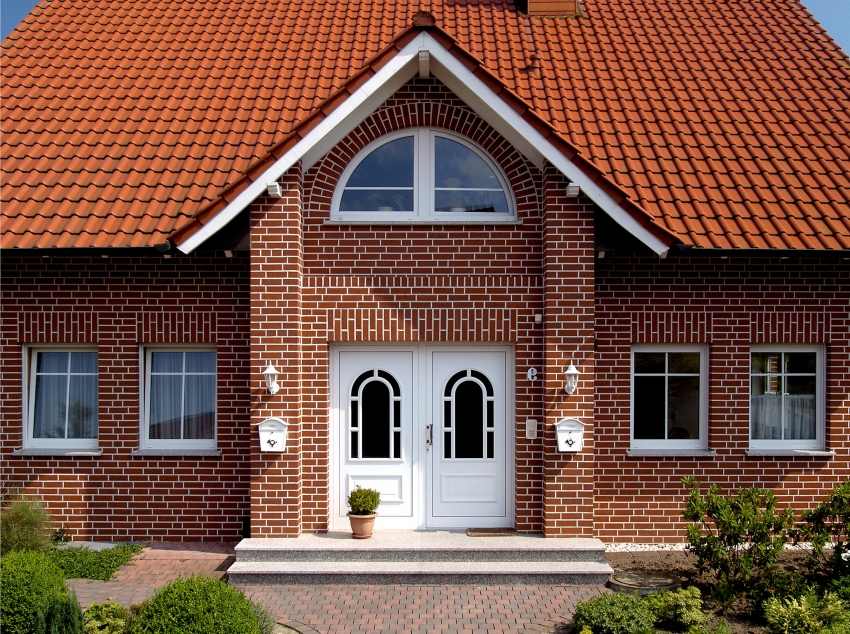
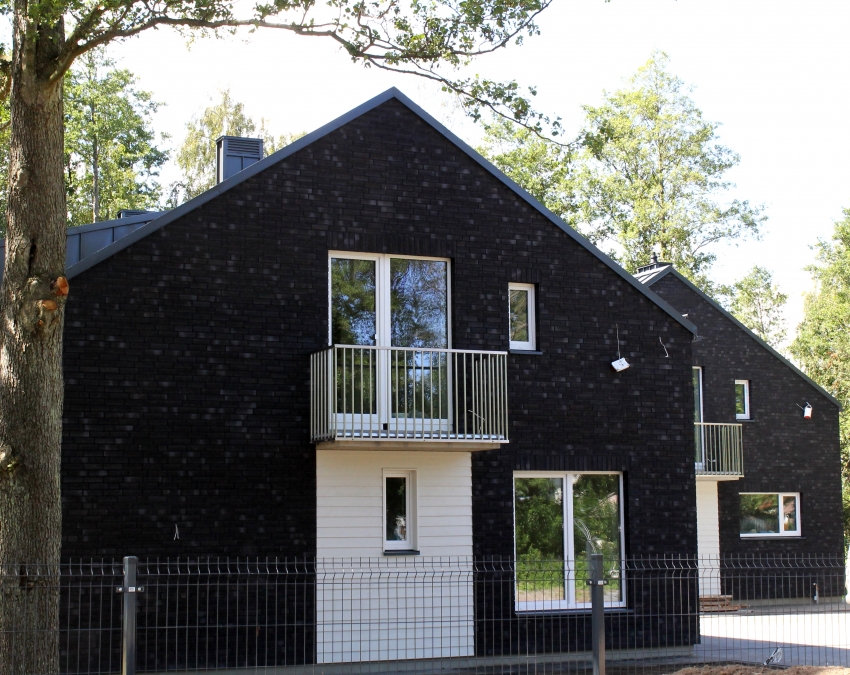
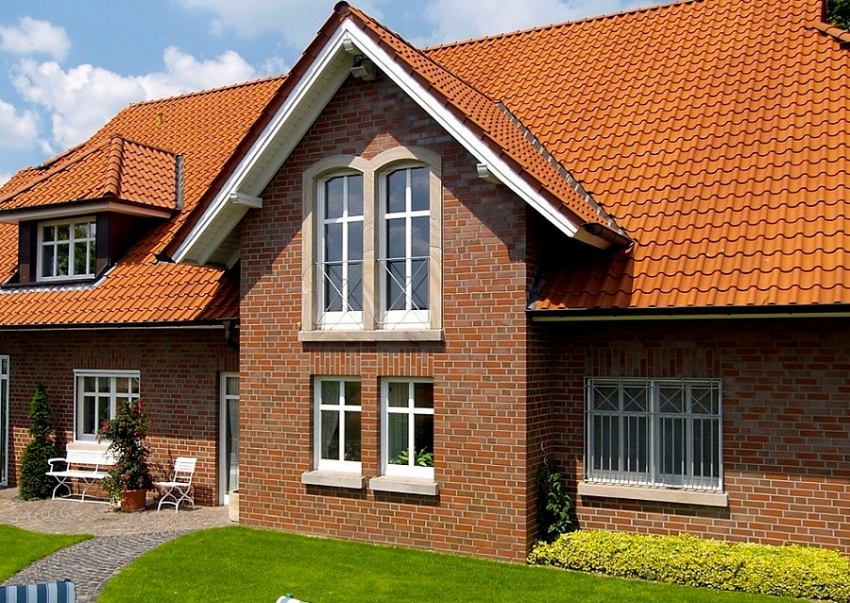
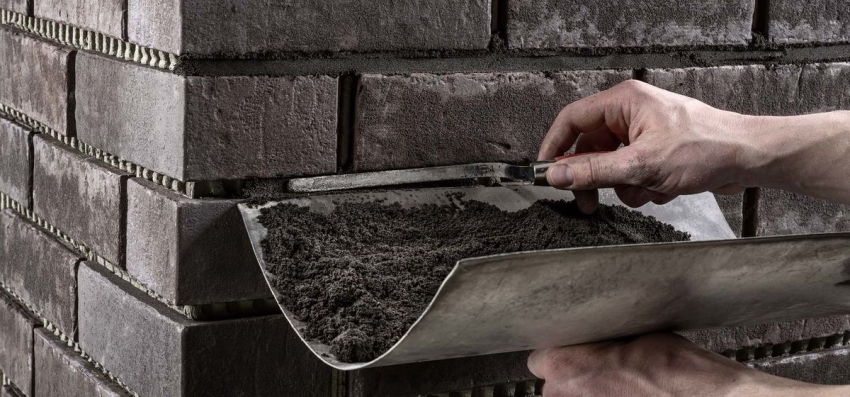
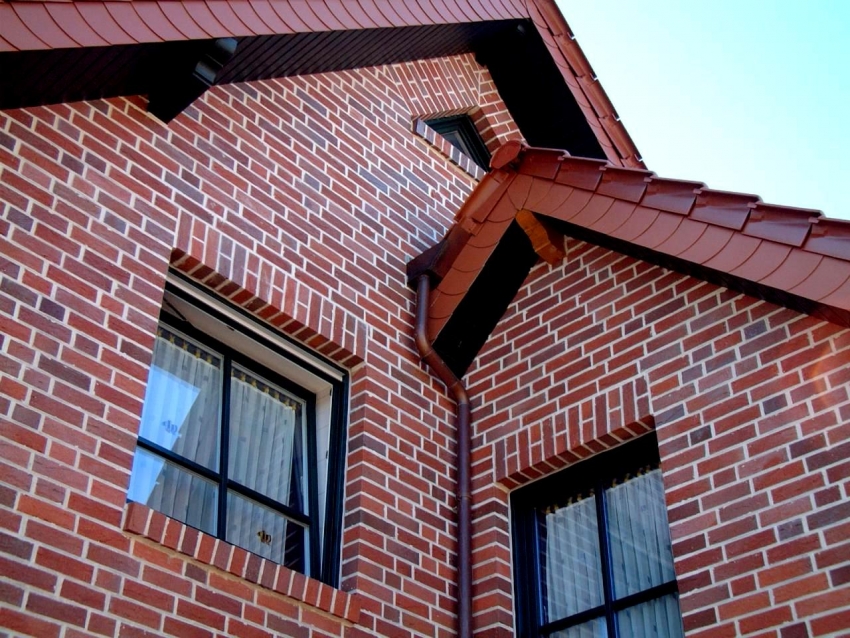
Among the variety of facing materials for the outer walls of the building, clinker tiles occupies an honorable leading position. This is due to the high performance of this material. Facade clinker tiles not only give the building a presentable look, but also protect its main walls from adverse environmental influences. You can learn more about a good alternative to brick cladding in this article.
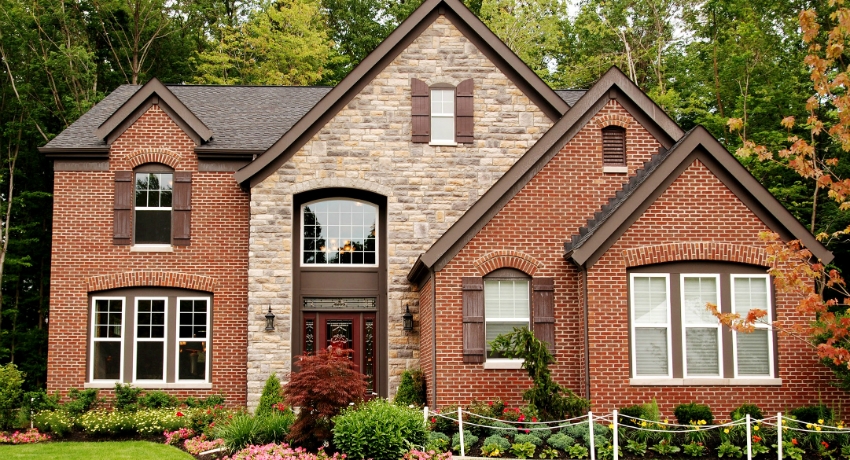
Clinker tiles are one of the most popular options building facades
Content [Hide]
- 1 What is clinker facade tiles
- 2 Scope of application of clinker tiles
- 3 Basic properties and parameters of clinker tiles
- 4 Recommendations for the selection of facade clinker tiles
- 5 Renowned manufacturers of façade clinker tiles: price per m2
- 6 Installation of clinker tiles for facades
- 7 Facade clinker panels
- 8 Facade thermal panels with clinker tiles: product price
What is clinker facade tiles
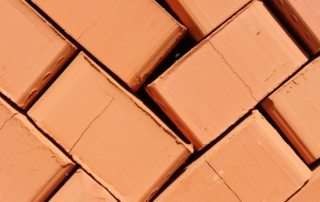
Clinker tiles are ceramic products made from shale clay, flux and coloring pigment. All this mass lends itself to single firing in a 150 m long tunnel kiln at a temperature of 1360 ° C. The procedure lasts until the product is completely baked. This technology makes it possible to obtain a durable facing material that does not have cavities and voids inside, and is highly resistant to external influences. In the production of tiles, production technology is strictly adhered to. In the event of the slightest failure, the material is deformed, which leads to a violation of the linear dimensions and a decrease in the quality of the finished product.
Useful advice! When choosing clinker tiles, preference should be given to reputable well-known manufacturing plants equipped with modern mechanisms and equipment, which have repeatedly confirmed the high quality of their products.
The main advantages of the material:
- long period of operation;
- due to the low degree of moisture absorption, the material is resistant to frost and sudden temperature changes;
- the level of mechanical strength of the tiles matches those of natural stone and porcelain stoneware;
- the low weight of the product allows the use of tiles on various buildings, regardless of the type of foundation;
- the material has increased resistance to aggressive environments;
- due to the uneven surface of the back side of the product, good adhesion to the base is ensured;
- the tile has a uniformly colored structure;
- tile belongs to environmentally friendly materials;
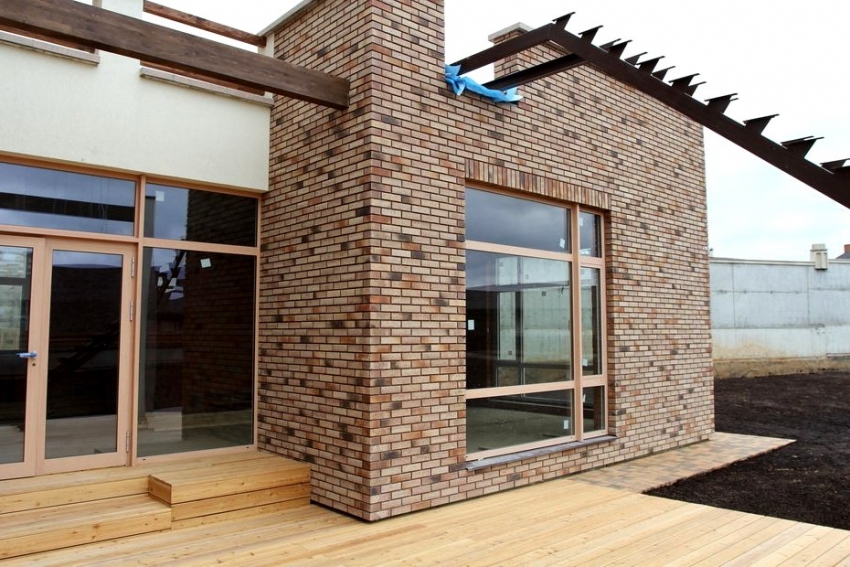
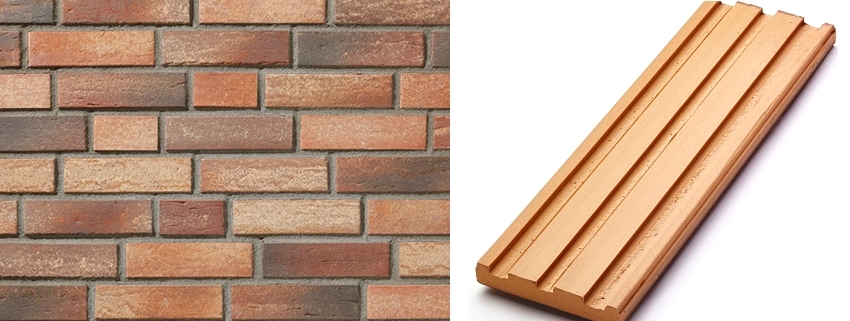
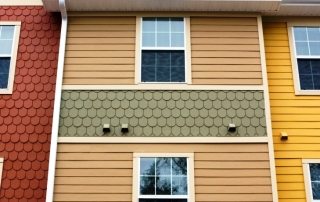
- the variety of textures and colors of clinker tiles (photos clearly demonstrate this) allows you to embody any design idea;
- convenient and simple installation of the product allows you to perform work in a short time without the involvement of specialists;
- practically no dust settles on the tile surface, which slows down the development of lichens and mosses. It does not require additional maintenance.
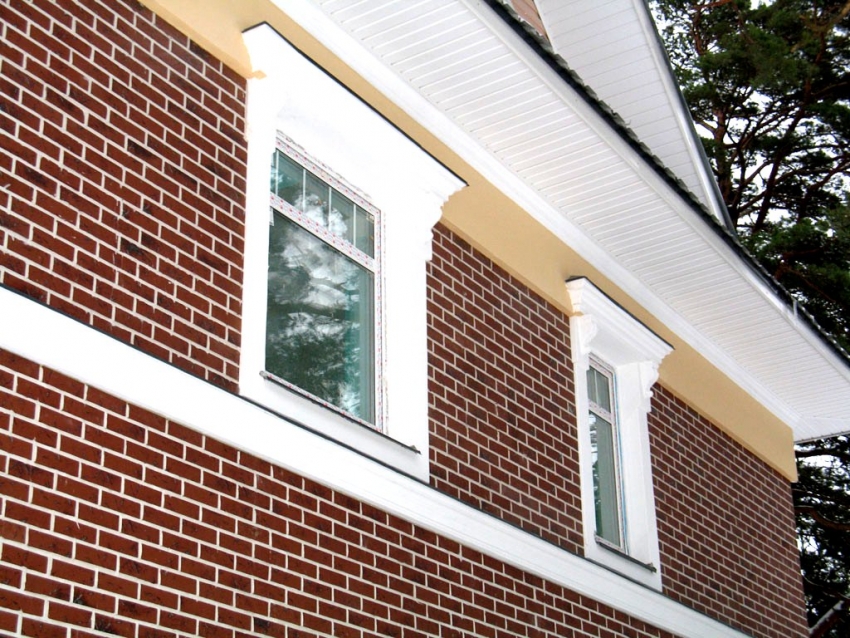
Depending on the design of the building, clinker tiles can be selected in the required color and shape
Disadvantages of facing tiles:
- the high cost of the material, due to the fact that the reserves of raw materials (shale clay) for its manufacture are limited;
- the material is quite brittle, with a sharp mechanical impact it can crack;
- chips are often formed at the cut points.
Scope of application of clinker tiles
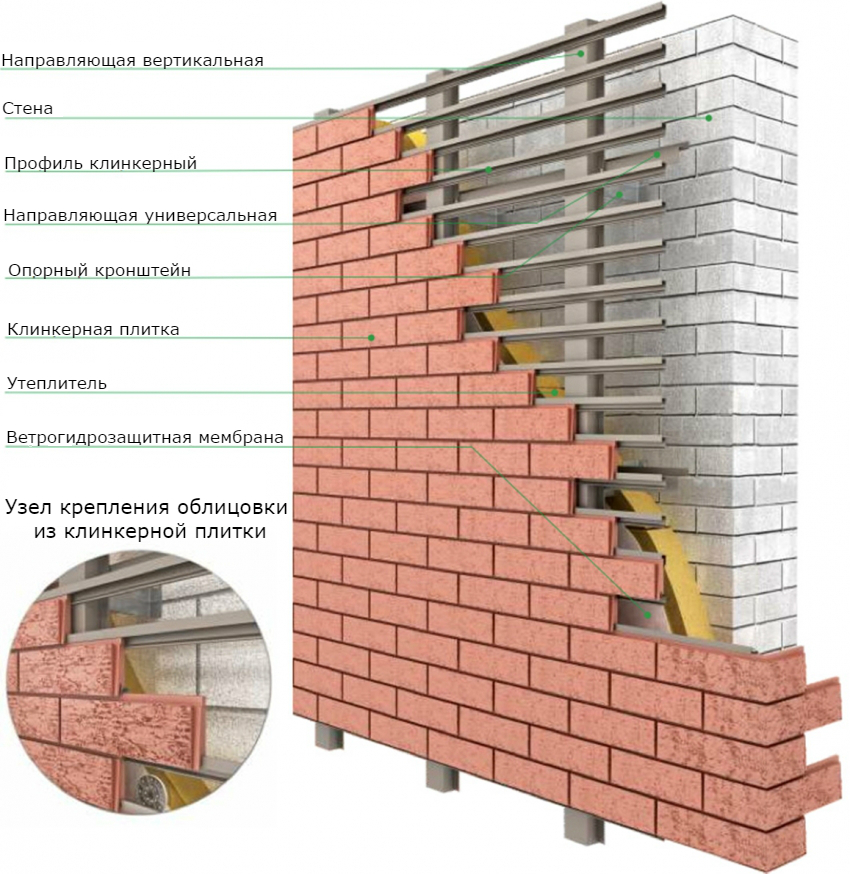
The material is widely used for house cladding. Clinker tiles, photos clearly demonstrate this, give a more aesthetic appearance to the structure and reliably protect it from external influences. The facing product can be used as a finishing of a leveled surface in order to create the effect of brickwork, or it can be a starting material for the manufacture of clinker panels and facade thermal panels. This allows you to expand the scope of the facing material to the insulation of walls and execution ventilated facade systems from clinker tiles.
The clinker can be used for finishing any buildings: concrete, stone, wood, prefabricated panel boards and others.
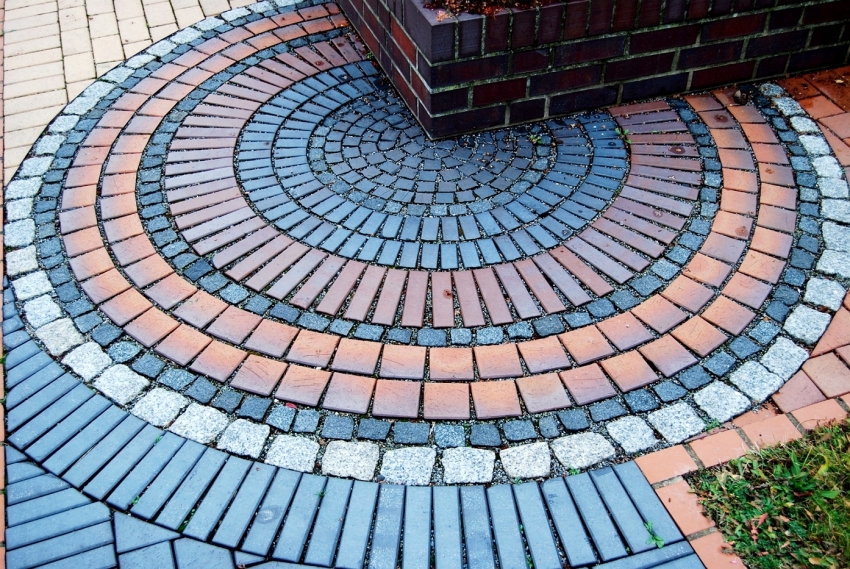
Due to its characteristics, clinker tiles can be used for base / plinth trim and paths
Clinker tiles are widely used for the construction of blind areas and ebb, for facing the plinth. Due to its high performance clinker can be used for laying floors on terraces and verandas, garden paths. With a low degree of water absorption, the tiles are ideal for cladding fountains, swimming pools and other decorative artificial reservoirs. Clinker tiles are not afraid of high temperatures, therefore they can be used to decorate fireplaces and stoves. Due to its mechanical strength and chemical resistance, it is often used for floor cladding in car repair shops and garages.
Basic properties and parameters of clinker tiles
Due to the fact that the clinker tile is an imitation of brickwork, its dimensions do not differ from the dimensions of the brick. The main parameter is the thickness of the product, which can be 5,7,12,13 and 17 mm. The most popular are products with a thickness of 5 and 7 mm.
The thickness of the tiles is selected based on the climatic conditions of the region. The more aggressive the weather factors of the area and the higher the urban smog, the thicker the clinker tiles should be for facing the building.
Useful advice!For finishing the facades of buildings that are located near a water body, thick tiles should be chosen.
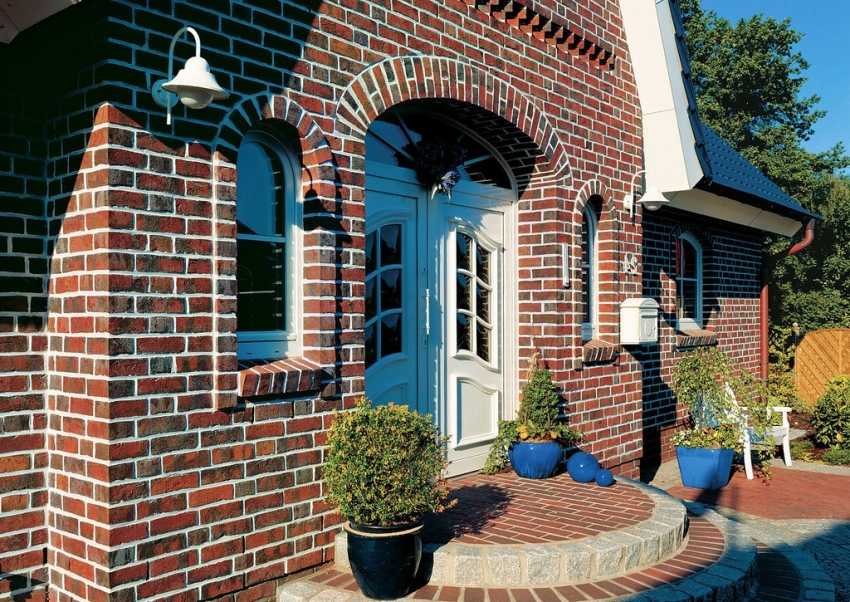
The standard size of clinker tiles is equal to the size of the usual facing brick
The standard linear dimensions of clinker tiles correspond to the dimensions of ordinary bricks and are equal to 115 × 240 mm. Manufacturers today produce several different product formats:
- L-NF is the longest tile with dimensions 295 x 71 x 15 mm. For cladding 1 m², 40 pieces are required;
- WF - medium-sized tiles with dimensions 215 × 65 × 15 mm (59 pieces per 1 m²);
- WDF is the smallest tile measuring 21 x 5 x 1.7 mm. (73 pieces per 1 m²).
European format clinker tiles have a total length of 240 mm and a thickness of 9-17 mm. Depending on the width of the product, there are:
- DF - tile width 52 mm (64 pieces per 1 m²);
- 2DF - product width 113 mm (32 pcs. Per 1 m²);
- NF - material width 71 mm (48 pcs. Per 1 m²);
- RF - product width 65 mm, 54 pcs. for 1 m²).
American format clinker tiles have the same thickness of 15 mm. The CS and MS modules are 193 mm long and the US, JS and NS modules are 295 mm long. The width of the facing material can be 57, 71 and 92 mm.Depending on the size of the tiles, the material consumption per 1 m² is 33-74 pcs.
Useful advice! For internal or external wall joints, it is better to choose corner joints that can give the building an even geometry and hide the mason's mistakes.
Clinker tiles for the facade of the house, the photos clearly demonstrate this, in terms of decorativeness, they are somewhat inferior to facing materials for interiors. Glazed products and ornamental elements are not used here. However, clinker has a different texture:
- smooth facade clinker tiles for bricks are the most popular among other types of textures. It is easy to clean and does not require additional maintenance;
- the embossed surface of the material can resemble not only a brick, but also copy the appearance of a wild, chipped, hewn stone, as can be seen in the photo of the facade decoration with clinker tiles of this type. The material requires additional care, since the embossed surface accumulates dust and dirt;
- tiles resembling aged bricks with imitation of chips, cracks and other temporary defects. Clinker cladding is often used for the restoration of ancient architectural structures.
Recommendations for the selection of facade clinker tiles
Before proceeding with the selection of facade clinker tiles, it is necessary to study its main characteristics.
First of all, you should pay attention to the cost of the product. The price of clinker tiles for the facade starts from 4 thousand rubles. per sq. m. This is due to the limited supply of raw materials for the manufacture of tiles and significant energy consumption associated with the technology of manufacturing the product. Therefore, you should not choose cheap material that will definitely be of dubious quality.
Preference should be given to time-tested foreign manufacturers that have been producing high-quality products for a long time. Unfortunately, the quality of clinker tiles produced by domestic manufacturers does not always meet regulatory requirements.
Despite the fact that facing the facade with clinker tiles with a complex texture will look more presentable, its maintenance will require additional costs, and the installation of such material will require a highly qualified master.
The color of the facade clinker tiles should be in harmony with the overall appearance of the building. This applies not only to design, but also to the architectural features of the building. Therefore, it will not be superfluous to consult a designer or architect here.
Simultaneously with the purchase of the facing material, an adhesive mixture and grout are purchased. Preference should be given to frost-resistant glue for clinker tiles, the price of which depends on the quality of the mixture.
Useful advice! Select an adhesive that can withstand at least 50 complete freeze-thaw cycles. For example, Ceresit CM 117.
Since this facing material is quite fragile, which can cause cracks as a result of mechanical stress, the grout for clinker tiles must necessarily compensate for all possible thermal expansion of the product. The color of the joint material should be in harmony with the tiles and emphasize the beauty of the cladding.
Renowned manufacturers of façade clinker tiles: price per m2
The most demanded area of clinker application is cladding of building facades. Today you can buy facade clinker tiles starting from 600 rubles / m². The best manufacturers of this material are German companies.
The worldwide brand Feldhaus Klinker has been producing clinker since 1857. Many years of experience, advanced technologies and technical knowledge allow us to produce high quality products. The company guarantees the strength, durability and reliability of the manufactured facing products of various formats, textures and colors. She offers a unique series of handicrafts that embody the uniqueness and personality of aged bricks. A photo of clinker tiles for the facade is a clear confirmation of this.
It is possible to buy clinker tiles for the Feldhaus Klinker facade starting from 1650 rubles / m² for a smooth product. Embossed tiles will cost 1,850 rubles / m², and clinker with the effect of aged bricks will cost about 2,200 rubles / m².
The German company Stroеher has been producing clinker tiles by the extrusion method for over 120 years. Thanks to this technology, it is possible to produce not only tiles, but also skirting boards, corners and borders. The company guarantees high quality, resistance to temperature changes and dimensional accuracy of its products.
It is possible to buy clinker tiles for a brick of the German production Stroеher from 1250 rubles / m². A clinker with a relief surface will cost 1750 rubles / m². Hand-molded products for old brickwork will cost 3400 rubles / m².
The family owned German company Roben specializes in the production of clinker tiles, floor tiles and roof tiles. An innovative approach, flexible pricing policy and increased attention to consumer needs have made the company's products popular not only in Germany, but also abroad. The minimum price per m2 of brick-like clinker tiles is 1350 rubles. Elite hand-molded clinker product will cost 2950 rubles / m².
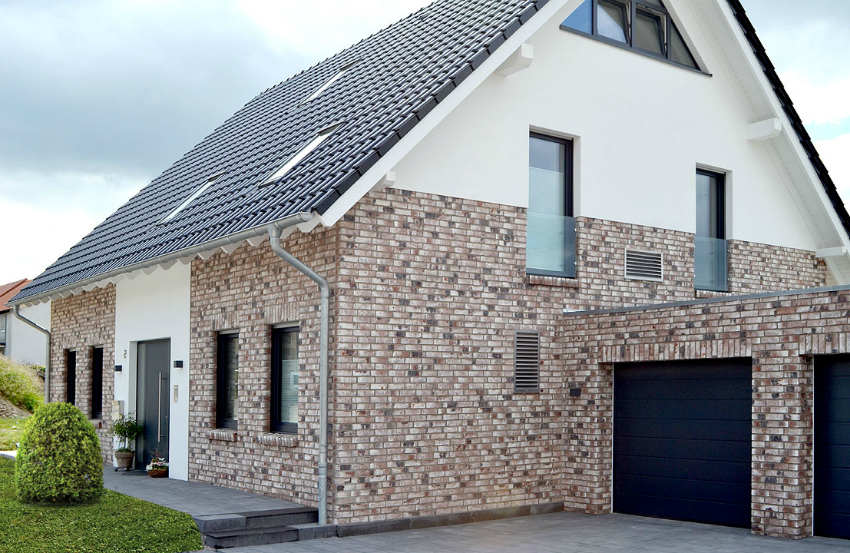
Clinker tiles from the Roben company are known for their wide range of colors, high quality, ease of installation and environmental friendliness of materials used in the production.
The Russian company Keralite produces high-quality ceramic facade tiles, including clinker ones. All products are made from natural materials on modern equipment using innovative technologies, which allows you to get tiles with high chemical, physical and strength indicators. The minimum price for Russian-made clinker tiles is 765 rubles / m².
The Polish company Cerrad, whose clinker tiles are known all over the world, were the first to use the dry forming method in the production of clinker products. This allows you to obtain a material similar to porcelain stoneware not only in appearance, but also in its distinctive resistance to mechanical stress and surface damage to the finished product. The manufacturer offers the lowest price for facade clinker tiles, which starts from 610 rubles / m² and does not exceed 950 rubles / m².
Related article:
How to insulate a house from the outside and with what? Insulation methods for external facades
Types of thermal insulation materials and their properties. Ways of insulating facades from the outside. Thermal insulation technology for wooden houses.
Installation of clinker tiles for facades
Facade decoration with clinker tiles is performed after all preparatory work related to leveling the walls and ensuring their solidity. All cracks, delamination, loose areas must be eliminated using reinforcing mixtures. Walls for future cladding should be leveled with plasters and impregnated with a primer. A slight difference in level is allowed, which should not exceed 2 mm per 1 sq. m. The surface for laying the clinker must be dry. It is not allowed to perform work in bad weather.
Useful advice!If the wall is made of reinforced concrete, it is necessary to create additional roughness for it so that the surface has high adhesion.To do this, you can apply a series of notches on the wall with a bush hammer, then prime the surface three times.
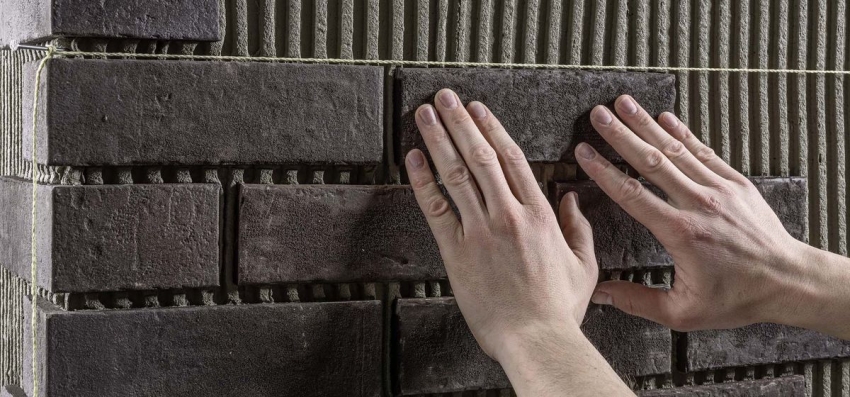
To achieve a perfectly even laying of clinker tiles, it is necessary to create a guide marking every 3-4 rows.
The next step is marking work. For this, a lighthouse row is located at the level of the abutment of the wall to the plinth. The bottom edge of a window opening or the top edge of a door is suitable as a beacon. The horizontalness of the cladding is checked by the building or water level. A metal profile is fixed along the line of the mark, which will act as a starting bar. This will prevent the bottom row from shifting under its own weight. Every 2-3 rows with a cord, you need to mark horizontal lines. The vertical is controlled using plumb lines.
Next, you should prepare an adhesive solution. For this, thin-layer dry glue without impurities is used, which is added to the required volume of water. Dry mixes Quick-Mix FX 900, Ceresit CM 17, Feldhaus Spezial Klebe are suitable for outdoor use. It is better not to use a cement-sand mixture. However, if you give her preference, then it is necessary to mix in a ratio of 4: 1 or 3: 1 sand and cement of the M500 or M400 brand, respectively.
Useful advice!The glue is able to maintain its properties for 20-30 minutes. Therefore, it should be prepared in small portions based on your own labor productivity.
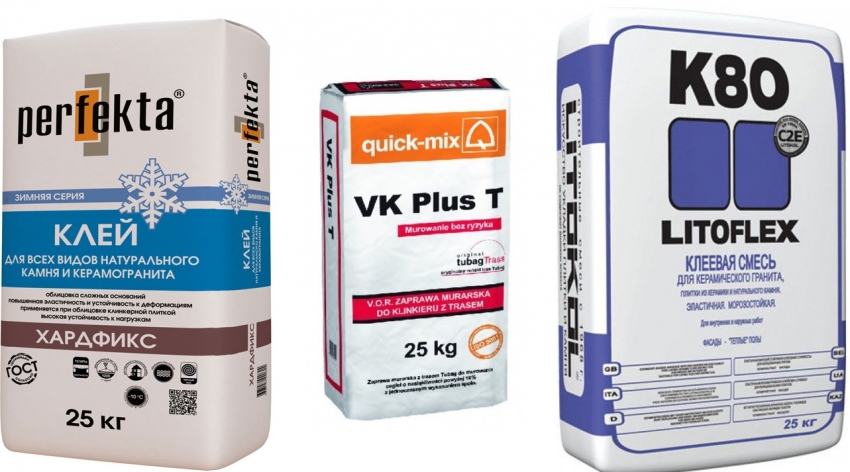
For facing external walls, it is necessary to use only special adhesive solutions, since they are plastic and frost-resistant
Now we proceed directly to the installation of the tiles. Laying should begin from the corner of the building, first fixing the corner element. To do this, use a notched trowel to cover the base with a layer of glue. The thickness of the mixture to be applied is approximately equal to the thickness of the tiles. Each new piece of cladding is pressed against the wall and sealed with a mallet. Excess adhesive, squeezed out into the inter-seam space, is removed. To ensure uniform gaps between the tiles (10-14 mm), you should install mounting crosses or a round rod with a diameter of 6-8 mm. The horizontal and vertical position must be checked every 2-3 rows.
Useful advice!The tiles can be pre-soaked in water for a few minutes. This procedure will eliminate the drawing of moisture from the adhesive.
There are two options for installing clinker tiles. The first involves laying the material along the entire length of the wall. According to the second option, it is necessary to lay tiles in 3-4 rows in small areas. The chosen installation method depends on the practical skills of the installer. If there is a need to attract a master for facing the facade with clinker tiles, the price of the service per sq. m. will be about 300 rubles.
The final stage of the installation work is the grouting of the joints of the clinker tiles, which is carried out using a special pistol or rubber trowel. There are three types of grouting material: a mixture for semi-dry application, with plasticizers and applied to the entire lining.
The first grout for outdoor clinker tiles is suitable for rough treated stone or aged bricks. The mixture is diluted with water to a consistency so that the substance does not crumble in the fist. The rough texture makes this grout difficult to apply. It is especially difficult to control the filling depth. This mixture is available in two colors.
To apply the second option of grouting, a special gun is used, which evenly fills the inter-tile space. The rest of the mixture after drying is cut off. The disadvantage of such a grouting material is its high cost.
The third option is ideal for smooth tiles. It is evenly applied not only to the seams, but also to the facing material itself. After the composition has completely dried, all excess is removed.
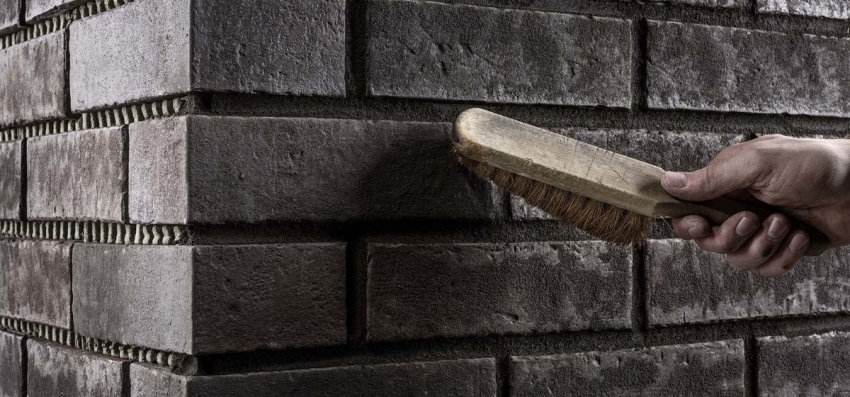
After the grout has completely dried, the tiles can be treated with a dry hard brush to remove the remaining mixture.
Useful advice! It is better to choose the same manufacturer for glue and grout. In this case, maximum material compatibility can be achieved.
Facade clinker panels
The undeniable advantages of clinker tiles make this material ideal for cladding buildings. However, it takes a lot of time to complete the work. How to finish clinker finishing in the shortest possible time, without additional costs and loss of quality? An ideally reasonable solution is to use panels with clinker tiles without insulation or thermal panels.
Despite the distinctive advantages of facing materials with an insulating layer, there is simply no need to use thermal panels for certain buildings. This applies to frame houses, prefabricated panel buildings, where an insulation layer is already provided. This category includes buildings that are created using the technology of permanent EPPS formwork. It is also impractical to use thermal panels for arranging a ventilated facade system. There are also architectural structures for which thermal insulation works are not provided. These are garages, outbuildings, gazebos, stone fences.
A clinker non-insulated panel is a durable, bend-resistant sheet material, on which rows of clinker tiles are firmly fixed with the help of glue or other technology at a certain distance to create the illusion of real brickwork. The front part of the facade panel is created in such a way that each next sheet is a continuation of the previous one. In free areas and between the rows, special washers or brackets are provided for fixing the panels to the wall.
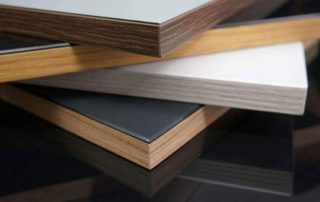
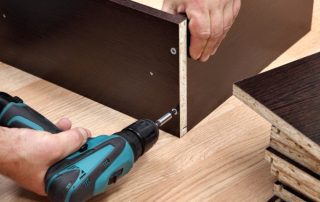
As a base-substrate for clinker tiles, fiber cement, oriented strand or glass-magnesite plates.
Oriented strand boards are made from wood chips with the addition of epoxy resins using pressing technology. They have a homogeneous structure, high strength, moisture resistance, good heat and sound insulation performance. Their own weight is insignificant, which does not make the prefabricated structure heavier.
The clinker tiles are attached to the panels with polyurethane glue, which provides a good monolithic adhesion.
The basis of the composition for fiber cement panels are synthetic (fiberglass, polymer) or natural fibers. The mortar mixture lends itself to shaping and processing under the influence of high temperatures and high pressure in special autoclaves, where the necessary polymerization and crystallization of the components is achieved. At the production stage, clinker tiles are pressed into the fiber cement board. The result is a secure, firm adhesion of the two layers.
These panels are environmentally friendly, durable, high strength indicators. However, they have a significant drawback: their weight is greater than that of analogs, which complicates installation work. The fiber cement slab itself, 10 mm thick, weighs 10 kg, plus clinker tiles, which, depending on the thickness of the product, add another 15-20 kg.
Plates are mounted using metal brackets on anchors. Therefore, they are used for walls that can withstand significant loads. The approximate cost of such panels, depending on the manufacturer and the type of clinker, is 1900-2500 rubles / m², which does not exceed the price of clinker tiles for brick, but greatly facilitates the installation work.
The basis for the glass-magnesite plates is a composite sheet with a thickness of 8 mm.It is highly resistant to chemicals, temperature extremes, and ultraviolet light. The material has good thermal insulation properties, has a high sound absorption coefficient.
The main advantage of the panels, which allows them to be used for finishing not perfectly flat surfaces, is the good flexibility of the product.
Today there is no single standard for the production of panels with clinker tiles on a magnesia glass basis. Each manufacturer produces its own range of facing products. The average price of a product is 2800 rubles / m².
Useful advice! You can place an individual order for the production of a clinker panel of a certain pattern with a mosaic layout of tiles of different textures and colors.
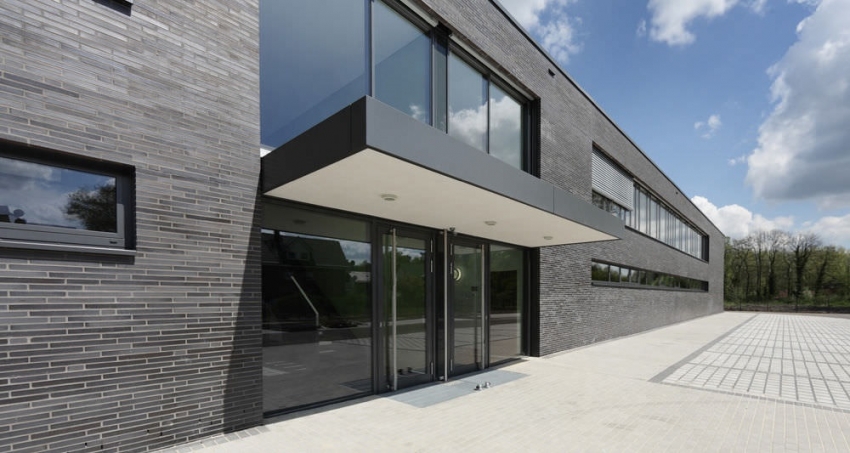
Clinker panels can be made of non-standard size and shape, but it is worth considering that the cost of such an order will be high
Facade thermal panels with clinker tiles: product price
When you have to solve the question: how to perform insulation and facade cladding at the same time, a new generation material comes to the rescue - thermal panels with clinker tiles, which can be bought starting from 1250 rubles / m².
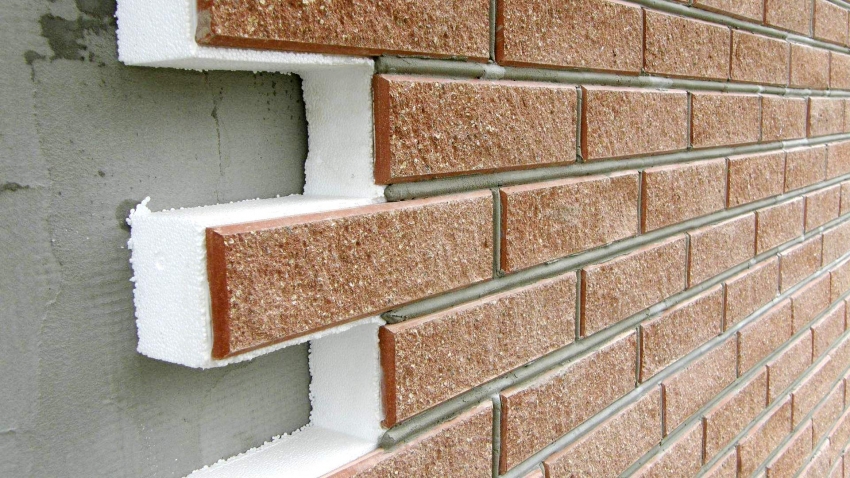
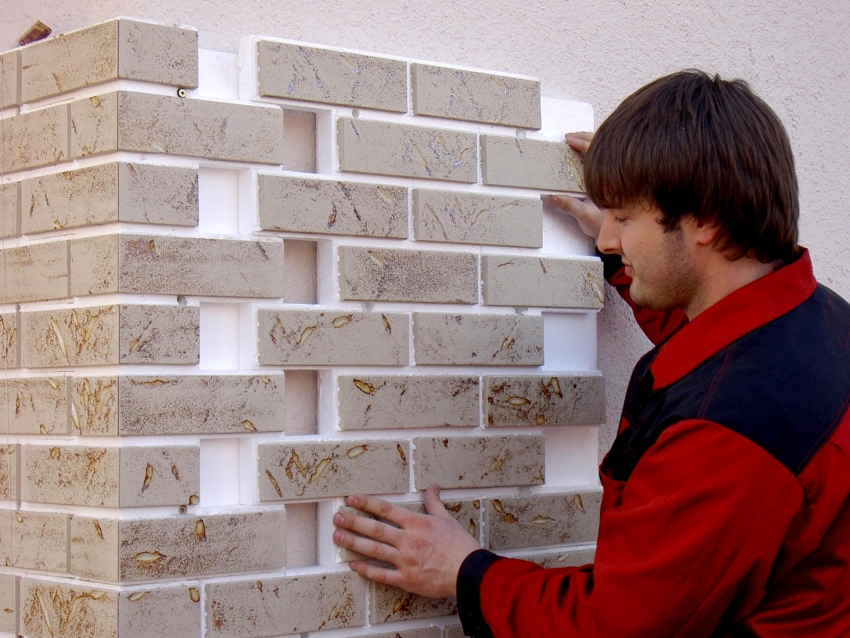
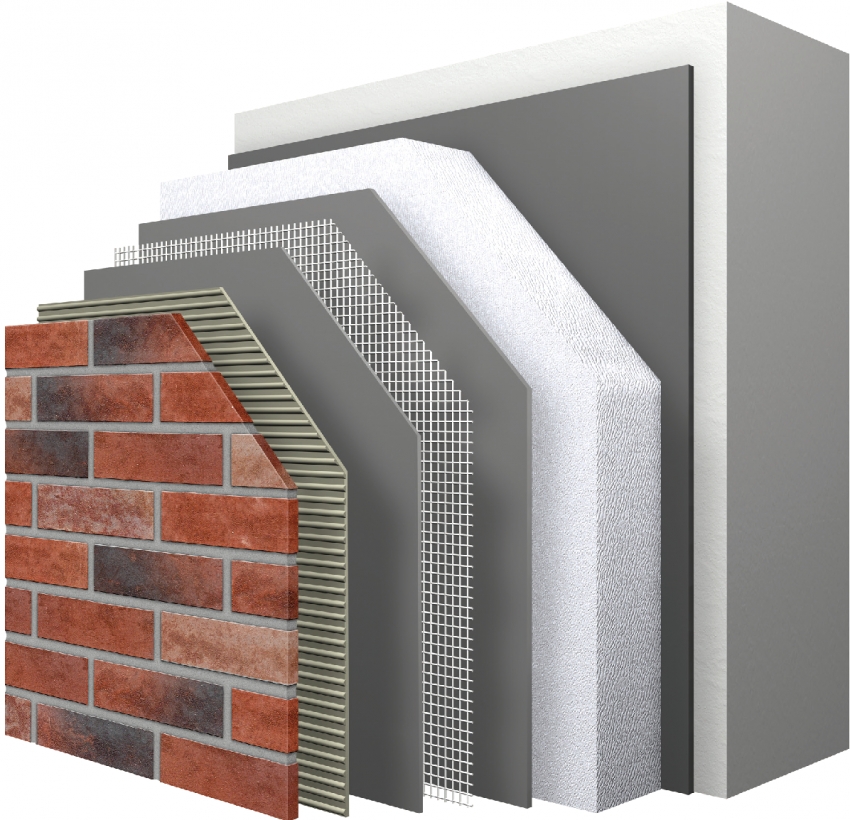
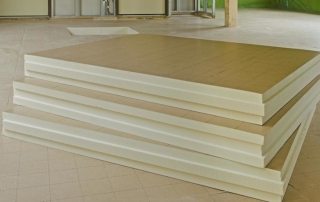
This facing material is a two-layer element, which consists of a layer of heat insulator and clinker tiles. Polyurethane foam, expanded polystyrene or mineral wool can act as a heat insulator. The thickness of the insulating layer is 30-100 mm.
Polyurethane foam has a number of indisputable advantages, which makes this material the most demanded as a building insulation. His thermal conductivity is equal to 0.020 W / (m × C), the density of the material is 20 kg / m³. Polyurethane foam is highly resistant to aggressive environments and does not rot.
Installation of panels is carried out spike in groove, which provides high rigidity and increased resistance to wind.
Material advantages:
- the use of insulated panels can reduce the cost of heating the building by 50%;
- facing material allows you to bring the dew point outside the building, which extends its service life;
- the cladding has mechanical strength, frost resistance, moisture resistance and fire resistance;
- easy installation without the use of additional materials;
- due to the solid dimensions of the panels, the number of seams is reduced, which reduces the number of cold bridges;
- a variety of textures and colors allows you to recreate the unique decorative design of the building;
- long service life of the facing material, which can reach up to 100 years.
Disadvantages:
- the thermal panel has a low level of flexibility, which allows it to be mounted only on a perfectly flat wall;
- high cost of the product.
Varieties of thermal panels with clinker tiles
Today there are several varieties of this facing material, which are classified based on the distinctive features of the product.
Depending on the location, the thermal panels are divided into two groups:
- basement - thermal panels, small in linear dimensions, with a large thickness;
- front - thermal panels of large sizes.
One of the following materials can be used as insulation for panels:
- polyurethane foam is able to withstand temperatures up to 180 ° C. It is a moisture resistant material that does not shrink.
- extruded polystyrene foam has good thermal insulation properties, but shrinks, which accelerates the process of destruction of the finish. Fastened exclusively as a "dovetail". The material can withstand temperatures up to 60 ° C;
- mineral wool is rarely used. The material is afraid of moisture, which requires additional waterproofing.
Depending on the structure of the structure, panels with insulation are divided into:
- two-layer panels consist of an insulating layer and clinker;
- three-layer panels have an additional backing made of moisture-resistant OSB board, which gives it additional rigidity and increases the service life of the product;
- four-layer thermal panels have a refractory backing between the insulation and OSB.
For attaching clinker tiles to a layer of insulation, the following technique can be used:
- pressing is suitable for polyurethane foam. Clinker tiles fit into a mold, which is poured with foamed polymer and kept under pressure until the insulation completely solidifies;
- adhesive joint is used for expanded polystyrene. The insulation panel is made with grooves for future tiles, which is fixed in their cavity with glue. The product is kept under pressure until fully set. This is a cheap but not very reliable method;
- "Dovetail" is used for expanded polystyrene. The clinker is made with a trapezoidal groove where the polymer is pressed in. This is the most expensive type of installation.
Product dimensions and weight
The insulation itself has a low weight, which cannot be said about clinker tiles. However, due to the large area of the thermal panel, which makes it possible to evenly distribute the total weight, the cladding does not bear a special load on the wall.
If thermal panels are used exclusively to give the facade of a building a respectable look, then panels with an insulation thickness of 30-40 mm are used, and to create good thermal insulation, it is necessary to use products with a thickness of 60-100 mm. To this value, add a clinker thickness of 8-12 mm.
The linear dimensions of the thermal panel depend on their place of application:
- 1000 × 700 mm, 1590 × 589 mm, 1145 × 670 mm, 1140 × 690 mm are used for facade cladding;
- 302 × 148 mm and 950 × 650 mm are used for plinth cladding;
- 670 × 645 mm are additional elements;
- 240 and 240 × 670 mm, 245 and 25 × 650 (angle values on both sides) have corner panels.
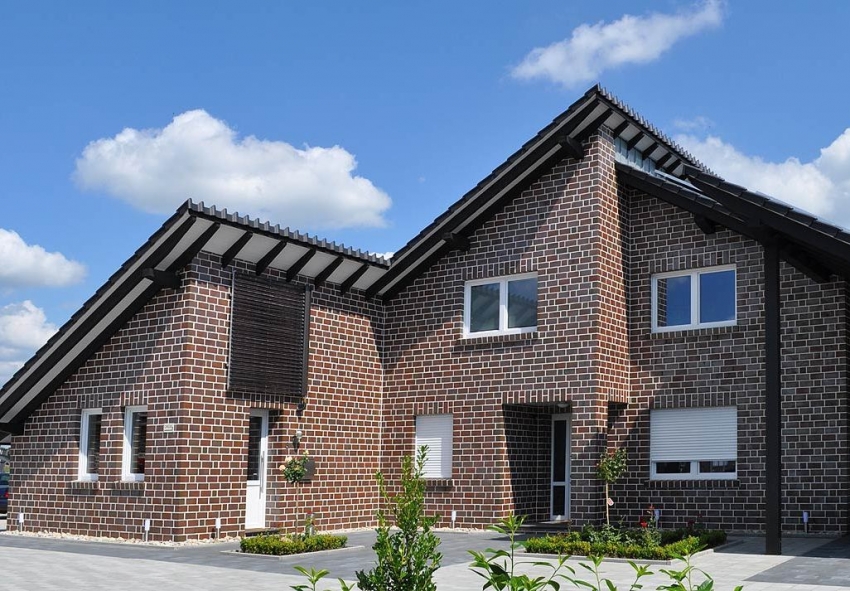
Beautiful decoration of the facade of the building using clinker tiles from the Polish company Cerrad
Clinker thermal panels for the facade: material price and installation cost
The price of clinker tiles for a facade with insulation depends on the manufacturer of the material, the thickness and type of insulation layer, the type of clinker tiles. The most popular are products from KamphaTherm (Germany), "Regent" (Russia), "Cerrad" (Poland), NEVATERM (Russia), Stroeher (Germany).
So, the minimum cost of 1 sq. m. products based on expanded polystyrene of the Russian manufacturer "Regent" will cost 1250 rubles, Polish - 1750 rubles. It is possible to buy front thermal panels with clinker tiles from the German company KamphaTherm from 1900 rubles / m².
If polyurethane foam is used as a heater, then the price of a thermal panel with clinker tiles will start at 2800 rubles. per sq. m. from the NEVATERM company. If hand-molded tiles are used, then the cost will increase to 3200 rubles / m². The cost of products from German companies will start at 3000 rubles / m².
The cost of installation work using thermal panels varies between 490-550 rubles. for 1 m². If additional work is expected, then 300 rubles / m² for installing the frame, 400 rubles / m² for grouting and 750 rubles / m² for installing a drainage system should be added to this figure.
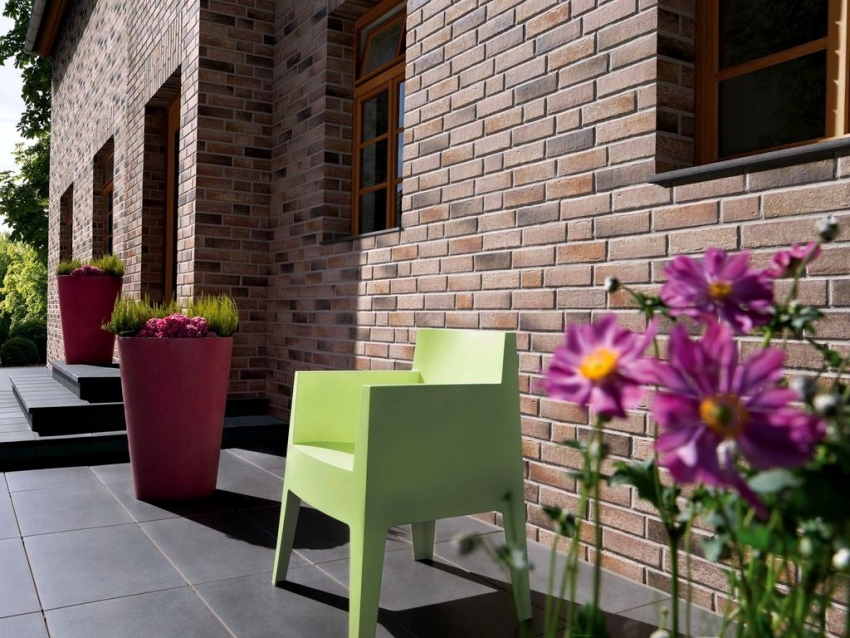
Subject to all the rules and recommendations for facing the facade of the building, the service life of clinker tiles can reach up to 100 years
Stages of installation of thermal panels with clinker tiles: video instruction
Before proceeding with the installation of thermal panels, it is necessary to achieve a perfectly flat wall.
Useful advice! To avoid the troublesome work associated with leveling the walls, you can create a frame on the surface of the base in the form of a metal or wooden crate.
Despite the tangible weight of the thermal panels, the shape and mechanism of its joining allow quick and easy installation of the product, which consists of the following stages:
- At the bottom of a perfectly flat wall, a starting bar in the form of an aluminum profile is installed.
- The second strip is attached to the height of the future cladding.
- Installation starts with corner panels from the left corner.
- The first panel is inserted into the aluminum profile and secured with self-tapping screws or screws.
- A sealant or polyurethane foam is applied to the panel spike and the next thermal panel is inserted into the starting plate.
- Installation of the next row begins after the previous one is completely laid.
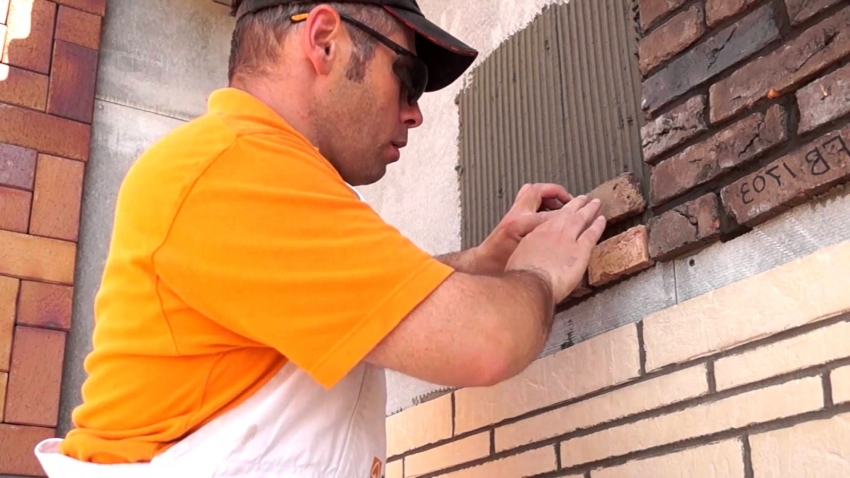
If different types of clinker tiles or artificial stone are used, it is better to involve a specialist in the work.
Useful advice! The seams between the plates can be additionally treated with special mixtures that will protect the insulation from moisture penetration.
Thanks to numerous positive reviews, facade thermal panels with clinker tiles occupy a leading position among facing materials that are not only able to give the structure a creative and presentable look, but also create additional insulation for the walls, which will provide additional comfort for the owners of the building.
