In this article, you will learn how to properly lay the laminate on a concrete floor with a substrate, with a step-by-step consideration of each of the stages of this technology: learn how to choose the coating material, prepare the base for further work, determine which flooring is suitable as a substrate and install the floor covering. In addition, the possibility of installing a system of underfloor heating under the laminate will be considered.
Content [Hide]
- 1 The technology of laying laminate on a concrete floor: preparation for work
- 1.1 Installation of laminate on a concrete floor: how to properly lay and select material for work
- 1.2 Laminate on a concrete floor: how to properly lay different types of material
- 1.3 Preparation of the base for the installation of laminate: whether it is necessary to put the film under the covering
- 1.4 Installation of laminate on a concrete floor: what to lay under the cover
- 1.5 Artificial types of substrates for a laminate on a concrete floor
- 2 Laying laminate flooring on a backed concrete floor: preparing the substrate
- 2.1 How to level a concrete floor under a laminate: surface preparation and cleaning
- 2.2 How to level the floor under the laminate with a double concrete screed
- 2.3 Proportions for self-leveling floor under the laminate (double screed)
- 2.4 Calculation of the amount of materials for self-leveling floors under the laminate, how much the surface dries
- 2.5 Preparing a floor for a laminate with your own hands: video, the use of a self-leveling mixture
- 2.6 Preparing the floor for laminate: leveling with plywood sheets
- 2.7 How to lay laminate flooring on a concrete floor using wooden battens
- 3 Laminate flooring: how to properly lay the substrate and lay the panels
The technology of laying laminate on a concrete floor: preparation for work
Installation of laminate flooring is carried out in several stages. First, the selection of materials and tools is performed, and the base is prepared. Subsequently, the substrate is laid and the laminate panels are installed.
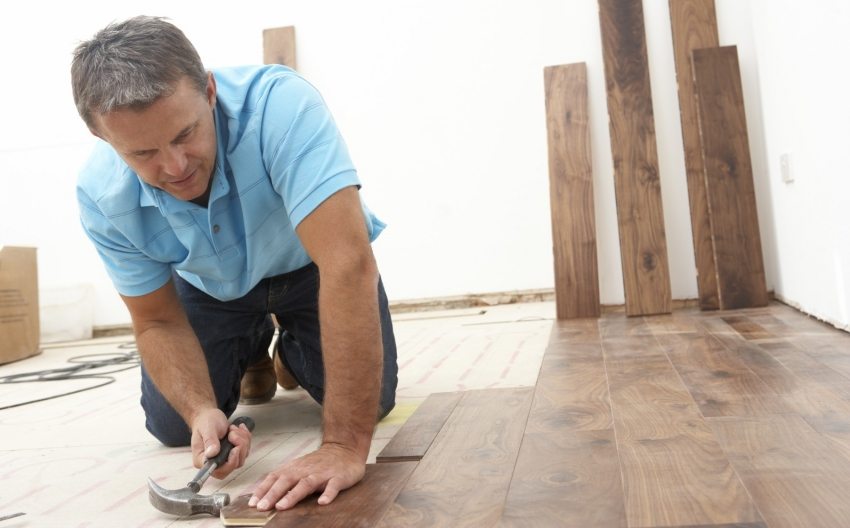
Laminate laying technology has its own characteristics, starting with the preparation of the foundation and ending with the final design
As a rule, it takes about 5-15 days to prepare the substrate, depending on the preparation method and the materials used in the work. For laying substrates, as well as direct installation of the coating, it will take from 1 to 3 days. The duration of the work depends not only on the size of the treated room, but also on the qualifications of the specialists.
Note! Laminate, as a versatile material, can be mounted on almost any base, but only a concrete floor can provide durability.
Laminate flooring offers many advantages:
- simple installation system;
- neat and even surface;
- long service life of the coating;
- ease of care and cleaning;
- hygiene;
- a certain level of insulation;
- excellent decorative properties (the material imitates a natural wooden surface).
Installation of laminate on a concrete floor: how to properly lay and select material for work
In order to choose a method of preparing the base and start performing these works, you should decide in advance on the type of material for the coating. The technical and operational characteristics of the laminate largely determine the further technology.
The general classification includes the following types (classes) of material:
- 21 - coating for residential premises with a low level of loads on the floor surface, these include children's rooms and bedrooms;
- 22 - flooring for rooms with an average load index, for example, living room, dining room;
- 23 - floor coverings in residential premises with a sufficiently high traffic, for example, a kitchen, an entrance hall, a corridor;
- 31 - covering for office premises with low traffic, this category includes meeting rooms, offices;
- 32 — Commercial coverings for rooms with medium traffic, such as offices with multiple work stations or reception rooms;
- 33 - floor coverings in rooms with very high traffic, the scope of laminate flooring extends to public places, for example, shops, shopping centers, banks, halls, libraries and schools, etc.
Helpful advice! When choosing laminated panels, be guided by the marking in the form of numbers. For example, a "2" at the beginning of a number will tell you that there is a floor covering in front of you. For office rooms and other areas with high floor loads, it is necessary to purchase a commercial type of laminate marked with the number “3”.
Do not purchase commercial type coatings for residential use and vice versa. Laminate with a high level of durability in rooms with low traffic will be a waste of money. While the material intended for installation in living rooms will very quickly become unusable if you put it in the office.
Laminate on a concrete floor: how to properly lay different types of material
The laminated panel consists of several layers. Laminate can have a base of different materials, due to which its physical properties are determined, there are coating options on sale and without it. As a result, the type of basis or its absence affects the preparatory work and the technology as a whole.
There are several types of moisture resistant material. In each case, special requirements are put forward for the installation of the coating:
| Base of moisture resistant material | Coating features | Base requirements | Panel thickness, mm | Service life, years | Additional recommendations |
| Particleboard / MDF
(material on a rigid base) |
The surface can withstand wet cleaning, puddles of spilled water | Installation on a concrete floor with a pre-installed substrate | 5-10 | 3-5 | Scope of application: nurseries, living rooms, bedrooms, hallways. Not recommended for use in bathrooms and toilets |
| Composite laminate with ethylene vinyl acetate bottom layer | The surface is able to withstand high levels of humidity, just like in a bathroom | Smooth concrete surface with thermal insulation | 5-9 | 10-14 | The scope of application extends not only to the bathroom, but also to the hallway |
| Flexible laminate (material without a rigid backing) | The surface is able to withstand high levels of humidity, just like in a bathroom | Perfectly flat surface (concrete floor leveled with plywood) | 4-9 | 15-20 | Can be installed on a linoleum or ceramic tile covering over a concrete base |
Helpful advice! Flexible or vinyl laminate can be installed on a cement floor.Most of these coatings have an adhesive base, so if you intend to install on a cement base, you should purchase a material without an adhesive layer. In this case, a special adhesive is used to fix the panels.
Preparation of the base for the installation of laminate: whether it is necessary to put the film under the covering
According to the installation technology, between the laminate flooring and the concrete base there is substrate, as well as a film layer. Often, those who do the installation of the lamellas on their own wonder whether a film is needed under the laminate or whether it will be enough to be limited to one substrate.
Experts recommend not to omit this stage of work and to line the film covering on the prepared floor, so you should calculate in advance the required amount of material and purchase it.
A preliminary calculation of the material can be performed based on the requirements of technology for the formation of a vapor barrier layer. Plastic wrap is sold in rolls and overlapped to eliminate gaps between strips. For this, the sections of the vapor barrier are laid with an overlap of 10-20 cm on top of each other. The film coating should cover the wall surface by about 2-3 cm.
Be sure to thoroughly clean and vacuum the subfloor before installing the foil under your laminate flooring. The laid material at the joints is fixed with each other using special tape. The use of a vapor barrier eliminates the possibility of condensation, which forms on the concrete surface, from penetrating into the laminate.
Installation of laminate on a concrete floor: what to lay under the cover
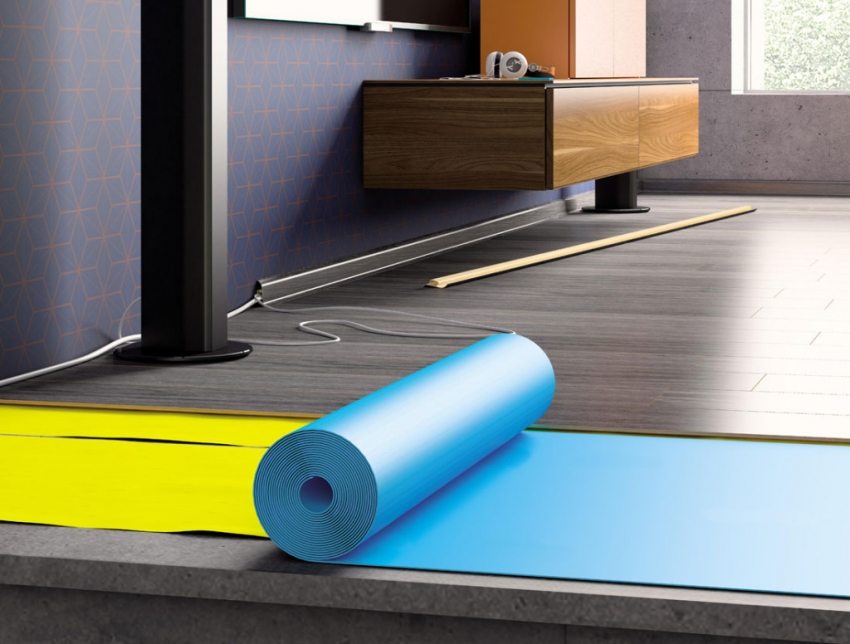
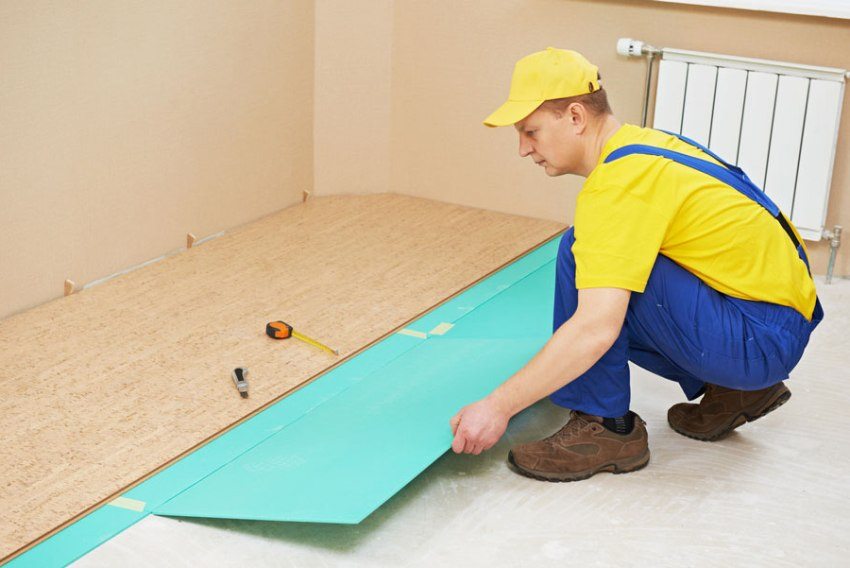
To ensure a high-quality result, a special substrate is placed under the coating. The modern range offers dozens of materials with different characteristics specifically for these purposes.
Conventionally, substrates laid under a laminated flooring on a concrete floor are divided into two categories: materials of natural and artificial origin. Most of the substrate materials are available in rolls, but sheet varieties are also available.
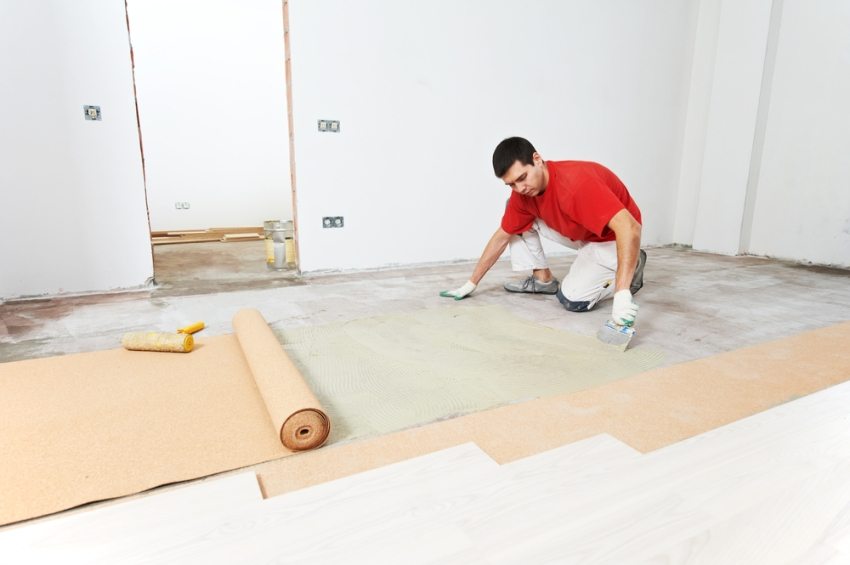
Cork is a natural material. This type of substrate can be sold in sheet or roll form. The thickness of the products is 2-4 mm.
Helpful advice! Use this type of underlayment with a cork laminate. Thus, you can achieve improved sound and thermal insulation of the room.
Cork has some disadvantages. For its installation, a perfectly flat base surface is required, as well as the use of a dense polyethylene film as a vapor barrier. In addition, the concrete floor must be very well cleaned up to vacuuming, so that even small particles of debris and dust do not remain on the surface.
After high-quality preparation, the cork substrate fits perfectly on any type of substrate, it greatly simplifies the process of installing the laminate.
Artificial types of substrates for a laminate on a concrete floor
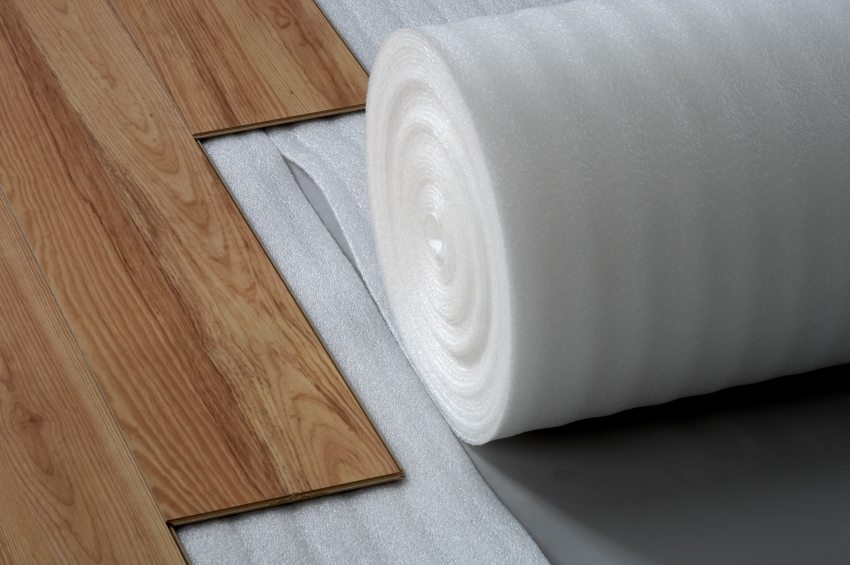
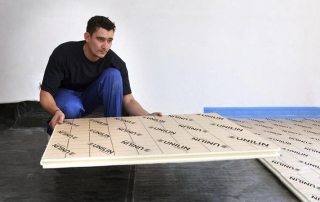
Isolon is often used as a substrate. This type of material is obtained artificially through the procedure of foaming polyethylene. There are two types of products on sale - standard and supplemented with a foil interlayer.
Isolon with a foil side reflects heat fluxes due to its shiny surface. This increases the level of thermal insulation of the room. This advantage is especially true for homeowners on the ground floor, since in such apartments most of the heat is usually absorbed by the basement through the floor.
If there are no problems with the need for additional insulation, you can save your money by buying a regular isolon without a foil layer. It is much cheaper than the previous version of the material.
Helpful advice! Izolon has a related material that is also used as a substrate during laminate installation. It is called polyform and belongs to the budget coatings category. Use it if you want to be limited to minimal costs.
There are other types of artificial substrates:
- steinophone;
- pleinx;
- styzol;
- isopenol;
- tepflex;
- porplex, etc.
Gas-filled polymer materials are used as raw materials for their manufacture. These substrates can be rolled or sheet.
Laying laminate flooring on a backed concrete floor: preparing the substrate
There are several ways to level the base of a concrete floor for laying laminated panels. The further steps for installing the flooring will depend on which of the methods you choose.
At the preliminary stage, the following means can be used to level the floor:
- special self-leveling compound (self-leveling floors);
- lathing made on the basis of wooden bars;
- plywood sheets.
Related article:
Leveling the floor with a self-leveling mixture: process technology, types of mixtures. Self-leveling floor technology. Properties of mixtures. List of tools. Features of leveling wooden floors.
In each case, the technology is accompanied by certain advantages and disadvantages.
How to level a concrete floor under a laminate: surface preparation and cleaning
Laminate panels are laid over a hard, even and completely dry surface. Before directly leveling the base, the concrete floors are carefully prepared. Regardless of which method of leveling the surface you choose, in most cases you will have to dismantle the old flooring.
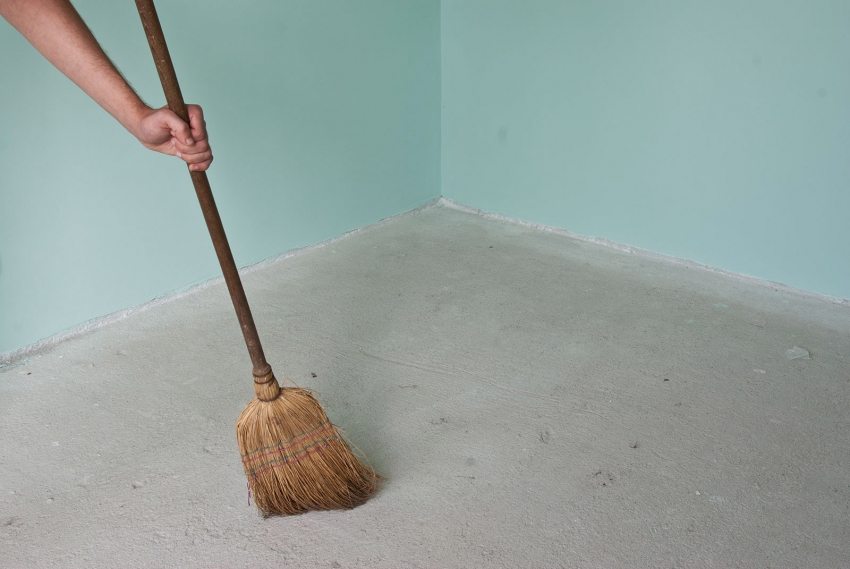
After the old coating is removed, the floor surface must be swept up to remove large debris, and then walk over it with a construction vacuum cleaner to remove the small particles. At this stage, some imperfections and surface defects may be identified, which should also be eliminated.
Common surface defects and how to fix them:
| Surface defect | Remedy |
| Layering (e.g. paint stains, glue) | Removal with solvent |
| Oil stains | Burn-out removal |
| Damage in the form of cracks, gouges, detachments, shells | Filling with grout |
| Height differences | Leveling with concrete screed |
| Influx | Cutting with a puncher |
Note! After dismantling the old coating, be sure to check the base with a level for differences in height. The permissible value is 2 mm / m².
How to level the floor under the laminate with a double concrete screed
If the floors in your room have a height difference of more than 3 mm / m², level them with a double screed.
Double screed technology:
- The surface of the concrete floor is primed with a special compound.
- Markings are applied to the surface of the walls to place the screed using a level.
- Beacons are being installed (for this purpose, you can use horizontally located slats on top of the slides of the solution).
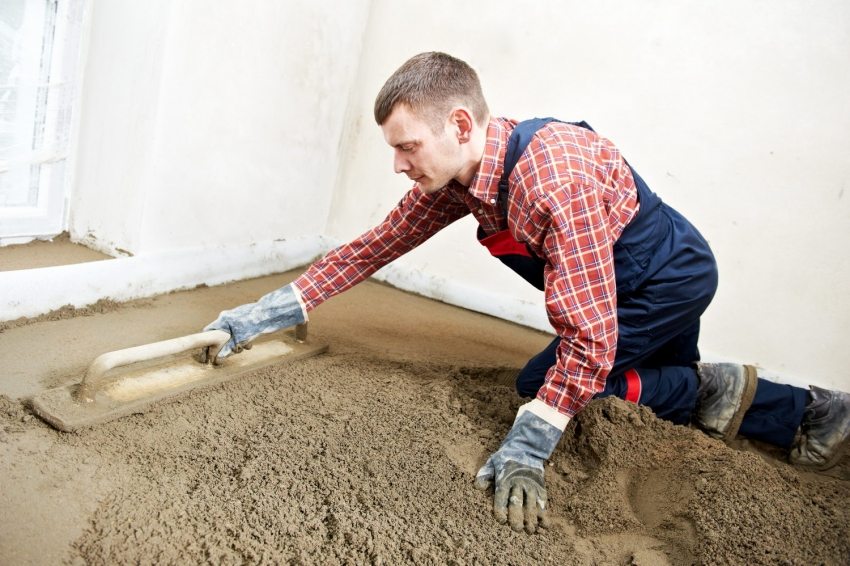
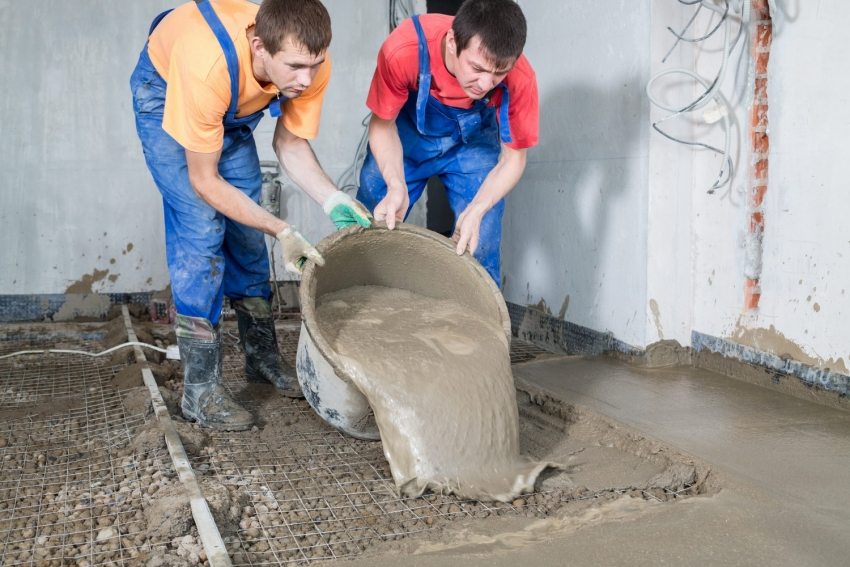
- Filling with a liquid mixture consisting of sand, water and cement.
- The level of the screed is adjusted using the rule.
- The surface is rolled with a special roller to expel air bubbles from the mixture.
- After the concrete solution has hardened, the beacons are removed, and the holes in the places where they stood are sealed.
After the surface has dried out, a second leveling layer is applied in the form of a special leveling mixture.It finally evens out the surface and after it hardens, you can start laying the substrate and installing the laminated coating.
Proportions for self-leveling floor under the laminate (double screed)
To ensure the strength and high reliability of the concrete screed, you should carefully select the materials for the mixture, as well as their proportions. For the preparation of cement slurry, it is recommended to use river sand, in which there are practically no clay particles.
Note! It is very important to use a clean material without clay impurities, which are capable of forming a shell on the surface of the sand grains and reducing the adhesive properties of the screed, and, consequently, its quality. If this cannot be avoided, increase the amount of cement powder by 15-20% and, if possible, reduce the amount of liquid.
For the preparation of concrete screeds, cement of various brands is used. The required amount of sand is calculated depending on the marking of this material.
Calculation of the proportions of sand and cement:
| Mix brand | Cement powder marking | The proportion of sand in proportion | The proportion of cement in proportion |
| 200 | 600 | 4 | 1 |
| 300 | 600 | 3 | 1 |
| 200 | 500 | 3 | 1 |
| 300 | 500 | 2 | 1 |
| 100 | 300 | 3 | 1 |
| 150 | 300 | 2 | 1 |
| 200 | 300 | 1 | 1 |
| 150 | 400 | 3 | 1 |
| 300 | 400 | 1 | 1 |
| 200 | 400 | 2 | 1 |
Most often, solutions of grades 150 and 200 are used to organize a concrete screed in an apartment. But there are other cases as well.
Calculation of the amount of materials for self-leveling floors under laminate, how long it dries surface
As an illustrative example, let's take a room of size 35 m²... If it is supposed to fill with a thickness of 5 cm, the formula for calculating the amount of solution will be as follows: 0.05 m (layer thickness) x 35 m² (total area) = 1.75 m³ (required volume of solution).
When the ratio of sand to cement in the recipe is 3: 1, we calculate the number of components for this mixture:
- sand - 1.75 m³ x 3/4 = 1.31 m³;
- cement - 1.75 m³ x 1/4 = 0.44 m³.
The ratio of the volume and mass of materials:
| Bulk material type | Volume of measured containers (bucket),l | Bulk material weight in a measured container, kg / 10 l | Bulk material weight in m³, kg |
| Crushed stone | 10 | 15-17 | 1500-1700 |
| Sand | 10 | 14-16 | 1400-1600 |
| Loose cement powder | 10 | 13-14 | 1300-1400 |
To calculate the required amount of cement (in kg) for screed in a 35 m² room, use the following formula: 0.44 m³ (required volume) x 1300/1400 kg / m³ (cement weight) = 572/620 kg.
Note! In the process of preparing the solution, the amount of the mixture is significantly reduced in volume. Therefore, if you take 1 m³ of dry cement powder, at the output you will have a solution volume in the range of 0.6-0.71 m³. From this it follows that you need to take much more dry materials to prepare 1 m³ of solution.
The drying time of the pour depends on the thickness of the concrete layer. If a conventional single-layer screed with a thin layer of cement mortar is applied, wait 3 days before proceeding with the next stage of work (laying the underlay). A double screed will take at least a week to fully dry.
Preparing a floor for a laminate with your own hands: video, the use of a self-leveling mixture
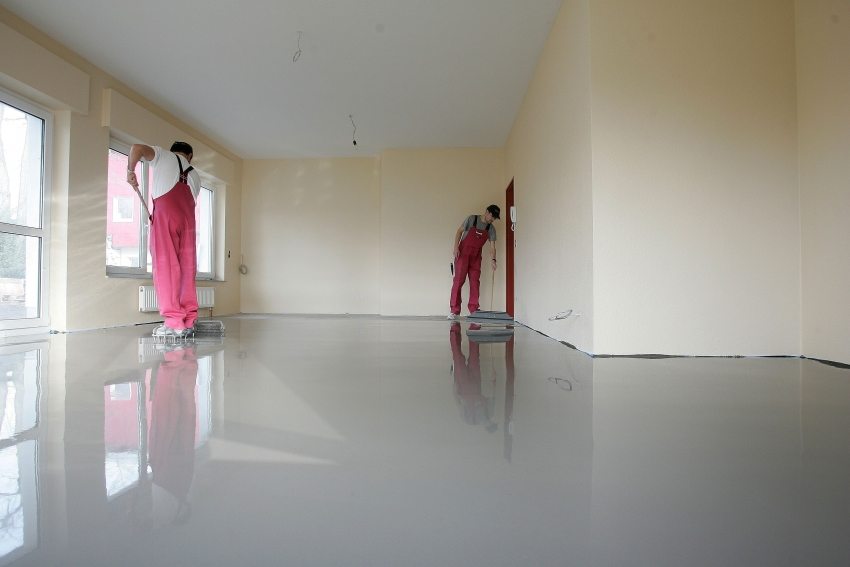
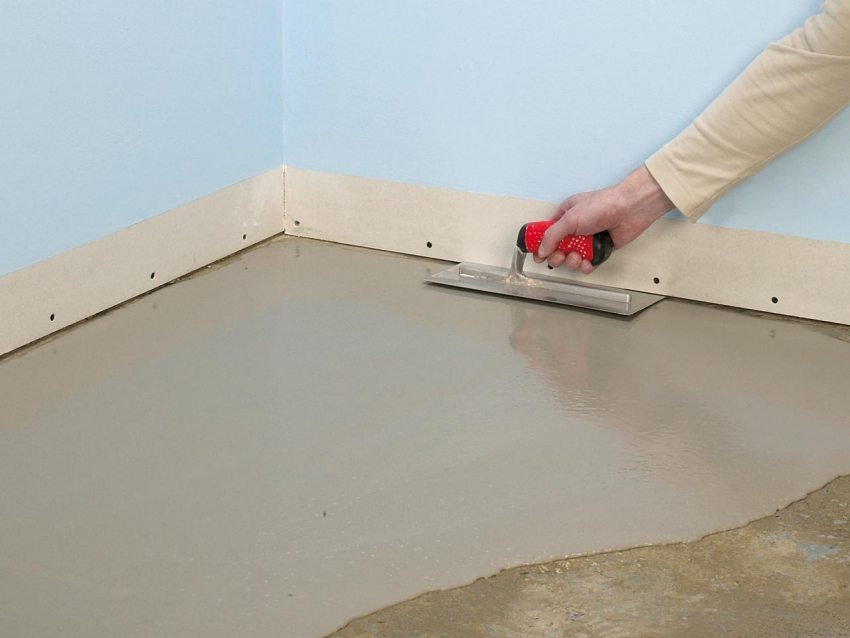
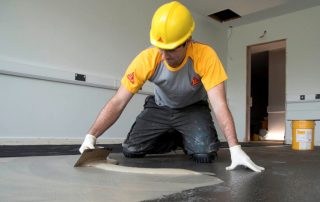
The technology of leveling the base using self-leveling floors is very popular today due to its simplicity. The result of such an alignment is better than in the case of a double cement screed. Preparatory work for the removal of the old coating and elimination of surface defects is carried out in the same way as the one described earlier.
Step-by-step technology for the formation of self-leveling floors:
- the cleaned, repaired, again cleaned and dried surface is covered with a primer;
- according to the instructions, a solution is prepared to form a self-leveling floor. It is recommended to use a capacious container (bucket) for these purposes.High-quality and uniform mixing of the components can be achieved using a conventional drill equipped with a special attachment, or a construction mixer;
- the finished mixture is distributed over the entire area of the room in the form of stripes or small puddles;
- the solution is evenly distributed over the entire surface of the room using a squeegee or spatula. You need to move from the far corners to the opposite side of the room. It is better to distribute the stage of pouring the material and its leveling between two people, so that both of these processes occur simultaneously.
Note! Don't forget about the aneration process. Be sure to walk along the filling surface with a roller covered with needles to expel air bubbles.
Use the video to visualize the process of creating a self-leveling floor.
In this case, the drying time depends not only on the layer thickness, but also on the declared characteristics on the package. The manufacturer of a self-leveling compound usually indicates the drying time of the solution on the package.
Preparing the floor for laminate: leveling with plywood sheets
The technology for leveling concrete floors is used if the surface has significant differences in height. Most often, linoleum is not removed before laying laminate, but in such circumstances, it will have to be dismantled and repairs made to the base, and then primed on the surface.
Step by step alignment technology:
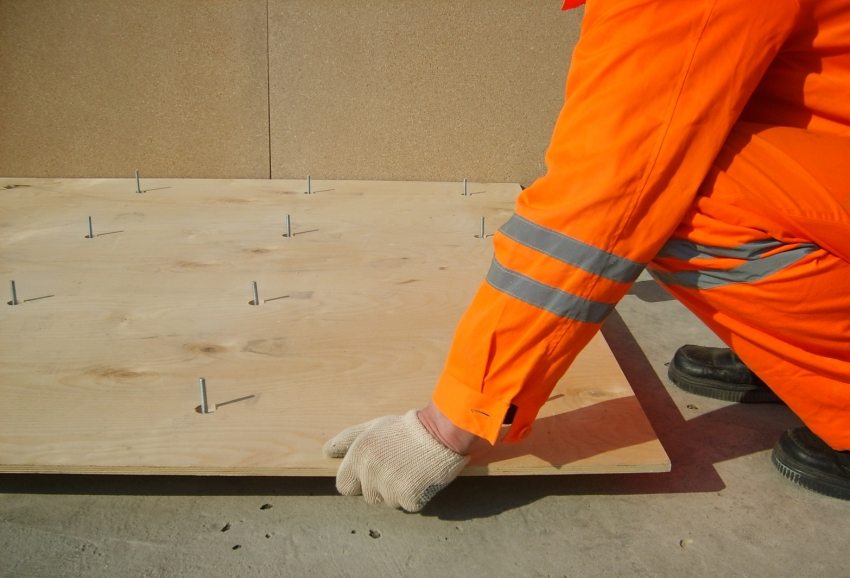
- Plywood sheets with a thickness of 1 cm (not less!) Must be spread on the floor, not forgetting about small gaps between adjacent elements, since wood undergoes deformation changes under the influence of moisture and temperature. Fixation is carried out by means of an adhesive or self-tapping screws, the caps of which should be recessed by about 1-2 mm.
- With the help of a putty for wood, it is necessary to fill in all the joints between the sheets, as well as the recesses resulting from the installation of self-tapping screws.
- Performed surface scraping... For these purposes, use a scraper; you can walk in the corners with an angle grinder.
How to lay laminate flooring on a concrete floor using wooden battens
In some cases, it is impossible to screed concrete floors, then a base of wooden blocks is used for installing the flooring.
Note! This leveling method is also used in cases where the room needs additional insulation. Thermal insulation materials are laid directly on the concrete between the battens.
The alignment is done as follows:
- If before this, wooden floors were organized above the concrete base, after cleaning the surface, it is worth laying roofing material on it, which will not let dust particles into the room and will provide protection from moisture.
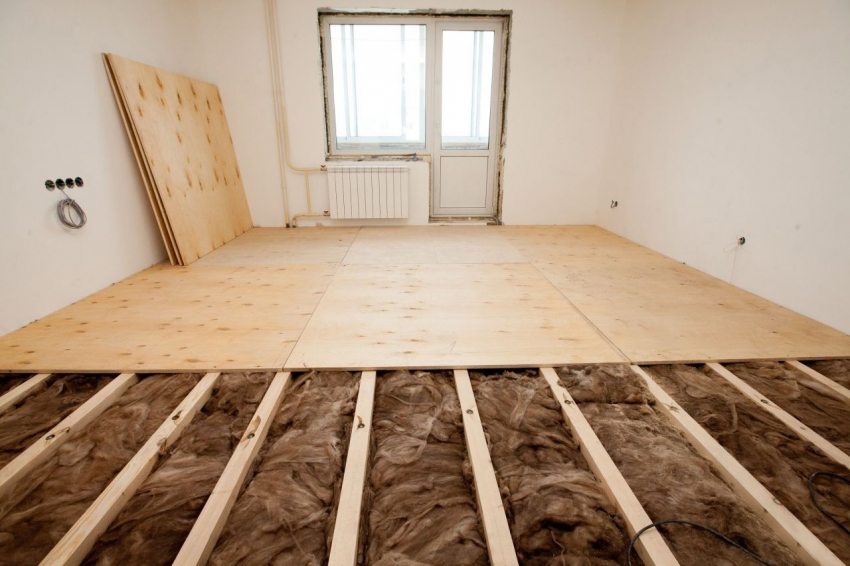
- Marking is applied to the surface of the base. If as insulation mineral wool mats will be used, the sheathing beams must be placed in 0.6 m steps.
- According to the markings, the bars are being installed. Do not forget to fix the legs on them in advance, as well as the corners for the installation of insulation mats (if the cotton wool will not be laid directly on the concrete).
- The adjustable legs are securely fixed to the base.
- Using a building level, the position of the batten in height should be adjusted.
- The insulation is being installed and a vapor barrier layer is being laid, fixed to the bars with staples.
At the final stage, the plywood flooring is organized using the method described earlier. Only in this case should the material be positioned so that the joints fall in the middle of the sheathing bars.
Laminate flooring: how to properly lay the substrate and lay the panels
Before laying the underlay, for additional comfort, it is possible to install "warm floors" under the laminate on a concrete floor. This system heats the premises as the main or additional source of heat to the heating already available in the house. There are several options for such systems.
There are the following types of warm floors:
- water;
- air;
- electrical (infrared film, heating mats or cable).
Note! Taking into account the fact that the installation of water floors is possible only in private houses, and the laminate is afraid of moisture, it is recommended to use infrared film floors. They are easy to handle, have a simple installation system, and do not require the formation of a multi-layer tie like cable ties.
After the installation of the underfloor heating system, the installation of the substrate and coating is carried out. It is recommended to do this at the same time so as not to damage the cork or other surface during the laying of the laminate.
Underfloor heating system under a laminate on a concrete floor: how to put a film heating
The good thing about infrared flooring is that it doesn't harm the flooring. This type of material can be dismantled and reused, which other underfloor heating systems cannot promise.
System installation diagram:
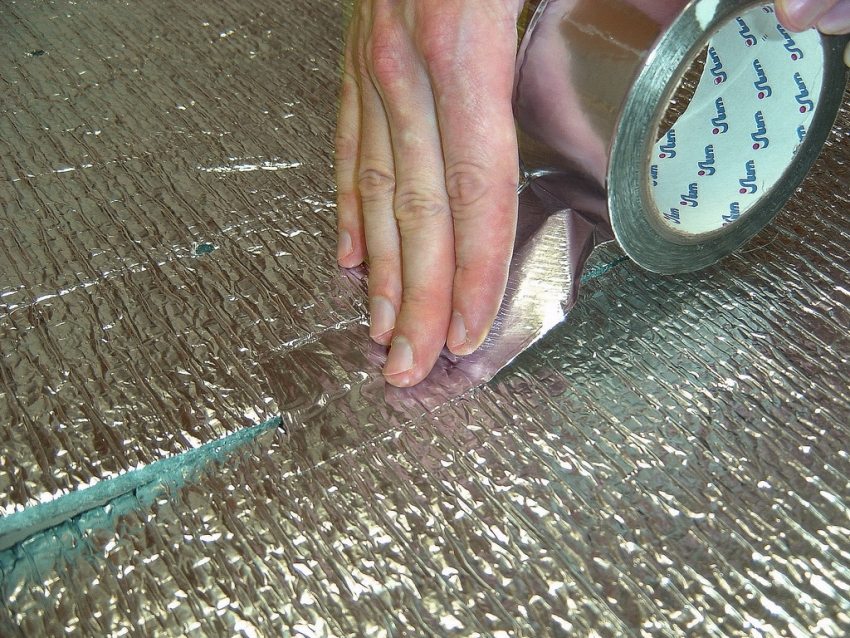
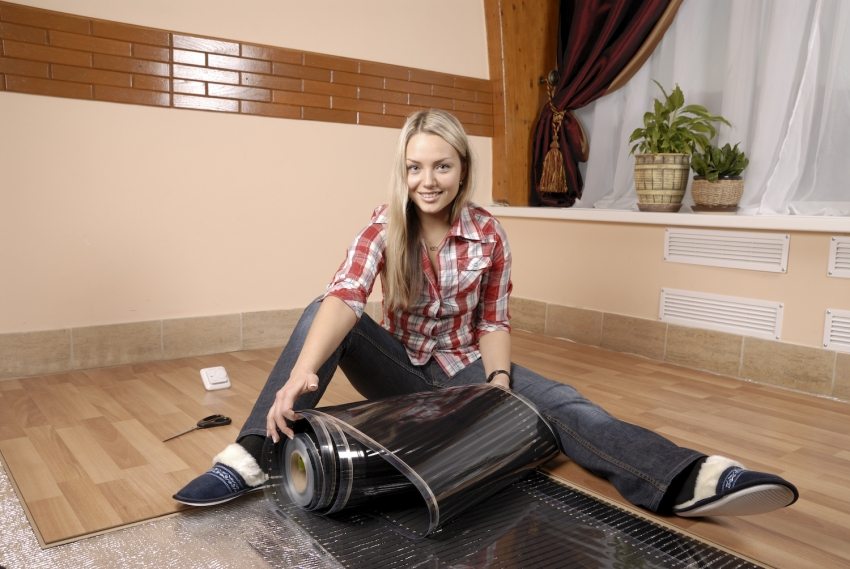
- it is recommended to lay a reflective foil coating on the base;
- film floors are cut according to the size of the room;
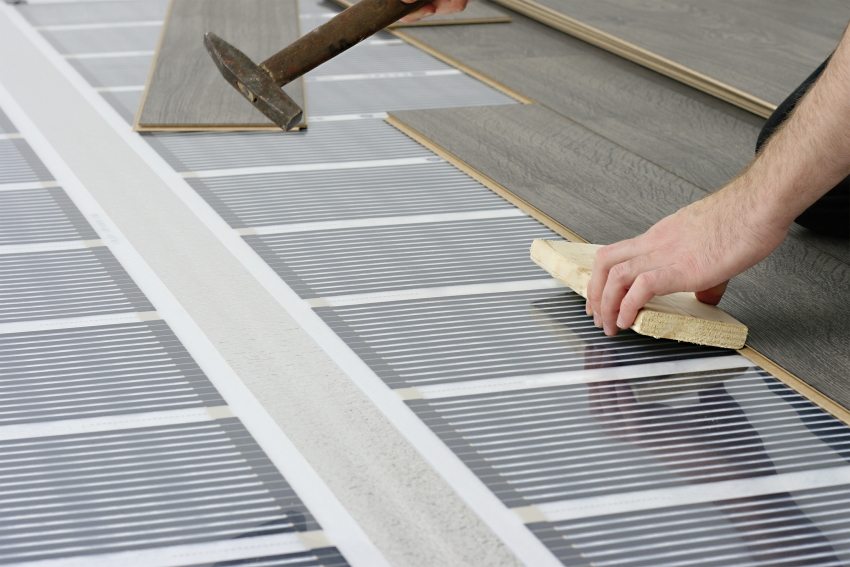
- the resulting strips are distributed over the base on the foil material, and then fixed with tape;
- the film strips are connected to each other using contacts and wires in the indicated places. These contacts are copper and brass, they must first be insulated with a tape coated with bitumen. This is done like this: the tape is folded in two, a contact is placed inside and clamped with pliers;
- a thermostat is installed on one of the walls at a height of 120-150 cm from the floor;
- the film is laid so that the terminating wires go out to the wall to the thermostat. It will be necessary to install a thermal sensor that will record the temperature of the heated floors. A wired connection is made between it and the thermostat.
Note! Installing infrared heating requires skills in dealing with electricity, but if you stick to technology, you can handle the installation of this system yourself.
Features of laying laminate on a concrete floor
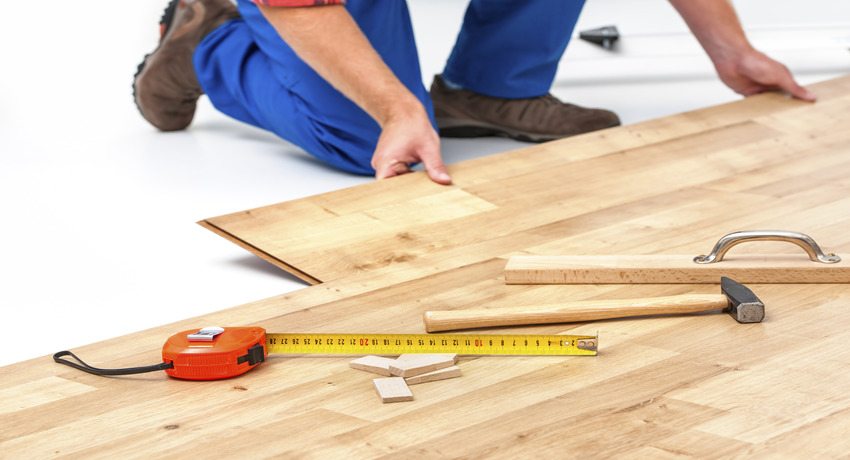
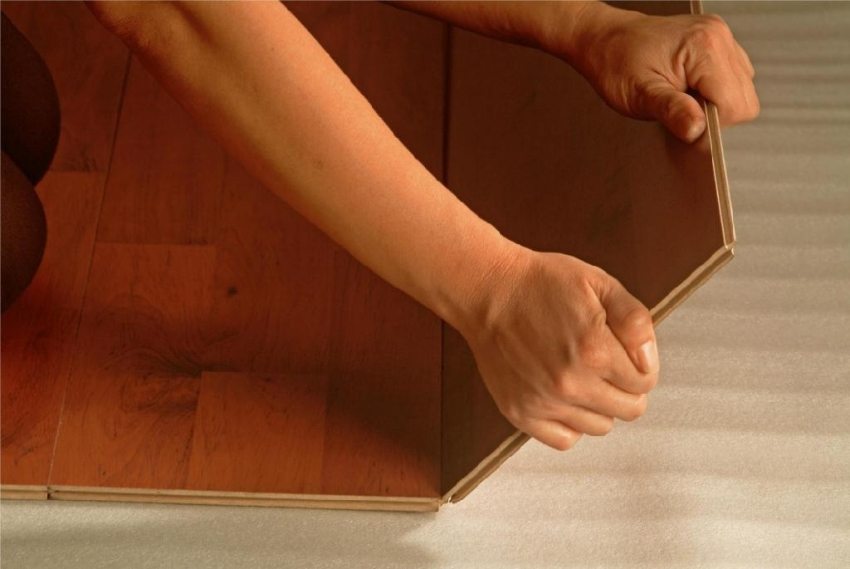
The process of installing the floor covering should start from the far corner of the room. Having spread the backing strip, you need to install the first panel in the corner area of the room. The covering should not be adjacent to the wall. A gap of about 1-1.2 cm must be left between it and the wall surface. You can use spacers for this purpose, which are mounted along the course of the first row, as well as on the end parts.
The first element of the second row is immediately applied. This cuts the panel in half. The cutting of the material must be done so that the end lock remains on the side of the next element.
Next, you need to lay the first row of panels to the wall, connecting the elements to each other using end locks. If the last panel does not fit against the wall, the material is cut with a jigsaw.
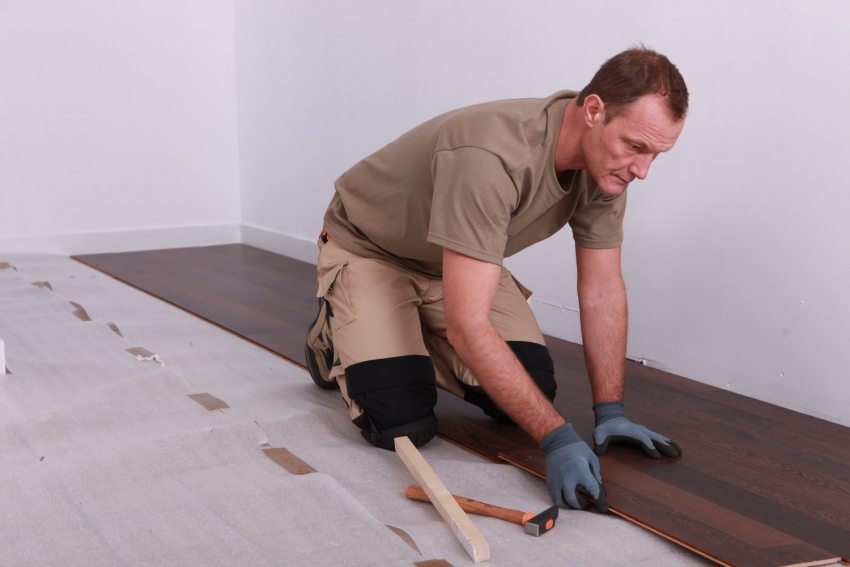
Laying laminate flooring on a concrete floor is a fairly common procedure and relatively simple to do it yourself
The second row is performed in a similar way. This technology is applicable if you are using material with the “Lock” system. The lamellas with a "Click" type latch are installed in order, that is, we do not start laying the second row until the first one is mounted.
Use the video material below for a more visual study of the features of laying laminate on concrete floors.
A similar installation pattern is used when installing vinyl flooring. Only then are flexible panels placed on a solid base in the form of plywood sheets or a very dense cork backing.
The coating installation technology is simple enough that it can be dealt with without the help of specialists. The most difficult stage is leveling the concrete base, however, it can be easily overpowered.
