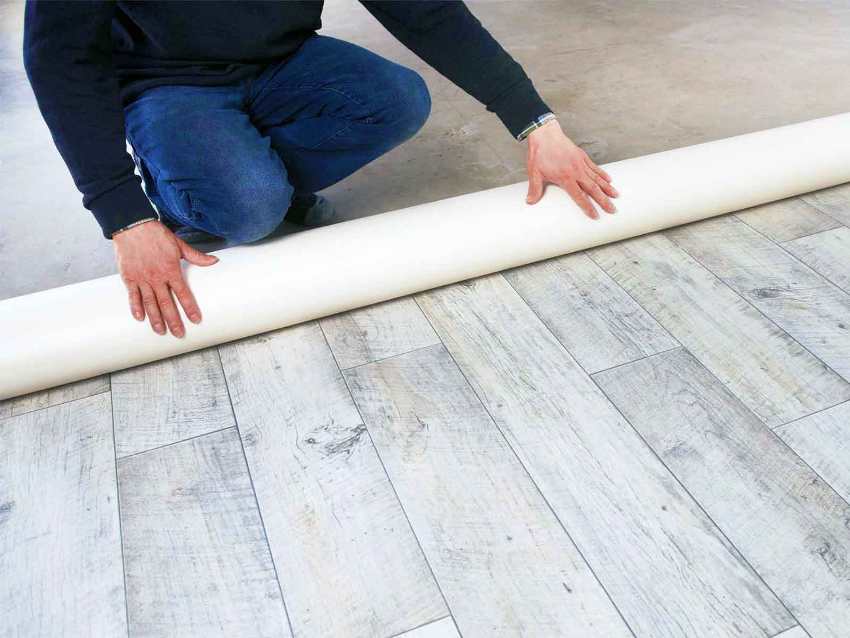
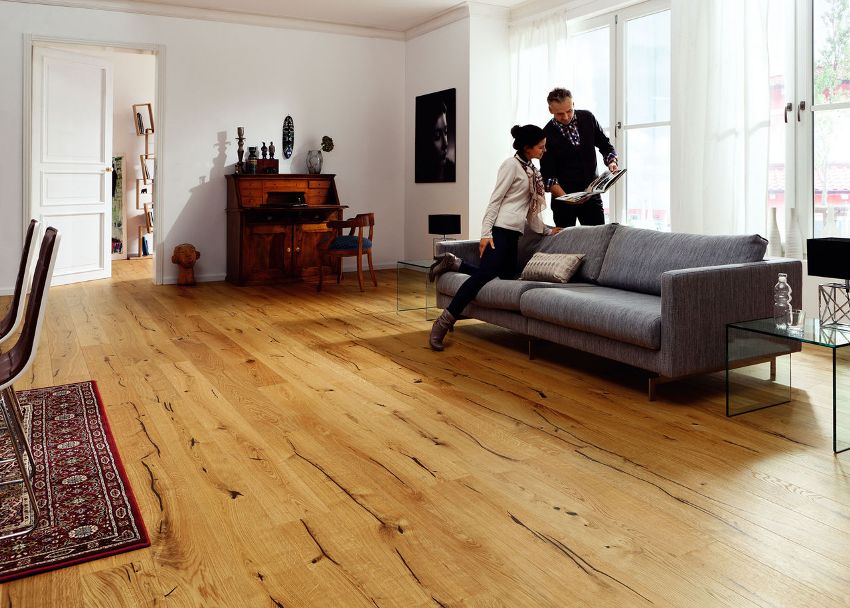
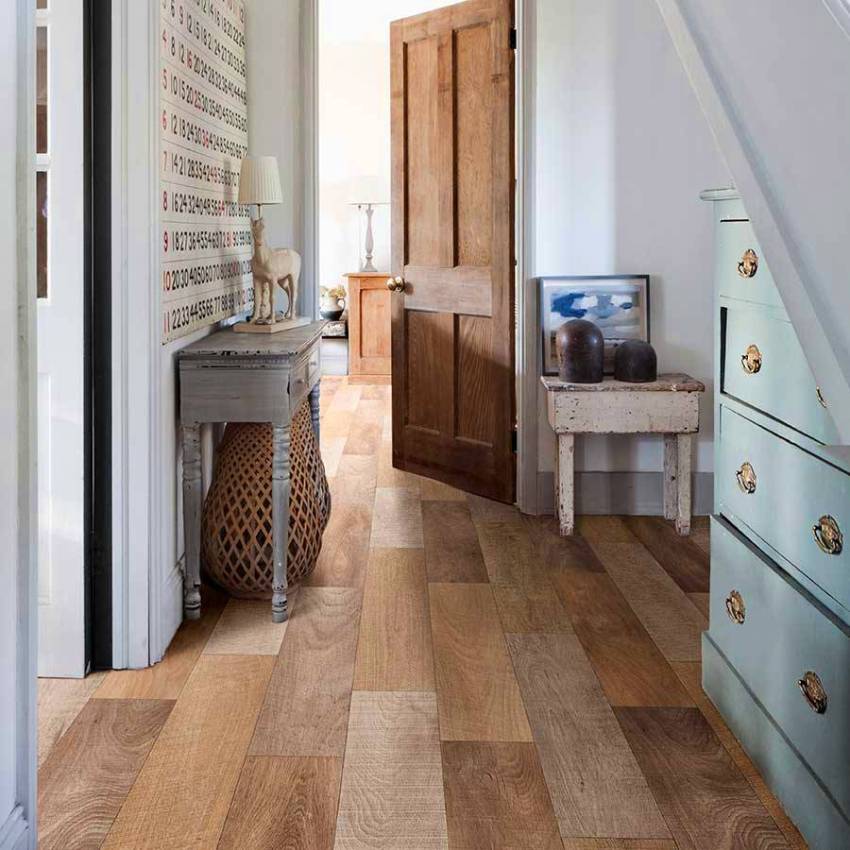
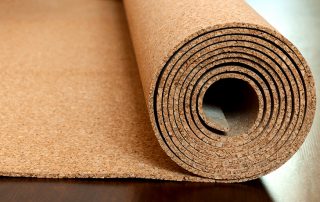
Linoleum is a popular material for many reasons and is often used as flooring for kitchens, corridors or hallways. Despite its rather simple appearance, it perfectly resists scratches and moisture, and can also be easily installed by yourself. Consider how to lay linoleum: how to cut it out and then take care of it to extend its service life.
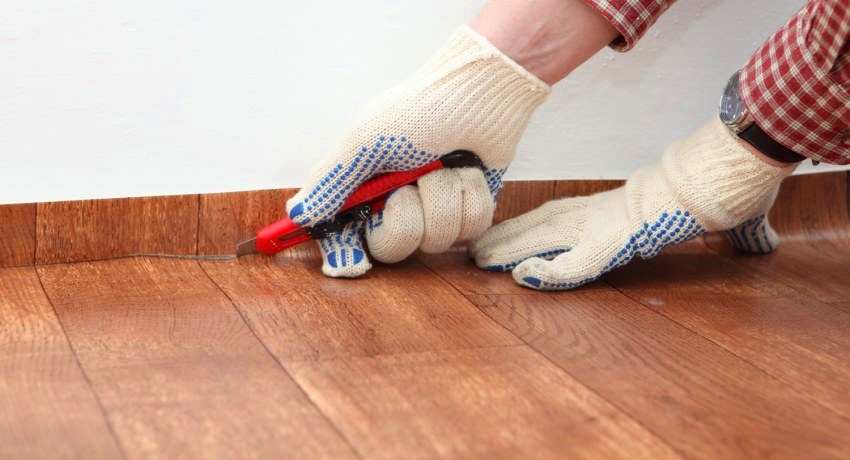
Laying linoleum with your own hands does not require special knowledge or skills in the construction business
Content [Hide]
- 1 How to lay linoleum correctly
- 2 How to properly lay linoleum on a wooden floor: technology features
- 3 How to glue linoleum to a concrete floor
- 4 How to lay linoleum when it comes to other base materials
- 5 Material preparation and selection of tools for linoleum laying
- 6 DIY linoleum laying: step-by-step instructions for work
- 7 How to lay linoleum with your own hands: fixing the coating
- 8 How and how to glue linoleum to the floor: when is it necessary
- 9 How to properly care for linoleum to extend its life
- 10 Linoleum laying technology: video instruction for work
How to lay linoleum correctly
How to lay linoleum is a question that interests many who have started an independent and fairly budgetary repair. After all, this flooring can be called one of the cheapest. But at the same time, this material is worthy of attention, because it meets all the requirements and quite well withstands the effects of external factors. Consider each stage of the work to be performed during the installation process linoleum, as well as some features and nuances.
Floor preparation for linoleum: what should be the base
A high-quality and suitable base is a guarantee of a long service life of the material. In order to linoleum did not wipe, and also looked as aesthetically pleasing as possible, it should be laid on a flat surface. This will avoid unnecessary stretching and deformation of the material, which means it will extend the life of the coating.
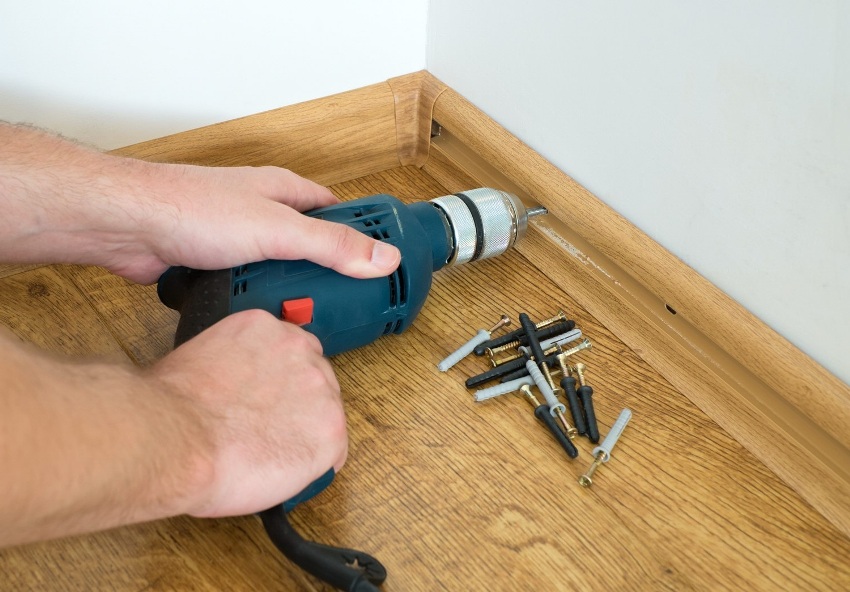
First of all, before laying the flooring, it is necessary to remove all the skirting boards as carefully as possible. This must be done, since the mount linoleum should be made against the walls. In some cases, the old skirting board is fixed in place if its condition satisfies the owners. In this case, dismantling must be done as carefully as possible to avoid damage.
Helpful advice! In order not to confuse during further installation which plinth should be attached to where, you can number them during removal. Using a simple pencil, mark the number on the back of the baseboard and at the bottom of the wall where it was attached.
It is extremely important to assess the validity. This will allow you to choose the most rational algorithm of actions and decide whether it is worth dismantling the old coating or you can lay it directly on top. Next, let's take a closer look at the specifics of working with various surfaces.
How to properly lay linoleum on a wooden floor: technology features
Laying linoleum on a wooden surface is a common technique used, for example, if there is old parquet on the floor that has lost its attractive appearance or painted boards. The main thing to do before you make a bed linoleum on a wooden floor - to assess its condition. In both cases, there may be some problems with the subfloor, for example, fallen parquet elements or deformation of the boards.
Therefore, it is not necessary to count on a special evenness and smoothness of the surface, which means that before putting the linoleum on the wooden floor, it is necessary to prepare it yourself. Here are some of the more popular options for solving this problem:
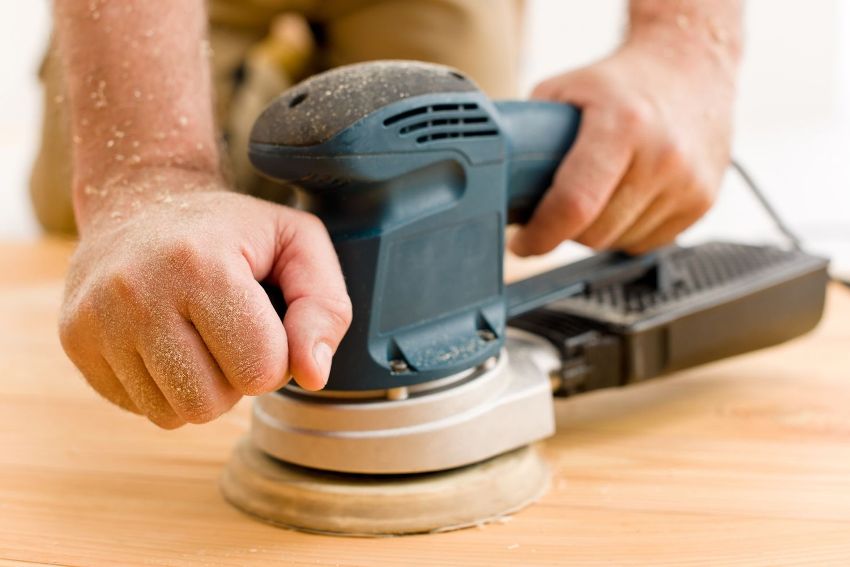
- using a plane or sander, the base can be leveled. To do this, all cracks, irregularities and other defects are covered with a putty. Then grinding is done;
- in order to hide the existing imperfections of the surface, you can lay another layer of chipboard or fiberboard plates. In some cases, they even resort to laying linoleum on plywood;
- if you need to deal with missing parquet planks, you can first restore them and then loop the parquet;
- to achieve a perfectly flat surface, you can pour on top of a special composition, the so-called self-leveling floor, which has the ability to level.
Thus, there are several ways to solve the problem, and it is more than possible to get a level base with an old wooden floor. You can learn more about how to correctly lay linoleum after considering the features of working with other bases.
How to glue linoleum to a concrete floor
Almost always, an old concrete base requires work aimed at leveling it. And we can say that the methods and technologies have a certain similarity with those used for wooden floors:
- before laying the linoleum on the concrete floor, the existing base is covered with wooden flooring. For this purpose, chipboard or fiberboard plates are suitable;
- pour a concrete screed capable of self-leveling.
In order to provide the linoleum with a reliable fixation on the concrete base, you need to choose the right adhesive composition, as well as the fact that the chosen flooring meets the requirements. So, the following types of linoleum are suitable for laying on a concrete base:
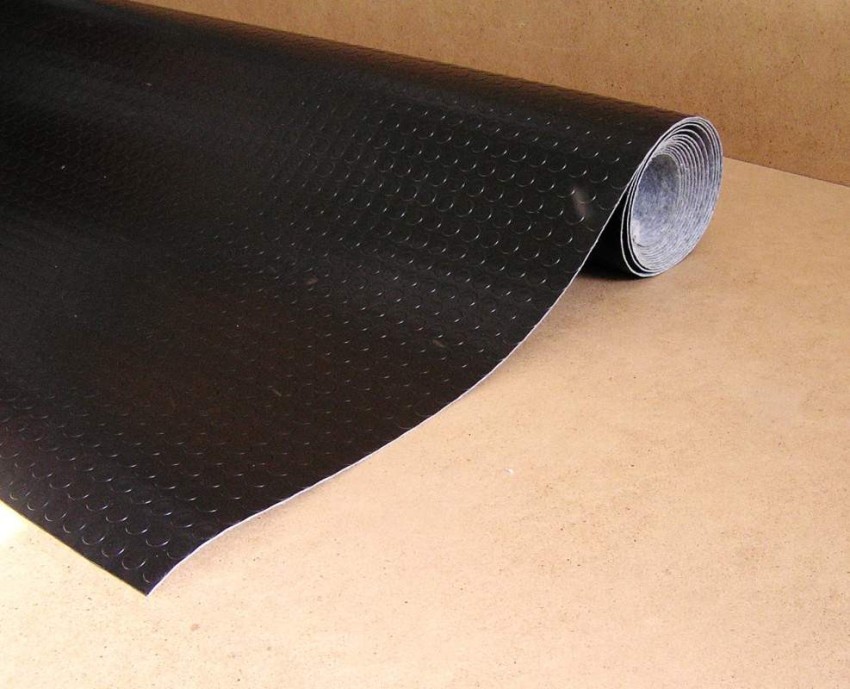
- material with an insulating backing. In this case, the back of the linoleum has a special non-woven or woven backingdesigned to prevent the passage of heat and sound;
- alkyd linoleum, as a basis for which a non-woven or woven fabric is used;
- other types of linoleum that are not suitable for adhesion to a rough concrete base. In this case, installation of an additional dry layer will be required, which is laid under the linoleum. What can be used for this? For example, the same plywood, chipboard, fiberboard, etc. are perfect.
Laying linoleum on a concrete floor has its own characteristics, and the main thing in this case is to choose the right materials. So before making a purchase, you should once again make sure that your choice meets the requirements and familiarize yourself with the algorithm that indicates how to lay linoleum on a concrete floor.
How to lay linoleum when it comes to other base materials
The first question that interests many home owners is whether it is possible to lay linoleum on old linoleum. In this case, the answer is unequivocal: it is possible to lay linoleum on top of the same, but old coating. The main thing is to first make sure that it meets the requirements, namely, it does not have holes, cracks and does not differ in excessively large thickness. If so, then first of all it is necessary to degrease the surface of the old coating.
Another difficult question is how to properly lay linoleum if carpet has already been laid on the floor. In this case, the old coating must not only be removed, but it is also worth taking care of thorough cleaning of the surface in order to remove the lint and any dirt. All irregularities must also be eliminated until the surface is sufficiently flat and smooth.
If you need to solve the issue of laying linoleum where the tiles have already been laid, then in this case there is no need to dismantle the old coating. The main thing is that all the elements of the tile are in their place. If a few have already disappeared, it is worth choosing tiles of a suitable size and glue them in place. After that, the surface is poured with a special compound intended for leveling. It is important that at the same time it has sufficiently high adhesion properties.
Regardless of what you have to lay linoleum on: wood, tiles, concrete or old linoleum, in any case, you need to make sure that the base is thoroughly dried before you start laying. This is important because moisture cannot evaporate through the linoleum, which means that with a poorly dried base under the coating, mold and mildew will appear very soon.
Helpful advice! Before you put the linoleum, you must carefully clean and wash the surface of the base. After all, even the smallest pebbles and grains of sand will negatively affect the life of the material. Tiny depressions and protrusions can do just as much harm.
Material preparation and selection of tools for linoleum flooring
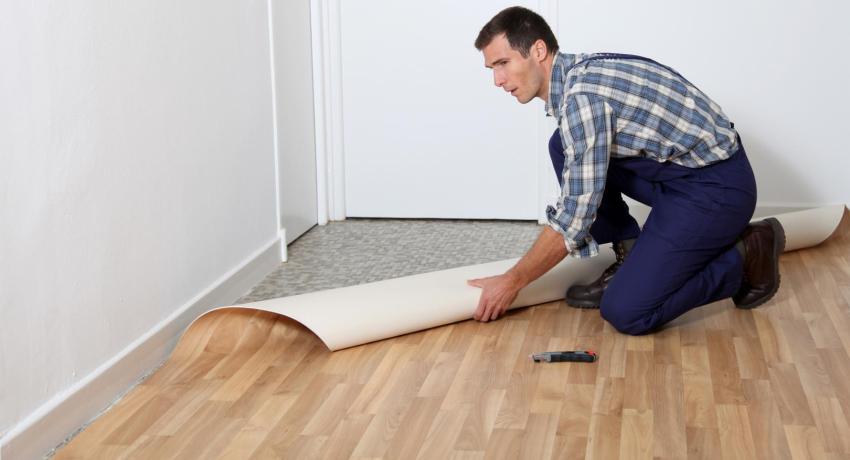
Material preparation involves not only trimming, but also storage conditions. The ideal temperature regime in which linoleum should be before laying is considered to be from 15 to 25 ° C. This is due to an increase in the fragility of the coating when exposed to low temperatures. Therefore, if you have to lay linoleum with your own hands in winter, then you must definitely bring it into the room in advance and, without unfolding, let it lie down for at least 12 hours.
Helpful advice! In order to further avoid the waviness of the coating, after the linoleum is deployed on the surface, you need to leave it for a while before proceeding with cutting and laying.
While the linoleum rolled out on the floor is leveled, you should think about the availability of all the tools necessary for self-laying:
- a sharp knife with a short blade (a boot knife works best);
- scissors;
- roulette;
- simple pencil;
- a long ruler, a building level or just a flat rail.
All of the above is likely to be found in the closet of any home craftsman. So there is no need to purchase any expensive tools for styling, which is another indisputable plus in this case.
DIY linoleum laying: step by step instructions for work
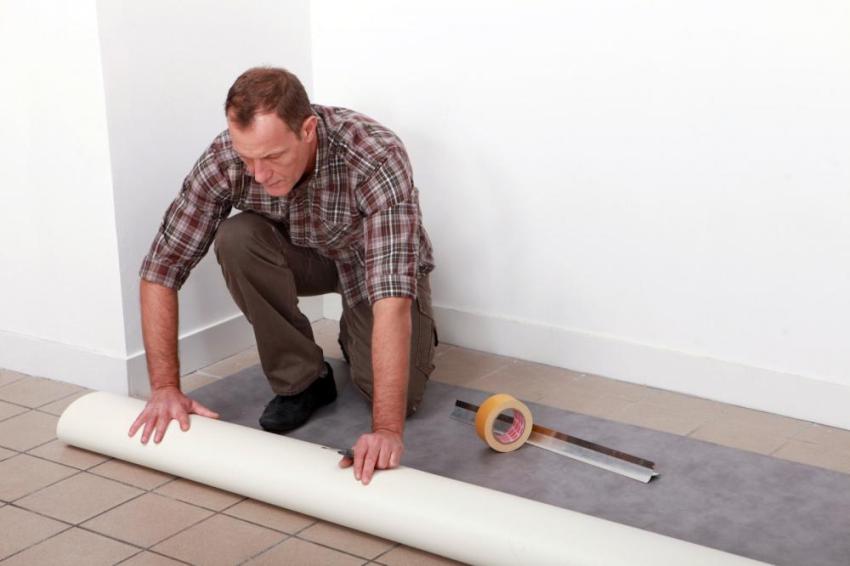
Before gluing linoleum to the floor, you need to know one very important rule: for rooms whose area does not exceed 25 m², no adhesive is used. Of course, this only applies to cases where one piece is used, or, in extreme cases, two pieces of material. In this case, it will be enough to fix the material under the skirting boards. You can use double-sided tape at the joint.
So, let's take a closer look at each step of the work:
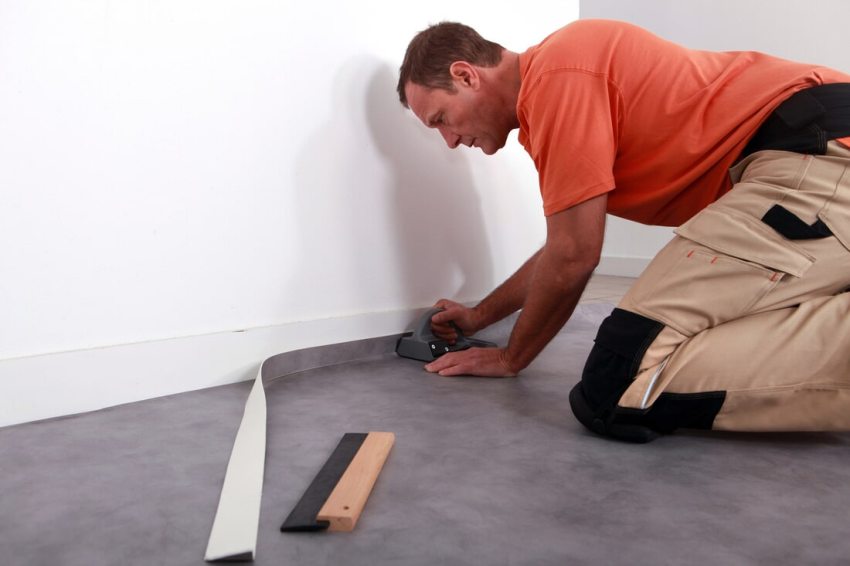
- After making sure that the roll of linoleum, which you previously unrolled, lay down for a sufficient amount of time and leveled off, put it in such a way that one of the sides is almost close to the wall, and the gap is only 3-5 mm. The material should be slightly overlapped relative to the remaining three walls.
- If the area of the room is large enough and you cannot use one sheet, you will have to work with the joints. First of all, attention should be paid to fitting the joints so that these places look aesthetically pleasing. Only after that you can proceed directly to laying the pieces, again, not forgetting about some overlap on the walls. Very often the surface of linoleum has some kind of drawing, ornament or pattern. In this case, there is an additional need to combine the drawing at the joints. The most important thing is to do it properly in the middle of the room. This is also important if the pattern is repeated in the next room, and you need to combine it in the doorway. To do this, one of the cover sheets must be shifted until the pattern matches.
- This stage is relevant if you have to work with several pieces of linoleum that have a pattern. Most often, the drawing imitates parquet or tiled flooring, that is, it consists of the intersection of straight lines. In this case, in order for the coating to look as neat as possible, these lines should not be at an angle relative to the walls. Such linoleum will look beautiful only if the lines are located strictly parallel.
- After that, you need to fit the linoleum to the ledges and niches that are in the room. In fact, you have to deal with this almost always, since niches under the windowsill and in the doorway are commonplace. In that case, in order to avoid mistakes and not spoil the material, you must first measure the depth of the niche.
Related article:
Warm floor under linoleum, on a wooden floor
Can be installed on a wooden floor. Technology for underfloor heating from infrared film under linoleum on a wooden floor.
How to cut linoleum in different cases: consideration of examples
As a first example, consider the features of working with a corridor. In this case, the first overlap, which should correspond in size to the depth of the niche, is made near the front door. To do this, first you just need to measure the depth of the niche and wrap the corresponding section of the coating. Then it remains only to carefully cut off the excess areas on the sides so that the remaining piece fits perfectly inside. In the same way, linoleum is fitted to all other niches that exist.
Another case, which is much more often encountered in the kitchen than in the corridor, is the presence of a ledge. In this case, to carry out the most accurate measurements, it is necessary to lay linoleum up to the ledge and tuck it. The depth of the protrusion should be measured and then marked on the material. After that, all that remains is to carefully trim the cover.
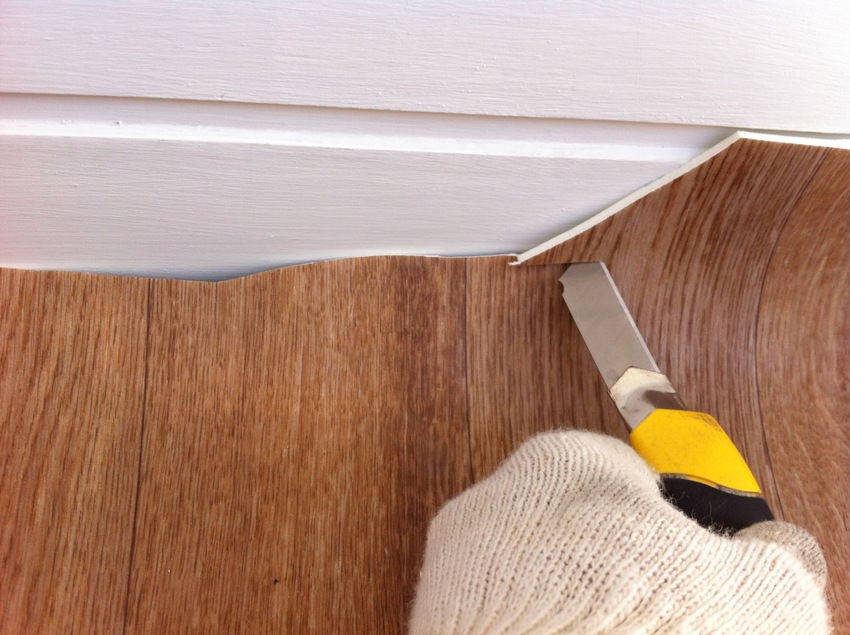
Except for these situations, there is nothing difficult in the process of fitting linoleum.It is enough to just slightly bend the linoleum to the wall so that it fits as tightly as possible to it, and then, using a knife and a ruler, carefully cut the material. This method is suitable if the repair is carried out in the apartment of an old house, the walls of which cannot be perfectly flat. The main thing is not to rush so as not to accidentally cut off the excess.
How to lay linoleum do it yourself: fixing the cover
As already mentioned, for small rooms the question of whether linoleum needs to be glued is not relevant. But if you need to fix the joints, then double-sided tape is perfect for this. To do this, draw a line along one of the pieces. This line will show you where the middle of the tape should go. Having glued it in the right place, it remains only to remove the protective paper, and then alternately lay both sheets on top, ensuring reliable gluing of linoleum and scotch tape.
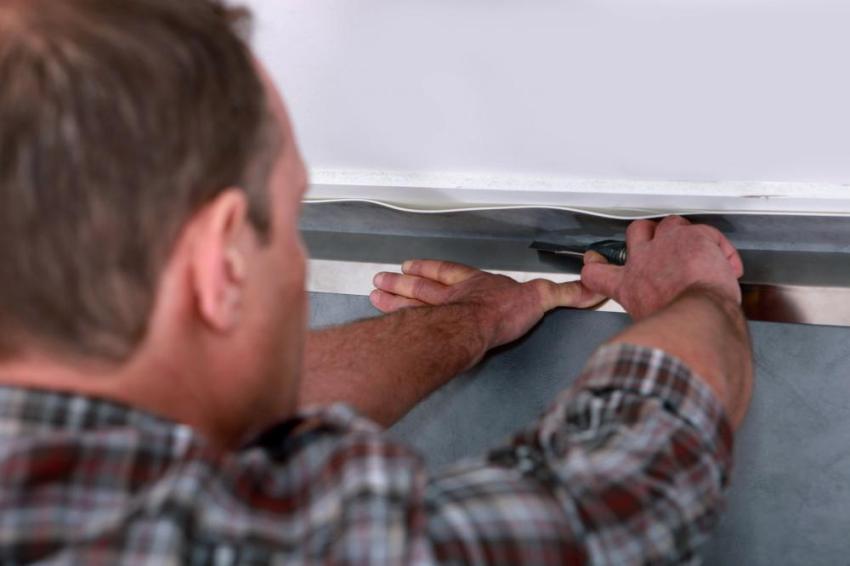
For the rest, fixing linoleum involves the installation of baseboards: old, if you decide to leave them, or new ones that were bought specifically for this purpose. In general, the skirting boards perfectly press the linoleum, providing it with quite a decent fixation, but in this case it is not recommended to drag heavy furniture across the floor. Although, the glued linoleum may not withstand excessive loads.
Important! In some sources, you can find recommendations that linoleum should be left to lie down without fixing for a long time, for example, a month. In fact, there is no real need for this, since PVC linoleum, made according to modern technology, is not subject to shrinkage.
Like how to glue linoleum to the floor: when is it necessary
There are several answers to the question of how to glue linoleum. Let's consider each of them, as well as get acquainted with the gluing technology and some of the nuances of this process.
What glue to glue linoleum on: options for adhesives
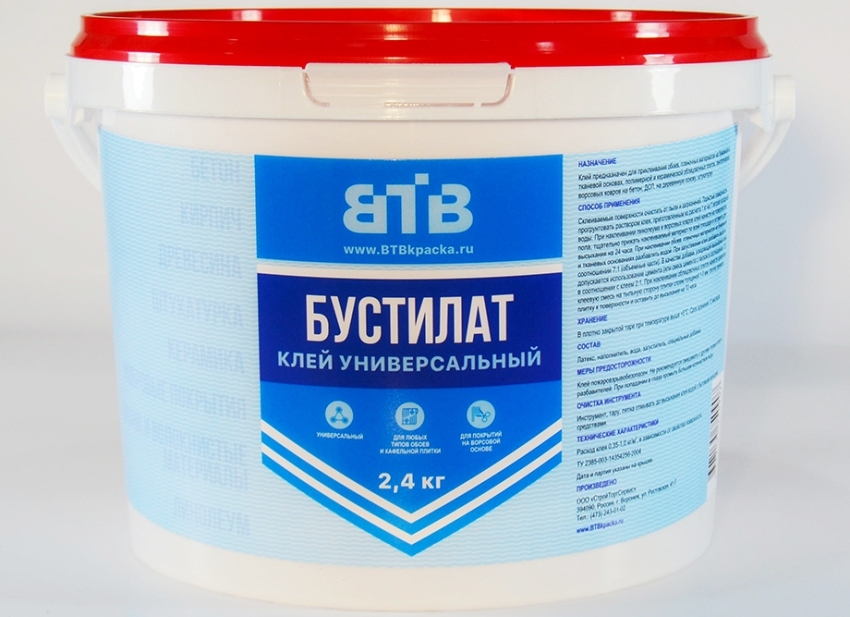
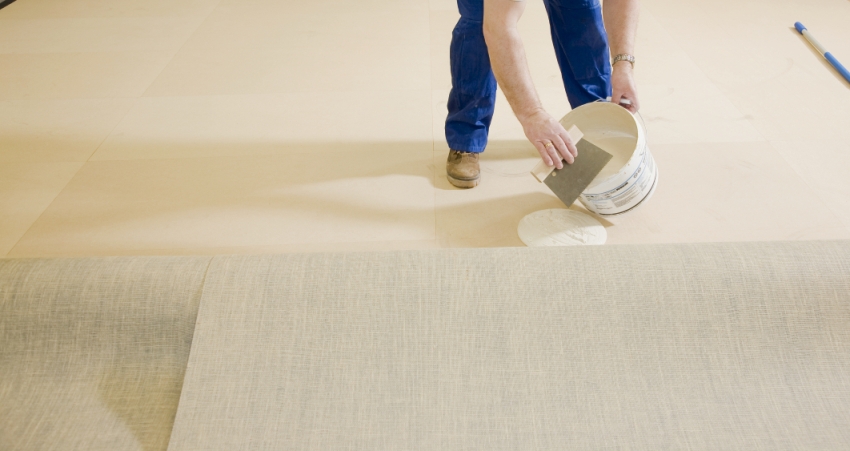
The first version of the composition for gluing linoleum is dispersion compositions. The list can include well-known to many AK, ADM-K, Bustilat and Gumilax. Also, their foreign counterparts are often used. These options are usually used for fixing a covering that has an insulating backing or fabric backing. The composition is simply applied to the concrete base with a layer of 6-7 mm, and then linoleum is laid on top.
Another option is bituminous mastics and adhesives. Perhaps the most famous composition from this group is "Bisky", although there are still many worthy bitumen-polymer compositions. Usually a layer is applied with a thickness of 4-5 mm, and then, after waiting 15-20 minutes, the material is glued.
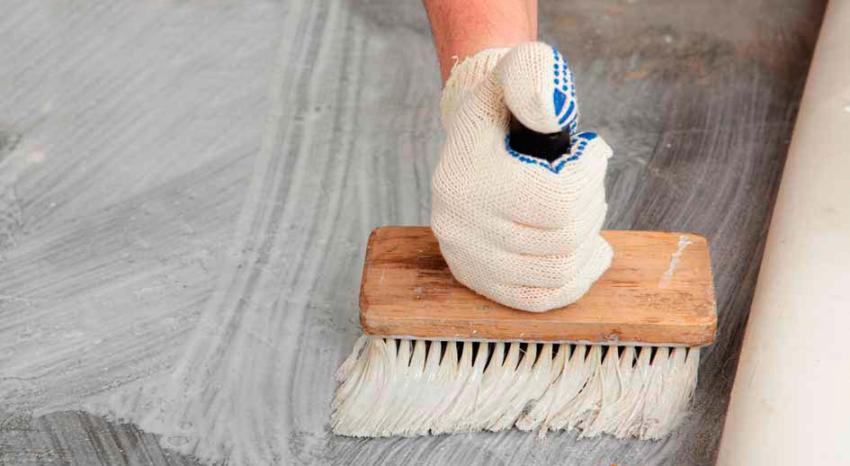
Sometimes special mastics are used, made on the basis of synthetic rubbers or resins. This group includes all kinds of oil, bitumen, as well as fine lacquer and casein-cement mortars. With their help, you can perfectly fix any alkyd linoleum without a substrate. The mortar is evenly applied in a layer of 3-4 mm on the reverse side of the coating and on the base, using a spatula or brush for this.
In this case, gluing is not done immediately. First of all, the adhesive composition is applied to the subfloor, and then they wait for some time until the so-called "stickiness" occurs, that is, the weathering of excess solvent from the composition. Only after that, the mixture is applied to the reverse side of the linoleum and, after another 10-15 minutes, is glued.
In the first two cases, a notched metal or plastic spatula is used to apply the adhesive. In this case, the size of the teeth should be determined by the thickness of the layer you want to apply.
Important! If you are applying a synthetic based mastic, it is strongly not recommended to use a metal spatula for this, as this can lead to a fire.
All excess glue that will appear at the seams after the linoleum is glued must be removed. You can remove them with an old rag, but this must be done immediately to avoid drying out of the composition. If you used dispersion glue as a solution, then you can easily wash it off by hand with plain water. If you had to deal with mastic, then you can wipe it off with a solvent.
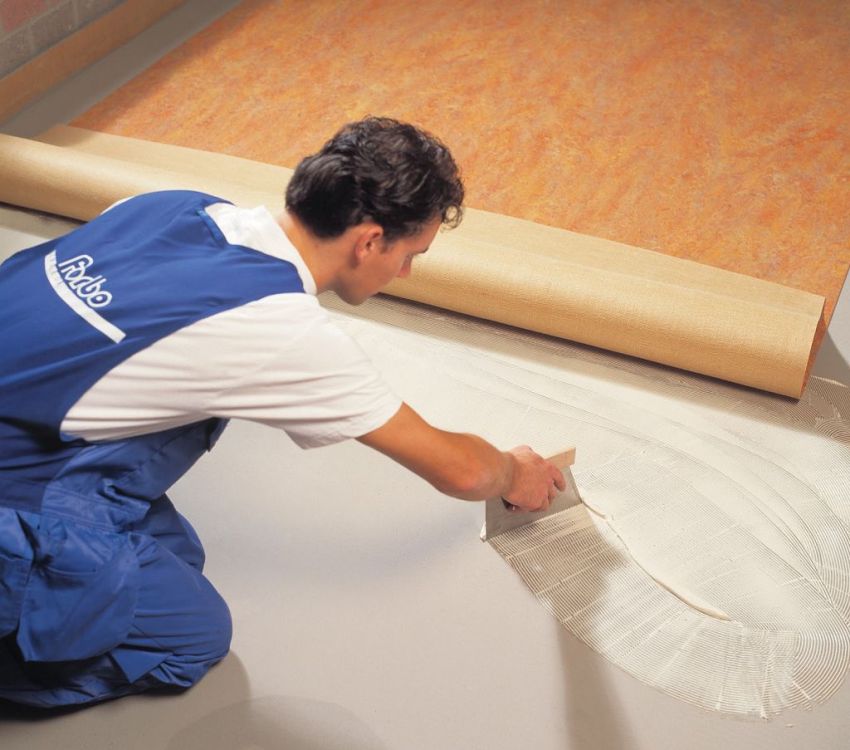
The use of glue when laying linoleum allows you to create a durable floor covering and neat barely noticeable seams at the joints of the sheets
Whether it is worth smearing the entire surface of the coating or whether it will be enough to apply the composition only along the perimeter of each piece depends on the dimensions of the room. Of course, it is better not to save money and carefully glue the maximum area. Although some experts argue that as an alternative to glue, you can use double-sided tape, gluing it around the perimeter of each linoleum element.
How to properly care for linoleum to extend its life
As already mentioned, the quality and technology of laying linoleum largely determines its service life. Therefore, having figured out how to glue linoleum, you should also ask how you need to take care of it. Here are some recommendations of specialists that will allow you to preserve the aesthetic appearance of the coating for a long time:
- detergents containing a solvent or acetone are strictly prohibited to use in the process of caring for linoleum;
- if, for any reason, the integrity of the coating has been damaged and a hole has appeared on the linoleum, you can make a patch in this place. But in this case, you should make sure that the pattern on the coating matches perfectly, and the seams are even and minimally noticeable;
- it is worth taking care of the presence of a protective layer, which can be made using a special composition. It is applied to the surface and then carefully polished. This coating becomes thinner over time, so periodically (about 2-3 times a year) it needs to be renewed.
How much does it cost to put linoleum: prices for materials and work
The question of the cost of certain repair work always remains relevant. Of course, this is what determines costs and largely decides which of the options you prefer. But it is difficult to unequivocally answer the question of the cost of such work, since a lot depends on what the linoleum is glued to, and what kind of material is in question.
The cheapest household linoleum will cost about 200 rubles per meter, but most likely such material will be thin enough and will not last too long. A more or less high-quality coating will cost about 400-500 rubles / m. It is important to understand that if you lay linoleum, the price of which is too low, then at the first load it will most likely be damaged, so you should not save too much.
Everyone can figure out how to glue linoleum without problems. This does not require special skills or abilities. You just need to take into account all the recommendations for the selection and installation of the coating, and then the new floor will delight you with its appearance for many years. Of course, a particularly durable and reliable material will cost much more, but everyone must decide on the advisability of such an investment independently.
Technology laying linoleum: video-instruction for work
In order to visually see how to properly lay linoleum, it is extremely useful to watch the video instruction.So you can once again study the entire technology and pay attention to those subtleties and features that are relevant in a particular case.
