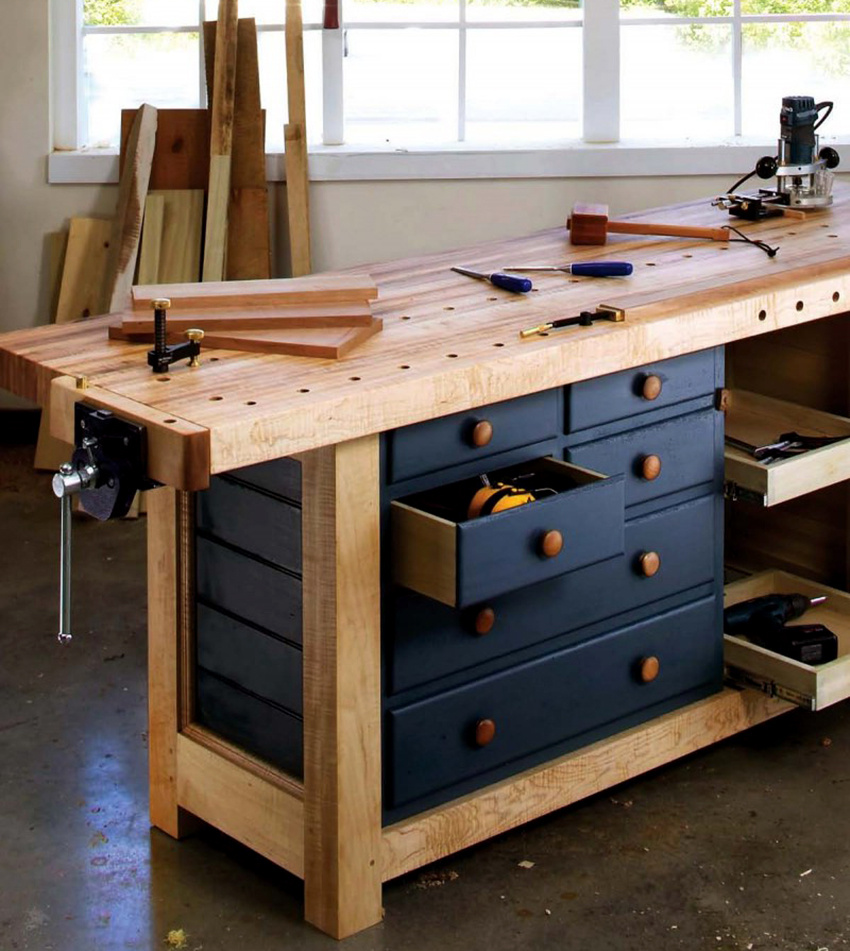
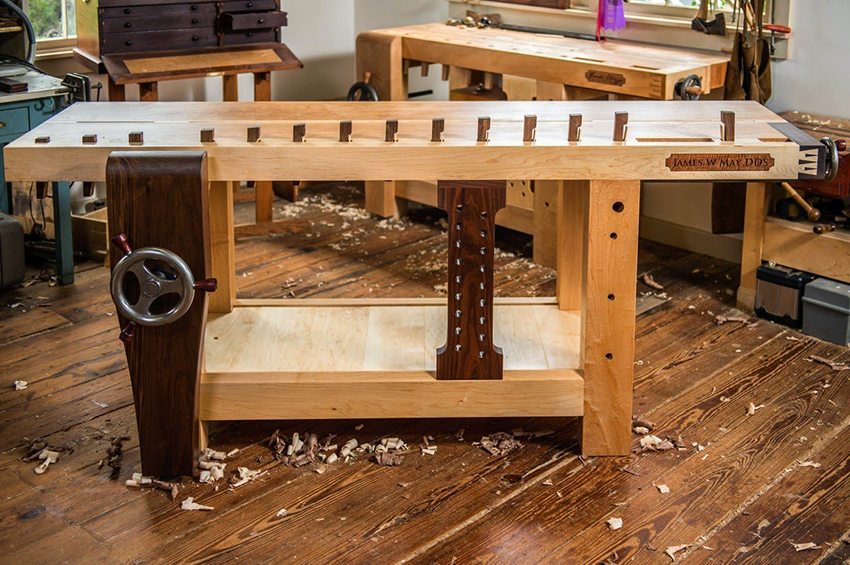
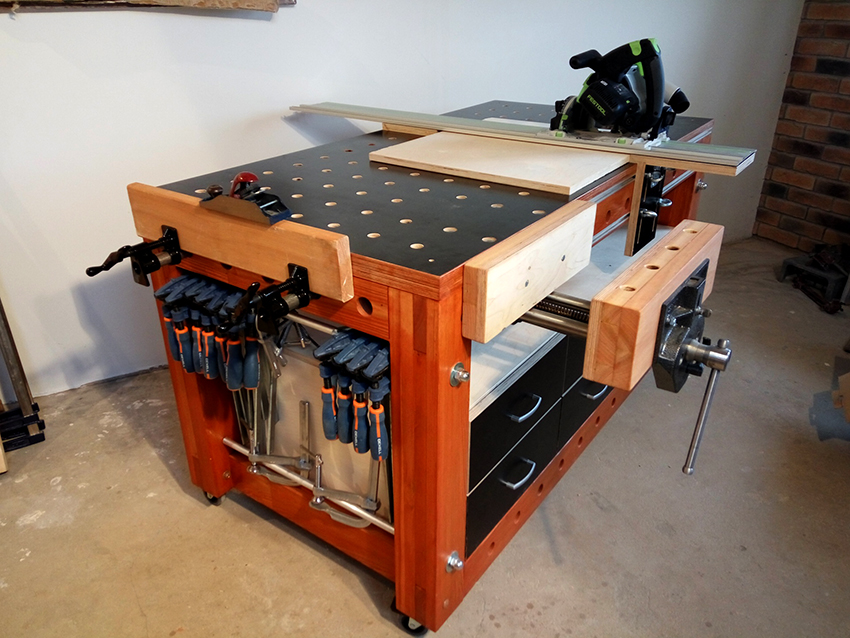
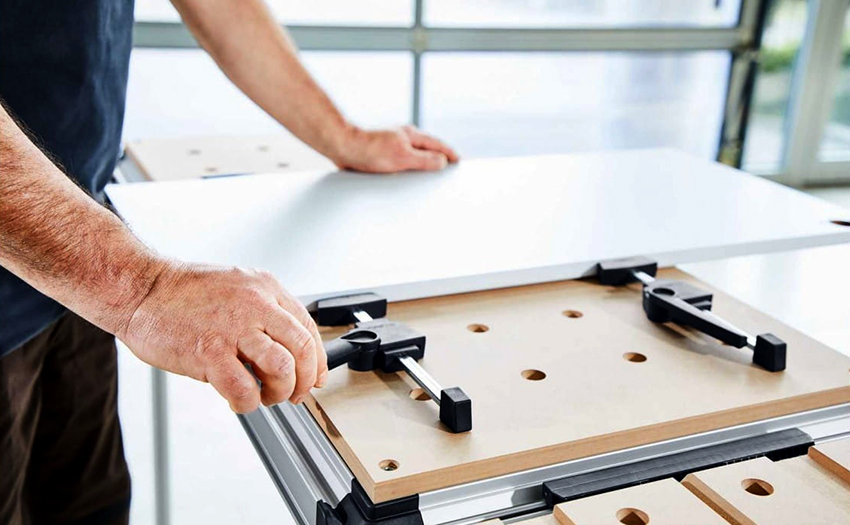
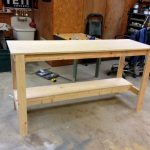
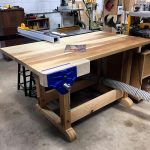
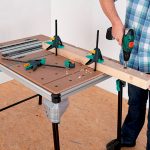
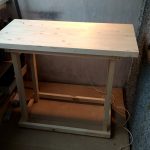
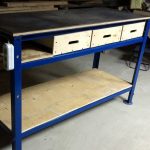
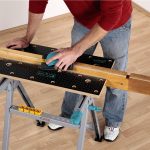
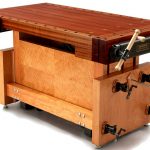
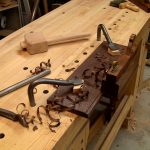
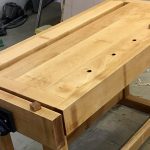
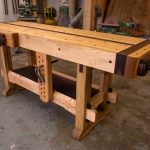
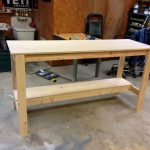
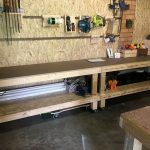
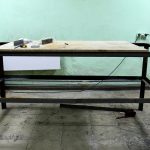
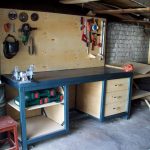
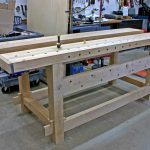
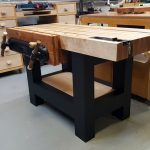
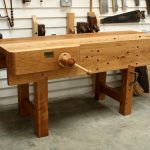
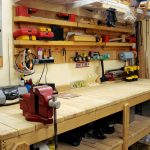
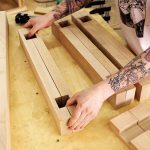
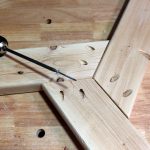
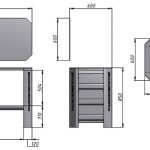
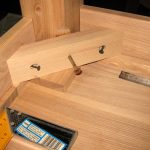
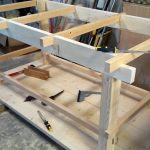
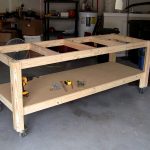
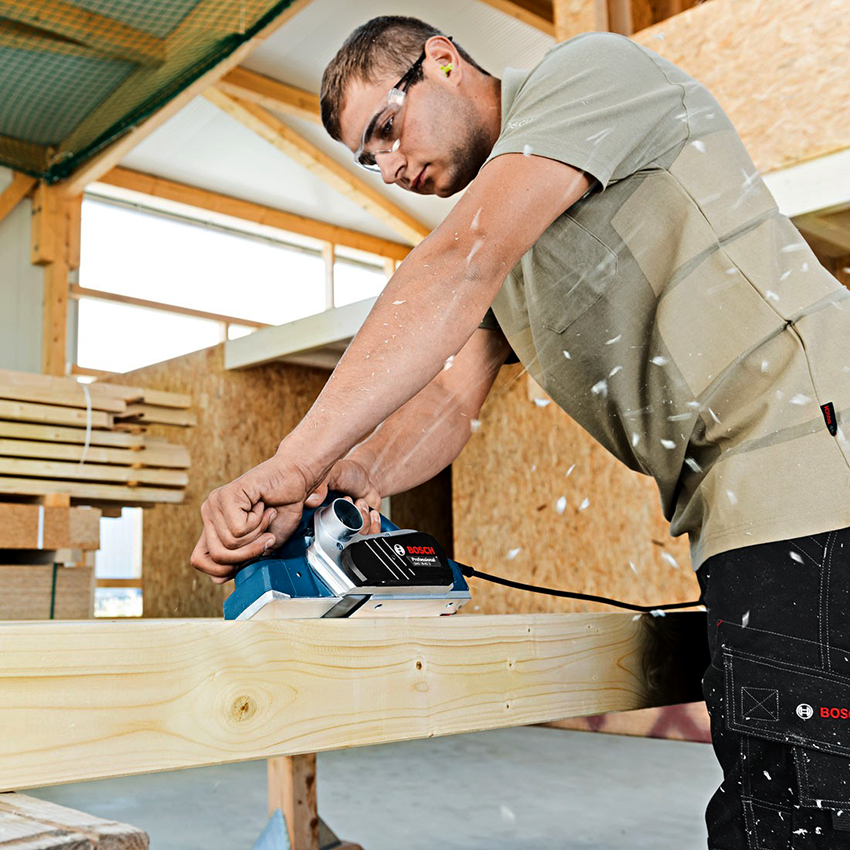
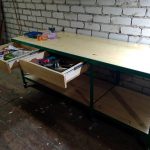
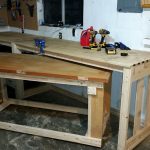
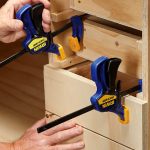
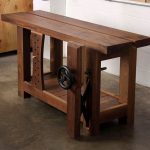
To organize a comfortable corner for woodworking, it is not necessary to buy a specialized table. Having basic skills in working with this material, you can make a joiner's workbench with your own hands. The article contains information that will help you quickly and easily cope with this task: the optimal dimensions of structures and drawings, useful recommendations and step-by-step technology with a detailed description of all actions, as well as visual photographs.

With minimal skills, you can make a carpentry DIY workbench
Content [Hide]
- 1 Workbench: This is the main element of the woodworking workshop
- 2 Materials for making a frame and a carpentry table cover
- 3 The main types of workbenches: photos of structures and vices for various purposes
- 4 How to calculate the dimensions of a workbench in a garage: recommended dimensions
- 5 The best place to install a homemade workbench
- 6 Do-it-yourself carpentry workbench creation technology: drawings, dimensions and procedure
Workbench: This is the main element of the woodworker's workshop
In any workshop where they work with wood, there is a carpentry workbench. Regardless of how the material is processed (manually or using an electric tool), the presence of this element allows not only to competently organize the workspace, but also to make it more convenient and comfortable. All of this ultimately affects the result. In such conditions, the productivity of the master and the quality of his work increases.
A workbench is a work table that is used to process wood products manually or mechanically. Its design and ergonomic features are designed to enable the technician to conveniently fix parts in different positions for different tasks.
The workbench allows you to perform the following operations:
- assembly of wooden structures;
- manufacturing of parts from wood;
- processing of workpieces with varnishing compositions and other means.
Note! The traditional joiner's workbench is designed to work with lumber, the length of which does not exceed 3-3.5 m. To work with longer workpieces, you will have to use the carpenter's workbench.
Carpentry workbench device: design features
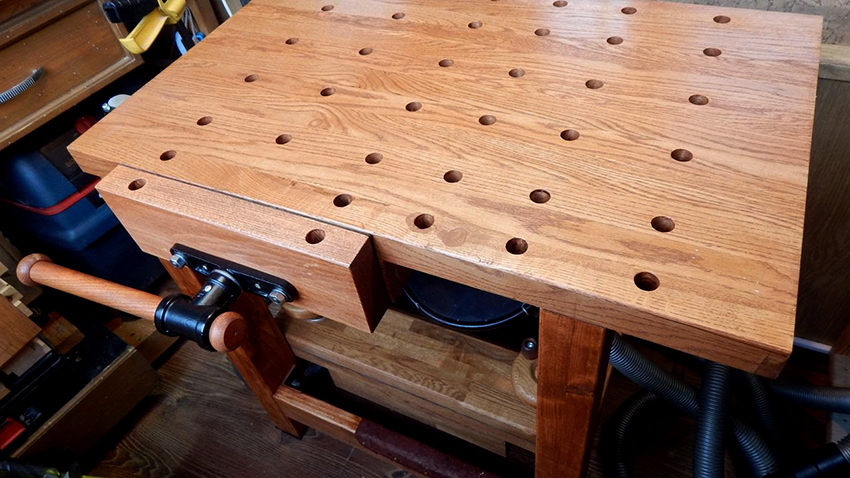
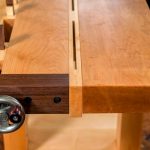
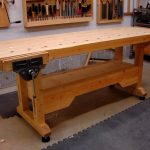
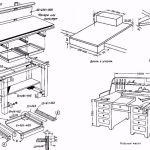
The simplest carpenter's workbench consists of two elements: a workbench (table top) and a pedestal (a frame that performs a load-bearing function).The traditional workbench must be equipped with a vice. Depending on the location, they can be front or end. With the help of a vise, wooden blanks are fixed in the required position.
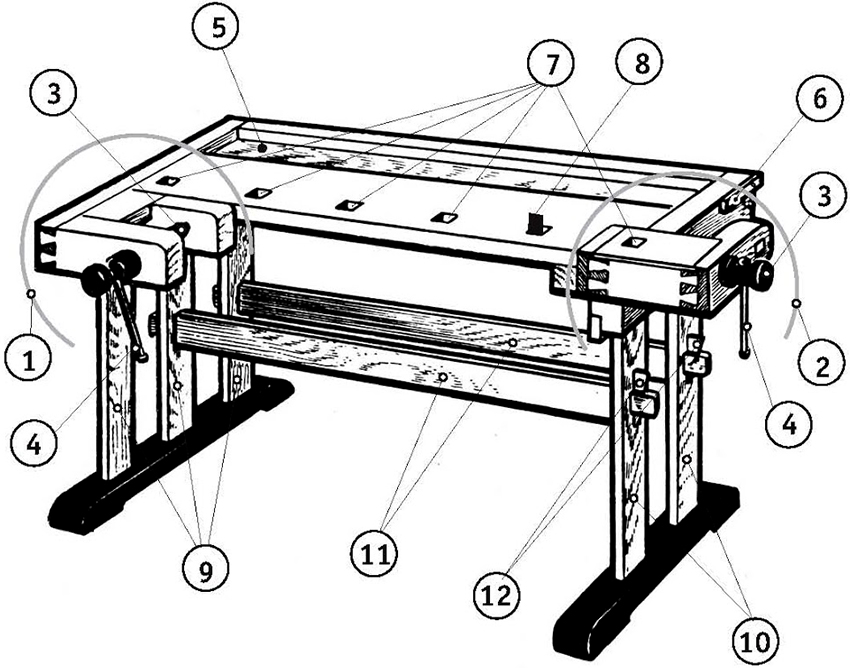
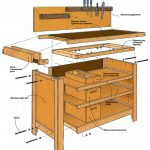
Carpentry workbench device: 1 - front clamp; 2 - back clamp; 3 - screw; 4 - twists; 5 - tray; 6 - emphasis; 7 - sockets for wedges; 8 - wedges; 9 - front legs; 10 - hind legs; 11 - ties (2 pcs.); 12 - wedges (4 pcs.)
The lid of the workshop table, as well as the jaws of the vise made of wood, have holes. They are used to install stops and clamps, which can have different heights and section sizes.
Before work, the stops are set in a certain configuration so that the part can be placed between them in the required position. After the workpiece is installed, it is compressed using the screw mechanism that the vice is equipped with. This design allows you to securely fix the wooden part in a horizontal position.
The vice can be used to work with workpieces of different thicknesses. Stops of different heights are specially provided for this. The size of this element is selected so that during the processing of the part it does not protrude beyond the edge and does not interfere with the master.
Materials for making a frame and a carpentry table cover
In the process of processing wooden blanks, the working surface is subjected to serious loads, therefore, increased requirements are imposed on it. Regardless of whether you are making a regular or a folding carpentry bench with your own hands, its structure must be strong and rigid.
A well-made frame must withstand all types of loads:
- Static. They arise under the influence of a large weight if a massive workpiece is processed on the table.
- Dynamic. Are a side effect of processes such as drilling, sawing, impacting, etc.
The strength characteristics of the frame depend on factors such as the reliability of the fasteners (nails, bolts, nuts, screws) and the type of material from which it is made. The pedestal is made of coniferous wood, such as pine. Although linden or maple is also suitable for these purposes.
The workbench worktop is made of wood with a high strength index:
- beech;
- oak;
- maple;
- ash, etc.
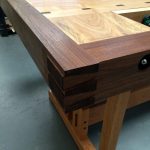
To create a do-it-yourself carpentry table cover, experts recommend taking a glued board. In this case, you do not have to spend a lot of time and effort on fitting the wood. A full-fledged blank in the form of a glued board will eliminate the need to cut out the material, process its edge part, and then glue and align. The finished shield will cost a little more, but it's worth it.
Useful advice! In the process of working with wooden blanks, you can accidentally damage the cover with a power tool. To prevent this, additional flooring can be made for the workbench tabletop from plywood or fiberboard. It is cut according to the shape and dimensions of the lid. It is better if the protective flooring is made together with the workbench.
The main types of workbenches: photos of structures and vices for various purposes
The drawings of tables that can be found on the Internet are presented in a huge variety. To choose the best option for creating a workbench at home, it is better to decide in advance on the type of structure and its configuration. There are several types of tables used for working with wood.
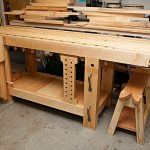
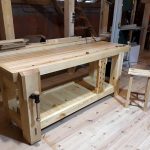
The simplest construction has a stationary type workbench. To create it, you need a minimal set of tools and a little patience.Such structures are mainly used for processing large-sized wooden blanks.
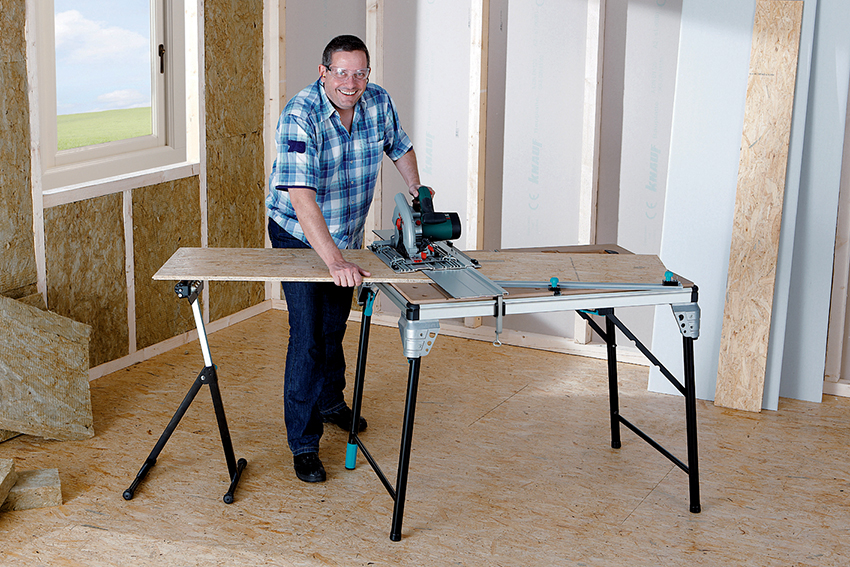
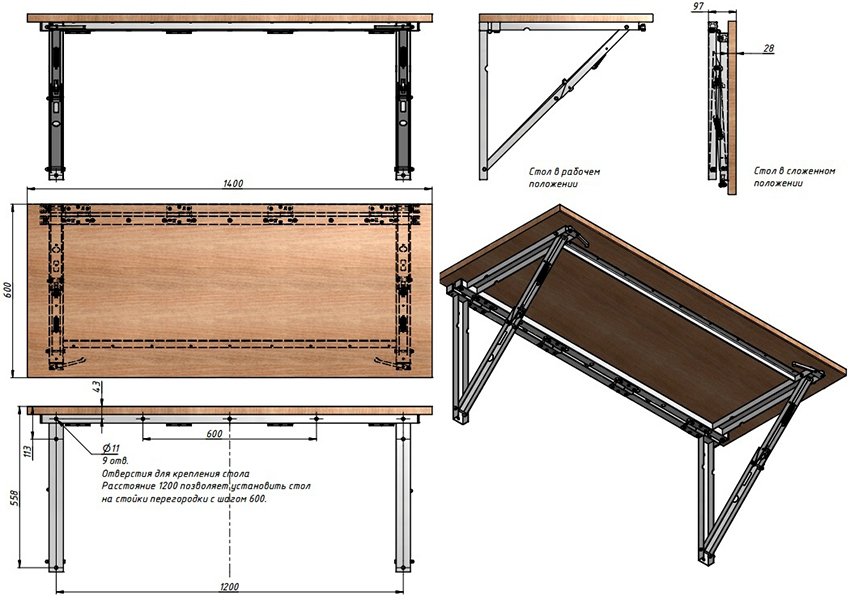
A more complex device has folding type joiner's workbenches. These products are quite compact. Their weight does not exceed 30 kg. Such structures are considered mobile and, if desired, they can be easily moved from one place to another. In folding work benches, the lower support part can be made of metal. This is done in order to increase the stability of the structure. Mobile tables are designed to work with small pieces of wood.
Joiner's workbenches are also composite. In this case, all structural elements are fixed with bolted connections. The advantage of this table is that all of its components are interchangeable. On the other hand, drawings of composite joinery workbenches are quite complex, as is their manufacturing technology. Only an experienced master can handle this task.
Before you start creating a workbench, you need to choose the right vise option. In this case, the specifics of future work must be taken into account.
There are several types of vise for a joinery workbench:
Related article:
DIY hydraulic press: a universal tool from a jack
Selection of the type and design of the structure. Selection of material and tools. The sequence of the assembly of the press.
- Chairs - these devices are rarely used, since they are designed for heavy work.
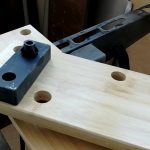
- Universal - designed to work with small workpieces. Bolts are used to secure this fastener to the workbench cover.
- Special - allow you to adjust the position of the workpiece both vertically and horizontally, which greatly simplifies the work of the master.
- Manual - there are instrumental, rotary and non-rotary.
Note! In a fixed and swiveling hand-type vise, the width of the jaws is 8 cm.
How to calculate the dimensions of a workbench in a garage: recommended dimensions
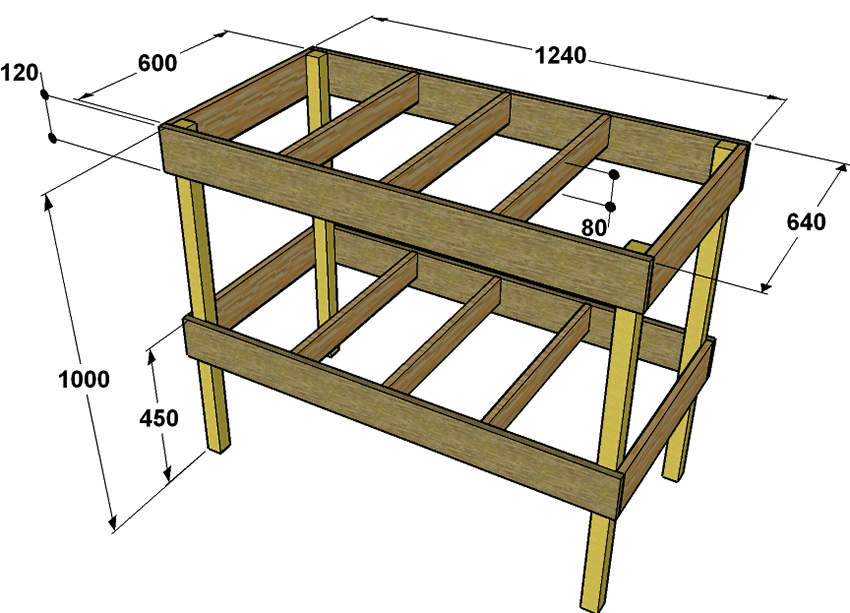
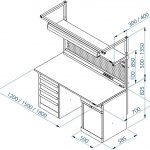
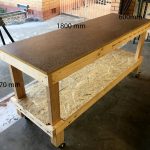
The dimensions of the structure are selected individually, depending on the preferences of the owner, as well as taking into account the proposed types of work. The width of typical structures is in the range of 0.7-1.2 m, and the length is from 1.5 to 2 m. Workbenches are single and double. The differences between these designs are in the length and number of drawer units. If the working table is single, in this case, the optimal dimensions of the tabletop will be 0.8x0.8x1.5 m. In double structures, the length is increased to 2.8 m.
The height of the carpenter's workbench is selected taking into account the height of the master who will work behind it. Usually this indicator varies in the range from 85 to 95 cm. It is quite simple to check the correctness of the calculations. If, standing at the table, the master can freely rest his palms on its lid, then the height is chosen correctly. It is very important not to be mistaken with this indicator, since frequent stretching and bending is harmful to a person's back and can lead to rapid fatigue.
The same applies to metal structures, which can also be used for locksmith work. In any case, the work table must be stable and very durable. The minimum thickness of the cover is 5 cm. Textolite or linoleum is used as upholstery, which will protect the tabletop from damage. In locksmith's workbenches, the wooden surface of the workplace is covered with a steel cover. The minimum thickness of this coating is 5 mm.
The best place to install a homemade workbench
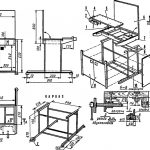
Be sure to take into account the features of the room before making a do-it-yourself locksmith workbench.Drawings of the future structure, as well as its dimensions, are selected taking into account all conditions:
- The type of construction is stationary or mobile.
- The features of the table top are a fixed working area with constant dimensions or a folding cover.
- The functional filling of the workbench is a simple design in the form of a table or a functional version with additional drawers, shelves or tool holders.
- Table configuration - angular, straight or U-shaped.
- The mounting option is a wall-mounted structure or a free-standing table.
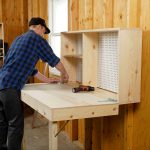
More often than not, there is very little space in the garage or workshop. On the recommendation of specialists, folding structures are preferred when making a do-it-yourself workbench. They are mostly stationary and are usually installed near a wall. In this case, it is better to use the corner area of the room or its least occupied area.
If you intend to make a compact portable workbench with your own hands, you can install it anywhere. After use, the folding structure is simply removed to another place or pushed in.
Important! If the room has windows or ventilation is provided, drafts may occur. It is not recommended to place the workbench in the area of their action, as this can cause problems with the neck and back, as well as with muscles that are warmed up during work.
Do-it-yourself carpentry workbench creation technology: drawings, dimensions and procedure
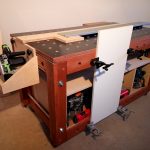
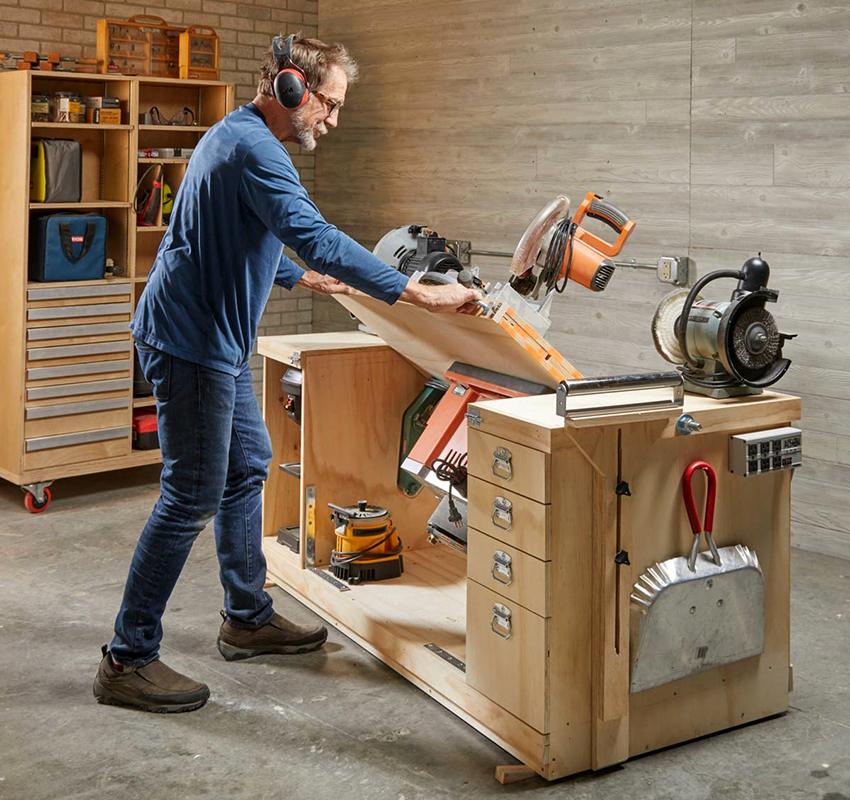
The most convenient option for a private house or garage is a hinged lid design. Unlike a folding workbench table, its work surface rotates rather than unfolds. This design option has a completely different structure, although it is no less functional and compact.
Mobility is achieved through the presence of wheels mounted on the bottom. To prevent arbitrary movement of the structure, it is advisable to use rollers with a locking function. As a last resort, you can install a wedge under the wheels, but this option is not so convenient and practical.
Drawers are installed on the right in the structure for convenient storage of small items. If the table will be used by a left-handed master, they should be placed on the other side, so that everything you need is at hand. In addition, the workbench is equipped with a special holder. It is made from perforated plywood and is mounted on the back of the cabinet. Thus, it becomes possible to maximize the use of the surface of the workbench and to organize additional storage space for small tools for carpentry.
To the left or right (for left-handed people), there is an open compartment in the structure. It is suitable for placing narrow tall equipment such as a drilling machine. The roller mounted on the edge of the table top greatly simplifies the processing of long lumber, and thanks to the multi-socket outlet, several tools can be connected to the mains at the same time.
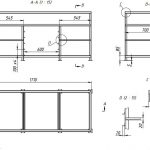
Diy wood workbench drawing and materials for work
Focusing on the design drawing, you need to make all the parts necessary for its assembly. The overall dimensions of the workbench in this case are 175 cm (length) and 76 cm (width). A distinctive feature of this table is a three-layer lid, which has an increased margin of rigidity and strength. The upper and lower levels are made of plywood with a smooth surface. The middle layer of the table top is type-setting, it is formed from boards.
Important! It is imperative to leave a gap between the boards in the middle layer of the countertop. This space is necessary so that the threaded rod can rotate freely.
A table containing a list of materials required to create a wooden joinery workbench:
| Material type | Quantity, pcs. | Dimensions, mm |
| Plywood sheet | 1 | 1.2x1.2 (8 mm) |
| 2 | 0.2x2.5 (8 mm) | |
| 3 | 1.2x2.5 (18-20 mm) | |
| 4 | 0.9x2.5 (25 mm) | |
| 3 | 1.2x2.5 (25 mm) | |
| Perforated plywood | 1 | 1.2x1.2 (8 mm) |
| Threaded rod (stud) | 1 | M20 (180-200 mm) |
| Lock-nut | 2 | M20 |
| Washer | 4 | 20 mm |
| Latch with striker | 4 | — |
| Handle for drawers and folding table top | 8 | — |
| Furniture castor with flat support for fixing | 4 | — |
| Self-tapping screws or wood screws | 0.5KG | M8-M24 |
| Self-tapping screws or wood screws | 0.5KG | M50 |
Diy joiner's workbench: assembling the base
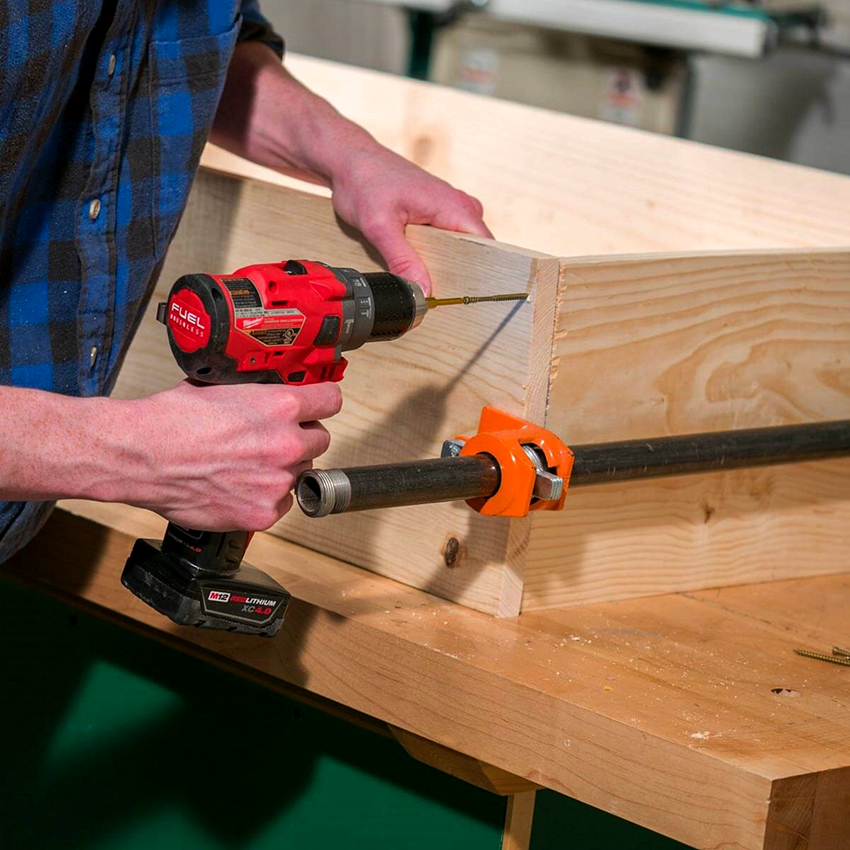
Before making a workbench out of wood, it is better to estimate the amount of work in advance and outline the procedure. Most of the table parts are fixed with screw connections. To facilitate the assembly process, it is advisable to pre-make holes for them in the plywood in the appropriate places. For these purposes, you need to use a drill whose diameter is approximately 1/2 or 1/3 less than the diameter of the fastener itself.
Having prepared all the necessary tools and materials, as well as carefully studying the drawings of the joiner's workbench, you need to make all the details of the structure. A circular saw is suitable for cutting wood and plywood. After that, the end part is necessarily sanded so that the edges of all elements are smooth. This not only simplifies the assembly process, but also avoids problems with joining parts.
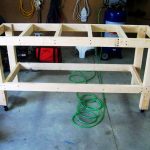
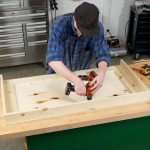
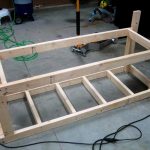
First of all, the base is assembled. It consists of a base plate where a drawer unit will be installed, an open area for equipment and stiffeners to strengthen the structure. To do this, you need to assemble the frame and fix the plate on it. For fixing, use M50 fasteners.
Important! Only dry lumber can be used for work. The optimum wood moisture content is 12%.
How to make a workbench out of wood with your own hands: installation of a pedestal and tabletop
The next step is the installation of side tables. In the process of assembling these elements, be sure to take into account that the plywood, which is attached to the rear of the structure, must be fixed precisely on the frame.
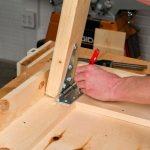
It is also worth paying attention to the fact that the outer plane for the left pedestal used as a support is longer than its inner part. To make a do-it-yourself workbench more rigid, this element must be fixed not on the base plate, but fixed on the frame. The cabinets themselves are installed on a base plate. For this, two types of fasteners are used. The bottom plane is fixed with screws M20-M24. For the inner sides, use corners.
After the curbstones are installed, on their inner sidewalls, you need to accurately determine the middle. This marking is required in order to cut the U-holes for the pivot bar. This must be done so that the center of these holes is located at a distance of 2.2 cm from the lower plane of the top cover on the pedestal.
When you're done, you can slide the threaded rod through the holes in the four uprights. At the same time, its ends should protrude from the workbench by about 4-5 cm. They are fixed (without tightening) with locknuts and washers.
Using clamps or screws, you need to install the support strips for the table top. They will be placed here temporarily - only so that you can align the position of the tabletop and its plane horizontally. Next, three layers of the cover are assembled, which are fixed with screws and adhesive. After that, the bars are removed and the result is checked. The table top should rotate freely.
Then the side surface of the cover (both rotary and stationary) is reinforced with rails. Finally, you need to install the pivot handles and locking latches.
The final stage of assembling a joinery workbench
When all the elements of the frame part are assembled, you can start installing the boxes and fittings. First of all, you need to install the guides in the cabinet on the right. To make it easier to work, it is better to use temporary inserts in the form of wood panels.
Instead of homemade wooden rails, you can use ready-made retractable systems of factory production. Such fittings (subject to high quality) work silently and reliably. These guides can be designed for both full and partial extension. Next, the storage boxes are assembled. For this, screws and a wood-based adhesive are used. The size of the facades is selected taking into account the dimensions of the cabinet.
Important! It is imperative to leave a small gap between the facades (about 1-3 mm), otherwise the drawers will not slide out well.
As a functional addition, a movable bar can be installed on the spacer, along which one or more guide rollers will move. Their number depends on what kind of work will be carried out in the workshop. So that the roller can move freely up and down, a slot is made in the movable bar for it, and then a wing nut is installed, which will act as a clamping screw.
The roller is mounted in the upper part of the movable bar. To do this, use a U-shaped holder. It must necessarily have slots or holes on the sides intended for the roller axis.
Sometimes craftsmen resort to other carpentry tricks, and homemade devices made with their own hands become an excellent addition to a workbench and other equipment:
- compact stands and holders for cutters;
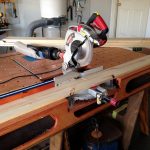
- sliding stops for the miter saw;
- magnetic pads on the jaws of clamps (pipe);
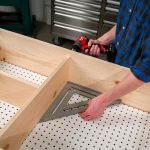
- tools for creating accurate corner holes with a drill;
- guide bars for circular saws;
- table-top machines made of MDF for eccentric sander, etc.
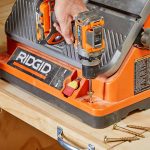
Next, you need to install a carpentry tool on the workbench with your own hands. When installing electrical equipment on a hinged cover, it is imperative to maintain a balance. Do not load only one side or one corner of the workbench. The set screws are recessed at least 2/3 of the thickness in the pivot section of the table top. This allows you to achieve reliable fixation, because the electrical joinery has a lot of weight. In the lateral areas where the work area remains stationary, this fastener can extend through the entire thickness of the cover.
In the finished form, a homemade workbench with a rotary table top and equipment installed on it is very convenient and functional. To protect the wood from the negative effects of moisture, it is advisable to cover it with a primer or even paint. All parts are processed even before the assembly of the workbench and must be thoroughly dried. Painting will also improve the look of your workshop desktop.
