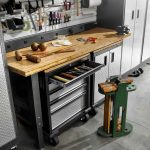
This article will help you understand the desktop device, its dimensions and basic parameters. Guided by step-by-step instructions, it is not difficult to independently make a workbench in the garage with your own hands based on the proposed drawings. The text discusses the main types of structures and common materials used to create them.

The garage workbench is a multifunctional table that is used for joinery, assembly, locksmith and electromechanical work
Content [Hide]
- 1 What is a workbench: the structure and features of the desktop
- 2 Garage workbench requirements: construction dimensions
- 3 What material is better to make a do-it-yourself workbench in the garage
- 4 Creating a wooden workbench in the garage with your own hands: drawings and technology
- 5 How to assemble a metal workbench in the garage with your own hands: photo and step by step technology
What is a workbench: the structure and features of the desktop
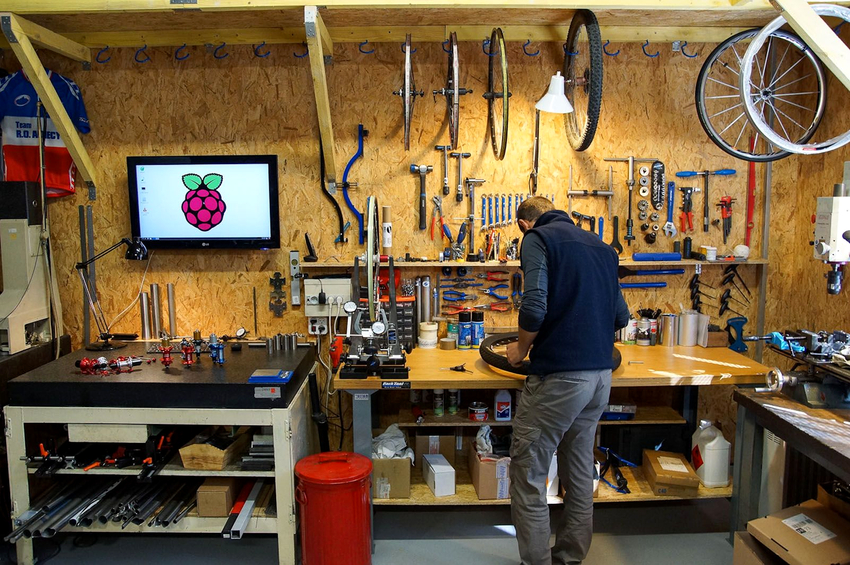
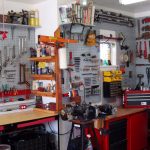
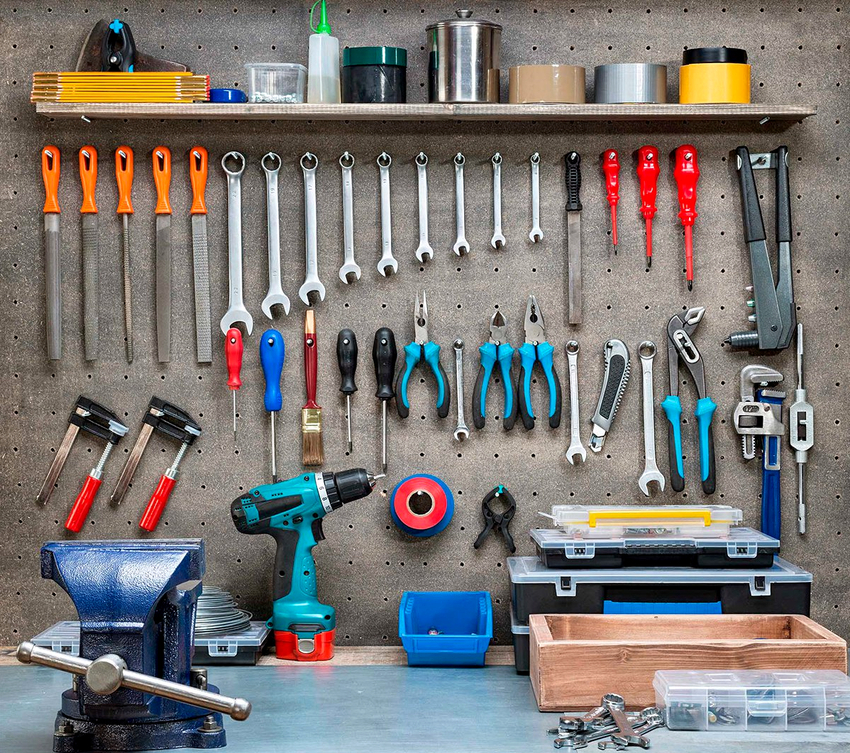
The workbench is a multifunctional table in the garage, which is used for assembly, carpentry and metalwork, as well as electromechanical work. It serves as an ideal place for repairing or manufacturing parts, processing various materials (wood, plastic, metal), assembling and disassembling mechanisms, etc. If the work surface is properly organized, the workbench can be used for convenient storage of electric and hand tools.
The device of a standard workbench table in the garage
Most garages have a limited area, so you need to be very careful when choosing a workbench design and dimensions. The table should be compact, but at the same time as functional as possible. The size of an ordinary garage box is 4x6 m. If you subtract the space that the car takes from its area, there will not be much space left for arranging a desktop in the garage with your own hands.
Despite the fact that the designs of workbenches may differ from each other, there is a standard set of elements, without which it is impossible to make a convenient and functional table.
A metal frame is taken as a basis for creating a workplace. This material has an increased safety margin. The metal structure is capable of withstanding serious weight loads, which, depending on the model, vary between 70-300 kg.
Important! If the table is to be used for processing massive parts of a large size, its frame must be reinforced with diagonal joints.
An essential component of a workbench is a worktop. The material for its creation is selected taking into account the proposed types of work that will be performed in the workshop. The do-it-yourself garage workbench tabletop can be made of stainless or galvanized steel. For these purposes, MDF, moisture-resistant plywood or chipboard are also suitable. The use of wood with a dense structure is allowed. Machine tools, clamps and other locksmith tools are installed on the surface of the tabletop.
Regardless of the material chosen, the tabletop must withstand not only shock and dynamic loads, but also contact with various chemicals, for example, solvents, paints, machine oil, varnish, etc. In conventional factory-made workbenches, the work surface is designed for a load of 300 350 kg. In reinforced models, this figure is 400 kg or more.
Improved options for do-it-yourself workbenches in the garage: photos of functional tables
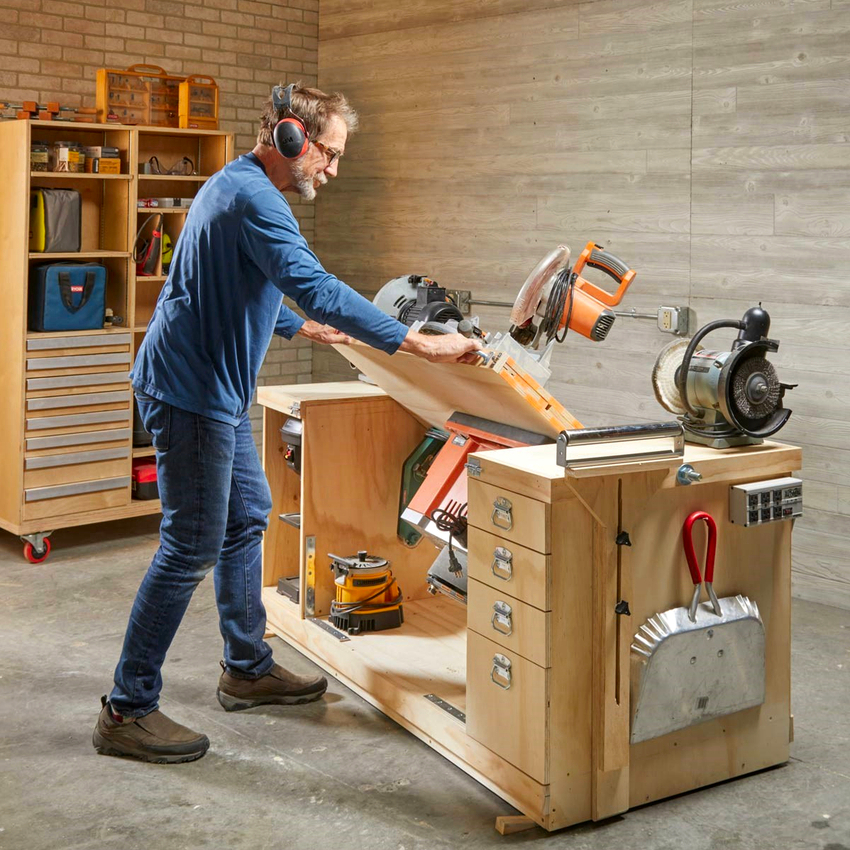
The workbench without a pedestal in the standard version has the simplest structure. This is the easiest and cheapest option to assemble. To increase the working surface and at the same time save free space, folding (folding) structures are usually installed.
The stability of the folding workbench in the garage is ensured by the adjustable legs. Moreover, its tabletop is fixed to the wall. When the device is not in use, the work surface is raised.
The creation of a folding workbench in the garage is resorted to only in cases where it is required to organize a compact workplace in a limited area. In this case, it is assumed that the table will be used extremely rarely. This design cannot be called a well-equipped workplace. In addition, the space under the folding table top must remain free, so it will not be possible to install cabinets or shelves for storing tools.
Useful advice! It is still possible to organize storage spaces in a tight space for tools. For example, using life hacks for a garage workshop, it is easy to install bearing rails with drawers with your own hands, or to supplement a folding tabletop with pedestals on wheels that can be easily moved to another place when the workbench is not in use.
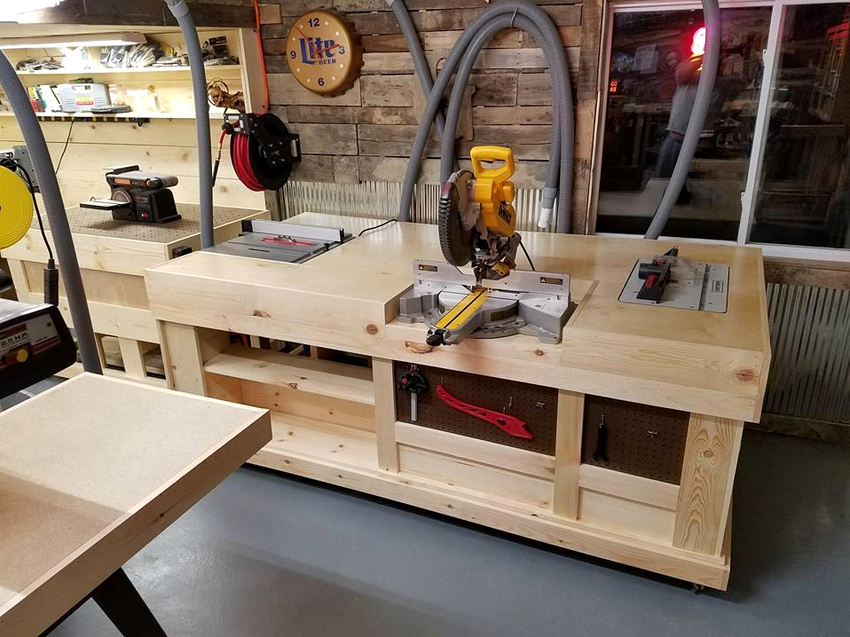
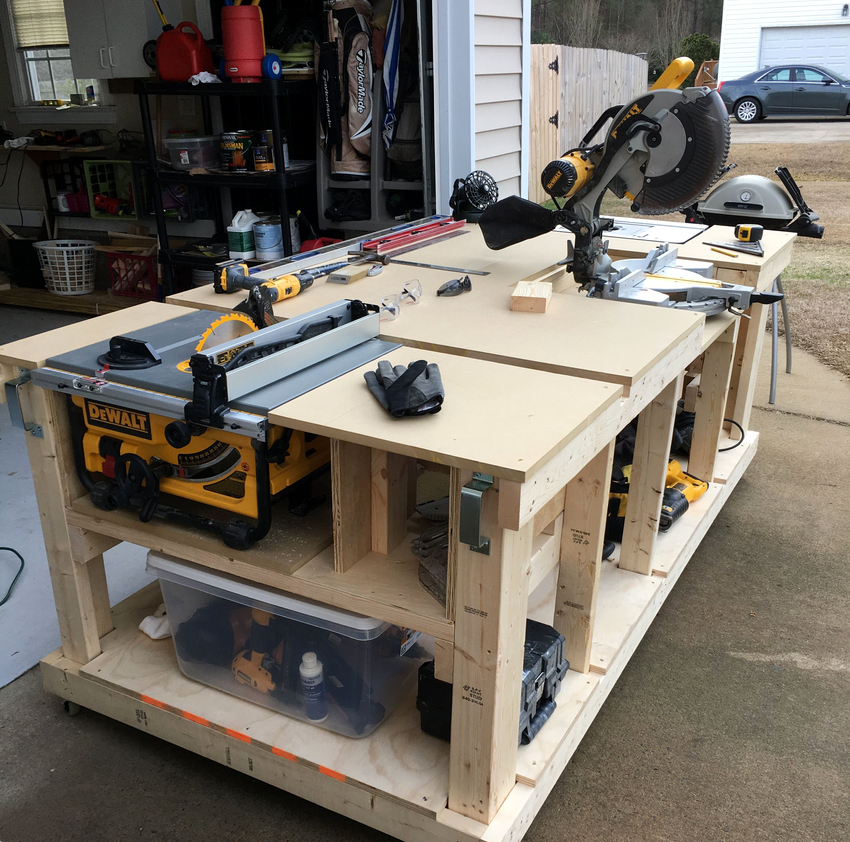
Single-pillar designs are more reliable and stable. The weight of these models is about 100 kg. These workbenches have a reinforced work surface and a cabinet complete with drivers. The movement of the drawers is provided by ball guides. In addition, the design may include adjustable shelves. Central locking is used to lock the drawers. Some functional models may have a dashboard.
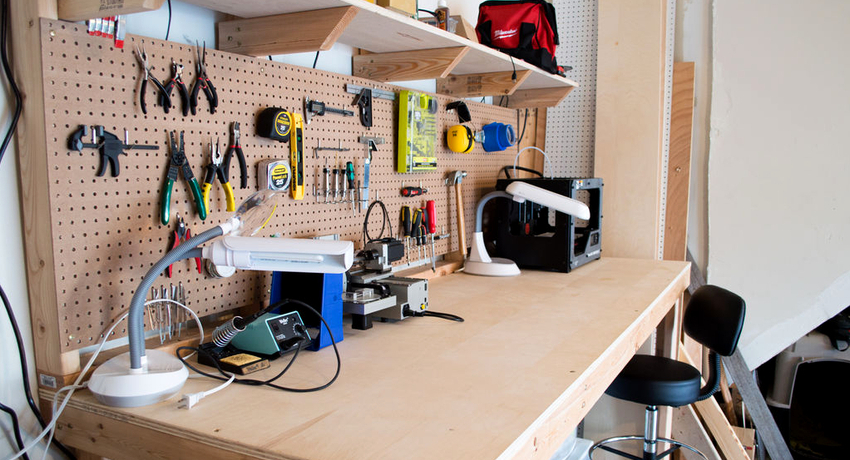
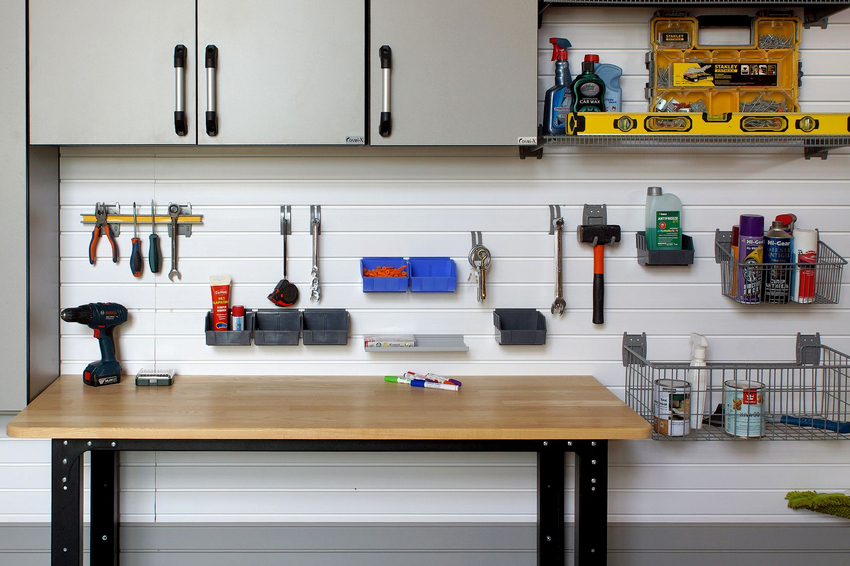
Models with two pedestals weigh 110-115 kg. Provided that the weight is evenly distributed, each box can withstand up to 30 kg of load. In order to make a workbench in the garage more convenient and functional with your own hands, it is recommended to supplement the structure with shelves or racks. A perforated screen can also be included in the package. It is a panel where hooks and holders are installed.
Types of workbenches in the garage: photos of structures for different purposes
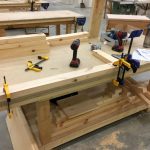
According to their intended purpose, several types of workbenches are distinguished, each of which has its own dimensions. The least commonly used carpentry workbench.The design of such a table for a garage reaches 6 m in length. This size is necessary so that long and thick boards can be placed on the surface. Lumber clamps are also installed on the tabletop. They allow you to fix the boards in a fixed position, which greatly simplifies the process of their processing.
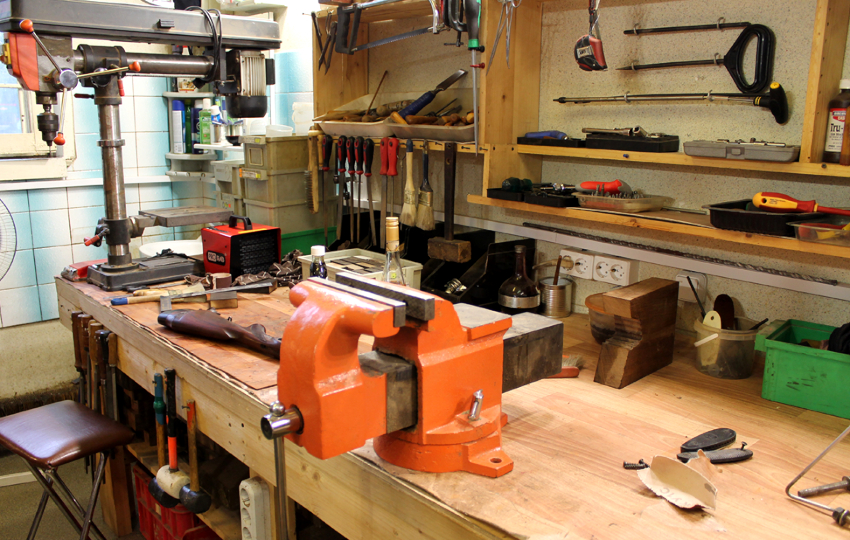
Joiner's workbenches are installed in the garage much more often. The working surface in the structure is usually fixed on a solid frame. The lid of such tables is made of iron or wood (dense species are used, for example, beech or oak). Due to the high strength characteristics on this surface, metal parts can be processed without the risk of damaging the coating.
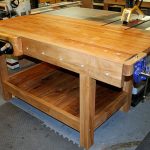
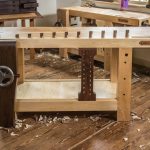
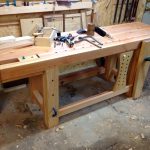
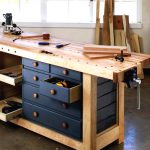
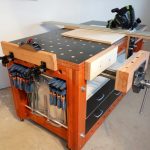
To create a wooden workbench in the garage with your own hands, a pair of support posts are taken as a basis, which are fastened together with the help of longitudinal beams. On one side of the tabletop, a vice is installed, designed to fix metal blanks, and on the other, a rectangular cutout is made. It is necessary in order to be able to move an additional vice along the working surface.
Note! There must be holes in the workbench tabletop that will be used for mounting clamps and stops. Without these devices, it is impossible to carry out carpentry work.
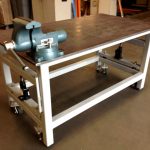
Installing a locksmith table in a garage can be called a universal solution. In this case, the work surface is made of metal, so that the master can safely work with heavy and hard materials.
A metal workbench with a vice is suitable for the following types of work:
- sawing;
- analysis of mechanisms and engine;
- grinding;
- cutting;
- sharpening, etc.
Such structures are much more stable and stronger than other workbenches, although they are distinguished by considerable weight.
Garage workbench requirements: construction dimensions
In order not to lose sight of anything important, it is imperative to draw up a preliminary plan for the manufacture and assembly of a workbench with your own hands, a drawing with dimensions is one of its main points. This takes into account the area of the garage and the size of the vehicle.
The length of the table depends on the amount of free space in the garage, as well as the type of work expected. On average, this figure is about 1.5-2 m. When choosing the width for the future workbench, you need to take into account the nature of the placement of tools and other objects around the table. The shelves on the wall must be easily accessible. For this reason, it is undesirable to make a tabletop more than 60 cm wide, otherwise it will be impossible to reach with your hand to the necessary tools. If the workbench will be located in the center of the room, then the width of its working surface can be increased.
The height of the locksmith's workbench is selected individually. The parameters of the desktop differ significantly from the size of the dining room. They are calculated taking into account the height of the master, as well as the posture in which he is used to working. The standard figure is 80 cm. However, it will be inconvenient to work at such a table in a standing position. To keep the back from getting tired, it is recommended to increase the height to 100 cm.
There is an effective way to accurately determine the optimum workbench height. To do this, you need to take a position in which it will be comfortable to rest your elbows on the table while standing. It remains only to measure the distance from the elbows to the floor.
Useful advice! If the design of the workbench is designed to work in a standing position, be sure to provide a wooden support for the chair in case you want to sit at the table.
A power tool is installed on one side of the workbench.This edge of the worktop should protrude from the frame by about 20-30 cm. If the work surface is made of wood, it should be protected with a metal sheet. Stainless steel with a thickness of 1.5-2 mm is best suited for these purposes. Although a regular steel sheet with a thickness of 1.5 mm will be cheaper.
What material is better to make a do-it-yourself workbench in the garage
There are several options for making a desktop. By the type of material used for the manufacture of workbenches there are:
- wooden;
- metal;
- combined.
Combined workbenches use a wood base and sheet metal to reinforce the worktop. In addition, the design contains metal combs, as well as threaded screws. Combined devices include metal tables with drawers and tool shelves made of wood.
Advantages and disadvantages of a wooden workbench in a garage
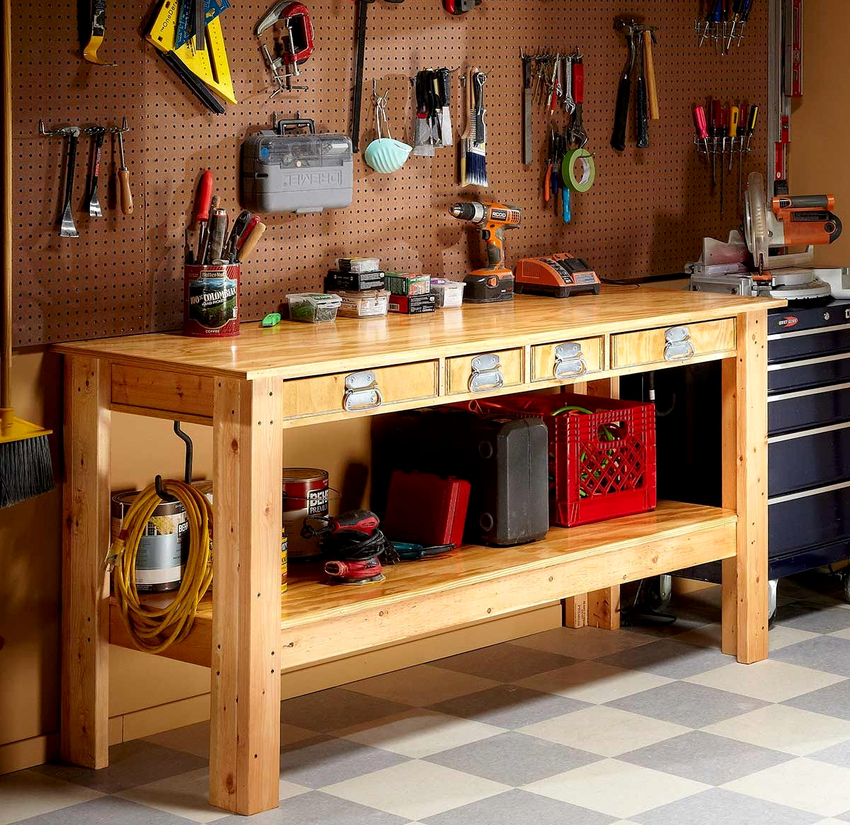
The choice of material for making a table is primarily determined by its purpose. A wooden workbench in a garage is usually installed in cases where you need to quickly organize a workplace to perform simple operations. To create the frame part, you can use boards measuring 4x8 cm or a bar measuring 5x10 cm. The rectangular base is assembled taking into account standard dimensions, and its components are fixed with nails or self-tapping screws.
To strengthen the structure, wooden spacers are installed in the upper and lower parts between the legs. The lower ones, which are located at a height of 15 cm from the floor, can be used as a base for a shelf. For assembling the countertop, a planed grooved board made of oak or beech is suitable. You can also use a couple of 1.8 cm thick plywood sheets that are glued together and trimmed along the edge.
To create a do-it-yourself workbench in a garage made of wood does not require much effort and skills in handling a welding machine. The set of tools is minimal (electric jigsaw and drill), and the process itself takes much less time than making a metal structure.
On the other hand, a wooden table has many disadvantages:
- unable to withstand significant power loads;
- the working surface is not designed for the installation of several tools, which does not allow the simultaneous use of heavy locksmith's vice and sharpening or drilling;
- the wooden frame is short-lived;
- wood reacts poorly to moisture and contact with various paints, oils and other substances;
- there is a fire hazard.
Useful advice! The wooden surface must be treated with an antiseptic. This will protect it from decay.
Advantages and Disadvantages of a Metal Garage Workbench
To assemble a welder's table with your own hands, you will need special equipment and skills in handling it. The elements of the workbench are connected by welding. Not every craftsman can make a high-quality metal structure. In addition, the table turns out to be very heavy, and the material itself, unlike wood, is not cheap.
Related article:
Do-it-yourself joiner's workbench: how to organize a comfortable workplace
Types of structures, their main elements and purpose. Do-it-yourself workbench manufacturing technology with drawings and a detailed description of the actions.
On the other hand, metal workbenches in a garage have many advantages that many car owners will appreciate:
- compactness with a high degree of reliability;
- the ability to withstand severe mechanical stress;
- increased weight of the structure, making it more stable;
- a wide range of modifications (the design can be folding, mobile, shortened or with a folding table top);
- strength and reliability of all connections;
- fire safety;
- durability and ease of care;
- the absence of sharp corners makes the tabletop safe;
- the work surface allows the installation of two sets of vices;
- due to the high strength of the material on the table, cutting and sawing, as well as grinding and turning of metal and wood parts, can be performed;
- the space under the countertop can be used to install shelves, organizers, nets and tool boxes;
- metal shavings do not damage the surface.
Useful advice! To prevent the appearance of rust, the metal surface must be treated with anti-corrosion agents.
Creating a wooden workbench in the garage with your own hands: drawings and technology
Lacking sufficient skills and knowledge, it is better to give preference to a wooden workbench. It is much easier to work with a bar than to assemble a heavy metal structure from a steel corner by welding. In this case, you can limit yourself to an elementary jigsaw and drill.
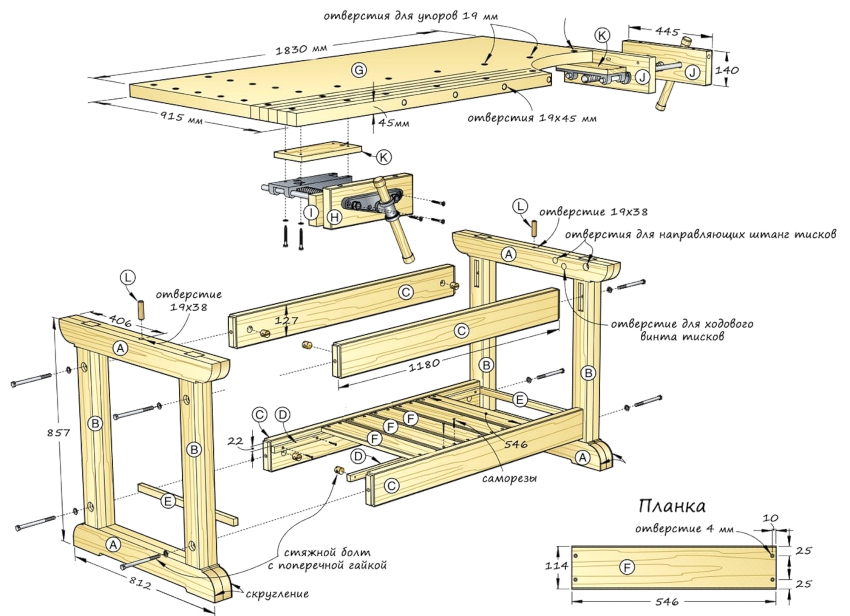
Before you make your own workbench out of wood, you should make all the parts necessary for its assembly.
Before equipping a workbench in the garage for tools, you need to decide not only on its size, but also on its placement. It is advisable to choose a garage area for arranging a workplace where there is access to sockets, as well as a good level of lighting. It is most convenient to work when natural light falls from the left or directly in front of the master.
The workbench and the equipment itself must be located so that in the process of work it is not required to drive the car out of the garage. In this case, the structure should not interfere with the free entry of the car or block the door.
Before you make a do-it-yourself workbench out of wood, you need to make all the parts necessary for its assembly. The ideal sawing tool is a stationary circular saw. As a last resort, you can use its manual option. The edge of the material is cut off with an electric jigsaw.
A bar is suitable as a material. It is advisable to take pine or oak. It is these types of wood that are highly durable. The size of the lumber depends on the design of the workbench itself and its features. A 15 m long beam is considered the best option for most tables. The section is selected taking into account the expected loads. To assemble the tabletop, you can take an edged board. For this, a material with a thickness of about 2-3 cm is suitable.
Important! The boards for the countertop must have a smooth surface. Defects or flaws, such as cracks, knots, pits, are not allowed.
To make the workbench as functional as possible, an additional shelf can be installed between the two pedestals under the worktop. To create it, you will need three plywood sheets 0.6-0.8 cm thick and 60x200 cm in size. Self-tapping screws designed for working with wood are suitable as fasteners. Some table components will need to be secured with steel corners.
How to make a workbench in the garage with your own hands: cutting the material and the assembly process
Taking into account the dimensions that are prescribed in the drawings, the frame part of the table is made. To do this, a wooden bar is sawn into several parts so that the following details are obtained:
- leg racks (4 pcs.);
- cross braces (5 pcs.);
- horizontal beams (4 pcs.).
If the size of the selected workbench does not exceed 2 m, then a timber with a section of 7 cm can be used for work. The vertical racks must be cut so that the result is a pair of parts 90 cm in size and two elements of 150 cm each. The difference in size is due to the need to install a screen for the tool, which will be fixed on the supports.
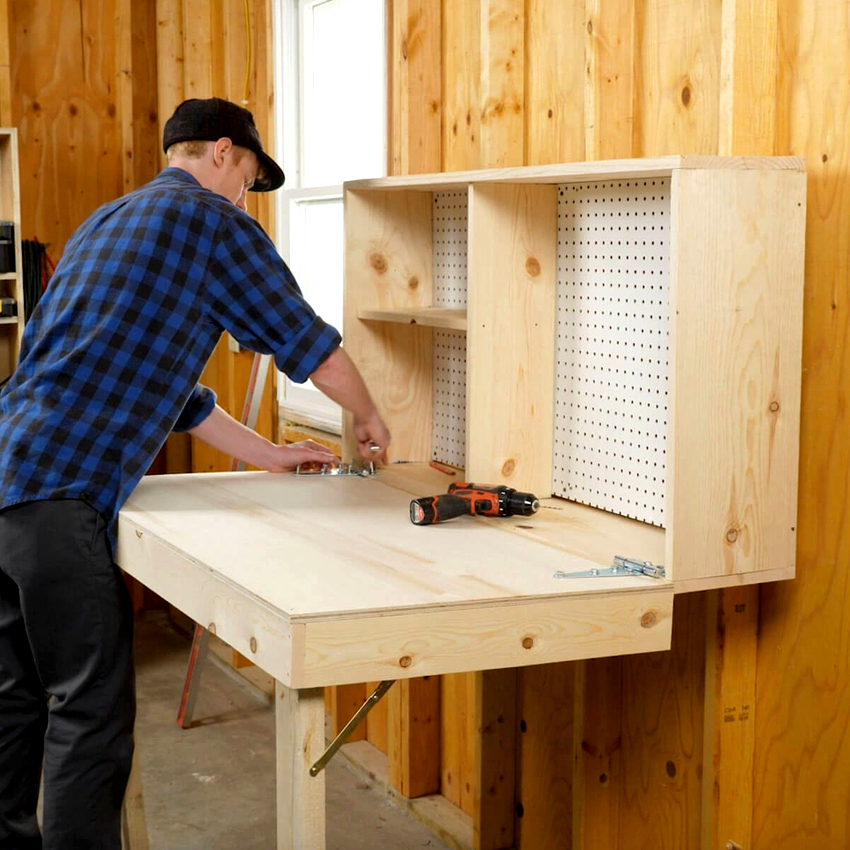
After making the frame part of the workbench, the working surface is assembled from boards and a sheet of plywood
The horizontal beams act as connecting elements between the table legs. The support legs in the lower part are fixed using parts 150 cm long. To fix the tabletop, you will need a 2 m long beam. The 60 cm spacers are made from the remaining material. After that, all table components are connected using self-tapping screws and steel corners.
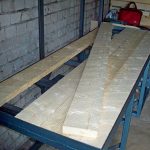
When the frame part is ready, the work surface is assembled from boards and a sheet of plywood. The resulting canvas is adjusted to the dimensions of the workbench, leveled and processed with wood glue. After complete drying, it is firmly fixed on the frame with self-tapping screws.
How to assemble a metal workbench in the garage with your own hands: photo and step by step technology
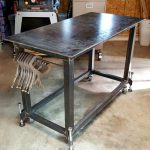
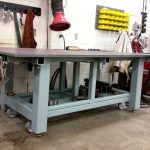
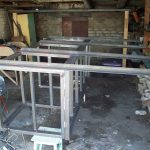
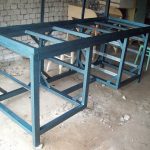
The metal structure is assembled on the basis of a steel angle. A grinder and a welding machine act as an auxiliary tool.
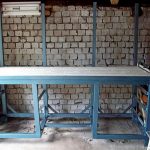
The working surface of the locksmith's workbench must be made of sheet steel with a thickness of at least 0.5 cm
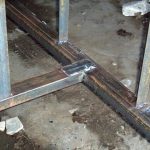
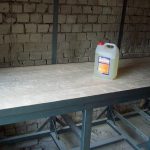
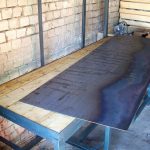
First of all, to create a workbench in the garage from metal with your own hands, you need to cut out a frame blank for the upper canvas. In locksmith tables, it is better to make the work surface of sheet steel with a thickness of at least 0.5 cm. On the surface, in accordance with the drawing, corners are installed, which will subsequently be used to fix the base of the table top. Before these elements are finally secured by welding, they must be aligned in the corners and secured with clamps. After that, the connecting seams are carefully cleaned.
If the master has a semi-automatic welding machine at hand, you can pre-connect the metal workpieces of the table. After that, a steel sheet is fixed on them. In this case, spot welding is mandatory. If standard technology is used when joining the work surface to the metal frame, there is a high possibility of overheating and damage to the sheet. As a result, waves may appear on the surface of the countertop, which will create inconvenience in the process of work.
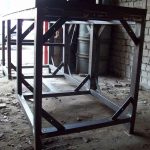
At the next stage, vertical posts must be made from a steel corner and connected to the frame part. If the floor in the garage is strewn with gravel, for greater stability of the workbench, special supports (pyataks) must be welded to its legs. In rooms with concrete floors, the work table is fixed with anchor bolts. For this, it will also be necessary to provide for the corresponding elements in the design.
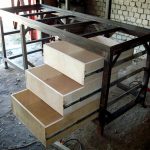
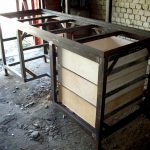
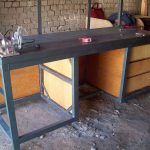
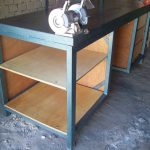
Then the cross members are made. They are welded horizontally at the bottom on the support legs. To strengthen the structure, a diagonal brace should be installed on the back of the table. Under the boxes, which can be made from any available materials, you need to weld transverse sections and longitudinal corners.
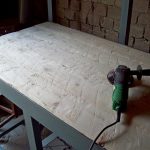
The finished structure needs finishing work. At the final stage, the seams of the metal structure are cleaned and primed, after which the entire table is painted. Finishing a wooden table involves sanding and painting / varnishing.
A well-made workbench will create optimal conditions for working in the garage. If all the necessary requirements are met, the structure will last a long time.
