Unique and memorable element landscape design - do-it-yourself alpine slide. The step-by-step photo instruction presented below will help you understand some of the intricacies of landscape business and create an original and very beautiful corner in a suburban area or against the background of the facade of a house.
Content [Hide]
Choosing a place for an alpine slide
A rock garden or alpine slide is a small piece of wildlife located in a garden or plot. For such a masterpiece, you need to choose a place that is viewed from all sides. For a developed rock garden, sunlight is needed, so for it you need to allocate a part of the garden, located away from existing buildings and large trees with a developed crown.
It is good if the slide is located on the south side, not far from the recreation area. This arrangement will allow you to get optimal lighting, and you will be able to admire the beauty of wild plants and rocky stones much more often. Also, when choosing a place for decorative flower beds, you need to pay attention to the quality of the soil. It is much easier to equip a rock garden on sandstones, but if the soil is clayey, then additional work will be required to create drainage.
What time of the year can a rock garden be equipped?
When arranging an alpine slide, the scope of work is such that it practically does not depend on the season. But it is not worth doing this in winter due to weather conditions. But the best option is still considered early autumn, when amateur gardeners have free time between harvesting and harvesting the site for the winter.
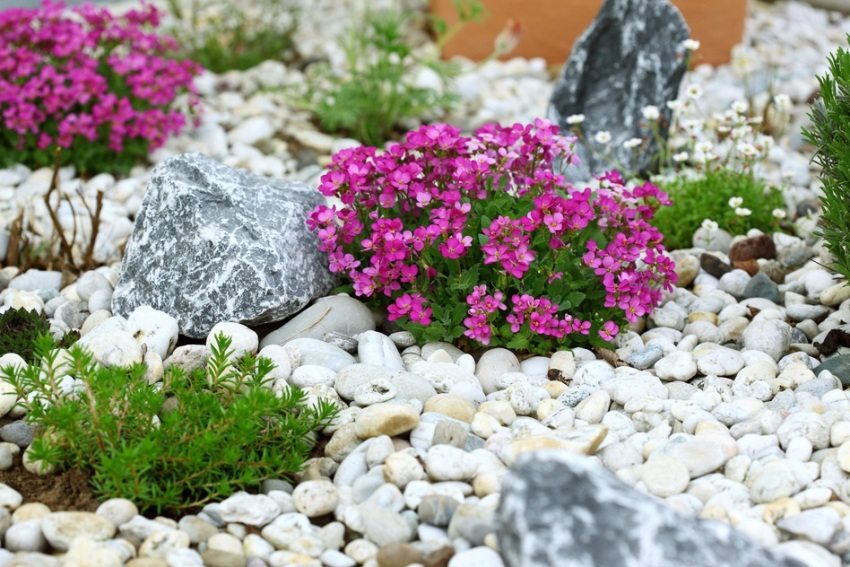
Alpine slide using small and large stones
It is worth knowing that the rock garden takes several months to shrink naturally. After that, all previously invisible errors will be visible. Before planting plants, these disadvantages should be eliminated. If the planting of representatives of the flora is planned for the fall, preparations begin in the spring. There are several basic rules for creating an alpine slide with your own hands. A step-by-step photo gallery demonstrates the intricacies of this process.
Basic rules for arranging a rock garden
Landscaping masters have developed plans and schemes according to which the rock garden is being arranged.They take into account all the subtleties and nuances that help determine the location of the flower bed and the order of planting.
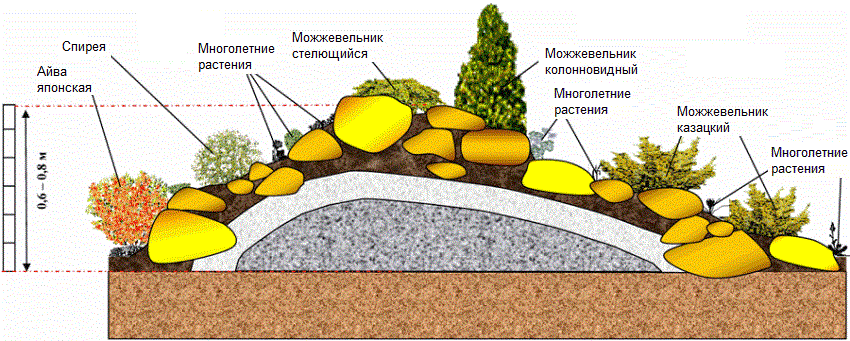
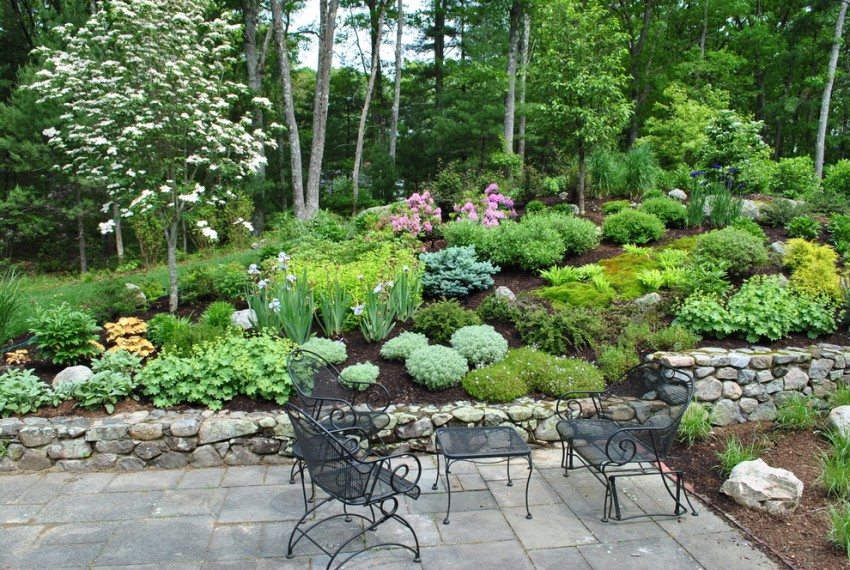
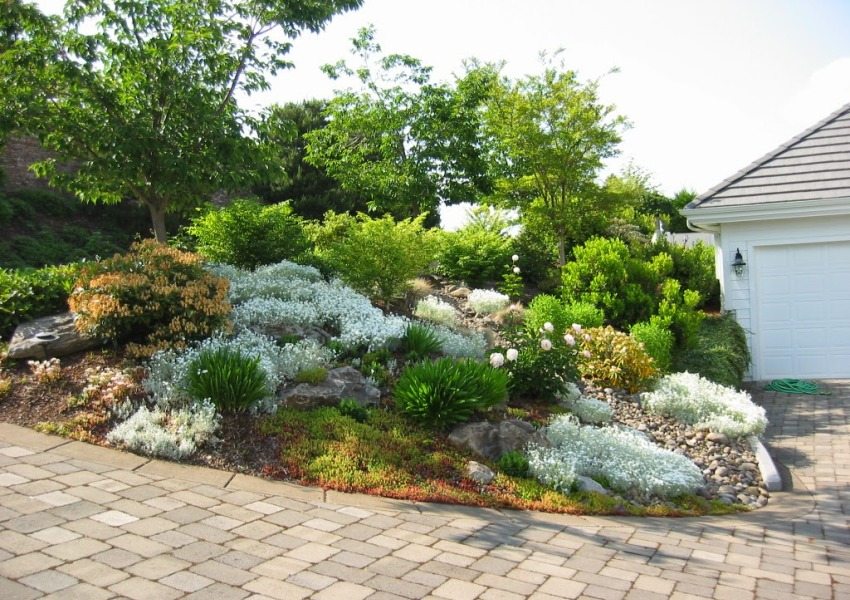
Provided that the alpine slide can be viewed from any side, the pyramidal shape, which has the highest point in the center, is best suited. Maintaining symmetry when arranging a piece of wildlife is not worth it. The composition will look more original if all elements are located abstractly. If the location of the rock garden is planned on an existing slope, then parts of the structure can be placed at the same level.
The height of the rock garden should correspond to its area. For each meter of the diameter of the future club, it is necessary to provide for a rise of about 0.2 m, respectively, an alpine slide with a diameter of about 4 meters should be at least 80 cm in height. DIY step-by-step photos of alpine slides are presented below.
Alpine slide with your own hands. Step by step photo gallery
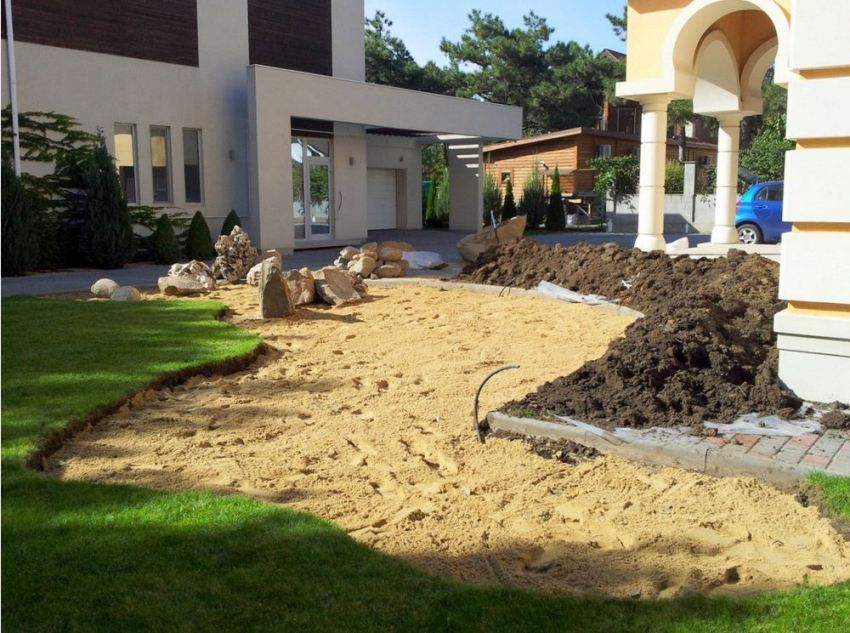
Usually, amateur gardeners ignore the preparatory work stage, equipping alpine slides in the country with their own hands. Photos of such not very successful compositions are presented in large numbers on specialized sites. Rock gardens, which are a common pile of stones, with plants planted between them, rather quickly lose their appearance and shape. Therefore, before arranging such a masterpiece, you need to carefully read the stages of work.
Drainage and soil
Since the earth under the pressure of heavy stones used to create the alpine slide settles, a drainage base should be provided for the entire structure. It is also necessary for expensive plants, as it allows you to create an optimal microclimate for their development.
Related article:
Do-it-yourself pond in the country. Step by step photo instruction. Creation of an artificial reservoir in a suburban area. Rules for decorating and planting plants. Preparing the pond for winter. Photo of reservoirs.
The following are often used as drainage:
- broken red or white brick;
- fine gravel;
- small stones;
- crushed stone;
- construction waste of non-wood origin.
For its laying, a pit is dug. The depth of the pit will be approximately 1 meter with a total area of the alpine garden of 8-9 m². This is about 3-4 bayonets of an ordinary shovel. The drainage is laid in the pit and spilled well with water, after which it is covered with earth.
An example of a good soil is a mixture of ordinary, free from weeds and debris, soil with peat and ordinary river sand in equal quantities. In general, there are no special requirements for the composition of the base, because most often unpretentious plants are used for the rock garden.
Helpful advice! It is recommended to thoroughly spill each layer of drainage and soil laid with water, as well as to carry out final watering after planting all the plants.
The choice of stones and their location
There are many varieties of stones that will look great in your garden. These include:
- granite;
- wild stone;
- limestone;
- tuff;
- sandstone and others.
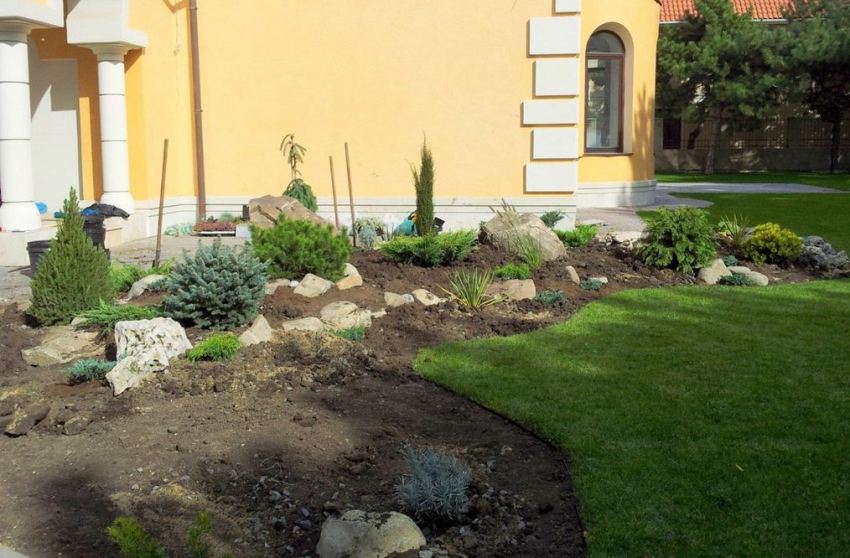
Step 3: disembark perennial plants
Observing the following simple rules, it is easy to create an alpine slide with your own hands. Step by step photos the location of the stones will help you choose the optimal design for any site. So:
- the selected stones should not be the same size;
- it is preferable to select specimens uneven in shape and structure;
- the finished flower bed should be asymmetrical to the maximum;
- the selected stones must be of the same type.
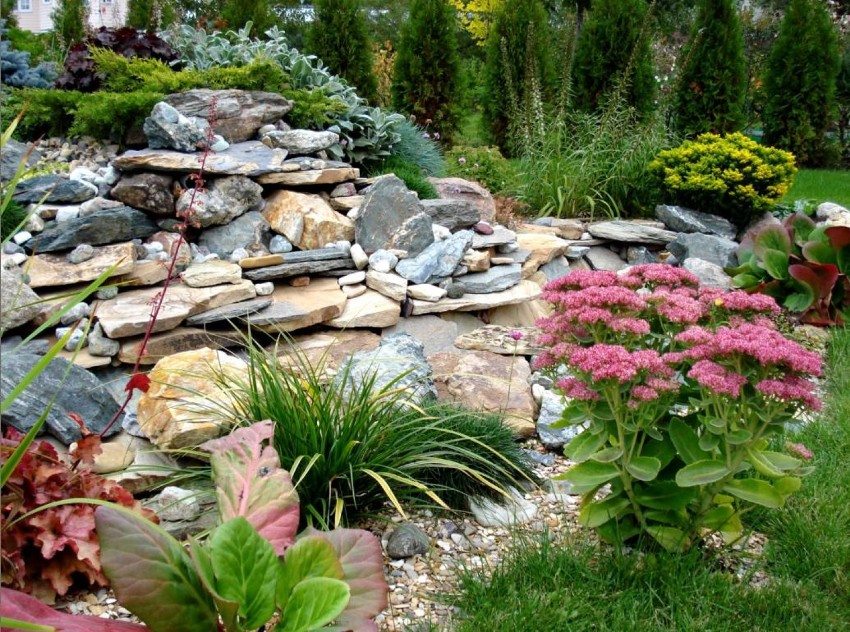
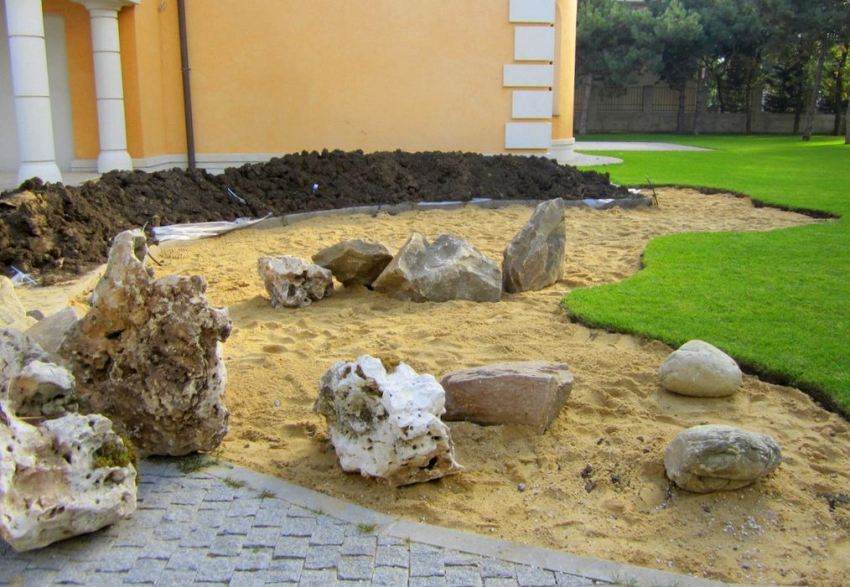
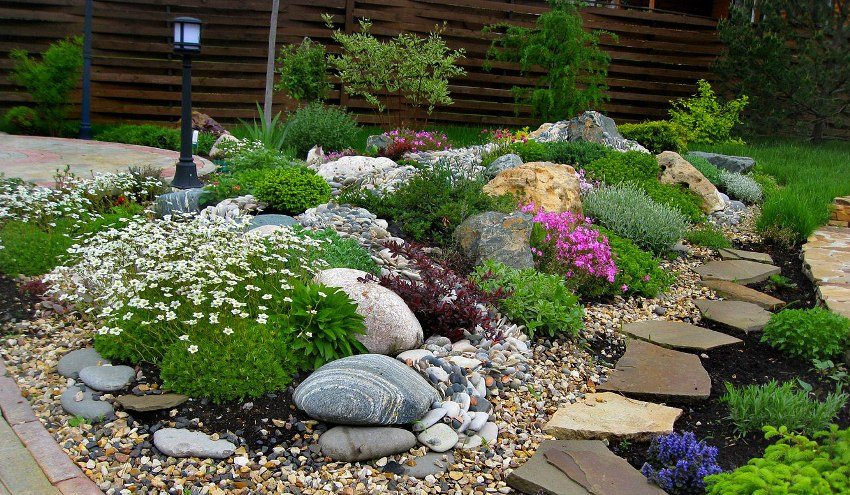
You can arrange stone elements in different ways, it all depends on the owner's imagination. Professional designers offer several schemes for laying boulders.Large stone blocks located throughout the entire area of the rock garden, with smaller fragments scattered between them, look quite original.
Someone will prefer to place the most beautiful and interesting boulder at the very top of the slide, while someone, on the contrary, will lay large specimens closer to the bottom. Any options are eligible for implementation.
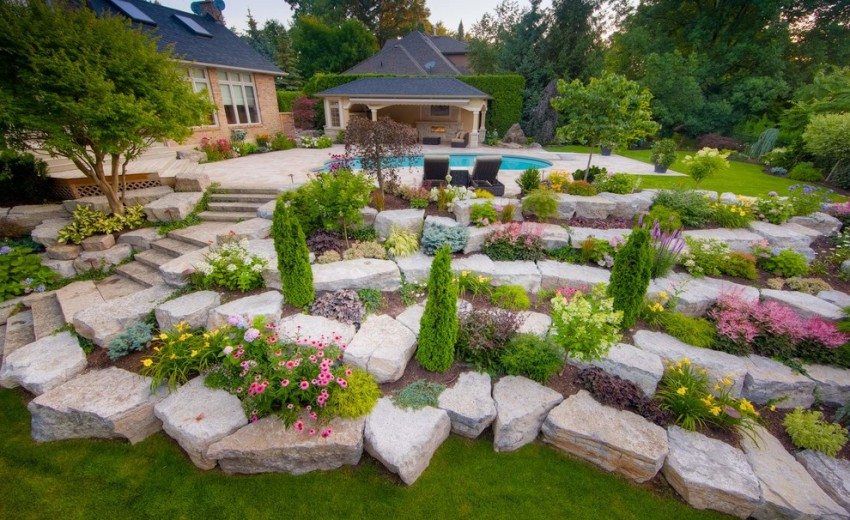
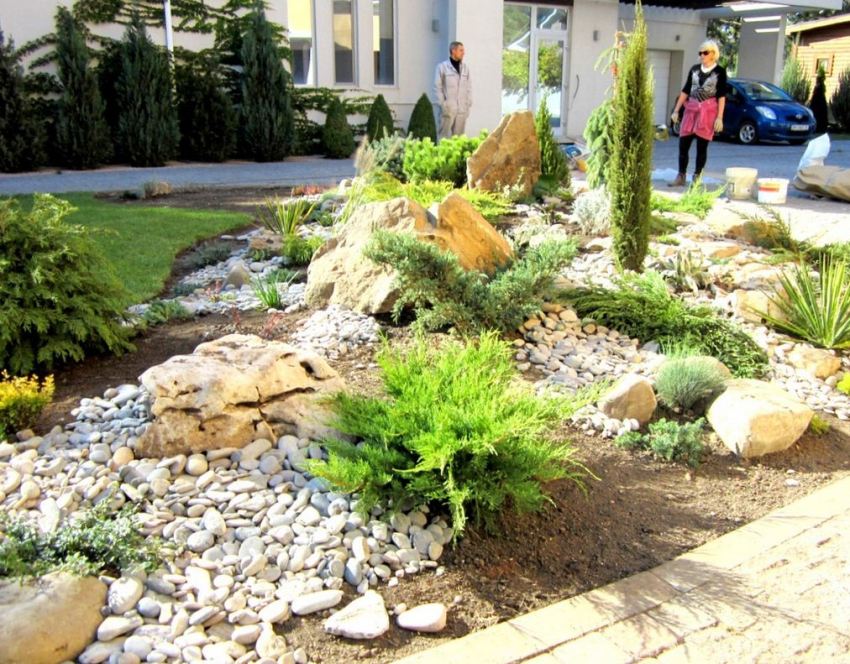
When creating a rock garden from a massive stone, try to seek help from family and friends. It is quite difficult for one to master such a structure with his own hands. A photo of alpine slides with stones demonstrates the scale of these compositions.
When installing large and medium stones, you should take care of their stability. In places invisible to the eye, they can be fixed with cement mortar to give the whole structure greater strength. Slightly dug boulders look good. This move allows you to simulate the rupture of the ground by rocky rocks and strengthen the entire rock garden.
Helpful advice! An alpine meadow looks good on a garden plot. It is a bright green meadow covered with meadow flowers. For its device, stones are usually not used, but the effect of a slide is created by placing the plants in height.
Alpine slide in the country with your own hands. Photos of finished compositions
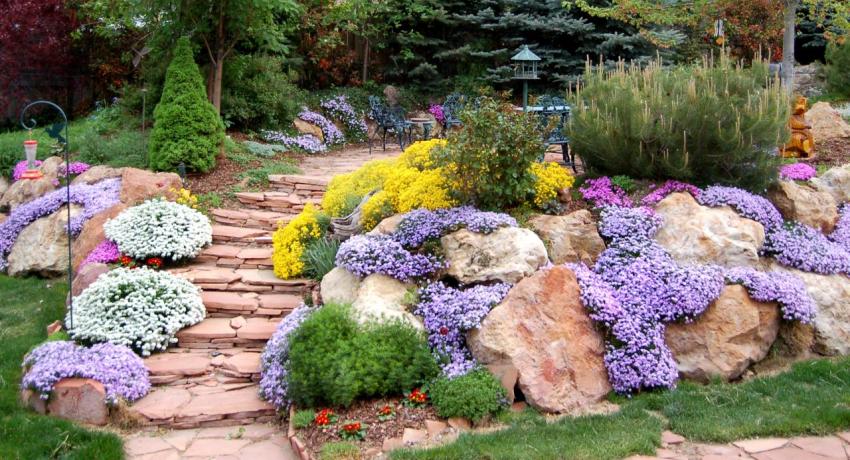
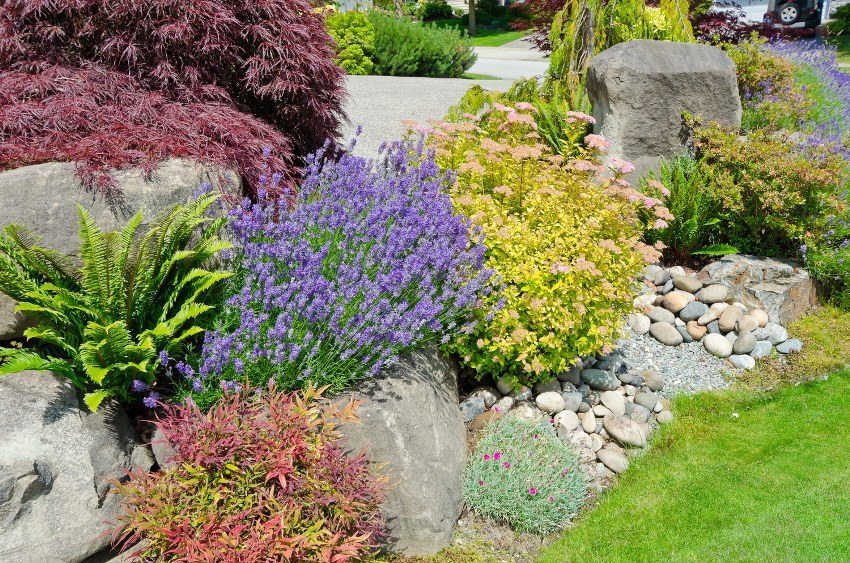
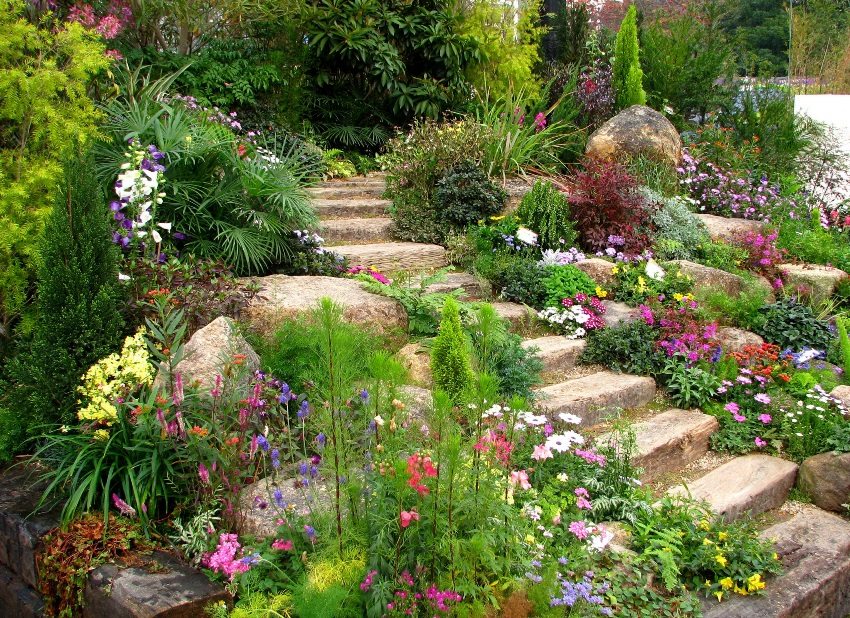
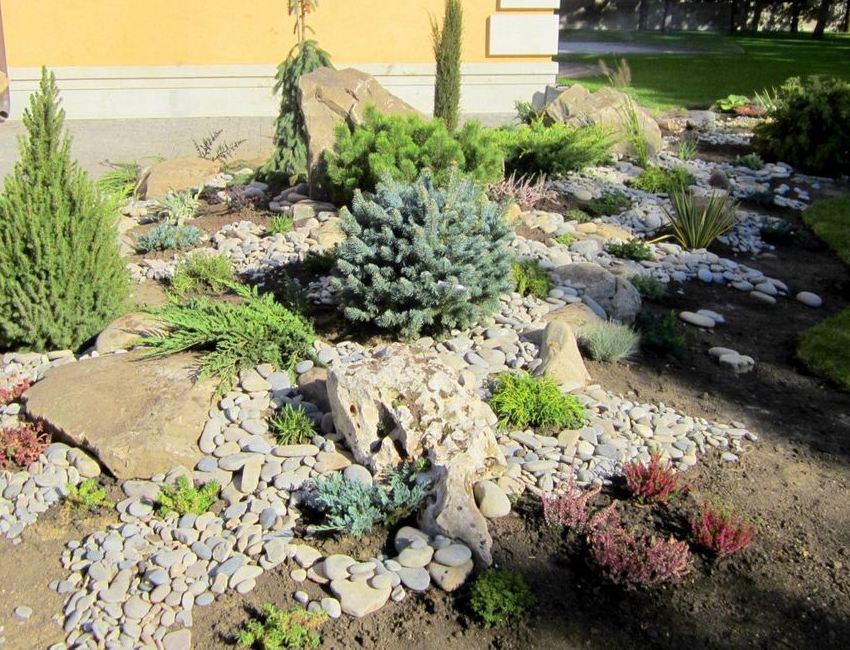
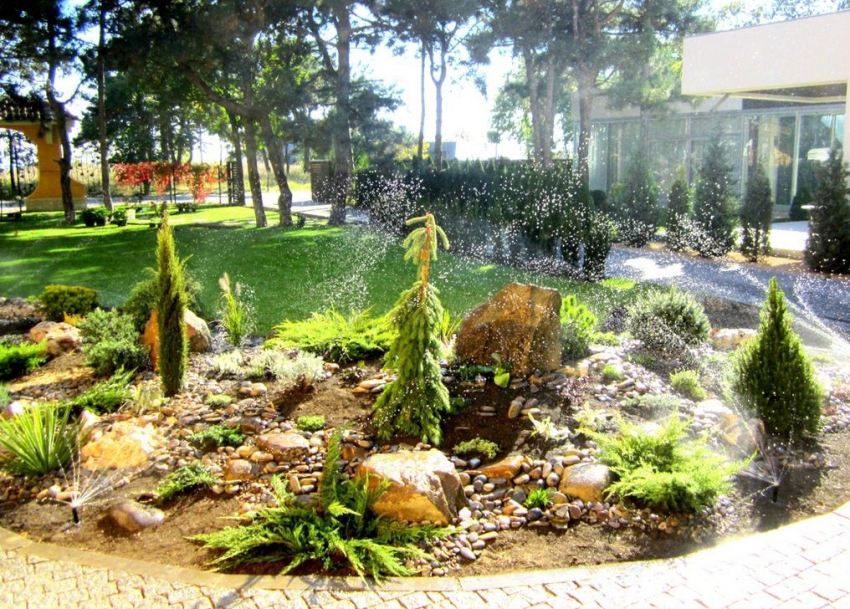
After arranging the base, after a couple of months, you can start planting. You can use any plant species, which do not require particularly careful maintenance, tolerate bright sun and heavy rainfall. It is better to select slow-growing specimens for arranging an alpine slide in the country with your own hands. A photo ready-made compositions show how original and beautiful, for example, coniferous evergreens in such unusual flower beds can look.
Helpful advice! In order for a rock garden to delight with beauty for a whole year, you need to know the timing of flowering of various plants. Bulbous ones bloom in spring, in autumn they are mainly perennial specimens, and in winter they do not allow an alpine hill to be empty - conifers.
Looks good:
- thuja;
- some types of firs;
- juniper;
- mountain pine.
Such plants can be given any intricate shape. With their original appearance, they ideally complement an alpine flower garden. Gardeners give such representatives of the fauna a conical shape or cut them in the form of other interesting figures when creating an alpine slide with their own hands. Step-by-step photos showing the correct cropping options will help you cope with such a task on your own, without inviting a landscape master.
Of herbaceous plants, suitable:
- periwinkle;
- undersized carnation;
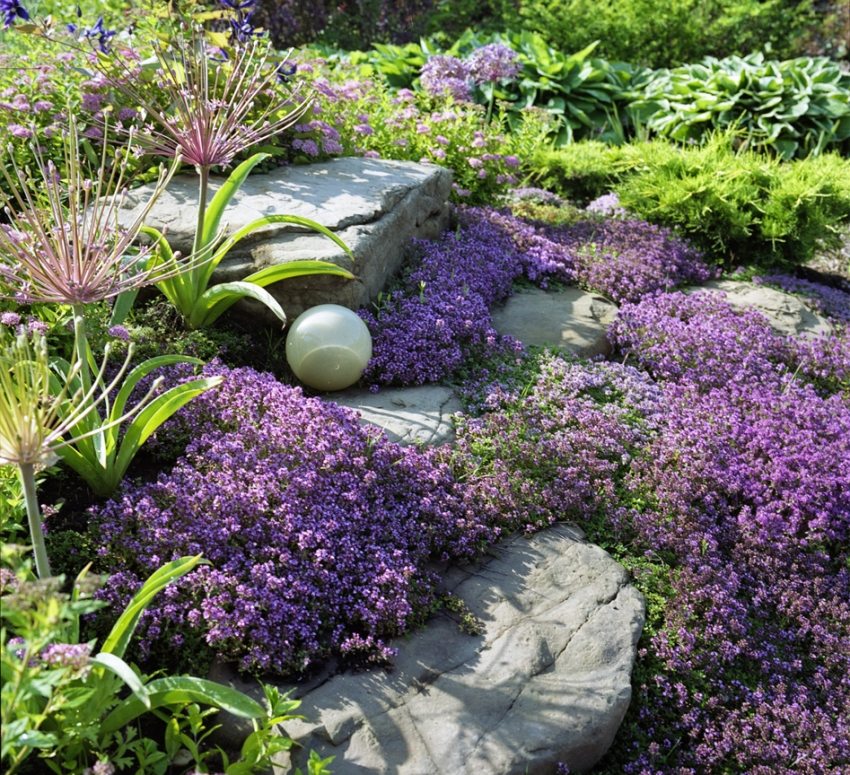
- thyme;
- nasturtium;
- marigold;
- bell and many others.
Some gardeners try to combine an alpine slide with a pond with their own hands. Step-by-step photos of such structures show the complexity of the process, divided into a large number of stages. However, having some skills, you can try to arrange such beauty yourself.
