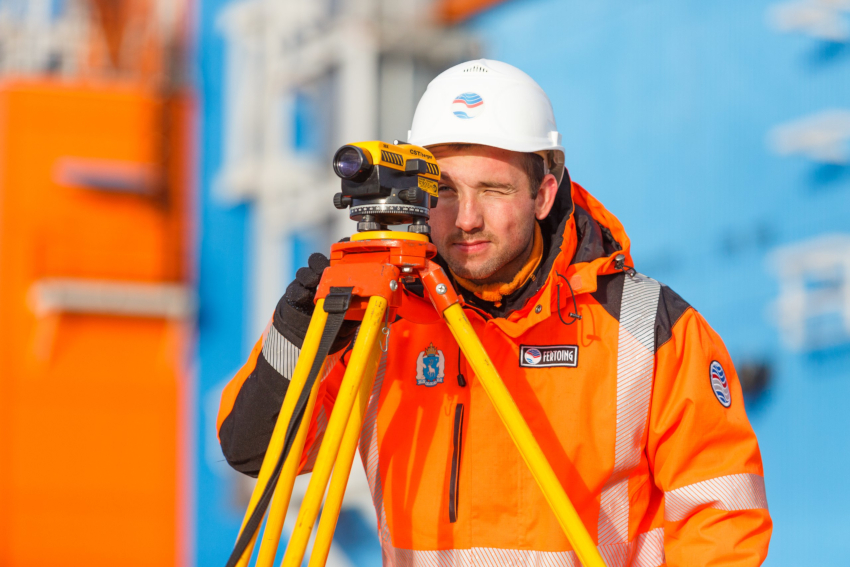
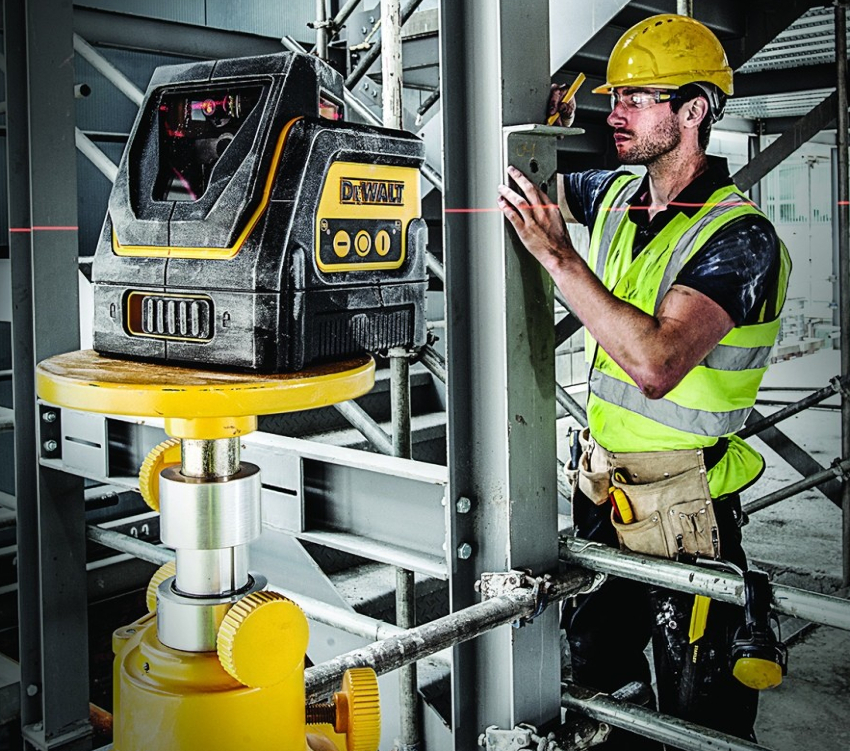
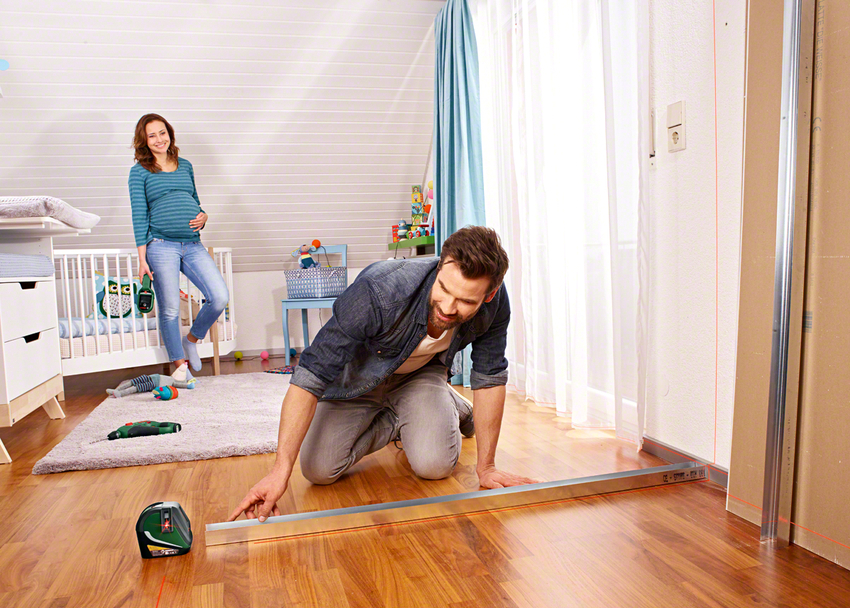
The level is used to accurately calculate the difference in heights of objects relative to the horizon. This measuring device is indispensable in various areas of construction and determines the quality of the work performed. To answer the question of how to use the level, you need to carefully study the instructions for its operation. Knowing the principle of operation and settings of the device, you can independently calculate the necessary indicators.
Content [Hide]
- 1 What is a level and its main features
- 2 Level: what it is, the advantages and disadvantages of the tool
- 3 Leveling device: optical and laser devices
- 4 Level and theodolite: what is the difference between these devices
- 5 How to use the level: setting up a tripod
- 6 How to use the level correctly: setting up the device
- 7 Correct focusing of the measuring device
- 8 How to use the level and staff: measuring and fixing values
- 9 Learn more about determining the elevation of points using a staff for leveling
- 10 Bosch level GLL 3-80 Professional and other popular models
What is a level and its main features
A level is a measuring device that is used by engineers and builders to determine the heights of various points on a plane. The main task of this device is to build a stable horizontal line, with the help of which geometric deviations of objects are determined.
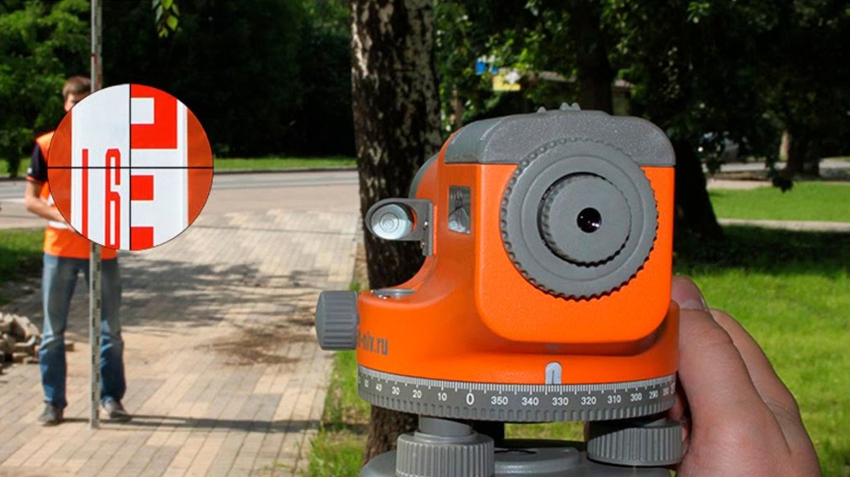
Working with a level requires an understanding of its principle of operation. If you look into the eyepiece of a modern device, you will notice that it superimposes a line drawing on the image of an object. This system is called a reticle. The projected lines are located not only in the horizontal plane, but also vertically.
Helpful information! The main task of such a device is to determine the difference in heights of two or more points on the earth's surface. This operation is facilitated by the presence of a conditional level, which can be any natural constant, for example, the sea line. Photos of the levels allow you to understand the principle of their operation, therefore they are recommended for study.
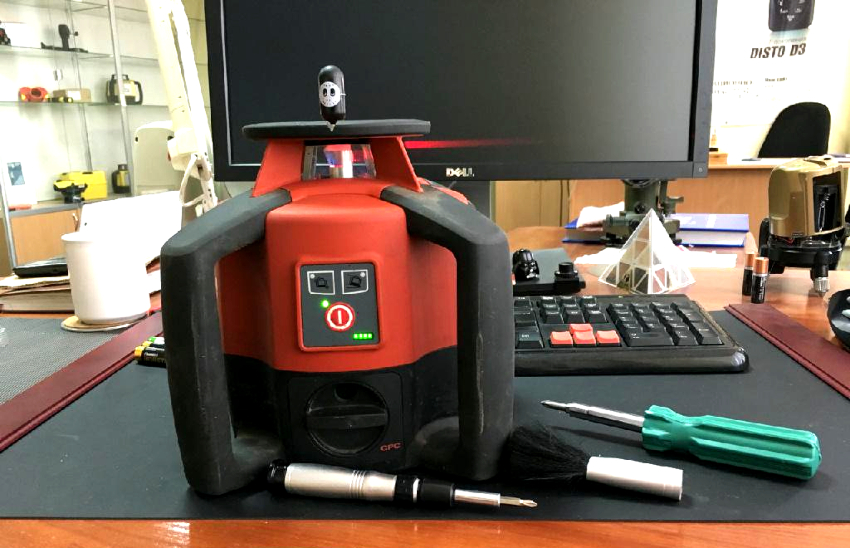
The most technologically advanced and efficient are laser devices that project the lines of the reticle directly onto the desired object. Threads are drawn 360 ° to get the most accurate picture of the location of the points.
Bosch laser levels are very popular, which differ from other devices in the quality of components. When choosing a specific device, first of all, it is necessary to determine its purpose.
Level: This is a multi-purpose instrument used in construction
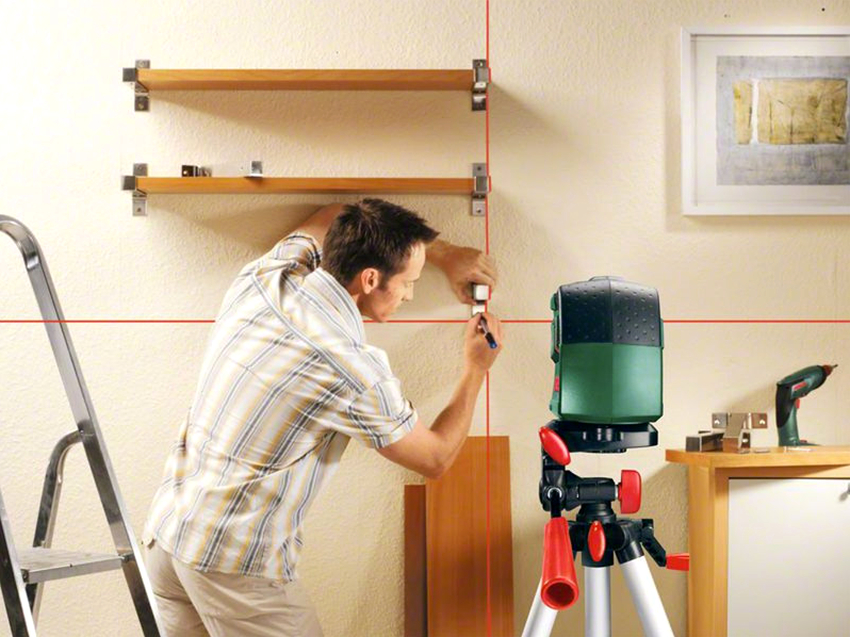
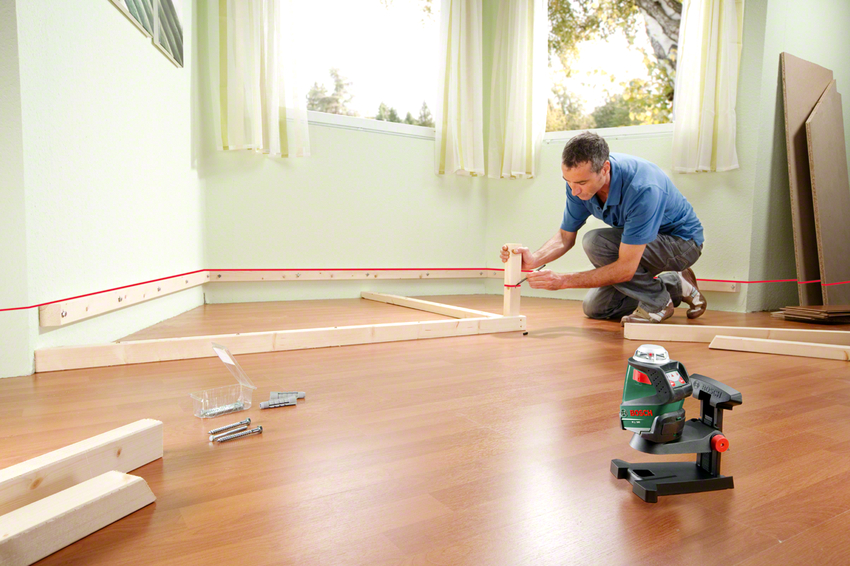
Such fixtures are very useful in construction, they are used for different tasks. With this tool, you can organize the work of applying the facing material to any surface.
Levels are actively used for wallpapering. If you use this device, then the need for organizing skips disappears. The level should be set under the ceiling and the strips should be glued in accordance with the line shown by the measuring device. To learn more about how to work with the level, you can watch videos on this topic.
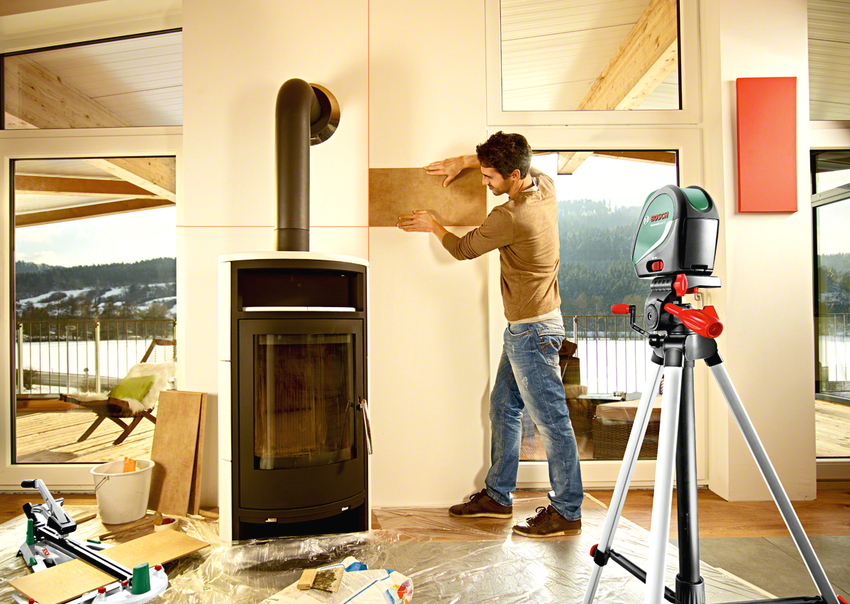
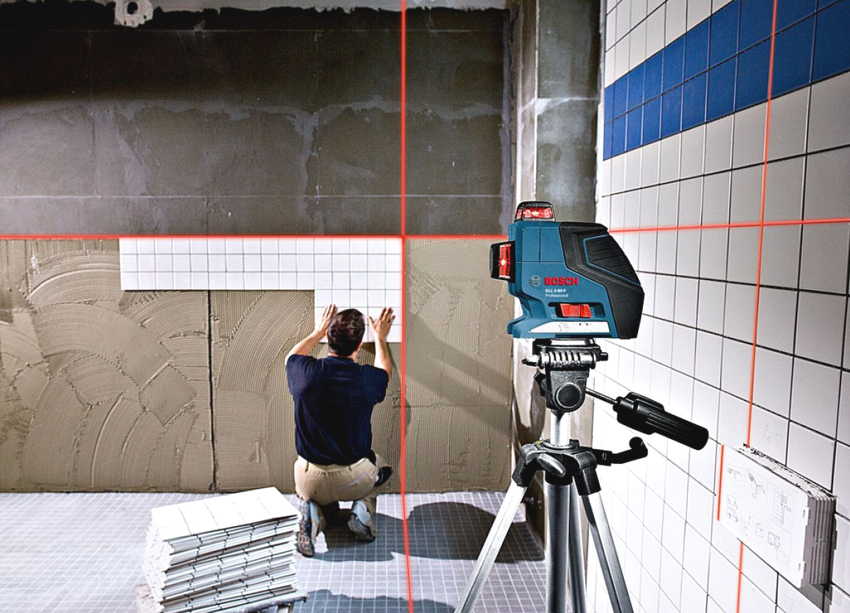
This device is also used by experienced craftsmen during tiling. With its help, it is much easier to maintain straight lines, which determines the demand for this device in the construction environment. However, it should be said that for tiling the working surface with tiles, you will need a tool that cuts the beam into separate perpendicular beams.
The level is a versatile device that can be used for other tasks as well. Consider in what cases this device is used, in addition to the above:
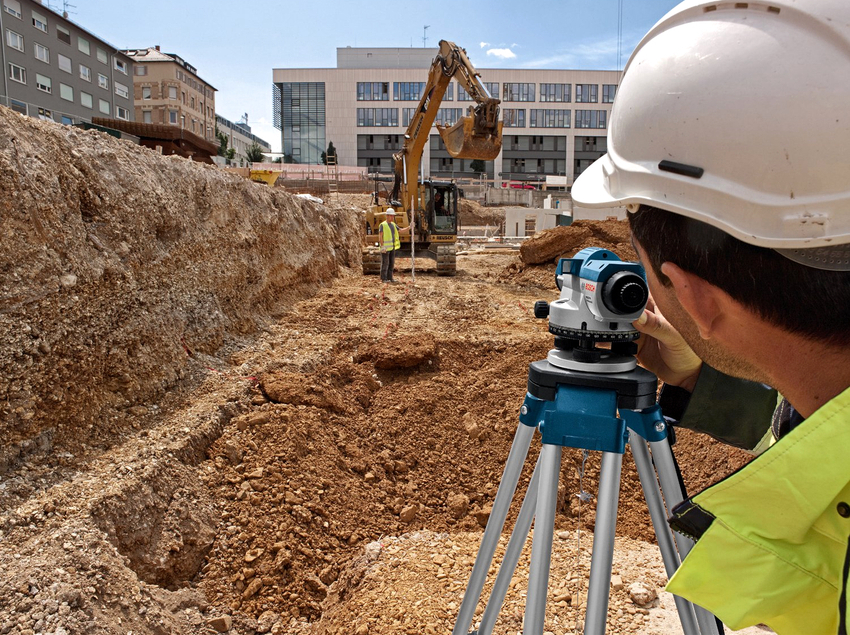
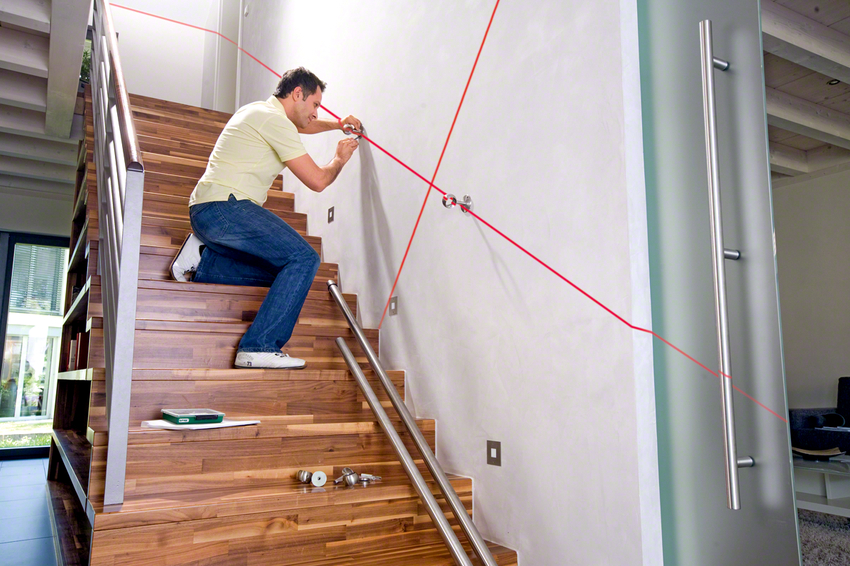
Levels are used not only for the construction of buildings, but also during interior decoration works
- for finishing stair flights;
- installation of various household appliances;
- assembly and installation of furniture.
Thus, the operational scope of the device is quite wide. Working with the level is not as difficult as it seems at first glance - it is enough to understand the principles of the device functioning.
Level: what it is, the advantages and disadvantages of the tool
Like any other device, this measuring device has its merits. Consider the pluses of optical devices. The main advantage of the levels, of course, is their autonomy. There is no need to be in close proximity to the power source to activate the tool. Batteries are not needed for the level operation either.
Another advantage of measuring devices of this type is that they can be used to make the most accurate terrain measurements. This is especially important in situations where a large-scale construction project is being planned. The price of the levels is quite acceptable, which is also an advantage.
The downside of these devices is that a partner is required to take measurements. One person must hold a special ruler that has a scale. The second takes measurements and records them in the appropriate journal.
On the ruler for the level, numbers are indicated, the step of which is 1 cm. Another advantage of such a device is its unpretentiousness to weather conditions. Measurements can be taken in any weather. As a rule, such devices are made of durable materials that are highly durable. The most important parts of the appliance are moisture resistant.
Note! Each measuring device used by surveyors has a personal passport. This document must indicate the date of the last check.
What is the difference between a level and a laser level? Optical instruments are suitable for professional use. Laser devices are most often used at home when performing repair procedures of varying complexity. They are compact and versatile.
It is very easy to use the devices, moreover, no additional persons are required. The main disadvantage of laser models is the need for a network connection. However, some devices operate on batteries.
Leveling device: optical and laser devices
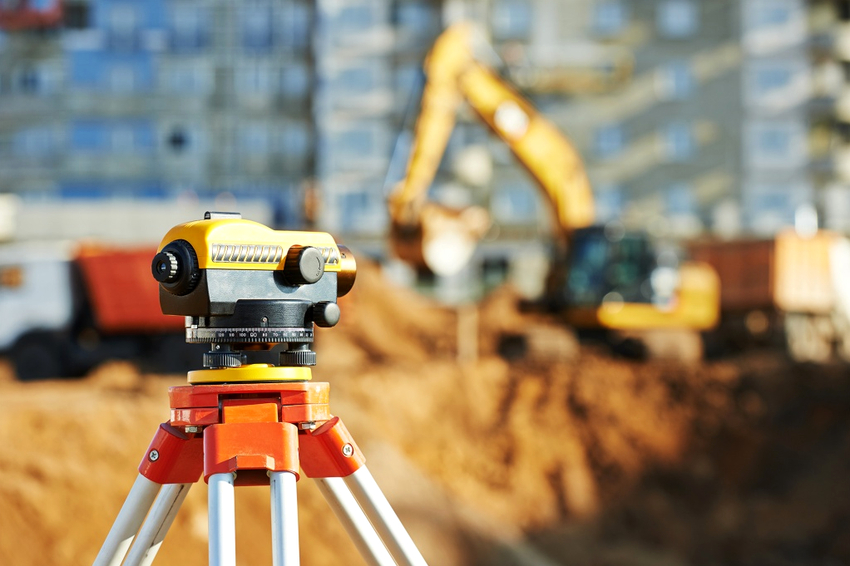
Optical measuring devices are also called prismatic. Such devices have two parts. The first of them serves as a stand, and the second is the main one and is used directly for carrying out measuring manipulations.
Knowing the configuration of the device will allow you to more clearly understand how the level works. The main component of the optical device is considered to be the tube, which includes the lens system. Thanks to the latter, it becomes possible to enlarge objects (20 or more times).
When using an optical instrument, all measuring operations are performed manually by the operator. Parts are integrated into the body of the device, with the help of which the level is determined. All optical models are classified into three classes based on accuracy:
- technical;
- accurate;
- very accurate.
Devices in the first group are marked from H-10 and above. The exact models are identified by the labels H-3 to H-9. The devices belonging to the latter group are the most functional. For such devices, the boundaries are indicated in the range from H-0.5 to H-2.5. The numbers contained in the marking correspond to the amount of error that the device has. It is measured in mm / km.
The principle of operation of the level depends on its type and configuration. For example, more modern models include an LED emitter through which laser projection appears. Its construction is carried out on a plane, which allows you to perform any required measurement.
Level and theodolite: what is the difference between these devices
The theodolite is another device used for measurements in the construction of various objects. Its main difference from the level is the ability to perform angular measurements. Therefore, such a device is considered to be wide-profile. With the help of a theodolite, you can control the deviations of the walls, as well as determine how much the building has deformed during operation. It should be understood that the narrower specialization of the levels is not their disadvantage.
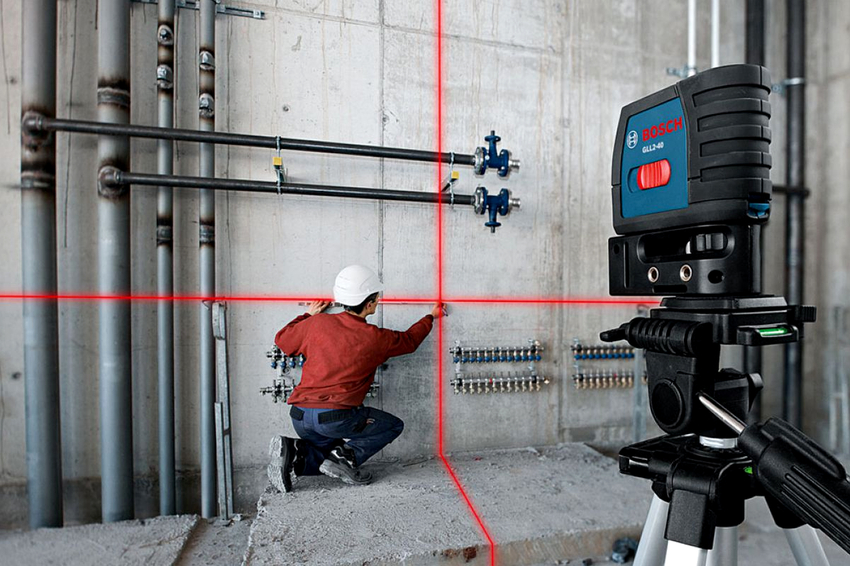
The main difference between the level and theodolite is the inability of the first to perform angular measurements
Helpful information! What is the structural difference between a level and a theodolite? The design of the first device includes an optical tube and a level, which has a cylindrical shape. In turn, the theodolite consists of two parts - circles. One of them is located in the horizontal plane, and the second - in the vertical.
This structure allows an additional measurement axis to be obtained during operation. Since two-channel devices differ from levels from a structural point of view, their operation is also done differently. Let's consider how to use the theodolite.
To measure the distance to an object with this tool, there is no need to use auxiliary parts, as is the case with a level that needs a staff. The direction angle is calculated by the theodolite using a horizontal circle. In turn, a vertical circle fixed on the horizontal axis of the pipe is used to calculate the slope. The levels do not have a vertical level. Theodolites found on the market today can be optical or laser.
How to use the level: setting up a tripod
The operation of such devices is due to design features. The principle of operation of such measuring devices is quite simple. Studying it will help you understand how to use an optical level.The optical axis of the device is located in a strictly horizontal plane.
This line is static, so its deviation is impossible even when the device is in motion. This quality significantly increases the efficiency of the device. Let us dwell in more detail on the question of where the work begins in the case of using such a device.
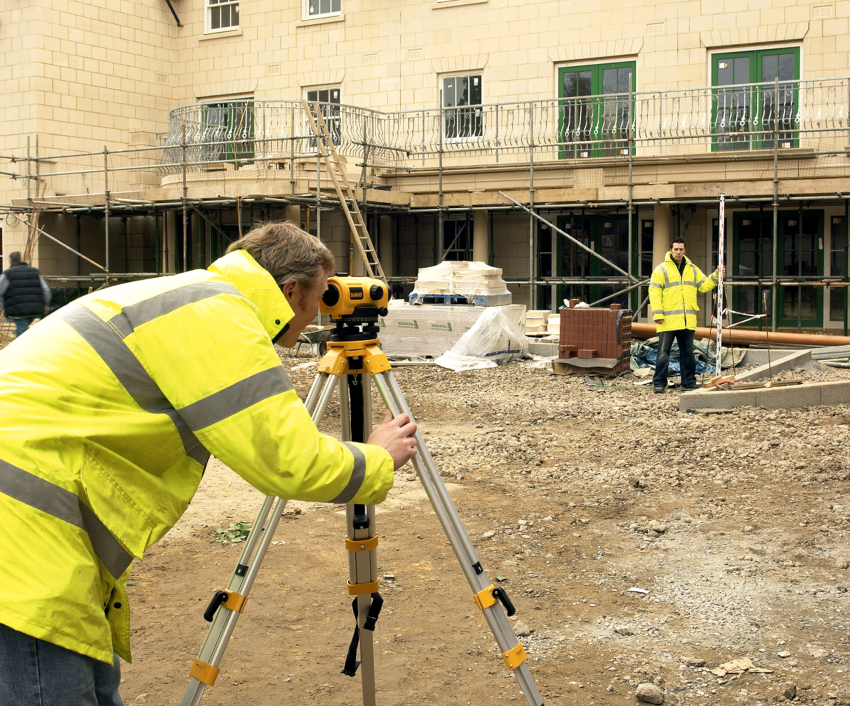
So, let's look at how to use the level during construction. The first step is to install the device. To do this, it is necessary to unfold and place the tripod on a flat surface. The ends of the legs, which the stand is equipped with, have sharp points. If the soil at the installation site is soft, they need to be pressed into the soil.
Then you should adjust the length of the legs. This will allow the instrument to be positioned at a comfortable height for the operator. The platform at the top of the tripod is needed to install the working part of the device. It should be located strictly horizontally.
Note! The tripod has a vertical level, due to which the error of the final measurement result is reduced. Thus, the position of the holder affects the horizontal level, which is displayed in the working part of the level.
The accuracy of measurements, of course, depends on the correct work with the geodetic ruler, but the initial stage, which involves installation, is also extremely important. Telescopic supports and special fixing elements (clamps) improve the efficiency of the device installation on the ground.
How to use the level correctly: setting up the device
Measuring devices of this type may differ from each other from a structural point of view. However, they all require compliance with certain conditions. The accuracy of the devices depends on their correct positioning in space. Before starting measurements, it is necessary to correctly configure the device.
To regulate the level, there are special mechanisms that allow you to determine the optimal location on the ground. For construction purposes, devices equipped with levels are usually used. These devices are referred to as bubble devices, and it is with their help that the correct calibration of the measuring instrument is performed. The best lasers include customizable accessories.
Related article:
How to choose a laser self-leveling level
Construction laser level: varieties and design features. General characteristics of the equipment.
To increase the efficiency of the device, screws that can change the position of the device along three axes (X, Y and Z) allow. In order to adjust the tool, it is necessary to tighten each screw in turn. If the alignment of the level was successful, the bubbles in the levels will be clearly between the limit marks.
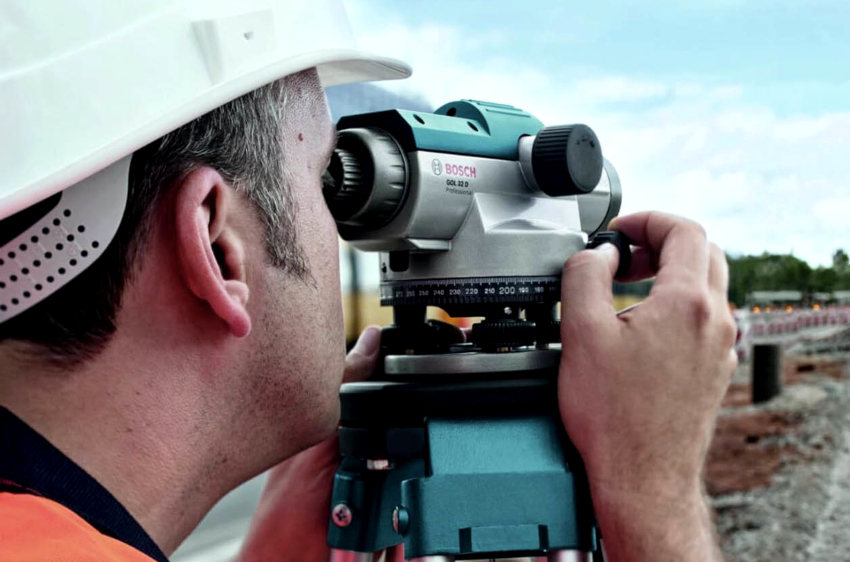
Screws that can change the position of the device along three axes significantly increase the efficiency of the device
There is another level in the upper part of the device - a circular one. On the bulb of this element there is a marking in the form of two circles (large and small). At the end of the adjustment work, the bubble should be placed strictly at the center point of the smaller circle.
Correct focusing of the measuring device
The next step in setting up an instrument used in construction is to adjust the optical lens. To carry out this operation, the devices are equipped with special elements that allow precise adjustment of the working part. These include:
- eyepiece rings;
- adjusting screw;
- leading screw.
The first element is the most important in the construction of the level. What is the eyepiece ring for? It is designed to focus the eye on the lines that form the grid.This markup consists mainly of horizontal contours, but it also includes one vertical. Measurements are taken exclusively along the longest horizontal line.
The focusing screw allows you to get a clear image of the measured object. Let's take a closer look at how the setup should be done. A grid of lines should appear in the eyepiece. After a clear image appears, you need to turn the screw, which is responsible for focusing. Manipulation is performed until the picture on which the threads are superimposed becomes clear. This kind of correction is performed before each measurement data acquisition.
Helpful information! When focusing, the vertical line should be exactly in the center of the geodesic ruler. By following the instructions, you can accurately adjust the device and get an answer to the question of how to use the level and staff. Video tutorials that contain a detailed description of setting up and removing data are recommended for viewing.
In order for the accuracy of the calculations to be maximum, it is also worth knowing how the data is corrected after they have been removed. The competent use of such a device allows you to plan a construction event.
How to use the level and staff: measuring and fixing values
Calculation of data by using a measuring tool of this type is performed according to a special algorithm. It is very important to determine the reference point to which the orientation will be made during the measurement. Correction of the position of other objects is performed based on the data about the original position.
The rod should be set to the highest point on the plane to be measured. After that, it is worth pointing the instrument at its scale, which will allow you to calculate the required values.
Correction of the position of the geodetic rod is also included in the complex of manipulations necessary in the process of work. To do this, this element must be moved up or down. This is done until the integer on the staff converges with the point in the lens corresponding to the intersection of the lines. The value that was obtained in this case should be recorded in the log.
Now you need to move the staff to a different measuring point. The new position calculates the next value on the scale. It also must necessarily coincide with the intersection of the lines in the lens of the instrument. Then the two values determined by the cross points must be combined, after which the lower edge of the staff will correspond to the position to which the orientation is made.
It is important to know that the mark is most often affixed on a special structure called a benchmark. Construction cords are pulled between these components, which allows you to get a clear picture of the future construction event. Benchmarks are actively used when pouring the foundations of buildings or when erecting walls.
The clearest data can be obtained with laser levels. Levels of this type also contain slats to facilitate appropriate measurement surveys.
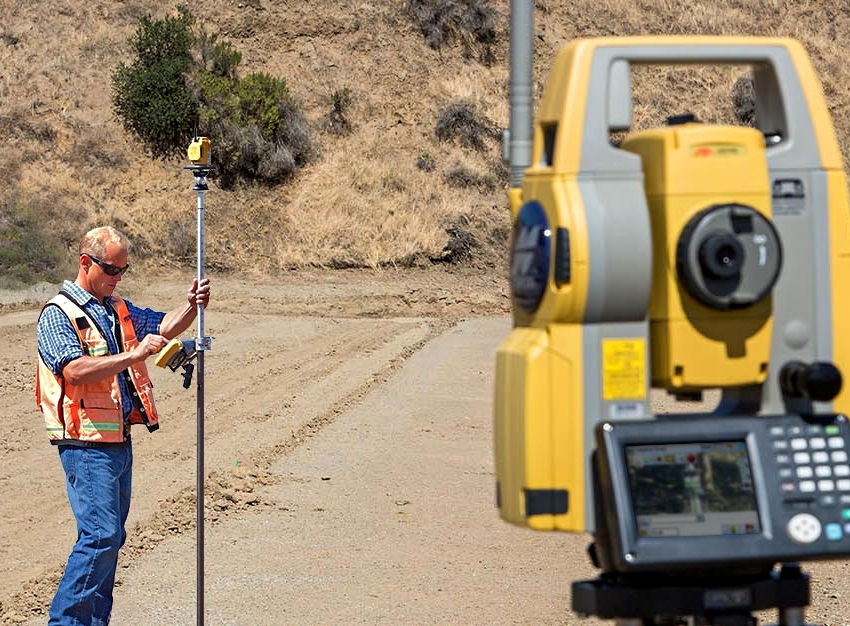
The staff must be moved up or down until the whole number on the staff converges with a point in the lens.
Thanks to the level, it becomes possible to determine and set the necessary points on huge areas. The range of other measuring devices is much greater.
Learn more about determining the elevation of points using a staff for leveling
Finding the difference in heights of two or more points is a rather serious process that requires the operator to be careful and know the operational characteristics of the device.For this work, a rail is used, the regulation of which is carried out by a second person.
It is necessary to define the starting point of the measurement. For clarity, it can be designated by the Latin letter A. It is on it that the rail is installed. The vertical arrangement of this element is the most appropriate. In order to calibrate the staff, you need to check the vertical line of the reticle.
Note! 360 ° lasers also require the installation and adjustment of a measuring rod, but their feature is to create a more volumetric plane.
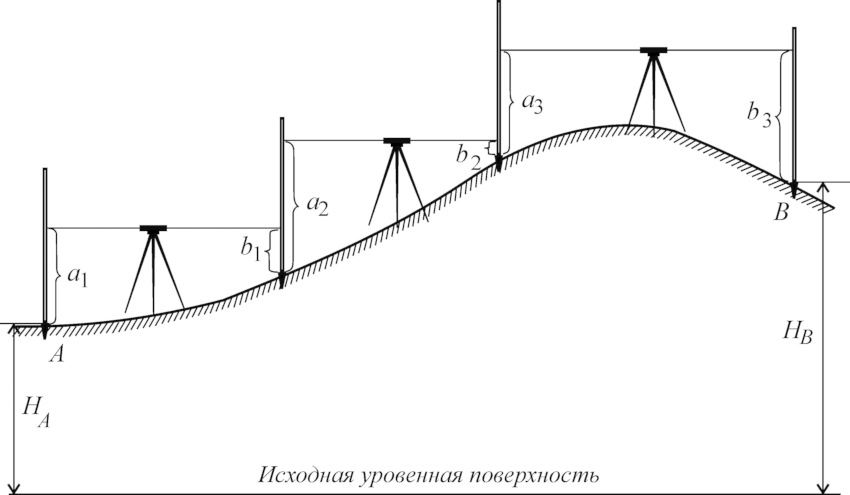
The process of finding the difference in heights of two or more points is a rather complicated procedure.
Then you need to aim the device at the staff and adjust the measuring device so that it acquires a clear outline in the eyepiece.
Then you can start registering the data obtained during the work. To do this, you need to mark the position of the horizontal lines included in the reticle. You should pay attention to the lower figure. A number corresponding to the number of centimeter divisions between the value line and the line of the sight of the device is added to it.
Then the assistant should change the position of the staff. This is done to determine the next point B, after which it is necessary to re-fix the value. There is one rule to be aware of. The fixture horizon is static, so only the staff moves. The measured value depends on the height of its position. The lower the rail is placed, the higher the value that can be determined using the working part of the device will be.
How to check the level: a step-by-step description of the process
Verification of a measuring device of this type includes several measures, the purpose of which is to determine the suitability of the device for operation. During the inspection, it is necessary to ensure that the circular level functions without errors. Let's consider the verification process in more detail.
First you need to adjust the level with screws. Place the bubble at the center point of the circular level. Then the device is turned 180 °. After changing the position of the measuring tool, the bubble should remain in the same place.
Note! It is not only professional optical devices that are subject to verification. Laser models intended for domestic use are also checked from time to time. Their peculiarity is that they project a green beam onto the work surface. Laser levels allow you to perform various construction activities and are very popular.
If the bubble moves, the device is calibrated. The lifting screws are adjusted first. With their help, the position of the bubble should be corrected by half. Then you need to remove the remaining deviation detected by the circular level. To do this, adjust the adjusting screws.
Verification involves more than just inspection of the circular level. With the help of it, the serviceability of the compensatory device is determined. This work is also done step by step. The first thing to do to test the compensator's functionality is to adjust the level so that the bubble is at the center point.
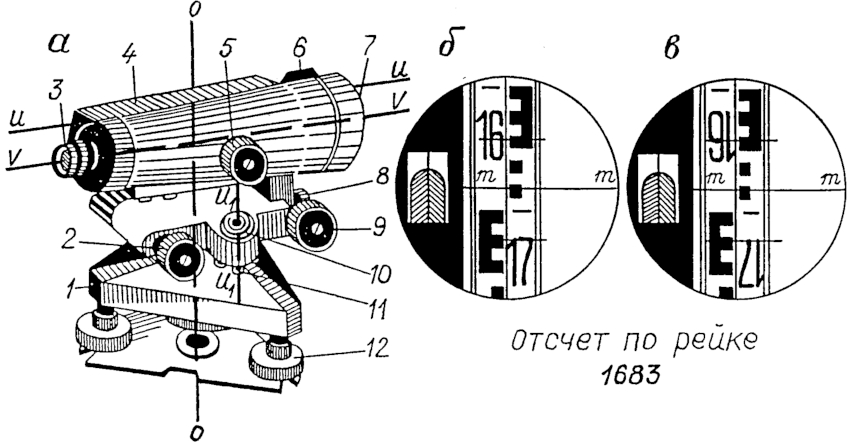
Reiki with reverse (b) and direct (c) digitization: 1 - stand; 2 - an elevation screw; 3 - eyepiece; 4 - box of cylindrical level; 5 - rack; 6 - sight; 7 - lens; 8 - pipe fixing screw; 9 - pipe guide screw; 10 - round level; 11 - round level correction screw; 12 - lifting screw
Next, you need to aim the device at a clear object. The lifting screw is then turned 1/8. It is imperative to monitor the displacement of the horizontal line of the reticle. It should change its location and then return to its original position.If the horizontal line does not return to the original point, this means that the compensating device is defective and the device is not suitable for measuring work. There are various models in the ratings of laser levels and optical devices, but they all require periodic checks.
Note! Among other things, verification includes inspection of the corners of the level. It should be remembered that this procedure is very important, because its implementation allows you to determine the serviceability of the device.
Bosch level GLL 3-80 Professional and other popular models
Today there are many devices that are designed to take measurements on the ground or indoors. Some of them are more effective, which is achieved due to the quality of the components. Consider which devices of this type are worth purchasing.
The most functional device is considered to be the GLL 3-80 Professional laser level, manufactured by the renowned German company Bosch. A similar device is used indoors. The device error is extremely small. Deviations are practically not observed even at a distance of up to 10 m.It is worth saying that there are special receivers with which you can increase the radius of the instrument to 60 m.
The device is powered by batteries. If you use the device without interruption, then the charge will last only 4 hours. Therefore, it is worthwhile to provide additional sets of batteries in advance. Such a tool is equipped with a holder, thanks to which its position is adjusted.
Level GLL 3-80 Professional can be used for household and professional purposes. There are special magnetic-type holders on the tool body. Among other things, the device has an automatic setting function, which allows it to be aligned.
Among the optical levels, it is worth highlighting the H-05 level, which belongs to the high-precision category. This device is professional, it is intended for calculating the difference in points when performing a variety of engineering and geodetic works. When using such a device, it should be understood that it requires certain knowledge and skills from the operator. The device requires a special rail equipped with a half-centimeter scale.
There are several companies that produce reliable and durable equipment. For example, in today's market, there are often different level models made by DeWALT. Stabila also offers quality fixtures.
How to use a laser level: common mistakes when using the device
Many people who use this device for the first time may encounter certain difficulties that will lead to inaccurate calculations. Let's consider what mistakes are most common when using levels for construction purposes.
First of all, care should be taken to ensure that the instrument is completely intact. Of course, modern models of levels are resistant to many adverse environmental factors, but they are susceptible to mechanical stress (shock). It should also be understood that the reliability of a device is not always price dependent. Laser levels require more careful maintenance.
Helpful information! The level of error of the adaptation largely depends on the performance of the fixing elements. The screws of the device must be in good condition, otherwise the accuracy of the readings will be significantly reduced. If there are strong gusts of wind in the area where the measurement is made, then it is recommended to use auxiliary fasteners.
The stability of the device is a very important point. If we take this factor without due seriousness, then not only will the final measurement result be inaccurate, but the device itself may suffer. Repairing the level is not cheap, so it is not recommended to turn a blind eye to the basic rules of its operation.
The installation of the instrument rail must be carried out in such a way that it is clearly on the surface. This will eliminate the possibility of skewing. Finally, under no circumstances should the instrument be allowed to overheat. This will negatively affect the measurement accuracy.
Thus, the levels are indispensable devices with which the height of objects is determined. The data obtained is used for the construction of buildings. Household laser models can be used for various purposes when it is required to calculate the exact location of building elements.
