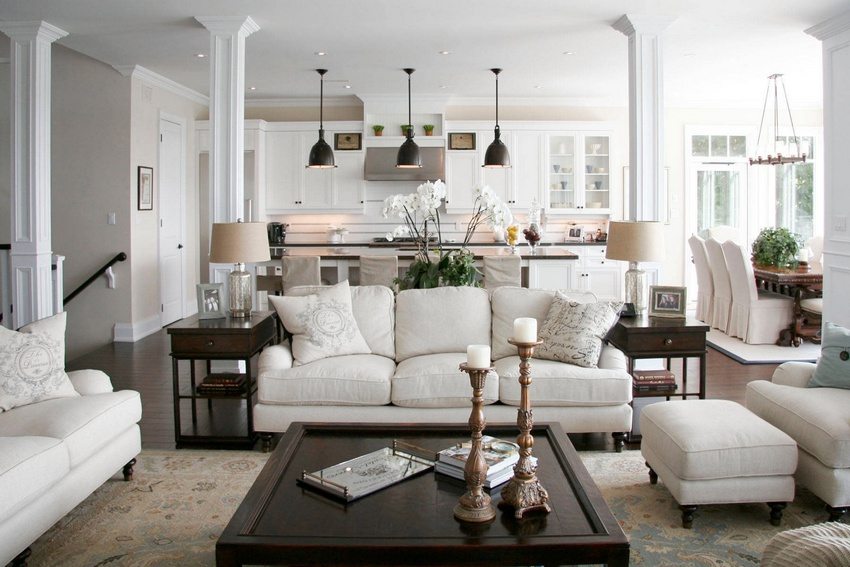
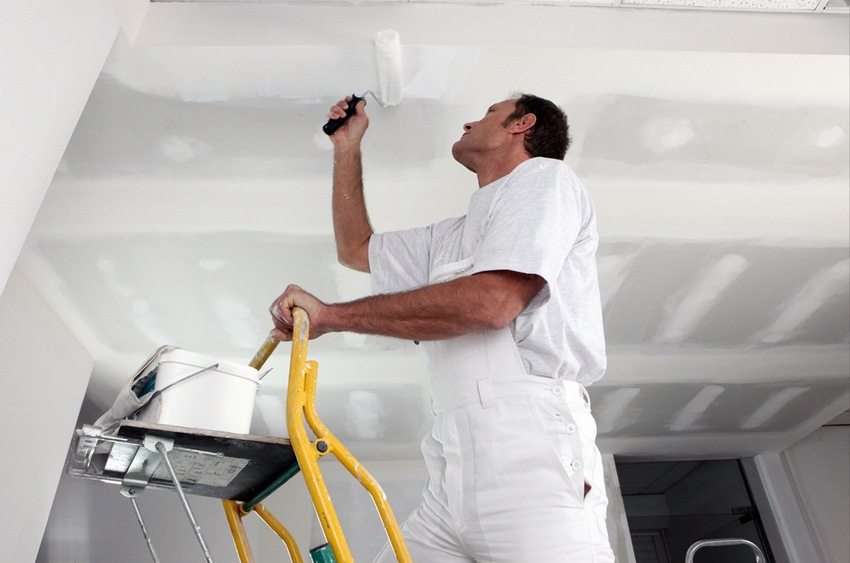
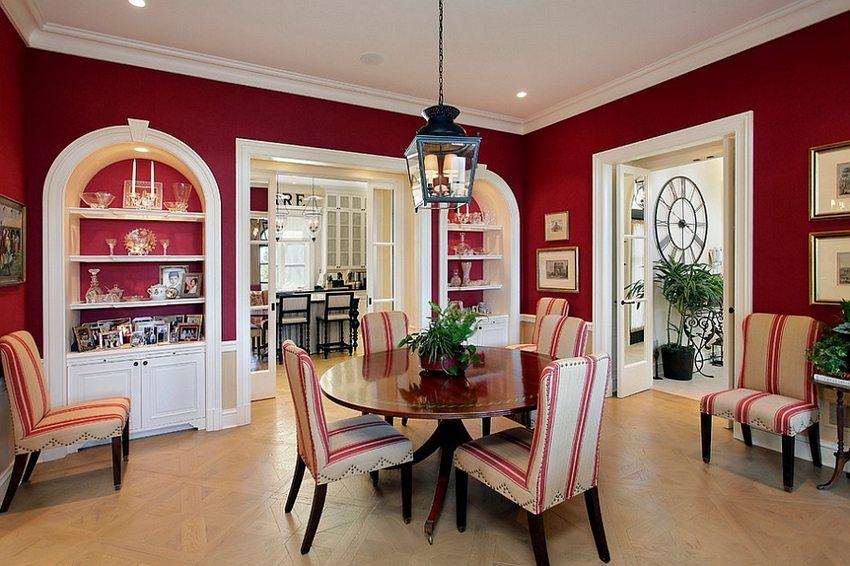
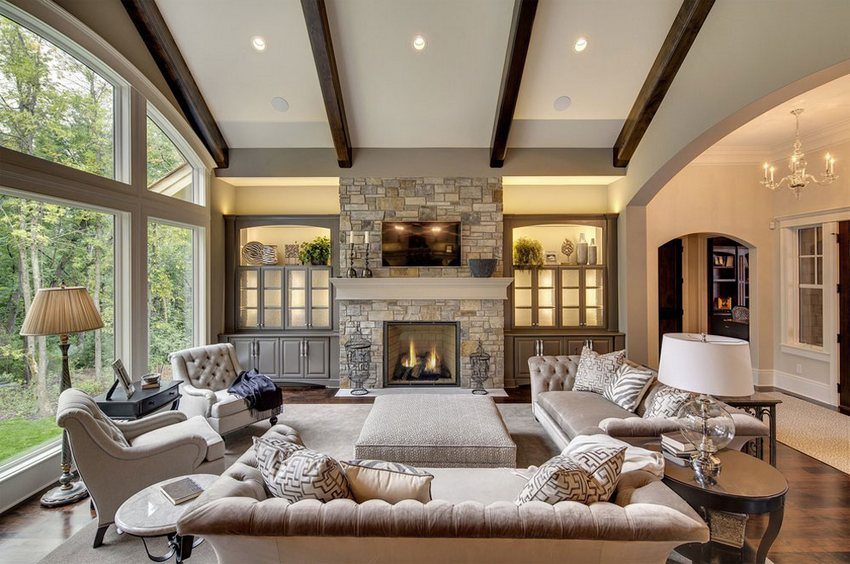
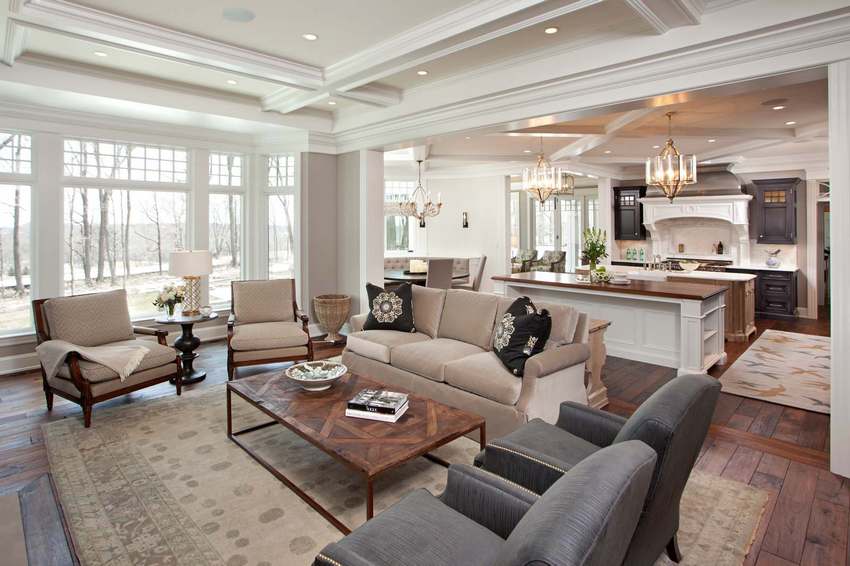
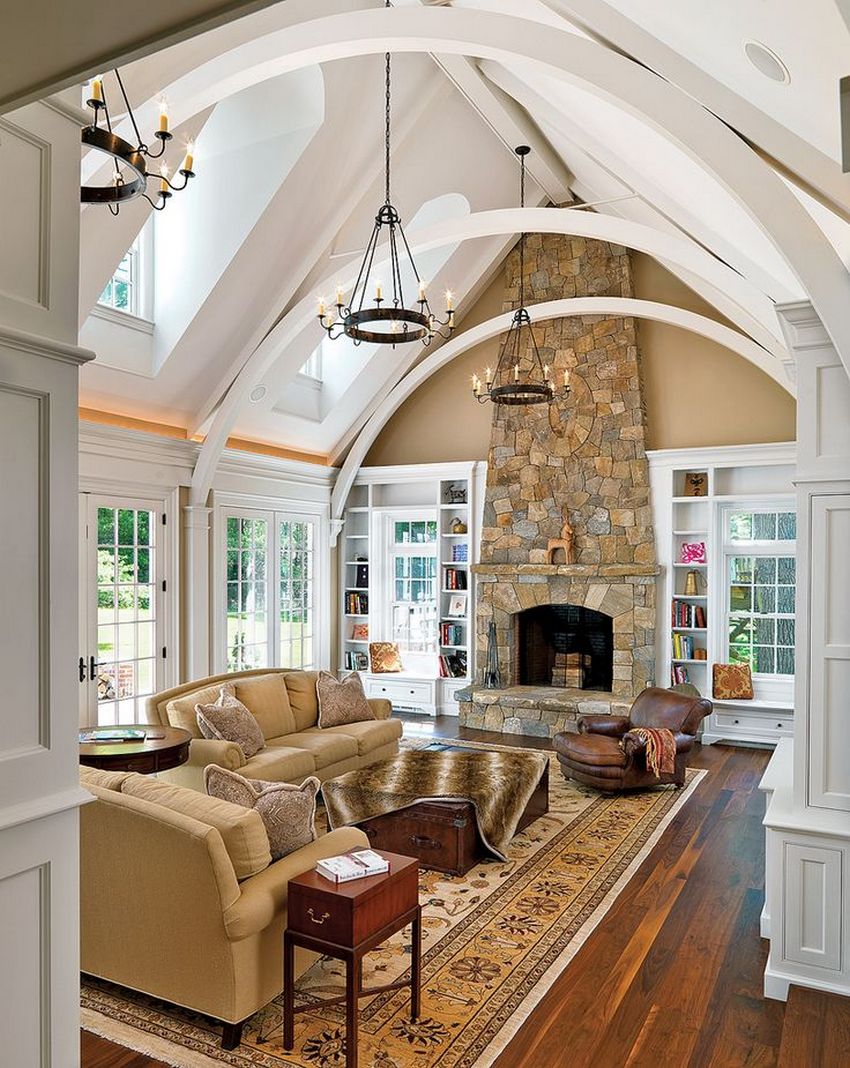
Usually, after repair or redevelopment, the time comes to design the home. There are many simple but very effective methods of subjective expansion of space while increasing illumination. The most time-consuming, but aesthetically effective, process is the creation of a ceiling design in the hall (photos of interiors from the “was - was” series prove this), especially since in addition to visual division of space, you can achieve a real and radical change in the level of illumination. At the same time, you can do most of the work with your own hands. Plasterboard ceilings in the hall: photo and video installation instructions will help you deal with the nuances of the work.
Content [Hide]
Benefits of drywall
Since gypsum plasterboard (gypsum plasterboard) is not only universal, but also very easy to handle material, it is ideal for the design of the ceiling of the hall in the apartment. Photo and video installation instructions can be found on the Internet. They clearly show not only the stages of the workflow, but also a number of advantages drywall:
- drywall is one of the most budgetary materials, which is always available in almost any store of goods for construction and repair;
- drywall is easy to use, due to which structures from it are mounted very quickly;
- all types of wires and pipes of the ventilation system can be hidden behind suspended plasterboard ceilings;
- drywall is very flexible, bends well, with the help of simple, easy-to-learn techniques, it can be given any shape. Due to this, with its help the most daring design ideas can be embodied;
- if additional repair of the ceiling is required, any plasterboard module can be replaced without disturbing the entire structure;
- it is a safe, environmentally friendly and hypoallergenic material.It has good fire-fighting properties; Moderately hygroscopic: it absorbs excess moisture, but at the same time easily gives it to dry air, thereby maintaining air humidity within certain limits. Therefore, it can be used in rooms for any purpose, including children's rooms, etc .;
- due to its looseness, drywall is a good heat insulator, moreover, it is easily combined with foam or mineral wool, which creates additional heat and sound insulation;
- drywall is indispensable, if necessary, quickly and with minimal cost to eliminate irregularities and roughness of the ceiling or walls;
- finishing plasterboard can be done without complex preparatory work;
- in the presence of plasterboard ceilings in the room, any kind of lighting can be organized.
Required materials and tools
The installation process is simple to implement, but it requires precision, so with a laconic list of materials, the set of tools may seem rather big.
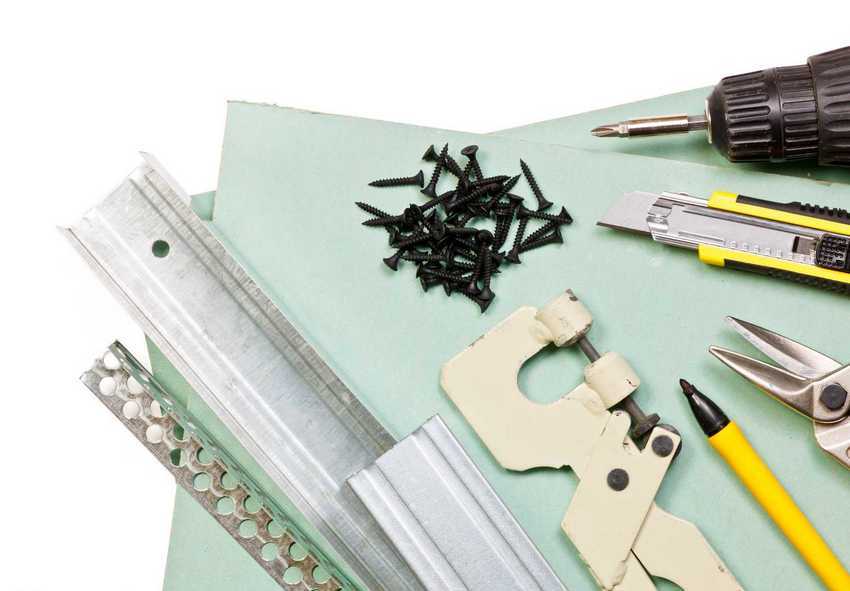
Materials for the installation of plasterboard ceilings in the hall: photo samples
We list the main materials and fasteners that will be needed for installation:
- gypsum plasterboard sheets GKL and, if necessary, GKLV (gypsum plasterboard with increased moisture resistance);
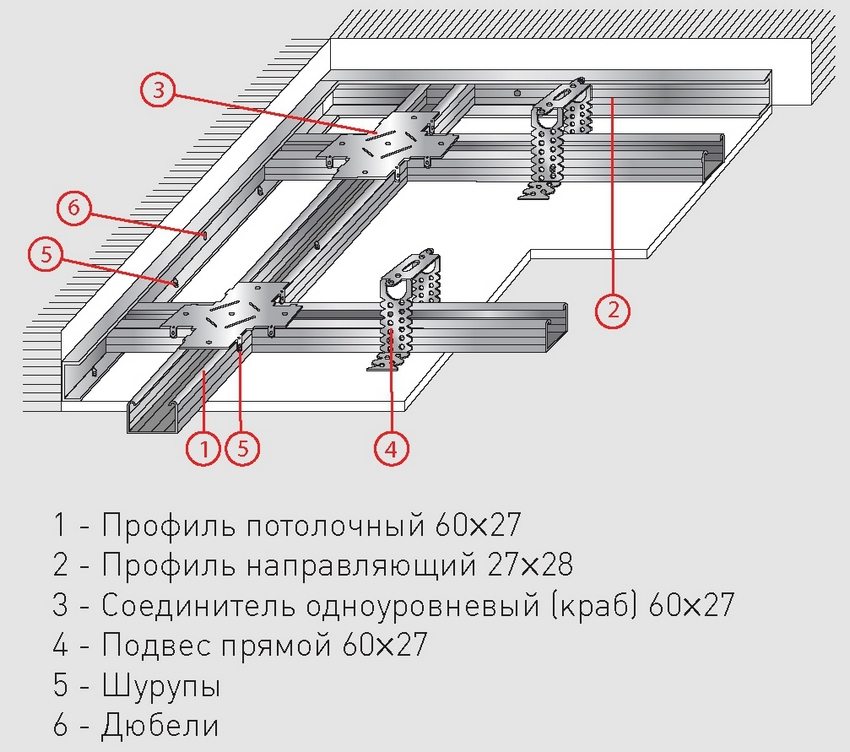
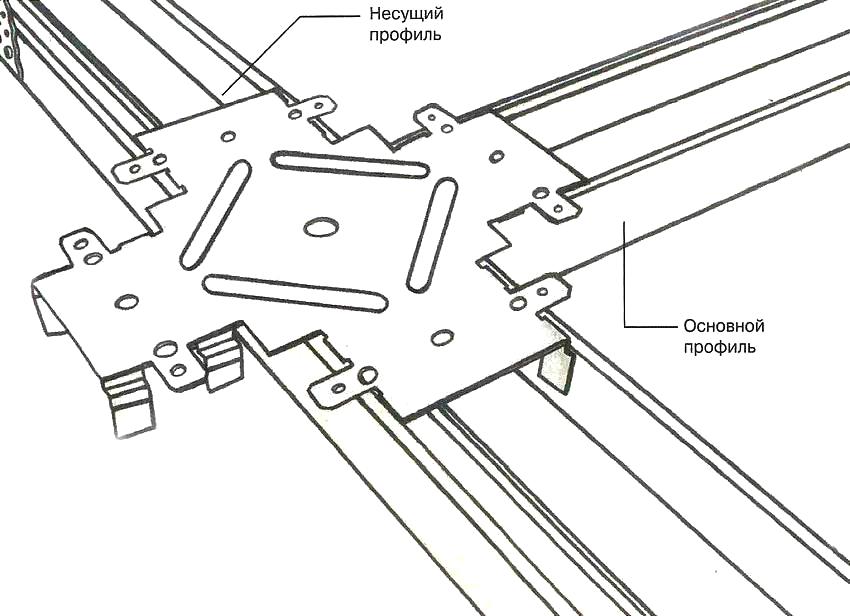
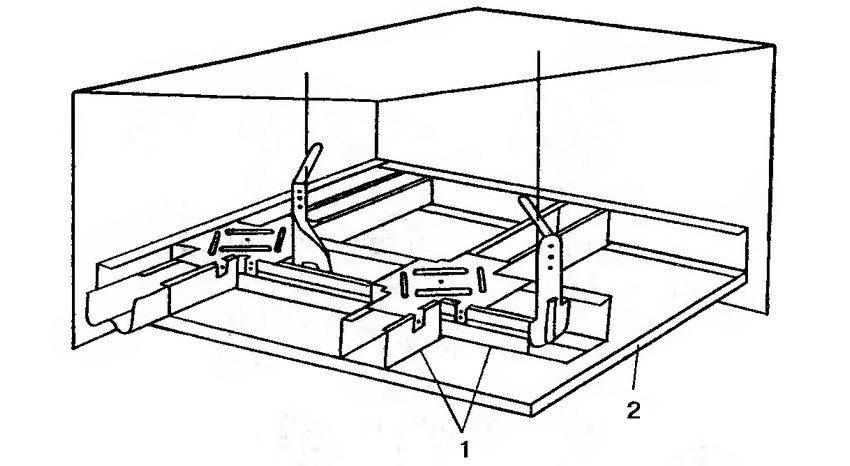
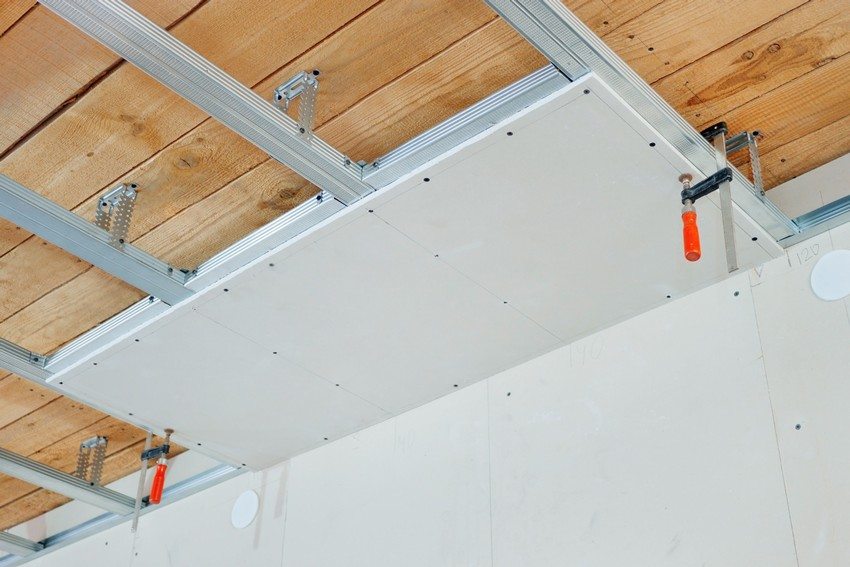
- guide profiles UD (28 × 27 mm) and basic ceiling profiles CD (60 × 27 mm). The guide profiles are a contour frame - they are attached just below the ceiling along the entire perimeter of the room, and the main ceiling (supporting or longitudinal) profiles are already inserted and fixed into them. Between the main bearing profiles, the so-called main secondary profiles (transverse) are used as lintels - drywall sheets are attached to them and to the main profiles;
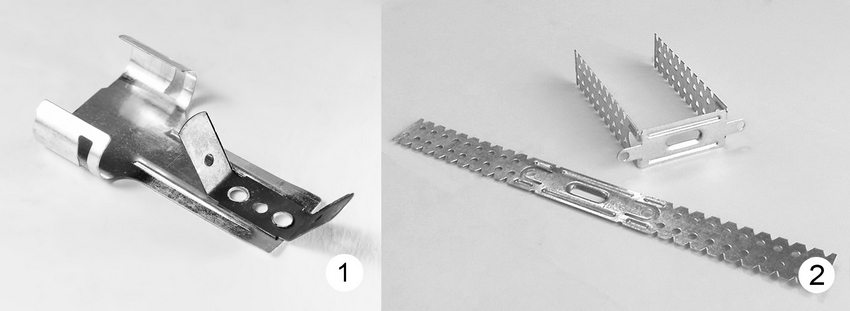
- straight (or universal) suspensions. There are analogs with clamps, but the universal U-shaped hangers have many frequent holes on the "wings", which allow you to quickly adjust the height of the profile fixation. The hangers themselves are attached to the main ceiling;
- dowels and anchors for attaching hangers to the ceiling and guides to walls, as well as crabs for connecting longitudinal profiles with transverse ones.
A set of tools for installing plasterboard ceilings in the hall with your own hands
The living room can be called the "face" of the apartment, so you should choose the tool carefully, because the final result directly depends on its quality. The minimum set of tools for arranging a plasterboard suspended ceiling is as follows:
- a water level (an ordinary one is also possible, but then the marking procedure will require an order of magnitude more time and effort);
- carpentry square or just a triangle for measuring right angles when marking the ceiling;
- paint stripper cord. You can do with a pencil, but then you cannot save effort on multiple double-checking of the marking accuracy;
- construction hacksaw;
- a screwdriver (otherwise you will have to tighten up to a thousand screws for a medium-sized room with a manual screwdriver);
- plane;
- fishing line;
- roulette;
- hammer drill with attachments for drilling, cutting holes and stirring.
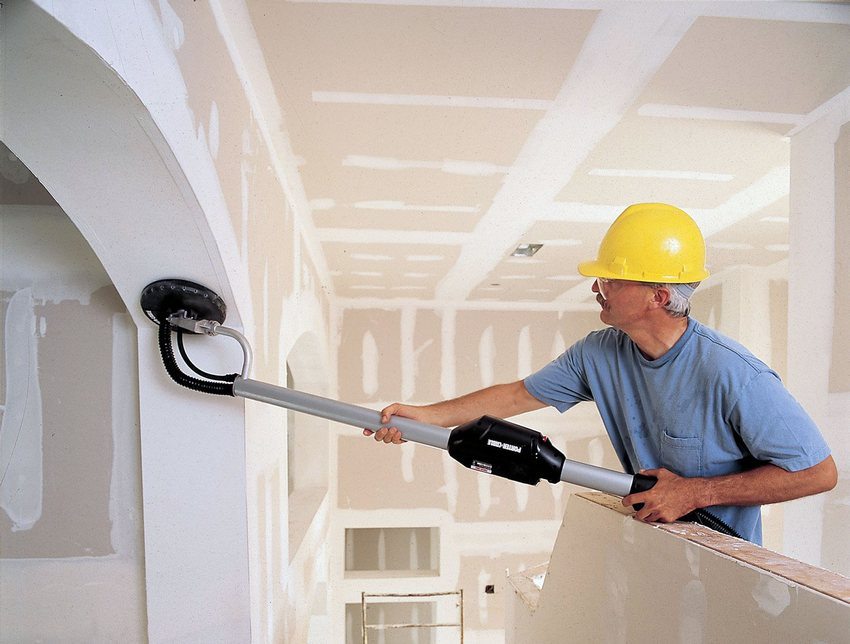
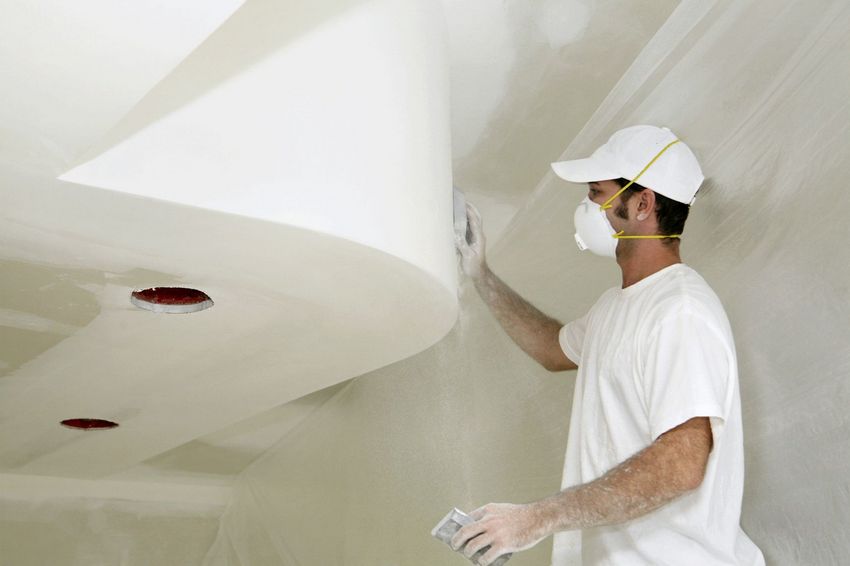
After installing drywall sheets, processing is necessary, which will help align the seams and achieve a perfectly flat surface
After installing a plasterboard suspended ceiling in the hall with your own hands (the photo confirms this), processing will be required to align the seams and achieve a perfectly flat surface. This will require:
- putty knife and putty;
- construction knife;
- sandpaper;
- reinforcing tape.
Types of plasterboard suspended ceilings in the hall: photos of beautiful solutions
Photos or sketches of designers will help to highlight two main types of plasterboard ceiling structures: single-level and multi-level.
Related article:
Two-level plasterboard ceilings for the living room, photos of various options in the interior. Step-by-step instructions for constructing a two-level ceiling with your own hands, the necessary materials and tools.
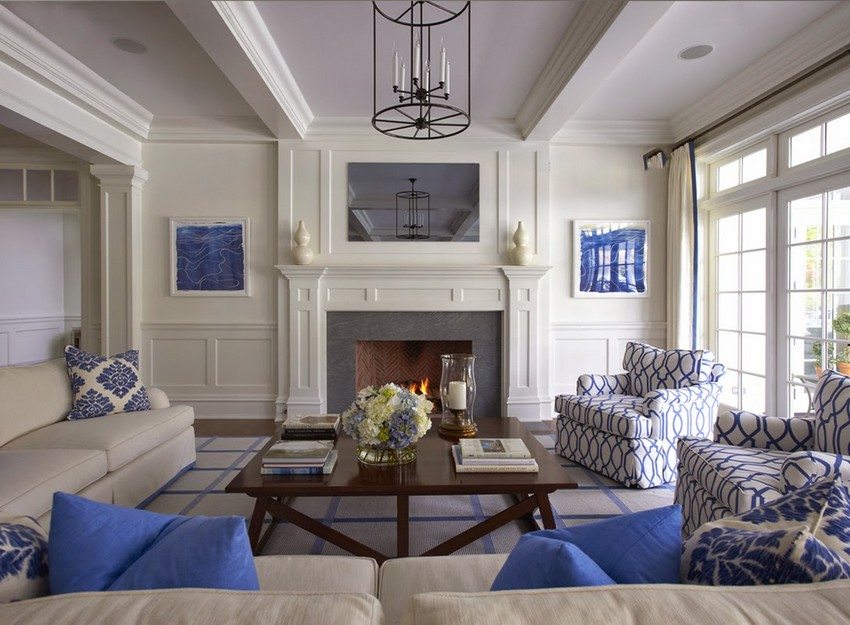
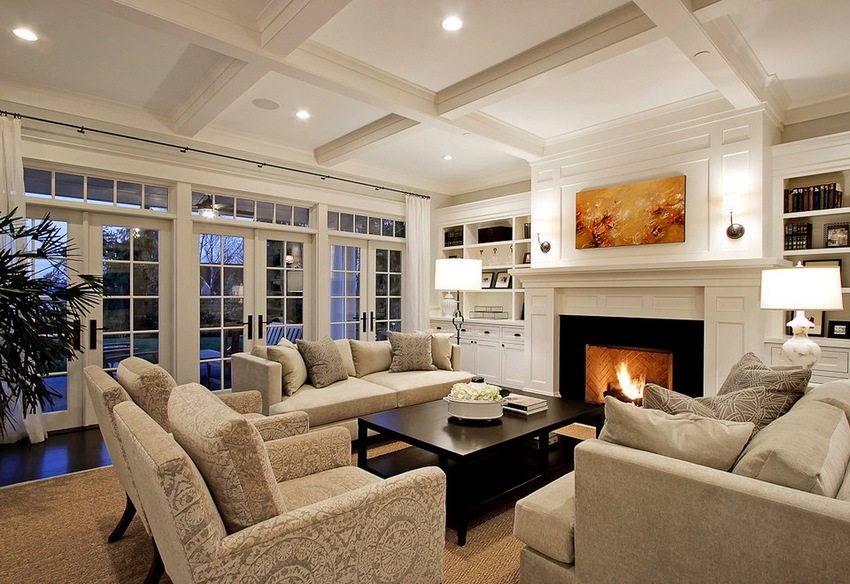
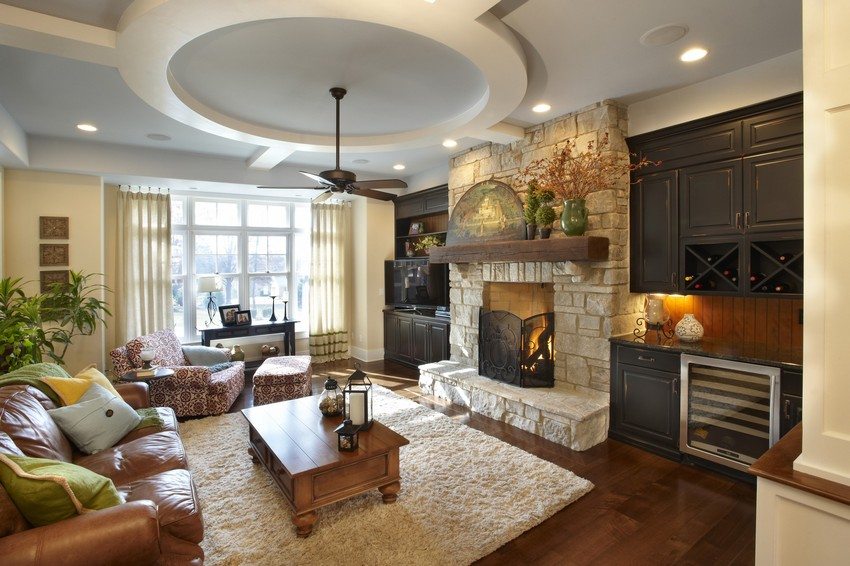
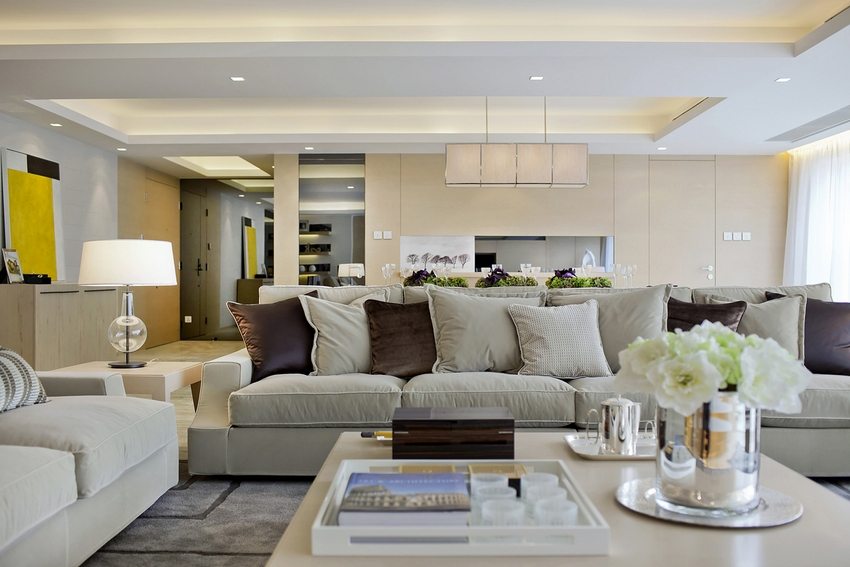
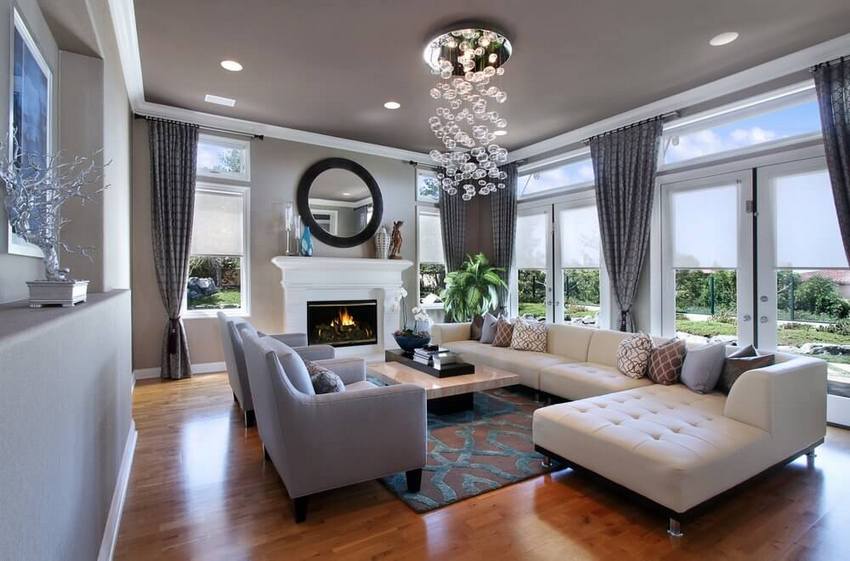
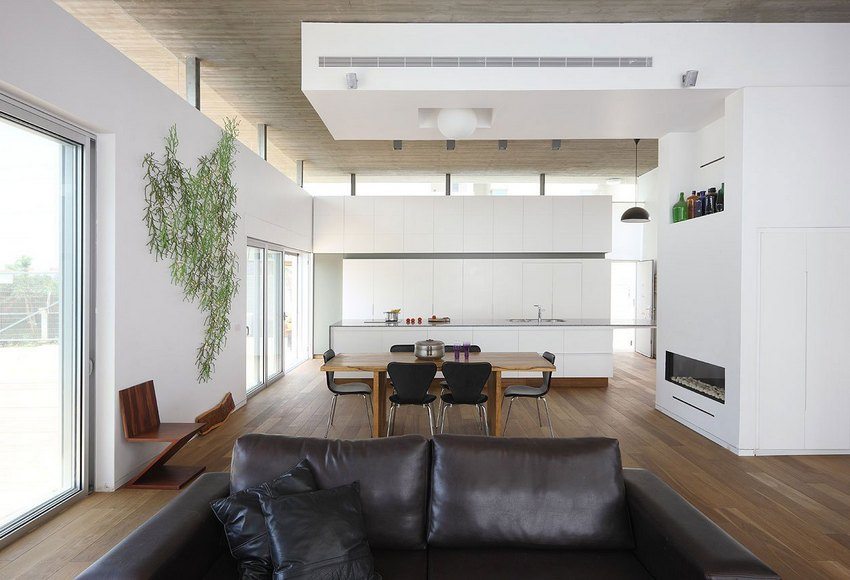
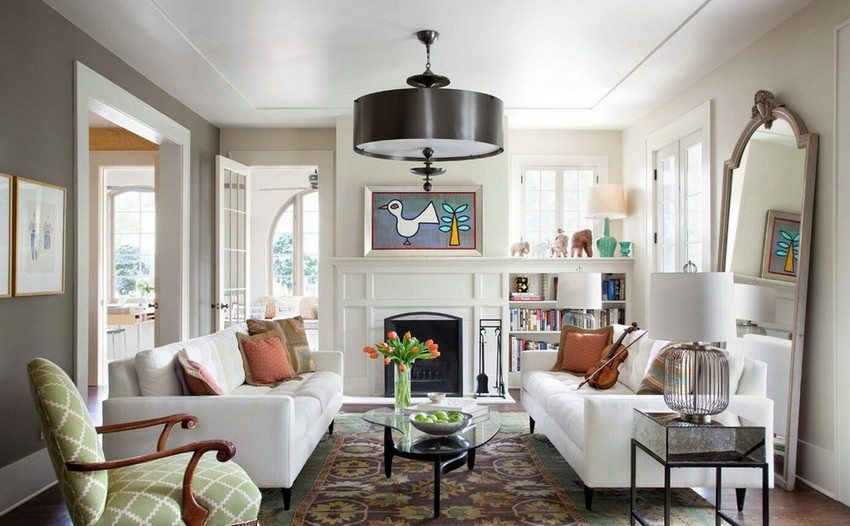
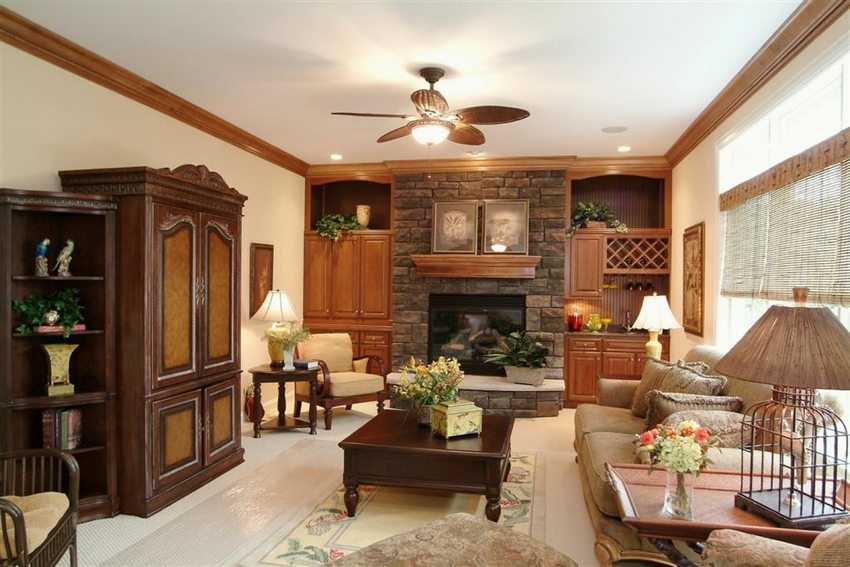
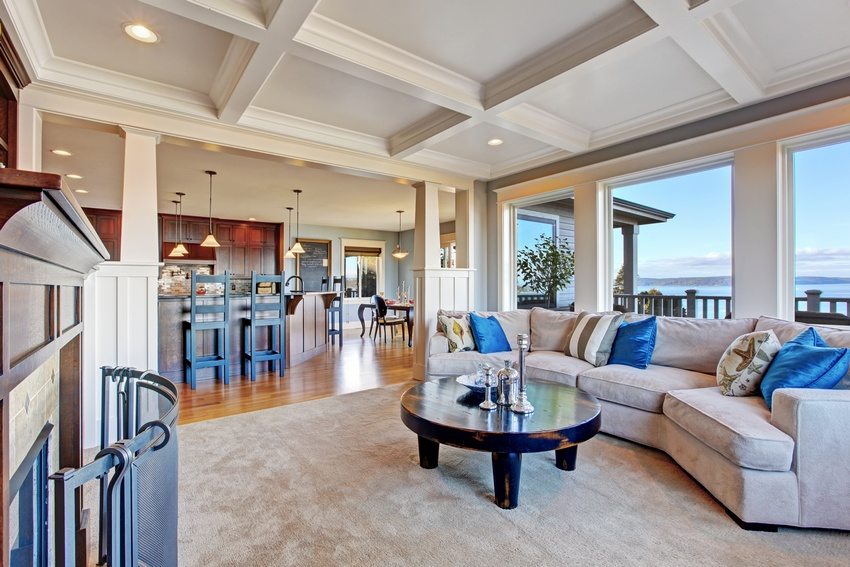
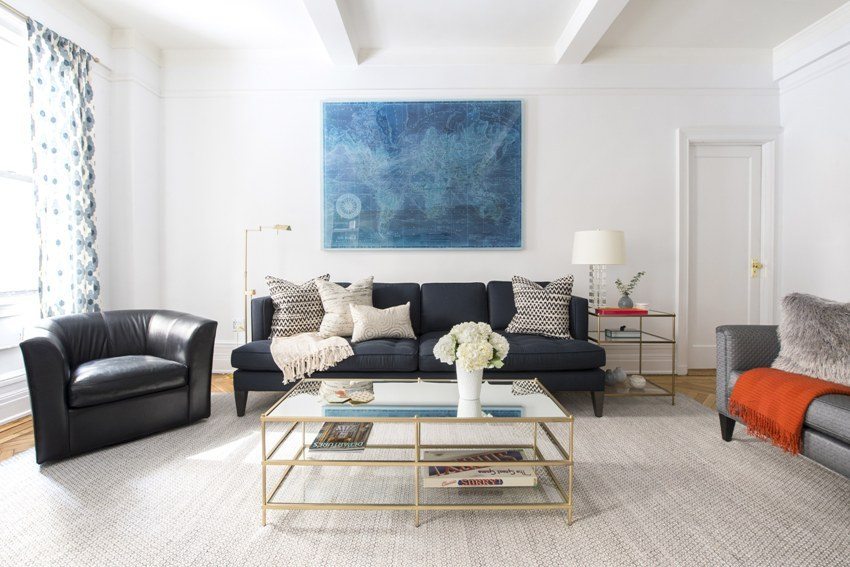
A single-level ceiling is the simplest plasterboard construction with a laconic design without complicated decor. Best for creating calm interiors in rooms with low or uneven ceilings. Such a ceiling allows you to hide all the wires and embed any lighting (while spotlights are preferable). For decoration, you can use any paint, wallpaper, fabric, self-adhesive film.
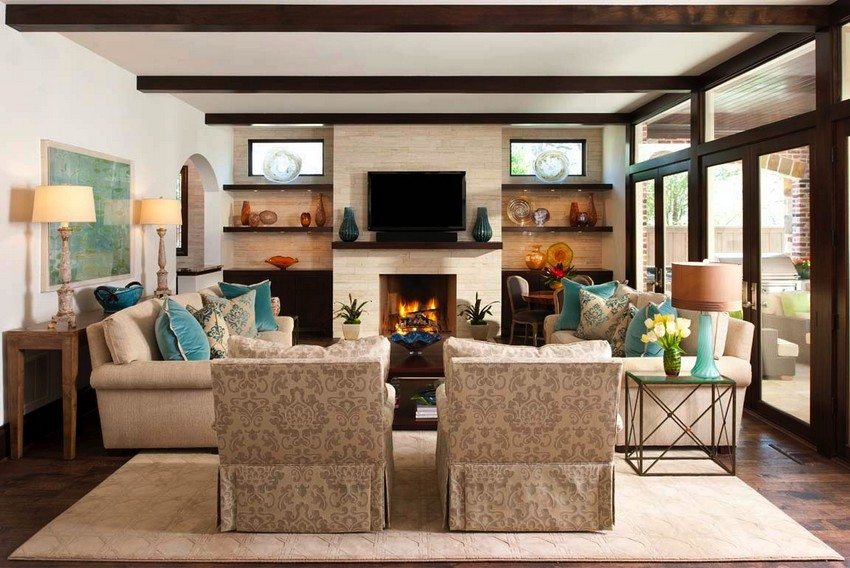
Suspended ceiling in the living room is decorated with plasterboard sheets
Helpful advice! Single-level ceilings are best used to create classic interiors, as well as in minimalism and loft styles.
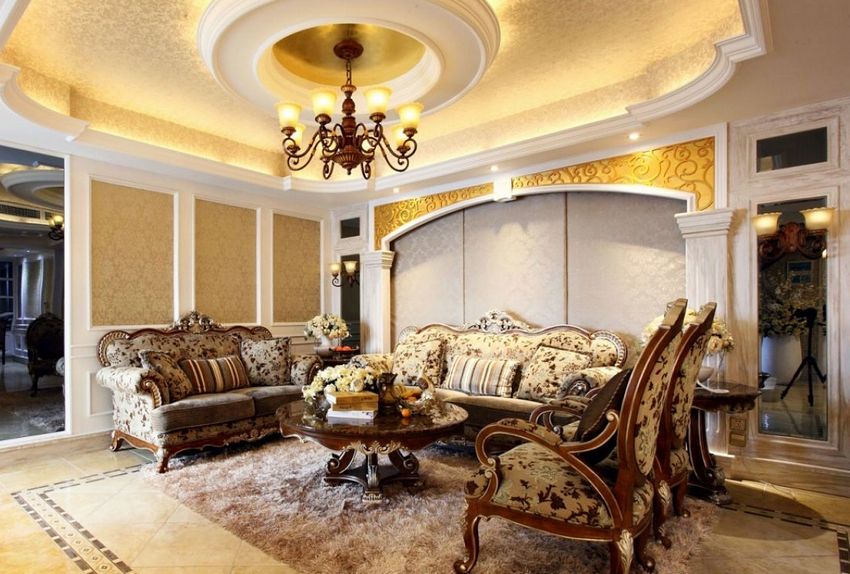
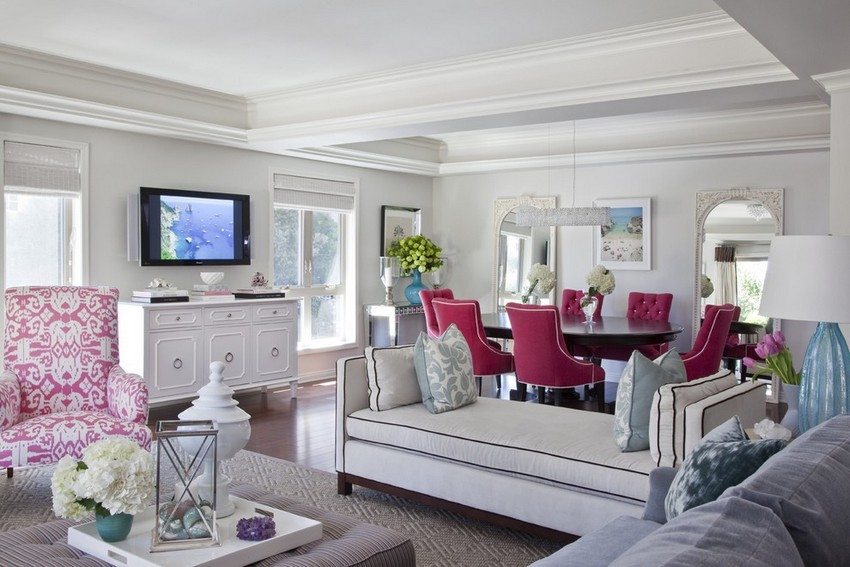
With the help of multi-level curly plasterboard ceilings in a hall, even a small one, you can achieve a sense of volume and depth. Such a design will help not only to zone the space, but also to create an individual interior.
DIY plasterboard ceiling installation
If you have even the slightest skills in performing repair work, installing a plasterboard ceiling with your own hands (a video instruction with a phased layout of the process will help in any case) will not be a difficult task. It is only necessary to carefully design the design, think over how to hide the flaws of the main ceiling and communications under the sheets, and also know the features of the material.
Consider in the form of a brief overview of the steps in creating a plasterboard ceiling in the hall, then in detail - the subtleties of each step. Unlike bedrooms, kitchens, loggias and the corridor, the living room should be universal, therefore, it allows you not to be shy in the zoning of the room, but it requires a more attentive attitude to the installation. As a rule, the living room always has the largest area, and this complicates the process of assembling a plasterboard ceiling in the hall. With your own hands (photo instructions will not be superfluous), all the necessary work can be done.
Installation of a frame for a plasterboard suspended ceiling in the hall: photo of the stages
First of all, it is necessary to decide whether the lamps will be used in the plane of the plasterboard layer or not. There are many options for the location of the lamps, but drywall allows you to abandon a single light source in the form of a central chandelier. Halogen spotlights will allow you to "play" with light in a wide range, zoning the space even without changing its geometry.
Important! LED lights may seem expensive, but you should not give up the opportunity to make a beautiful plasterboard ceiling in the hall, photos can demonstrate all the beauty of such structures.
If the luminaires are not installed in a false ceiling, you will have to sacrifice only 5 cm of the room height. If installed, it will be necessary to reserve a larger gap of about 10 cm (the standard luminaire is 9 cm high).
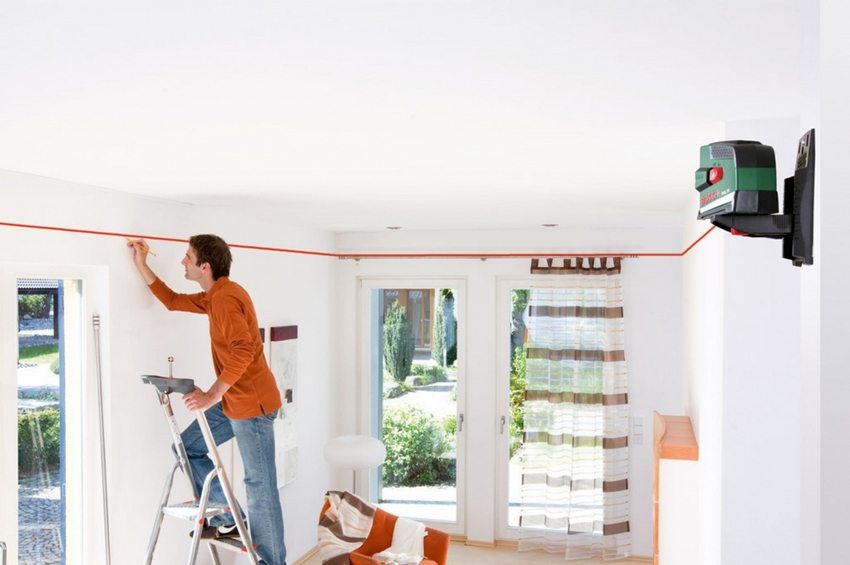
Height mark. When measuring the height of the room with a tape measure, you should find the lowest angle in it (on a wall 6 m long, a construction error of 1-1.5 cm in height is allowed, and when installing a suspended ceiling, every centimeter is critical). Then, from the floor (not from the ceiling!) You need to measure the required height so that 10 cm remains to the ceiling. Using a water level along the entire wall along the perimeter of the room, mark the horizontal and mark it with a paint cord.
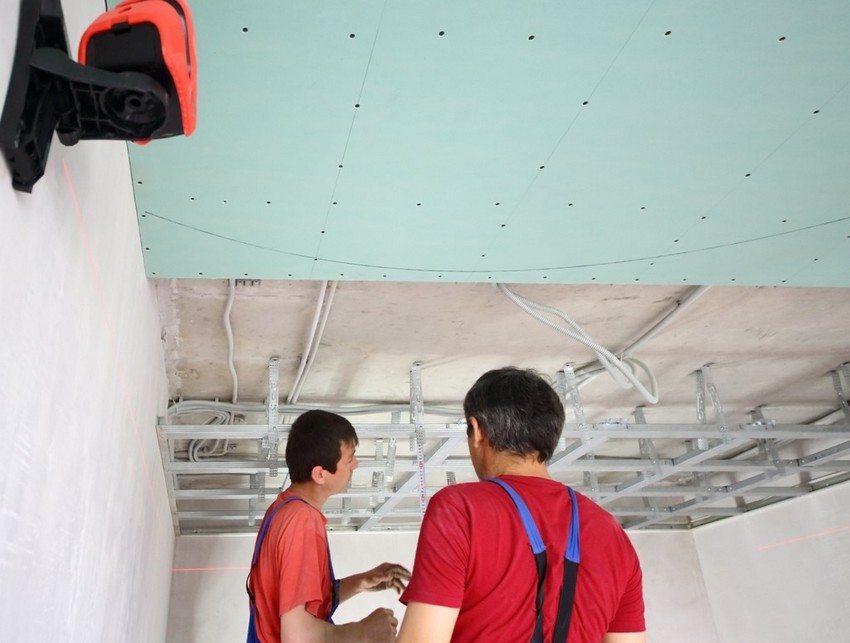
Installation of profiles and hangers. In the walls, along the marked line, holes are drilled for dowels with a step of about 40 cm and guide profiles are fixed.
Then the ceiling is marked with parallel lines and the suspensions are attached. Usually, it is enough to install them with a step of 50-70 cm. If the structure is complex and multi-tiered, then the suspensions are installed not one by one, but in pairs at a distance of 5-10 cm from each other.
After that, the main profiles are inserted into the grooves of the guides and fixed in the suspensions. In order not to miss the height of the attachment, it is best to pull the fishing line along the diagonal of the room from the farthest corners from each other. The "wings" of the suspensions are bent.

Frame installation diagram for two-level plasterboard ceiling
Now you need to strengthen the structure with secondary transverse profiles - they are installed where the drywall sheets will be joined. The result is a metal lattice frame.
It remains to distribute the electrical wiring, if lamps are installed, and pull it up to each spot where the soffit is installed with about a meter margin. In this case, it is advisable to skip the wiring into a corrugated plastic pipe: this will protect it from damage in case of flooding from neighbors from above or from burnout (the static voltage of the frame together with a voltage surge in the common house network can lead to breakdown).
Fastening drywall to the frame
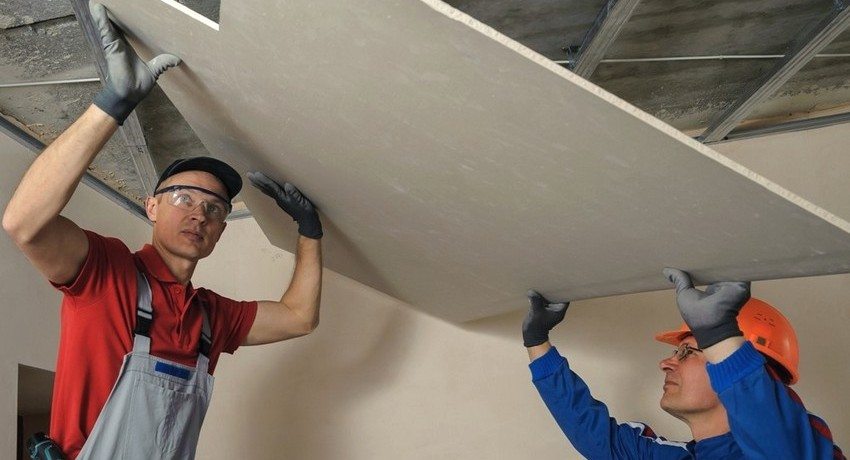
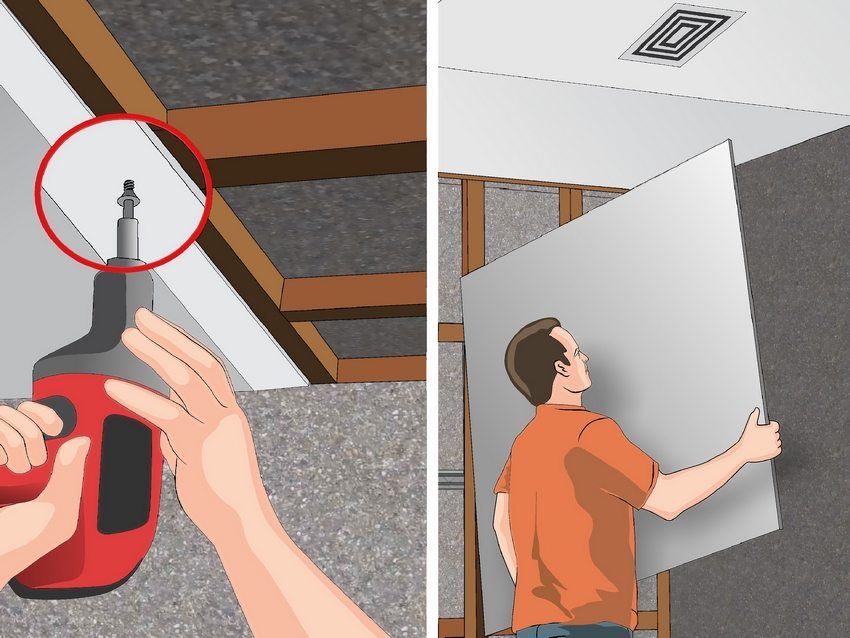
Alone, this procedure is difficult even for an experienced installer. An assistant is required.
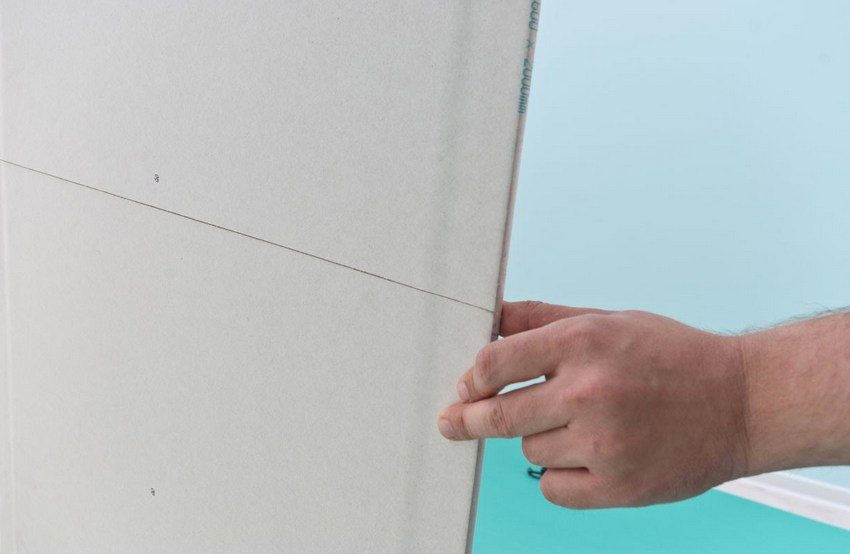
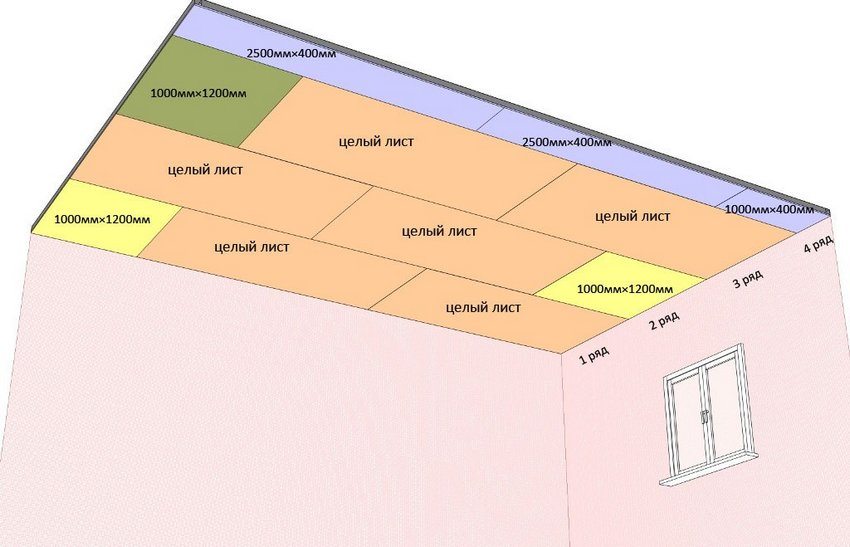
First you need to prepare the cutting: why first put the sheet on a flat horizontal surface of the table with the face up. A large sheet must be cut into sheets measuring 120x250 cm (if there is an assistant) or 120x125 cm (if you have to manage the installation yourself). In any case, the cutting must be calculated so that the ends of the sheet fall on the supporting frame profiles. The incisions are made with a sharp knife, then the incision is pulled to the edge of the table and cracked. The sheet is turned over and again passed with a knife along the marked line. The break will be rough but smooth.
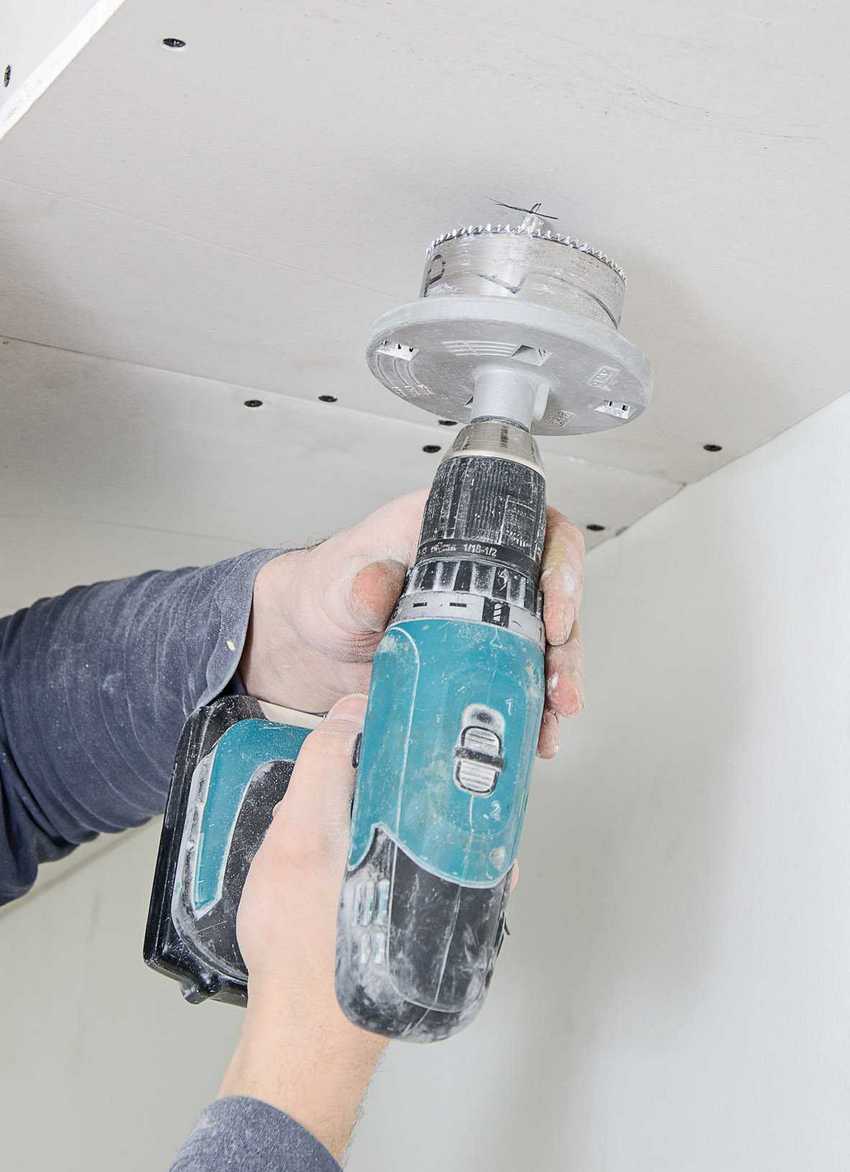
Then the scrap is processed with a plane with less than a millimeter projection of the blade, and the projections and irregularities are pre-cut with a knife. Now you need to cut holes for lamps, pipes and sockets, if any. For this, a drill with a suitable attachment is used. It should be borne in mind that the grooves for pipes are best done with a centimeter margin in diameter, since, unlike a lamp, it is impossible to move a pipe.
After that, the fastening of the sheets to the frame begins: the sheets can be fixed both parallel to the main bearing profiles, and perpendicularly.The first method is used if there are few transverse additional profiles. With the second option, a more durable canvas will be obtained, but 1.5-2 times more transverse jumpers will be required.
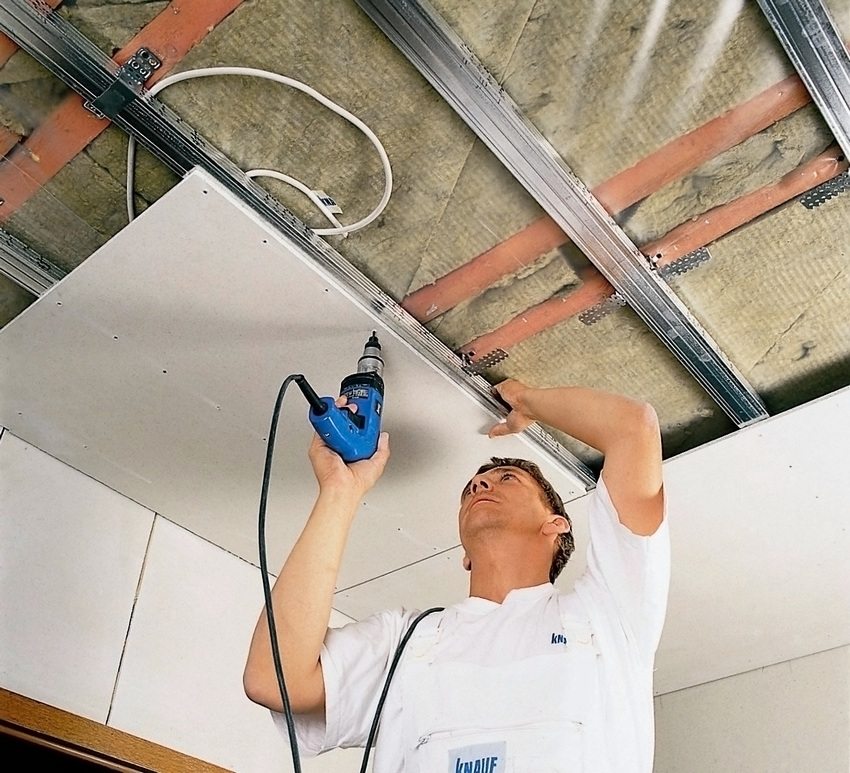
Self-tapping screws are screwed in at a distance of 1-1.5 cm from the edge of the sheet so that they enter the profile to a depth of more than 1 cm.Since the sheet weighs a lot, the ideal distance between the screws is 10-15 cm. On a sheet 120x125 cm will take 60-80 screws. The head of the screw should be recessed by about a millimeter into the plane of the drywall sheet, but no more - otherwise, in this place the cardboard will be tousled and the screw will loosen sooner or later. In case of unsuccessful fastening, the screw is removed and screwed into a new place, but no closer than 5 cm from the unsuccessful hole.
It is imperative to ensure that the joints of the sheets are always located on the profile. In this case, the edges of the sheets must be located half a centimeter from the walls. In case of slight sagging, this margin will help to avoid deformation of the ceiling. By the way, it is better not to putty this gap, but simply to mask it with a ceiling corner.
Preparation for finishing
Before the putty it is necessary to stand for 2-3 days - during this time the whole structure will shrink and come to equilibrium. If after this there are defects, they are removed with a knife and sandpaper, and dust from the cuts should also be removed. Usually, the entire surface of the ceiling is putty, but some expensive brands only allow you to process the seams. In any case, it is worth laying a reinforcing tape at all joints - it will avoid possible cracks.
Laying the reinforcing tape is quite simple: the joint is slightly moistened, then the putty is pressed in with a spatula and the reinforcing tape is immediately laid, carefully checking that no air bubbles remain. Cover the tape with a thin layer of putty and wait for it to dry completely. They get rid of burrs with sandpaper, grind, then process again with a thin layer of putty and again dry and grind.
Installation of a two-level plasterboard ceiling for the hall: photo
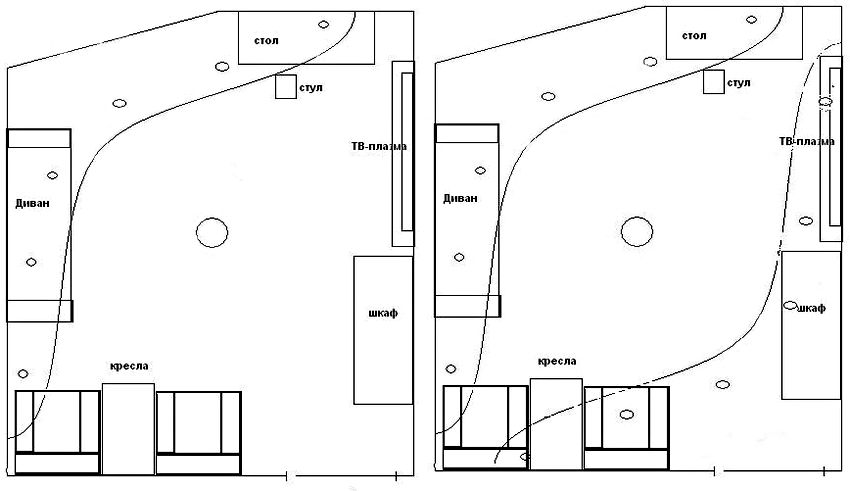
The technology for installing drywall is so simple that multi-level ceilings of any shape are created according to an algorithm no more complicated than that described. It is enough to draw a sketch of the second tier, mark its contour on the ceiling and attach the main guides of the second level under it 5 or 10 cm below the first - the U-shaped suspensions are designed for two layers.
Advice! Two-level ceilings for the hall, photos of which are sufficient on the Internet, can be painted in various colors. Any plasterboard is perfect for covering paint, and you can experiment with shades indefinitely.
If the shape is complex (for example, oval), then the guides are filed about every 5-7 cm to ensure the smoothest possible curve, the wiring is spread, the plates of the desired shape are carefully cut out of the sheets and fastened. To close the ends of the box, cut out a strip of drywall 5 or 10 cm wide, and - if the shape is complex - cut the front side of the strip (for convex curves) or the back (for concave). The cuts are made at a distance of 5-7 cm (in general, this distance depends on the degree of curvature of the line - the steeper it bends, the closer the cuts should be to each other).The box is closed with the resulting blank.
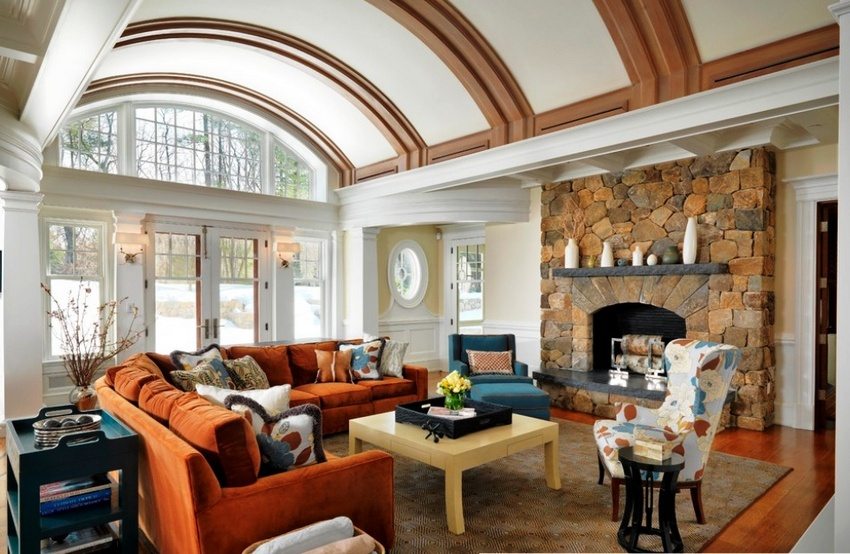
The plasticity of drywall allows you to create smooth transitions in the construction of the ceiling, arch and semi-arch
After filling, processing and finishing, it is enough to connect and insert the lamps.
Plasterboard ceilings in the hall: photos of successful design examples
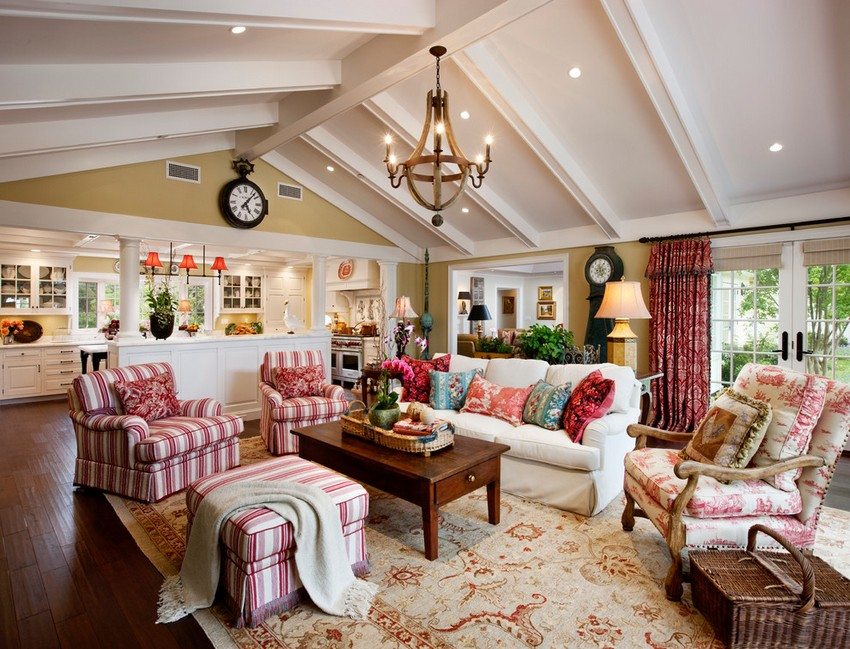
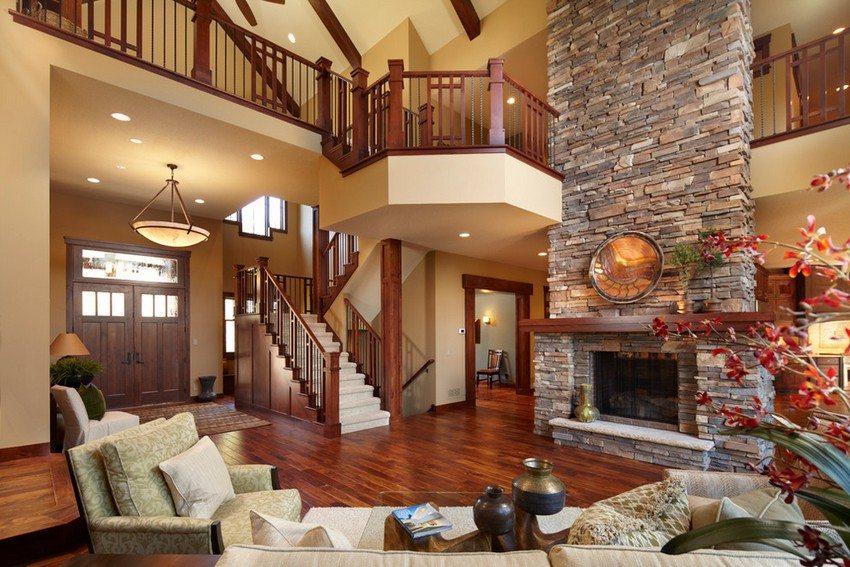
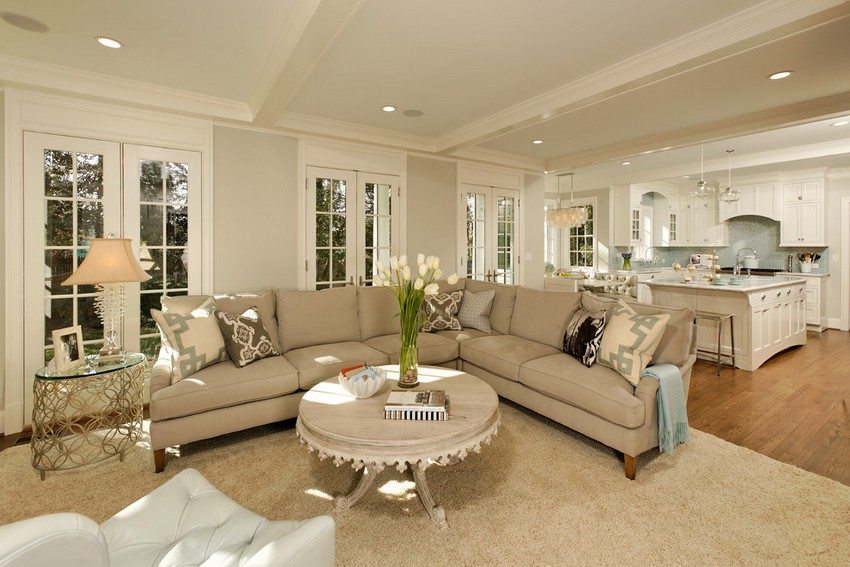
The structure and design of the ceiling in the hall in combination with zoned lighting will help to visually increase the space of the room, as well as expand its functionality.
Plasterboard ceiling design for the hall: photo in Khrushchev
A hall or living room in a Khrushchev is, as a rule, a room of a small area with ceilings up to 2.5 meters high and practically zero sound insulation. Therefore, when planning and designing ceilings, it is necessary to choose solutions that will help improve sound protection and visually enlarge the room.
The best option for such rooms would be a suspended ceiling with diffused lighting, visually expanding the space. You can create such lighting using built-in spotlights. If at the same time on the ceiling you combine matte and glossy surfaces that reflect light, you can achieve the effect of "lifting" the ceiling.
Soundproofing materials, if necessary, are placed in the inter-ceiling space.
For finishing the ceiling in such rooms it is better to use light shades of the warm part of the spectrum, while it is recommended to paint the upper part of the walls and the ceiling with one color scheme: this "blurs" the border between them and creates the illusion of an increase in volume.
Photos of plasterboard ceilings in the hall. Photos of rooms from 25 sq.m.
A large room can be really big, but the visual perception of its size depends on the proportions of the sides, lighting and ceiling heights. A narrow and long room with low ceilings and insufficient lighting will look cramped. A complex two- or multi-level ceiling will also visually reduce its volume.
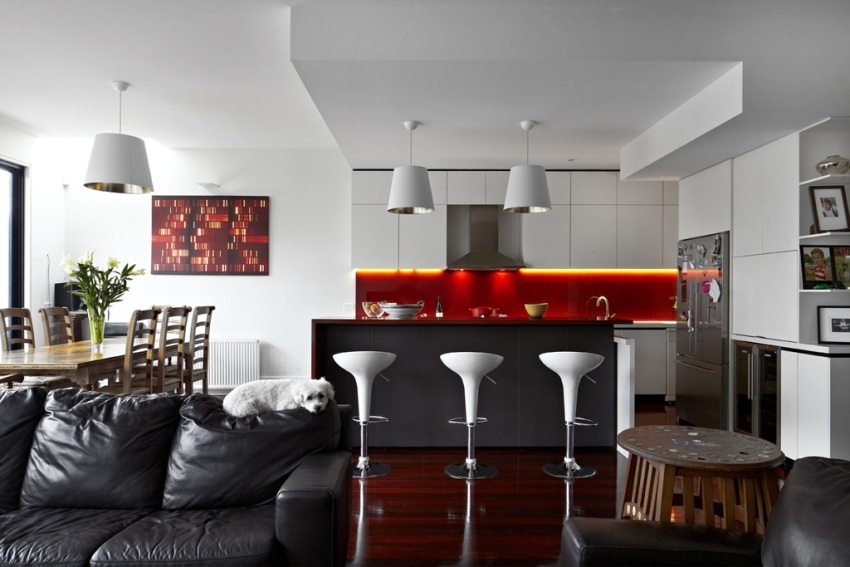
To visually expand the space and create a sense of freedom, it is better to use a single-level ceiling with built-in zone spotlights that have an adjustable brightness function. This will make it possible to adjust the amount of light in each part of the room (and also save energy).
Advice! If the wallpaper in the hall is bright, and the interior itself has a complex finish and an abundance of decor, it is better to choose a simple ceiling without unnecessary details. In a quieter interior, a multi-tiered ceiling can become a highlight of the entire interior.
To paint a low ceiling, it is better to use tones that will be lighter than the walls, or stick striped wallpaper on the walls, which will visually "raise" the ceiling.
So, there is nothing complicated in the technology of work on the installation of suspended ceilings, only accuracy and accuracy are needed. Drywall is a very "grateful" material and allows you to implement any design ideas.
