Stretch ceilings are no longer a wonder. Beautiful, durable, they give the ceiling a perfect look, repel dust, are not afraid of water. A stretch ceiling can not only close irregularities, it also successfully hides external wiring or plastic pipes. The ceiling is mounted very quickly and completely without dirt, accompanying other repair and construction work. It is only necessary to mask the gap between the canvas and the wall. How to do this can be seen in the photo, many of which are on the Internet. For this, a masking tape or plinth for a stretch ceiling is used.
Content [Hide]
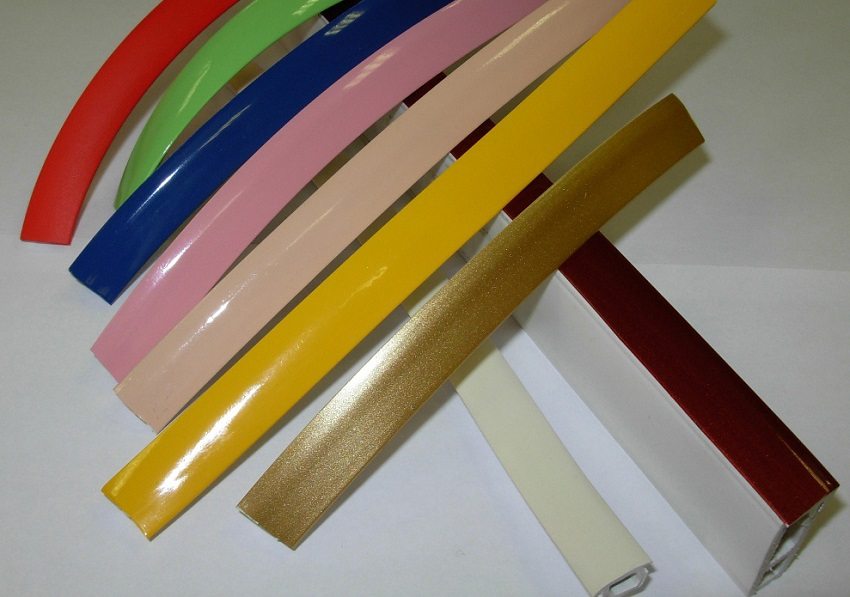
Stretch ceiling masking tape
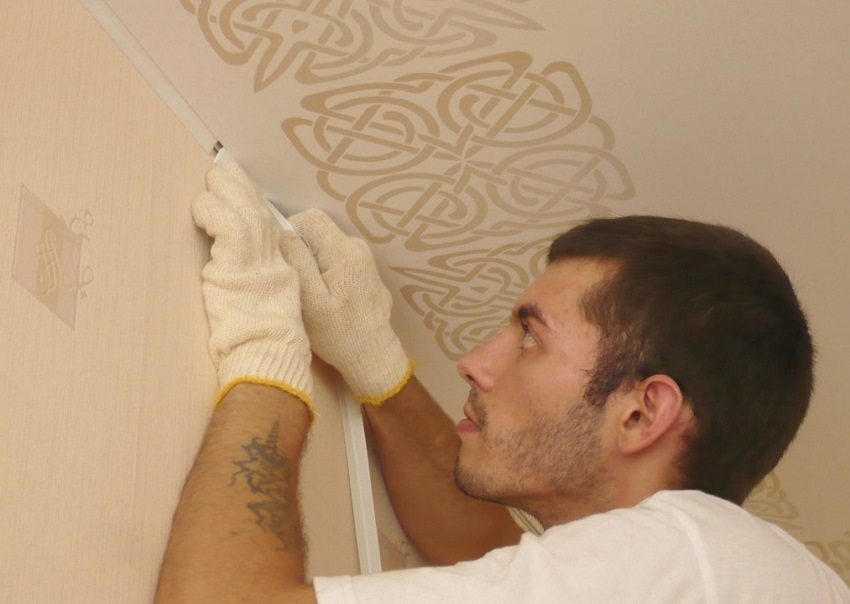
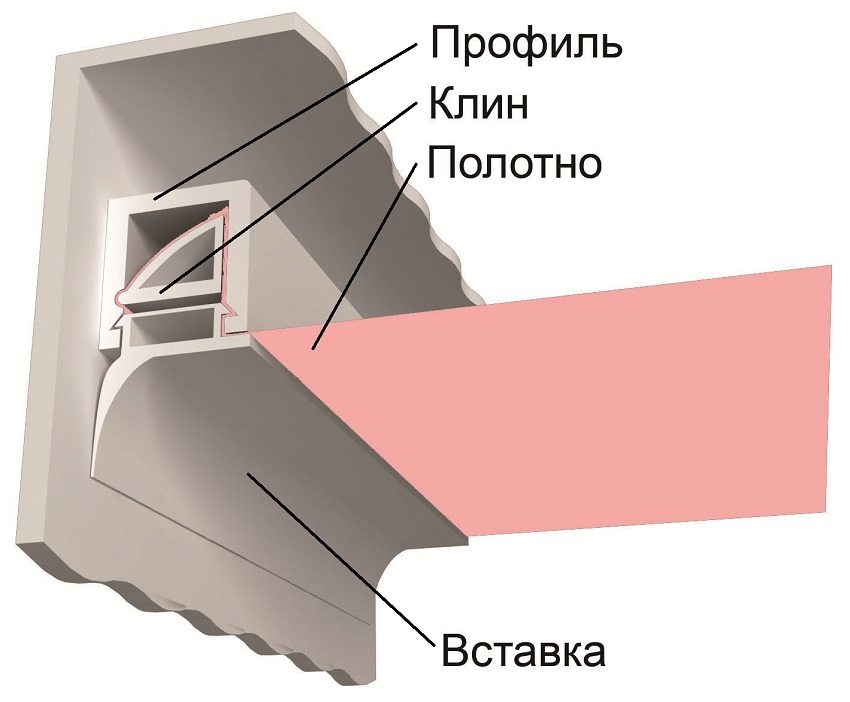
A masking tape, or a plug for stretch ceilings, is often supplied by the manufacturer as a set, like other accessories for stretch ceilings. You need to fix it directly into the groove of the profile. It prevents the formation of dust and dirt that would inevitably accumulate in an open gap.
Useful advice! The advantage of a masking tape for a stretch ceiling is the possibility of its repeated use. If it becomes necessary to dismantle the ceiling (flooding, repairing wiring, etc.), the tape can be easily removed and just as easily reattached.
Masking tape is used to decorate multi-level ceilings, as evidenced by photos of such examples, as well as when splicing canvases. It is advisable to use a decorative insert for stretch ceilings on flat areas, otherwise it will only emphasize all the irregularities.
Skirting board for stretch ceiling
One of the significant disadvantages of masking tape is its small width. The distance between the walls and the stretch ceiling can be uneven, in some places becoming so wide that the masking tape cannot cover it. In this case, it is better to choose a ceiling plinth.
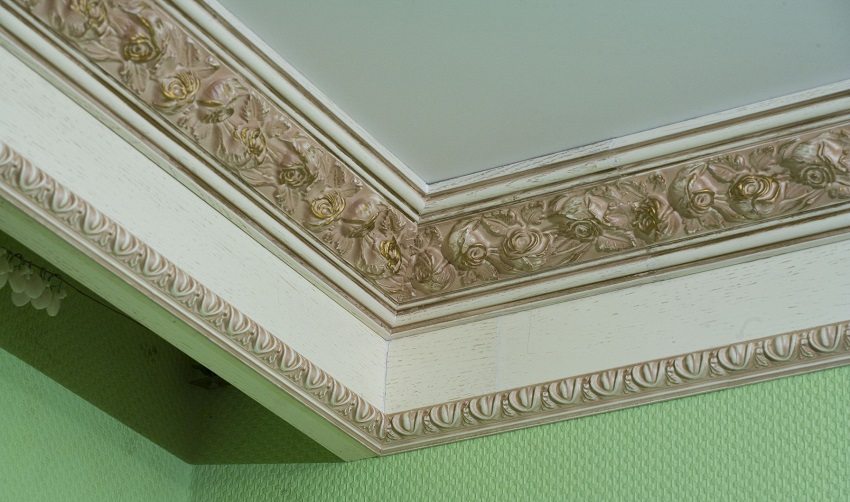
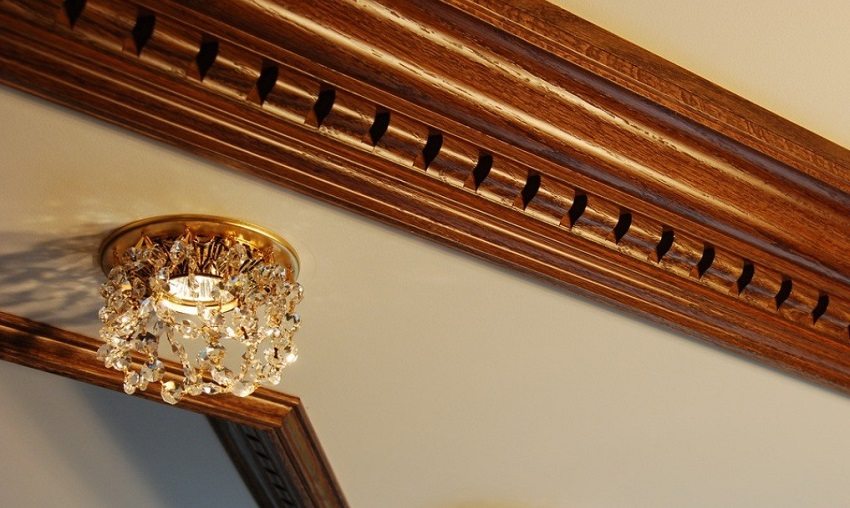
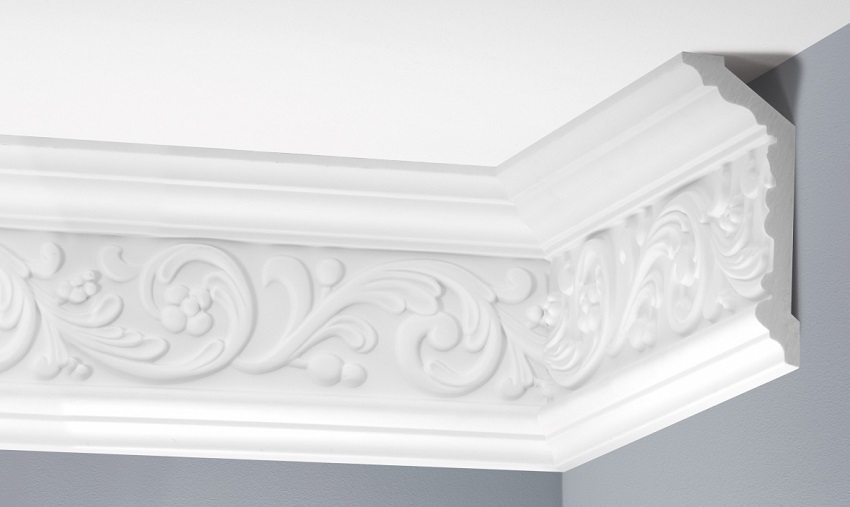
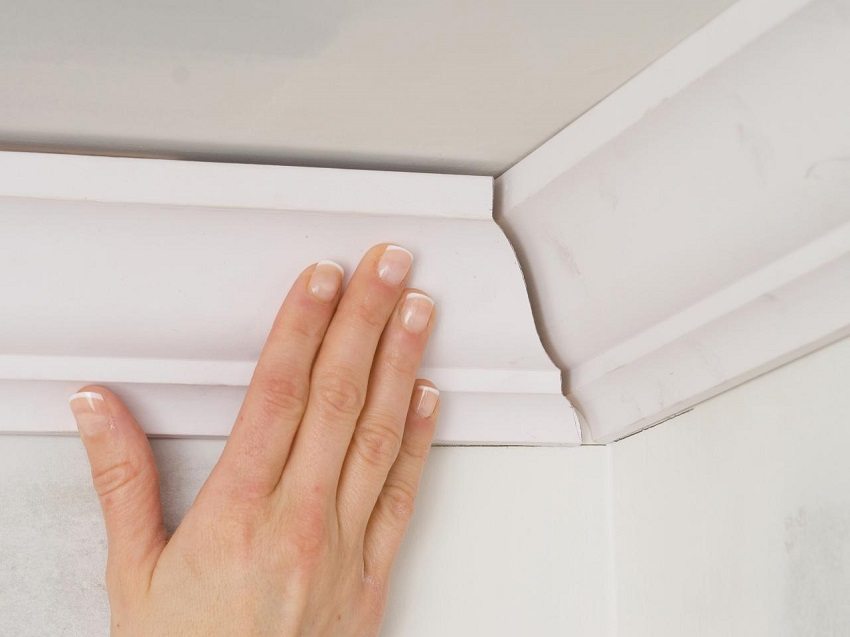
Ceiling skirting boards serve more than just a camouflage function. Stretch ceilings without a plinth do not look so impressive. As shown in the video and photo examples of interior sites, a skirting board for a stretch ceiling can give a room a finished look, make the design more interesting, emphasize the overall style, favorably shading the stretch ceiling. Which skirting board to choose depends only on your imagination. Photos show that the skirting board for stretch ceilings can be painted in any color, it can imitate stucco or even wood. Pick up ceiling plinth to your taste and wallet is quite easy, you just need to figure out what exactly is right for you.
Useful advice! Before starting work on your own, study the materials, read articles and watch a video on how to glue skirting boards on a stretch ceiling.
How to glue a skirting board to a stretch ceiling
The canvas of a stretch ceiling is subject to natural deformation depending on temperature changes. In addition, sometimes it becomes necessary to dismantle the ceiling. That is why the skirting board for the stretch ceiling should be fixed only to the walls. You will learn more nuances from the video on how to glue a plinth to a stretch ceiling.
When deciding which plinth is better for stretch ceilings, it is important to know that special requirements are imposed on the plinth for a stretch ceiling:
- it should have the most lightweight design;
- the plinth must ensure a snug fit to the wall;
- for its installation use special glue or putty.
If you choose a wide molding instead of a plinth, this will minimize the problem of how to fix the plinth to a stretch ceiling. Moldings are originally designed to be fixed to walls.
Useful advice! A concealed lighting can be placed in the molding 10 cm from the ceiling. This will add impact to your interior. Power Supply it is better not to place it under the ceiling, as it heats up quite a lot and has a decent weight.
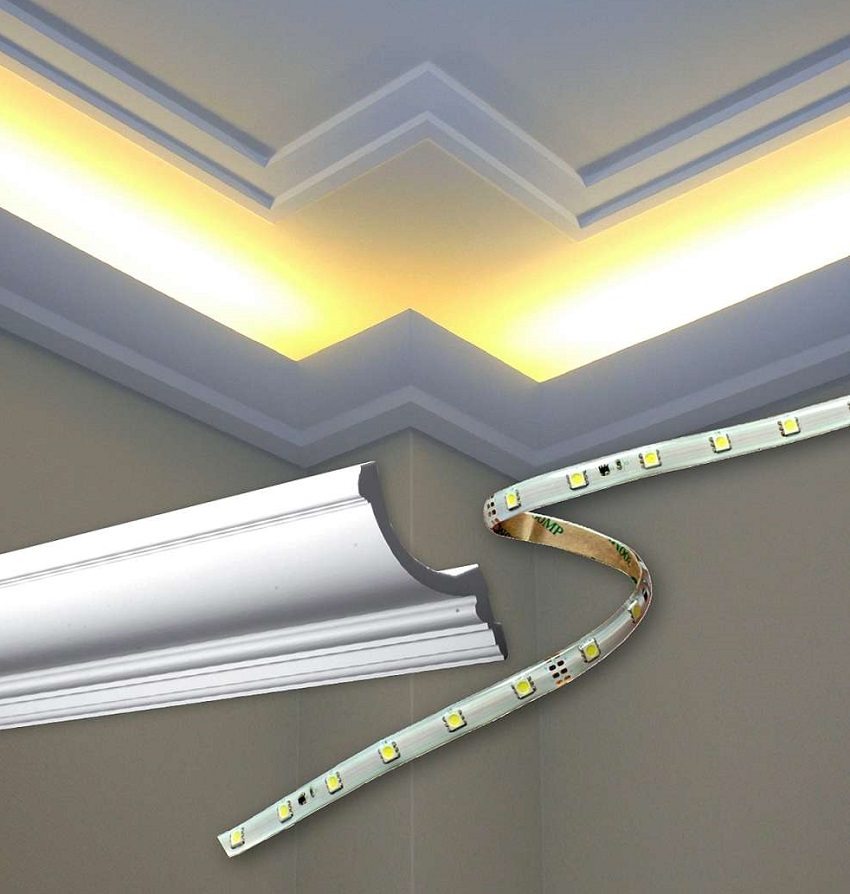
LED strip can be hidden in a wide molding as a backlight
How to choose a skirting board for a stretch ceiling
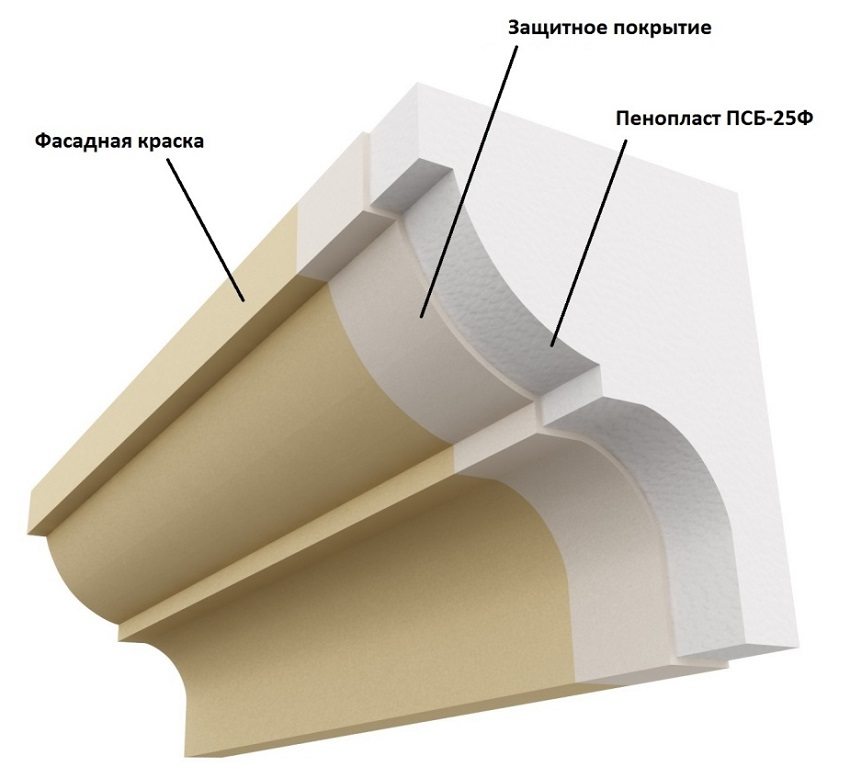
Ceiling plinths for stretch ceilings are mainly made of polystyrene (expanded polystyrene) and polyurethane. Polyfoam is a very light material. It adheres well, is easy to cut and is affordable. Its disadvantage is fragility and fragility; it will not work for complex ceilings. Styrofoam burns, releasing toxic substances, it is better not to use it in the children's room and bedroom. Not all glue is suitable for foam plastic; some aggressive media can spoil it. Styrofoam skirting board may turn yellow over time, it is recommended to paint it before fixing.
The ceiling plinth for a stretch ceiling made of polyurethane is more flexible, it can take on various forms (see photo). Polyurethane is glue-resistant, washable, for bathroom and the kitchen will fit perfectly. But polyurethane sometimes sags under its own weight. Therefore, it is necessary to mount the polyurethane skirting board very carefully, and if it is very wide, it is more advisable to fix it with self-tapping screws, and fill the attachment points.
Related article:
|
Wooden ceiling plinth is rarely used due to the high cost of the material and the complexity of installation. In addition, it will not be possible to mask errors in the joints on a wooden plinth. A plastic skirting board for a stretch ceiling is also not very suitable, because having a small width and a rigid structure, it will not be able to mask the flaws of the walls.
The color of the skirting board can match or contrast with the color of the ceiling. In the latter case, it is necessary to choose a color that matches the interior of the room. The stores offer a wide range of skirting boards for stretch ceilings. A consultant can tell you how to choose the most suitable one. And we suggest watching the video at the end of the article on how to glue a plinth on a stretch ceiling.
Useful advice! For a classic interior, a wide ceiling plinth with an imitation of stucco molding is suitable, and for a modern youth room - narrow, strict fillets for stretch ceilings. Photos of such skirting boards can be found on specialized sites. When choosing a pattern, keep in mind that the more complex the pattern, the more difficult it will be to adjust the corners.

Backlight hidden behind ceiling cornice
Material calculation and tools
To calculate the required amount of material, you need to calculate the perimeter of the room. This applies, first of all, to rooms with complex geometry. The resulting figure should be divided by the length of the strap of the selected model, and as a result, we will get the required amount.
It is recommended to purchase an additional one more bar to avoid the need for additional purchases if unforeseen difficulties arise during the work.
Of the tools you will need:
- construction knife, hacksaw, sandpaper;
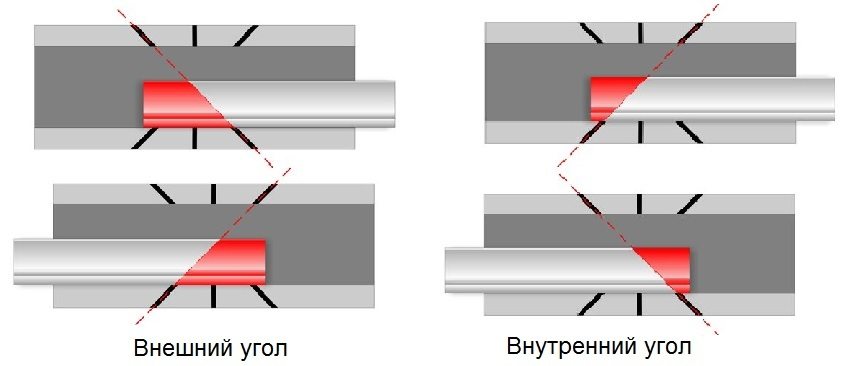
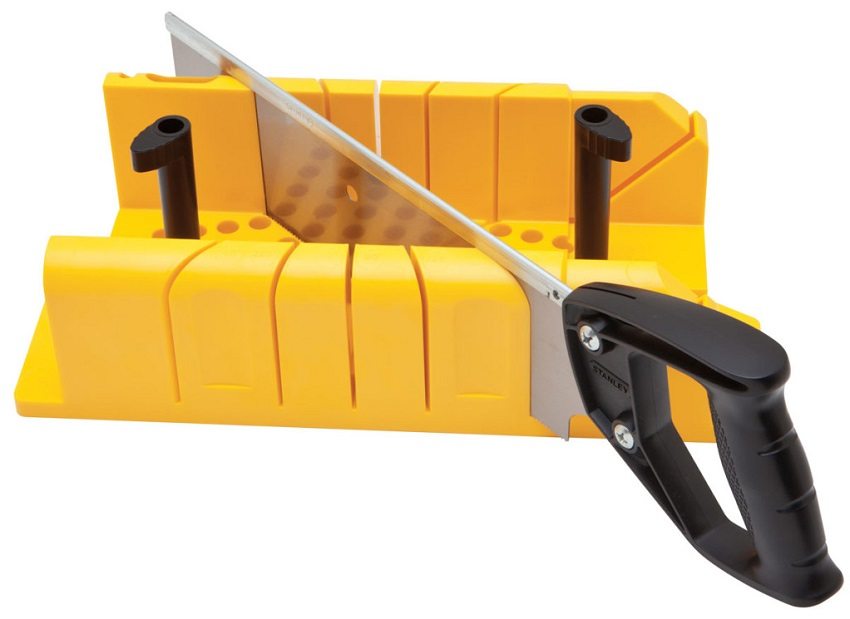
- miter box. This is a special tool, as in the photo, which allows you to easily and neatly file corners. It is important to check the direction of the cut;
- ruler, tape measure, protractor (if the corners are not perfectly even);
- simple pencil for marking;
- rubber and metal spatulas.
Glue and paint
When choosing an adhesive, take into account the characteristics of the material skirting boards... So, polymer-based glue can contain a solvent that can damage the foam baseboard. And for polyurethane, it is perfect due to the reliability of adhesion and short setting time. Before gluing the ceiling plinth to the stretch ceiling, it is better to check the material compatibility on a small piece.
The so-called liquid nails have proven themselves well. They are safe for any kind of material skirting boards and have a very high adhesive power. You need to choose liquid nails based on the functionality of the room itself. Acrylic is safer and does not have a strong odor, but they are not used in rooms with high humidity. For the bathroom and kitchen, formulations based on an organic solvent (neopropylene) are suitable. When performing such work as gluing skirting boards to stretch ceilings, you must follow safety rules.
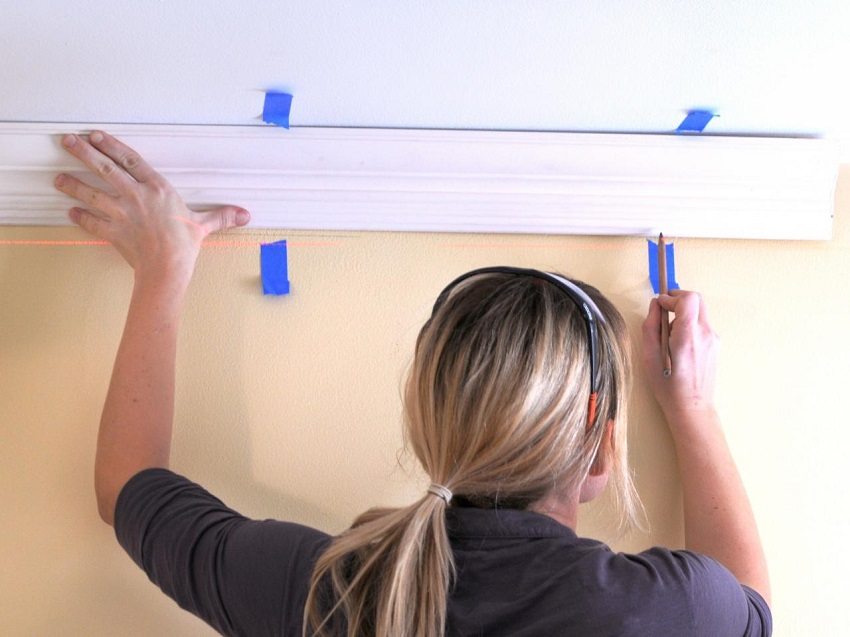
Before installing the ceiling plinth, a marking is carried out, along which its lower edge will be glued
Useful advice! Professionals often use acrylic based putty. This mixture sets very quickly and is absolutely safe for humans. In addition, it can cover all the joints of the corners, as well as the gaps between the baseboard and the wall.
Plinth installation procedure
Before attaching the plinth to the stretch ceiling, the walls must be prepared - cleaned of construction dust and dirt, leveled, primed, dried. Only a foam plinth can be glued over the wallpaper, the wall must be cleaned under the polyurethane.
As you can see in the photo, ceiling plinths for stretch ceilings are best coated with water-based, latex and acrylic types of paints. If it is necessary to paint the ceiling plinth, it is better to do this before gluing the ceiling plinths to the stretch ceiling. Otherwise, the ceiling will have to be covered with polyethylene to avoid paint stains.
First, a marking is made, along which the lower edge of the plinth will be glued. The ceiling skirting board for the stretch ceiling should be fixed with a distance of 3-5 mm.
You need to start mounting the skirting board from the corners, and then glue the flat areas. If the corners of the room are perfectly flat, you can purchase ready-made corner elements, their installation will greatly simplify the work. In all other cases, the corners must be cut with a miter box and a hacksaw, the edges must be cleaned with sandpaper and adjusted as closely as possible.
The glue is applied according to the instructions only on those surfaces of the skirting boards that are adjacent to the wall, and on the joints, immediately before gluing the skirting board to the stretch ceiling. If the fillet is too long, you will need the help of a second person to press it down evenly. The last elements are adjusted in length before being attached.
When the skirting board is completely glued, small gaps in the joints of the elements must be masked with a sealant or putty.
Installing a stretch ceiling plinth is not so much difficult work as painstaking. For more confidence, watch the video on how to glue the skirting board yourself to stretch ceilings.
