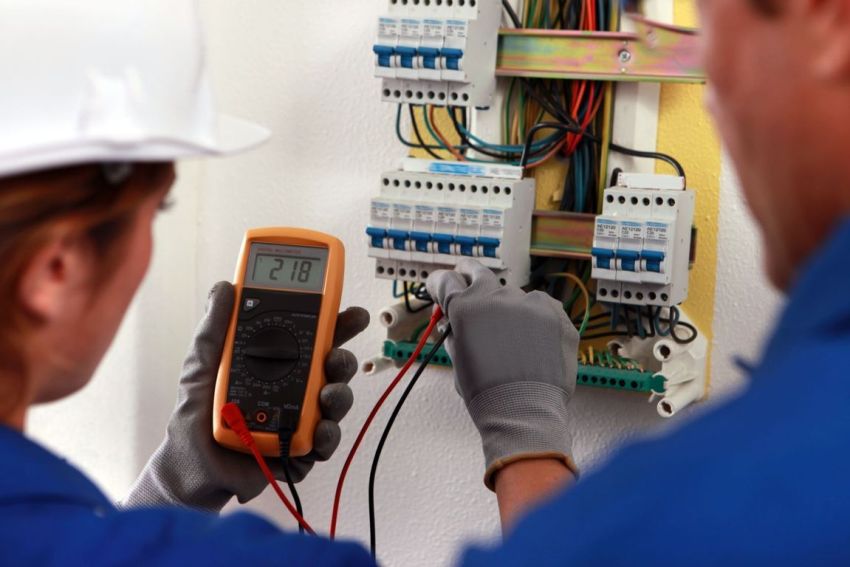
Replacing the wiring in an apartment is a fairly common event. The need for this process is most often due to the fact that old cables include an aluminum core that is not suitable for modern capacities. Such systems are not always able to withstand the loads exerted on them by a large number of electrical appliances. Before replacing the wiring, you must familiarize yourself with the sequence of work and recommendations for each item.
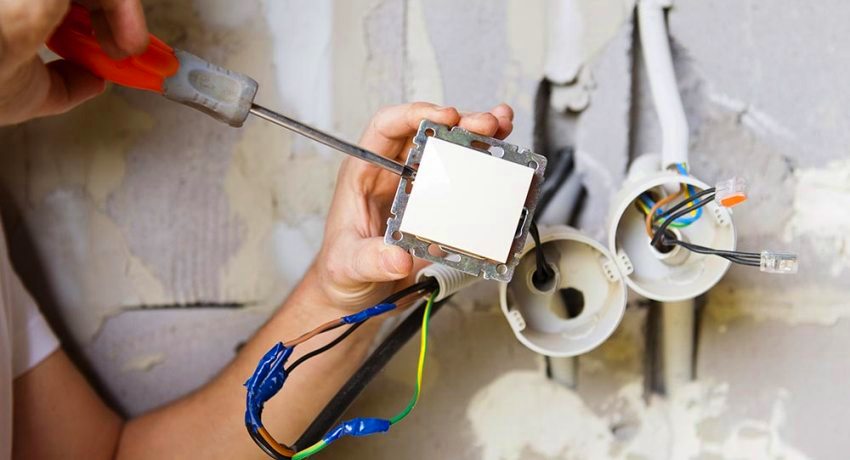
If the electrical wiring of the apartment was installed 20 years ago, then we can say with confidence that it must be replaced
Content [Hide]
In what cases is it necessary to replace the electrical wiring in the apartment?
Most often, this operation is performed if the electrical system does not meet modern requirements. Today, the load on the network has increased several times, since almost every family uses powerful electrical appliances (washing machine, boiler, etc.).
Until recently, cables in electrical systems included aluminum cores. Although this metal is a good conductor, it has many disadvantages. For example, it has poor corrosion resistance. And also during operation, changes occur in the very structure of aluminum. Deterioration of the metal increases the likelihood of a fire due to a short circuit.
The service life of aluminum wiring does not exceed 15 years, while copper cables can be in operation for up to 30 years. From a safety point of view, copper wires are the most acceptable. The most common problems with old aluminum power grids are:
- neutrals have a solid ground (instead of protective);
- outdated version of cabling using the branching method;
- lack of circuit breakers;
- minimum number of outlets.
It is necessary to think about replacing the electrics in an apartment when the old system has been in operation for more than 20 years, as well as when signs of network wear are detected. Among these criteria, we can single out those that are easiest to find.For example, sparkling outlets are a warning not to be ignored.
Note! The problem can be solved in two ways. The first is the partial replacement of electrical wiring. However, this option is recommended only when it is necessary to eliminate an open circuit in the network. In other situations, experts advise to carry out a complete replacement of the system.
Other signs that signal a system malfunction are all kinds of breakdowns of sockets and switches. Often, when electrical appliances fail, you can smell the burnt insulating material. In this case, it is also necessary to replace the wiring.
How much does it cost to change the wiring in an apartment? The cost of replacing the electrical system primarily depends on the area of the living space. The following factors are also very important: the number of rooms, layout, the number of electrical appliances that will be used after the renovation. The minimum cost of replacing electrical wiring for one-room apartments is 15,000 rubles. For two-room dwellings, the price is slightly higher - 20,000 rubles.
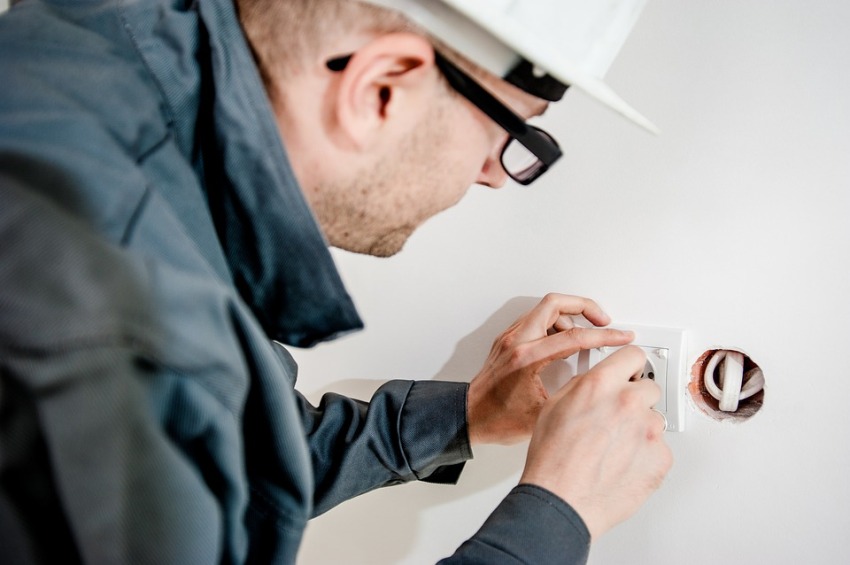
Important signs indicating a malfunction of the electrician are all kinds of breakdowns of sockets and switches
How to wire the apartment: two popular ways
Today, electricians use two methods of laying electrical wiring indoors: outdoor and indoor. All subsequent work depends on the choice of the desired option, therefore it is necessary to familiarize yourself with the advantages and disadvantages of each of these methods.
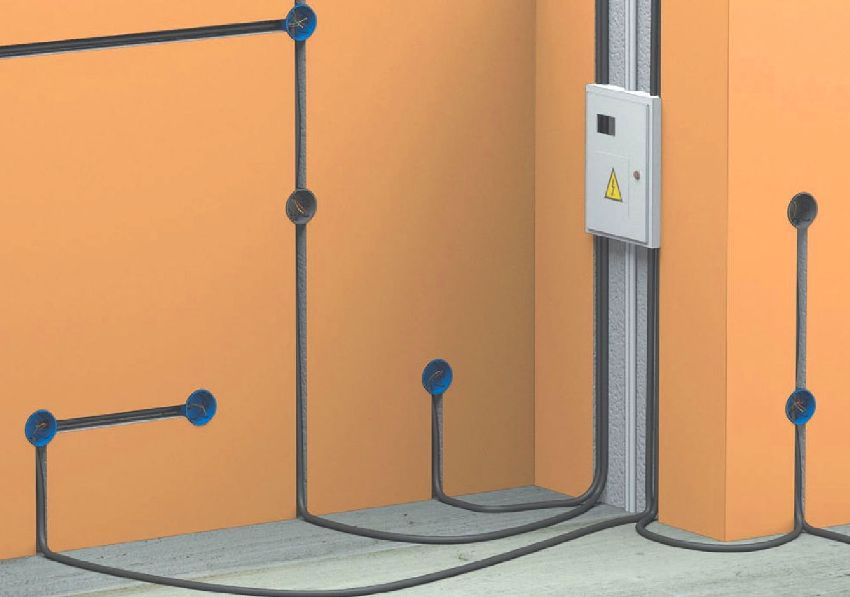
The internal method of wiring is also called hidden. It assumes the location of cables and other elements of the electrical network in special channels (grooves). A puncher is used to organize them. The main advantage of this laying option is that the useful area of the apartment is saved. Also, the installed system does not affect the appearance of the room.
Another plus of hidden wiring in a house or apartment is that there is no need to organize the protection of cables from mechanical damage. Laying the wires inside the walls allows for increased load and overload tolerances of the system.
However, this method of cabling has its drawbacks. First of all, it should be noted that the hidden method involves carrying out large amounts of work. The complexity of this option leads to the fact that when self-laying, an open method is more often chosen. Wall cable problems are more difficult to diagnose. The repair of individual elements of the electrical network in this case is a rather complicated undertaking.
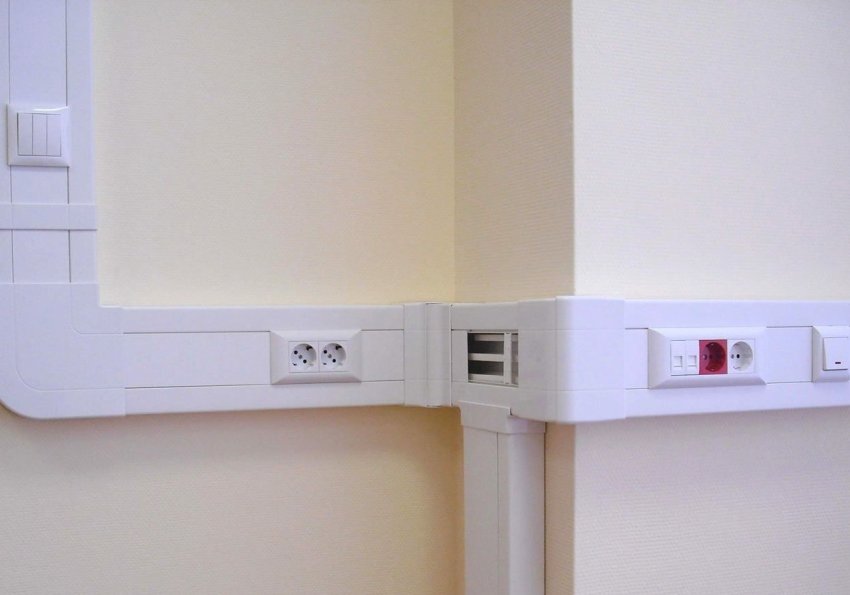
An open way of wiring with your own hands is to pull cables through the baseboards or to install special outer boxes (channels). There are other options for laying the electrical network outside the walls, but their use is not advisable for private construction.
The main advantage of the outdoor method is the relatively simple implementation of assembly tasks. And also (unlike a hidden network) an open system is easier to diagnose, which makes it easy to identify a problem and fix it as soon as possible. Thus, the repair of an electrician in an apartment is simplified if it is made outside the walls and other surfaces.
Helpful information! Among other things, open wiring allows you to make changes to it as needed. For example, if you wish, it will not be difficult to extend an additional line for new equipment.
This method also has some disadvantages. Cable ducts laid on the surface can become an obstacle when installing furniture. Another disadvantage of this option for laying wires is the limitation on their number during baseboard installation.Boxes occupy the useful area of the apartment and do not always look appropriate in the interior of the premises.
When installing open wiring, experts recommend paying special attention to protecting cables from mechanical damage. It is also important to follow fire safety rules and ensure that each wire is provided with reliable insulation.
How to draw up a wiring diagram in an apartment
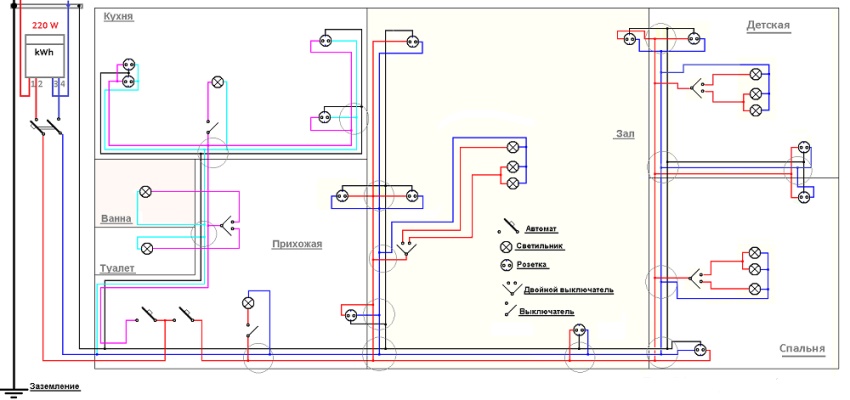
Before proceeding to replace the wiring in the room, it is necessary to select the most suitable electricity scheme. This document is drawn up taking into account the location of all network elements. It indicates sockets, switches, lighting fixtures located in each room. The diagram must necessarily contain paths (lines) corresponding to the locations of the cables.
When drawing up an apartment wiring diagram, you will need to calculate the following parameters:
- the required power (for each room separately);
- power reserve (for each room);
- power of household electrical appliances.
The diagram is the most important document when installing a new electrician in a home. When compiling it, every little thing is important. Therefore, experts advise to be careful when creating this drawing.
The diagram should include information on the number of outlets and switches, as well as their location. Places in which important electrical appliances will be mounted must be marked on the drawing without fail. Installation points are selected depending on the individual characteristics of an apartment or a private house.
The location of the lamps and their number are also indicated when drawing up the electrical wiring diagram for a house or apartment. It is important to remember that the shortcomings made when creating this document lead to a lack of necessary elements of the electrical network or, conversely, their excess. And the most unfavorable outcome in this case is a faulty system.
The location of all individual elements of the electrical network, as well as the placement of household appliances, should be selected as competently as possible. Sockets, switches and appliances that produce light should not interfere with other interior components (such as furniture).
The choice of the type of wiring is made depending on the individual characteristics of the room. This is influenced by the following factors: number of rooms, layout, number and power of household electrical appliances. For the most powerful equipment, as a rule, a separate line is provided.
Features of drawing up a wiring diagram
It is recommended to pay special attention to drawing up a bathroom scheme. Electrical appliances in this situation are located in close proximity to the water source, so you need to be careful and follow safety rules. The placement of the sockets in this case is carried out taking into account that the distance to the water source is at least 100 cm.
Note! It is important to remember that for the convenience of drawing up a diagram, it is recommended to divide all electrics in a dwelling into separate groups (for example, wiring leading to lighting devices or household appliances). This will allow you to draw up a diagram as competently and concisely as possible and avoid confusion when installing an electrician in a house with your own hands.
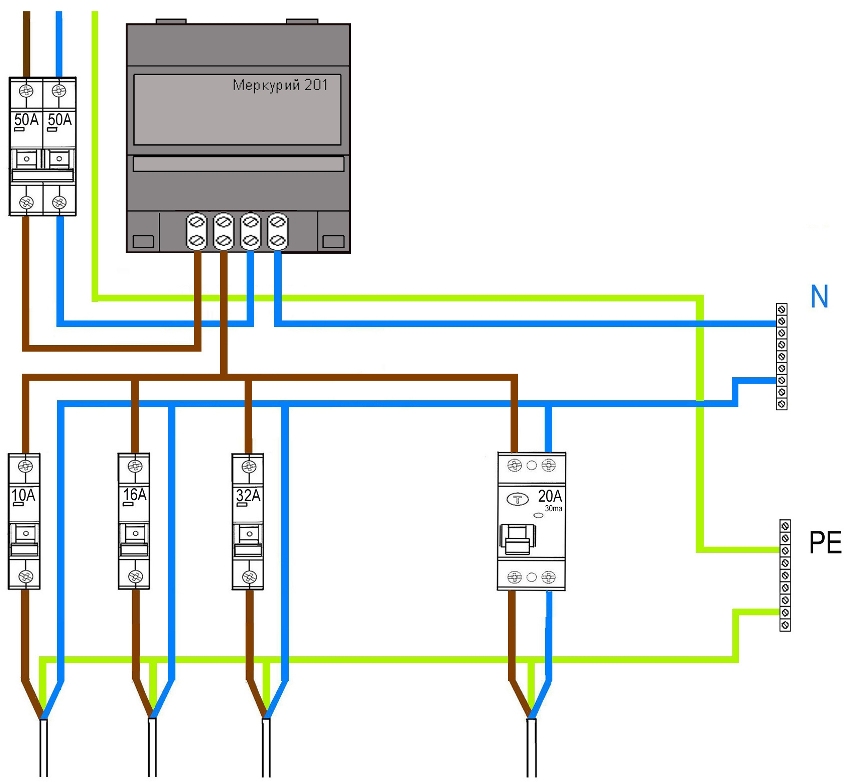
A separate power cable is laid for each of the groups, coming directly from the electrical panel. This installation option allows you to correctly distribute the load throughout the apartment. In addition to the lighting and electrical engineering group, it is customary to lay separate branches for the bathroom and the kitchen.
Each individual group usually has different power ratings. Therefore, to connect the bath and toilet, a cable with a cross-section that differs from the size of the wire intended for household appliances can be used. Dividing the wiring into groups has the following advantages: cost savings (due to the selection of the optimal cable size for each line) and the independence of one branch from another. Such autonomy allows, when one group fails, to use others without any harm to the system as a whole.
Replacing the wiring in the apartment with your own hands: required tools
Before starting work on dismantling the old wiring, you need to calculate the materials that will be required to organize the system and purchase them. And also it is necessary to prepare tools for performing all types of work. Let's consider in more detail what tools will be needed to replace electricity in a home.
Related article:
Electrical wiring in the apartment: drawing up a diagram, rules and work algorithm
Drawing up a wiring diagram. Installation of electrical appliances and cables. Programs for drawing up a diagram.
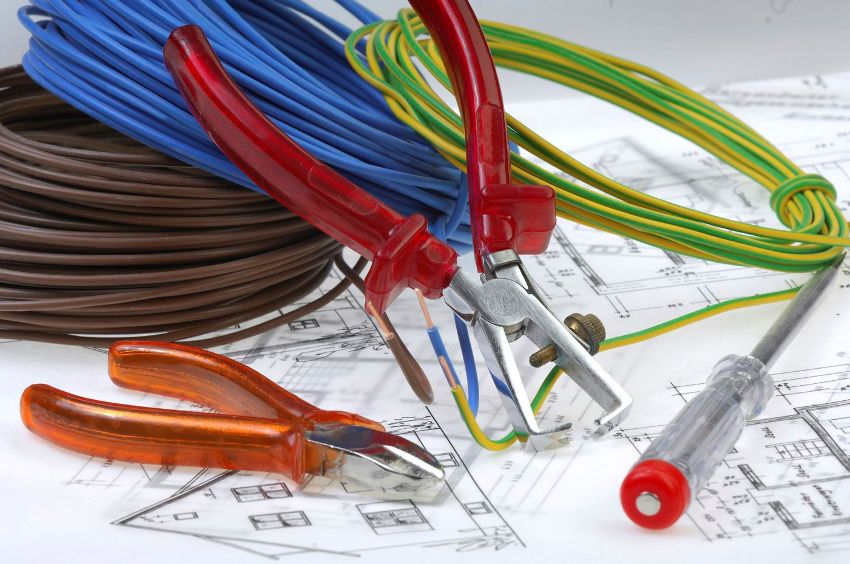
First of all, you need to prepare a puncher. This device is needed to dismantle old wiring and organize new channels (if necessary). To work, you will need to purchase several attachments per hammer drill: drill for chipping concrete walls with a cross-section of 16-20 mm, a crown-shaped drill 90-100 mm and a chisel 25-30 mm.
To connect the wires, you need to prepare the soldering equipment. In this case, the power of the device must be at least 40 W. For the installation of email. wiring in the home you will need tools: a grinder with a stone circle, pliers, side cutters, a set of screwdrivers, a building level, a cord, a lantern and a knife. For finishing, you need to buy a spatula. In addition, you should acquire such devices for checking the readings of the electrical circuit, such as a multitester and a phase indicator.
Replacing the wiring in the apartment: calculation of materials
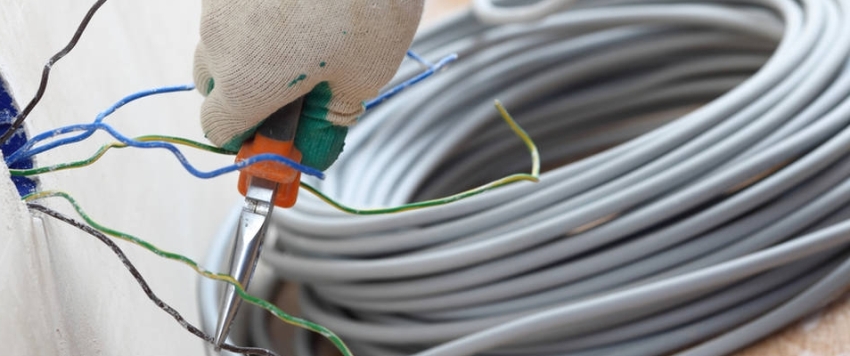
The calculation of the wires is quite simple. The most common way to determine the exact amount of cable required to connect an electrical network element is to measure the distance to it from the shield. To do this, you must use a regular tape measure. It is important to remember that during manual measurements, all surface irregularities, protrusions and grooves are taken into account.
After calculating the wiring in an apartment or a private house, it is advisable to add another 10-15% of the cable to the resulting figure. The stock is needed to meet the installation needs, since during work there is always a certain amount of spoiled material.

To calculate the cross-sectional size of a copper cable, you will need to calculate the number of household appliances and their power consumption
Note! The cable is laid only at right angles. Thus, the wires are mounted horizontally or vertically. Diagonal lines are not recommended as they are much more difficult to arrange. Knowing how to do the wiring in the house with your own hands, it is much easier to draw up a plan for future work.
There is another option for calculating the materials necessary for organizing the electrical network in the home. It is simpler, but also less accurate because it uses generalized values in the calculation. To carry out such a calculation, you need to find out the area of the apartment and multiply this figure by 2. The resulting number is approximate, but this calculation is used quite often. In this case, two thirds of the wires will go to the laying of outlet lines, and one third to connect lighting fixtures.
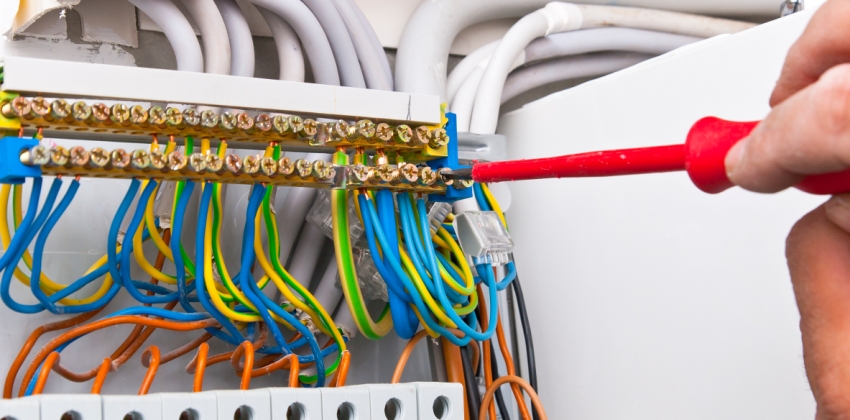
After calculating the amount of cable, other elements of the electrical system should be calculated.To install the network, you will need to buy at least 3 sections of terminal blocks, and they must include 10 contacts each. Experts do not recommend buying parts with a polyethylene body. This is due to the fact that this material does not have high technical characteristics and the required degree of protection.
In order to answer the question of how to wire the house, it is recommended to watch training videos, which can be easily found on the Internet. It is important to determine how and how the cables will be secured in the system. The option for fixing the wires depends on the personal preference of the master. Experts note that it is more convenient and more reliable in this case to use clamping plates. In turn, screw mounts are less functional.
When choosing socket outlets, you need to pay attention to whether these elements are equipped with external protrusions, which make it possible to enhance the grip with alabaster. VVG and PUNP cables are best suited for wiring. You will also need to buy an introductory shield, corrugated tubing and insulation material.
Replacing the wiring in the house with your own hands: dismantling the old line
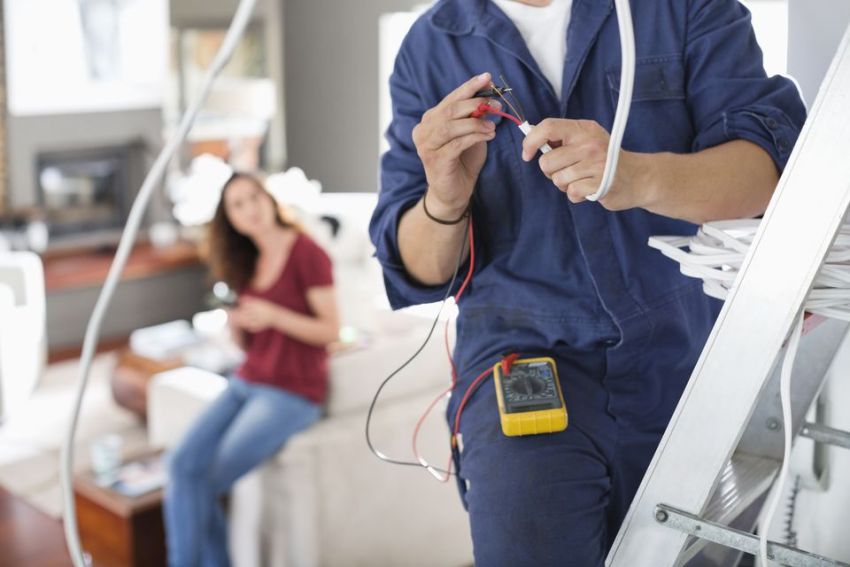
Before you start laying new wiring, you will need to dismantle the old system. This work is done with safety in mind, so rubber gloves should be purchased as a precaution. The first thing to do to dismantle the power grid is to de-energize the house or apartment.
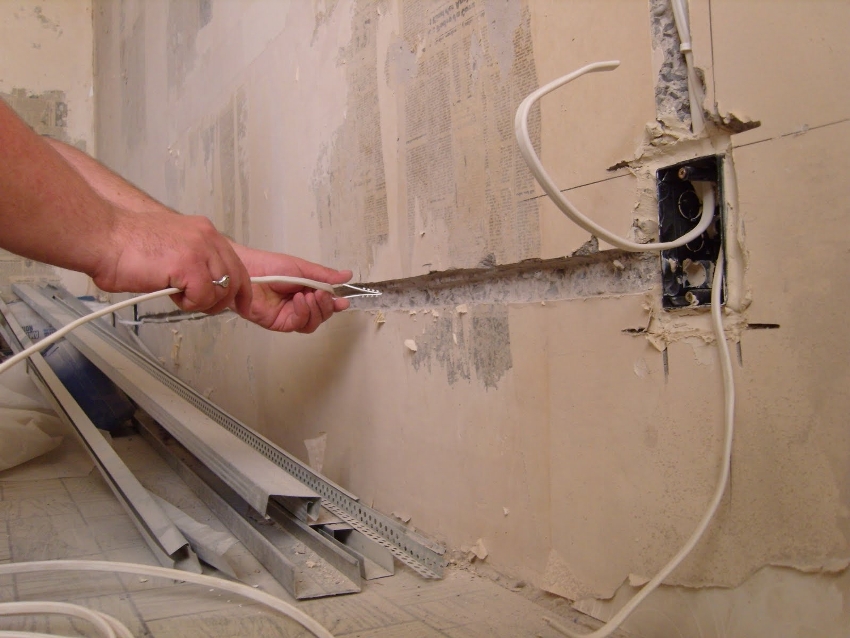
Replacing the electrical wiring in the apartment must begin with dismantling the old electrical network
Then all wires are checked using a phase indicator. If the device did not register voltage, you can proceed directly to dismantling the line. Most often, it is in old-style buildings that the wiring is replaced. In Khrushchevs, old wiring diagrams do not cope with the current voltage level. This is not only fraught with interruptions in the operation of the power grid, but also poses an immediate threat to the lives of residents, since a fire can occur in a faulty system.
Helpful information! Each element of the system is first checked by a phase indicator - and only after that it is allowed to start removing it.
Sockets and switches are dismantled first. Old cables may not be removed at all, leaving them in the walls, but in this case, you need to disconnect them from the network. If you still decide to remove the old wiring from the walls, then you will need to buy a tester. This device is used to locate old cables. Then the places in which they are laid are grooved with the subsequent elimination of the wires.
How to change the wiring in the apartment: flush mounting features
As mentioned above, the installation of a hidden system is carried out inside the walls. If necessary, the cables can be placed in the floor or covered with plasterboard boxes. Today, the most popular option is to hide the cables behind a stretch ceiling.
The most difficult way is the organization of channels in the walls. In this case, the amount of "dirty" work increases several times. Laying wiring across the floor in an apartment has some advantages. For example, this option allows you not to bend around walls. However, the installation of electrical cables in the floor requires the dismantling of the old covering and its complete replacement with a new one. Before self-laying wiring, experts recommend that you familiarize yourself with the step-by-step instructions for carrying out the work.
First of all, you will need to make channels in the walls into which the electrical wiring will fit. For this, it is customary to use a special tool - a wall chaser. If it is not available, a conventional punch will do.As a result of such work, a lot of dust rises in the room, therefore protective measures must be taken by wearing goggles and a respirator.
When choosing the optimal depth for channels, one important rule should be remembered: the thickness of the plaster applied over them should not exceed 10 mm. As for the width of the strobes, there are no restrictions in this case. If it is possible to stretch the electrical wiring in the house with your own hands in the ceilings, then you need to give preference to this method. This will simplify the process of installing a new network.
At the second stage, it is necessary to prepare the holes for the sockets. In this case, a puncher is used. For work, you will need to equip it with a crown-shaped nozzle. With it, niches for junction boxes are made. Further, cables are laid in the prepared grooves. During this process, you must clearly follow the diagram drawn up before starting the installation of the electrical network.
Then you need to dock the wires in the junction boxes. For this purpose, connecting clamps (PPE) are used, which also perform an insulating function. Then switches and sockets are mounted. After installing electrical appliances, wires are connected to their contacts. At this stage, the wiring in the apartment ends. Control of the work performed is carried out using a special tester.
The final stage includes two points: activation of the electricity supply from the shield and the termination of channels with cables. If the wiring was laid in plasterboard structures, then it must be protected with corrugated tubes, which are attached to the surfaces with clips.
Installation of electrical wiring in the house: public method
An open way of wiring electrics in a home involves the use of special plastic boxes. This method is less complicated, so it is often used when installing electricity yourself. In order to answer the question of how to make an open wiring in a house, you should familiarize yourself in more detail with the algorithm of actions.
First you need to fix the skirting boards. If the voids of these elements are used as a conduit for wiring, then they must be indicated in the diagram before starting direct work. At the second stage, it is required to lay boxes from the baseboards to electrical appliances (sockets, switches). Next, the cables are pulled through them.
Replacing wiring in a panel house or Khrushchev is the same. It should be remembered that the boxes must have sufficient physical properties to withstand mechanical stress.
Note! Low-quality channels are not always able to protect the wires from damage, which is fraught with an emergency in the room.
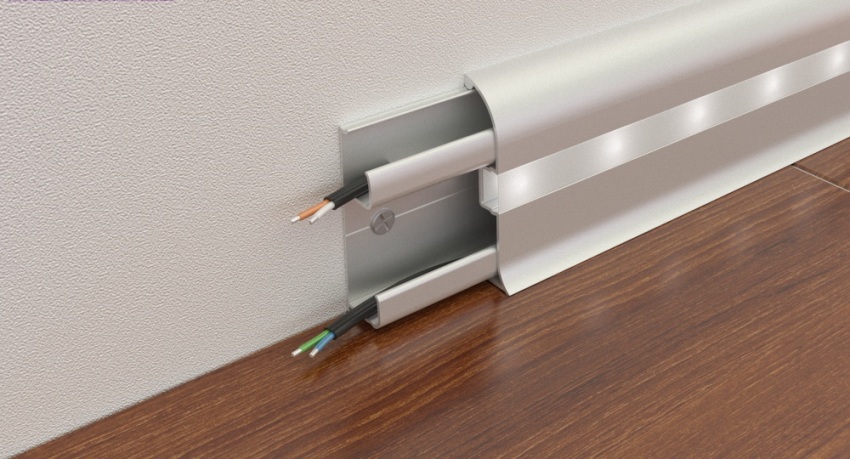
The open method is good in that you can reach any section of the electrical network without any additional effort
Then you need to install the outdoor junction boxes and connect the cables inside them. The docking of wires, as in the case of closed lines, is performed using PPE. Next, you need to mount sockets and switches and connect cables to them. At the final stage, all network elements are checked by means of a tester.
Thus, there are several signs by which you can easily determine if your wiring needs to be replaced. Self-installation of this system will save money. However, it is not recommended to conduct it if you do not have special knowledge and skills in this area.
