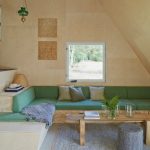
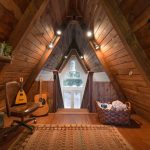
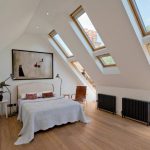
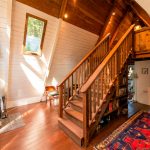
From this article you can find out what design features the hut has: the advantages and disadvantages of A-shaped buildings, their specificity and common design options with photographs. The text contains a step-by-step description of the technology for building a triangular house: popular projects and the choice of a suitable option, preparation for work and the main stages of building a building, as well as additional recommendations.
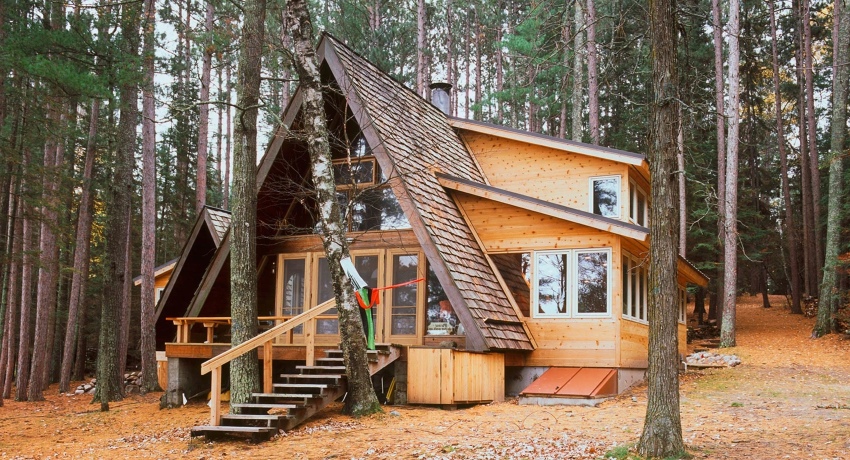
Houses-huts are not so common, immediately standing out for their non-trivial appearance from a number of buildings of the usual traditional forms
Content [Hide]
- 1 Triangular buildings: photos of huts, their advantages and disadvantages
- 2 Development of the project of a hut house: dimensions and photos, construction technology
- 2.1 How to make an optimal project of a hut house
- 2.2 The initial stage of building a house: photo and description of the process of creating the foundation
- 2.3 How to make a hut house: construction of the frame part of the building
- 2.4 How to build a tent house: laying roofing material
- 2.5 Finishing work in the house-hut for year-round living
- 2.6 How to carry out interior decoration of an A-shaped house
Triangular buildings: photos of huts, their advantages and disadvantages
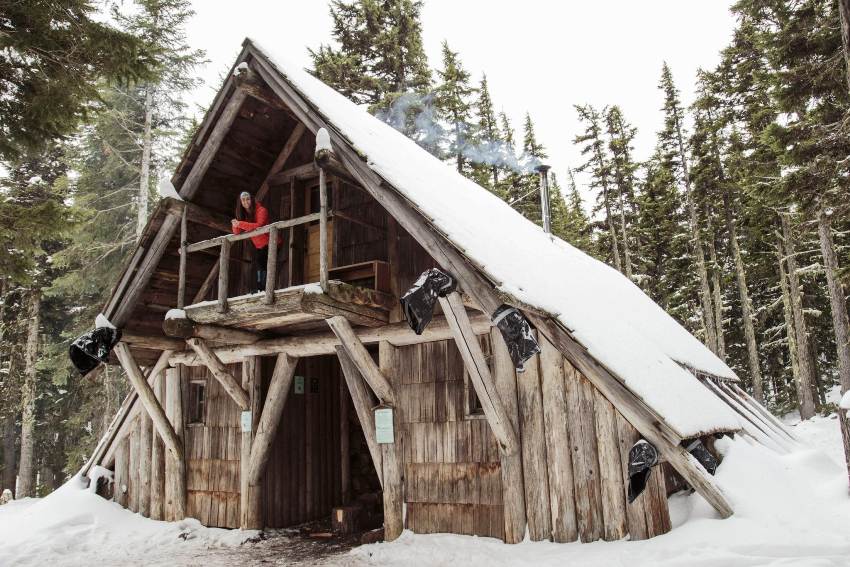
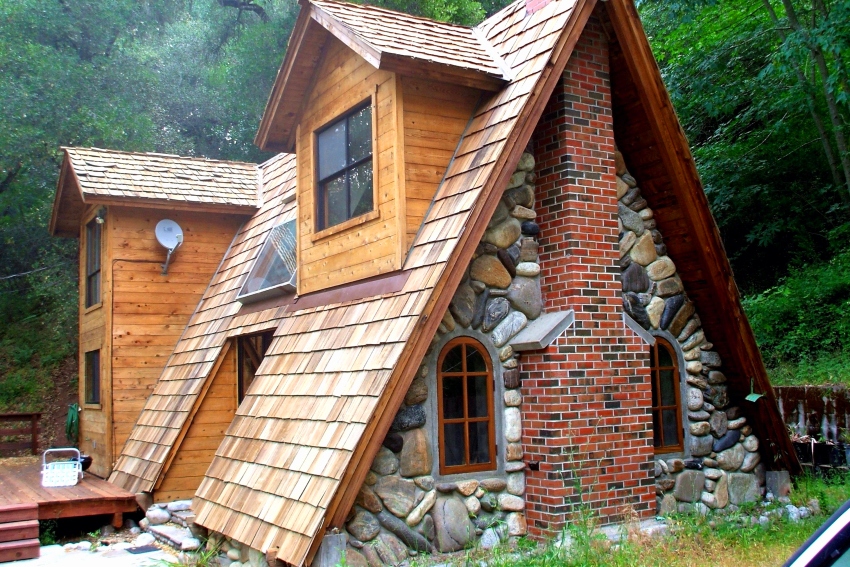
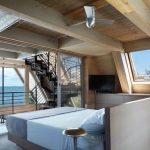
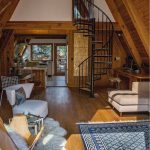
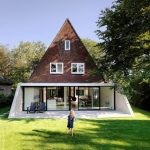
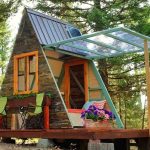
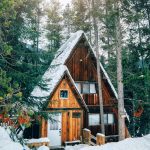
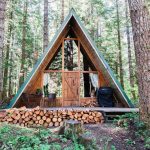
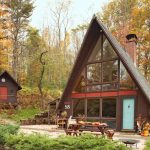
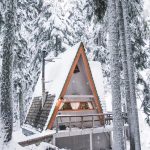
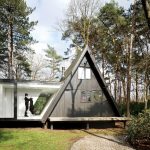
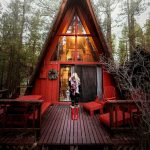
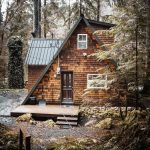
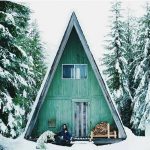
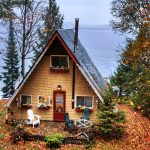
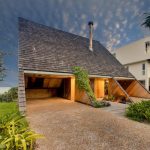
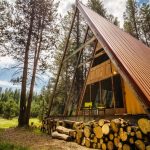
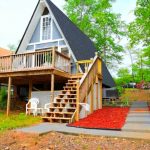
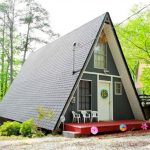
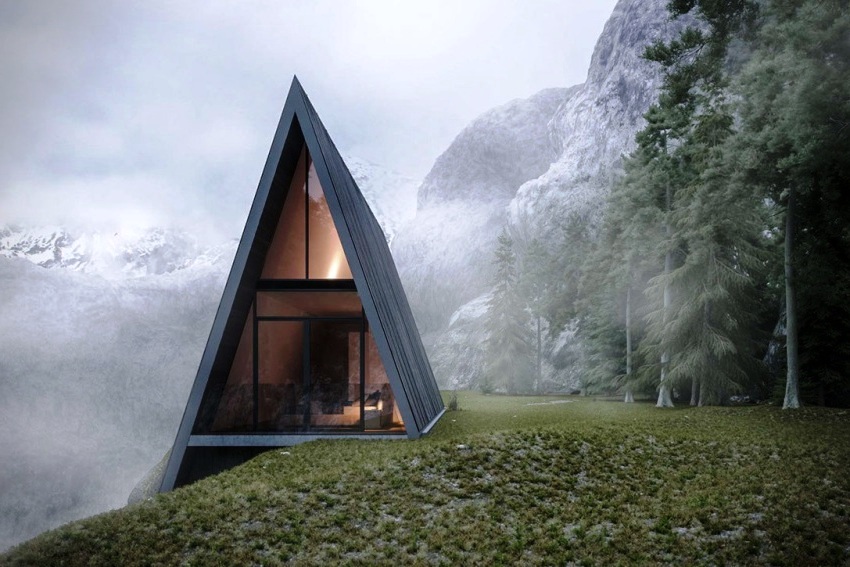
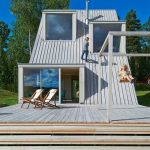
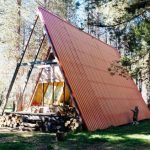
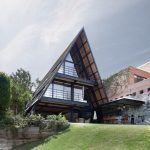
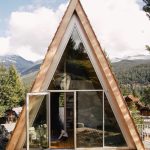
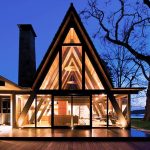
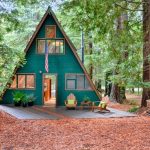
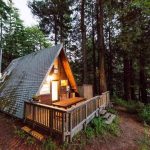
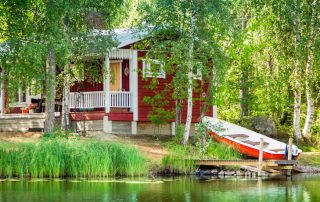
For the construction of country houses, most owners select traditional designs with a standard layout. Nevertheless, having your own plot of land, you can consider alternative options for structures with an unusual design. Pictures of huts in the forest, which can be found on the Internet, clearly reflect how attractive and natural the design of an A-shaped house can be.
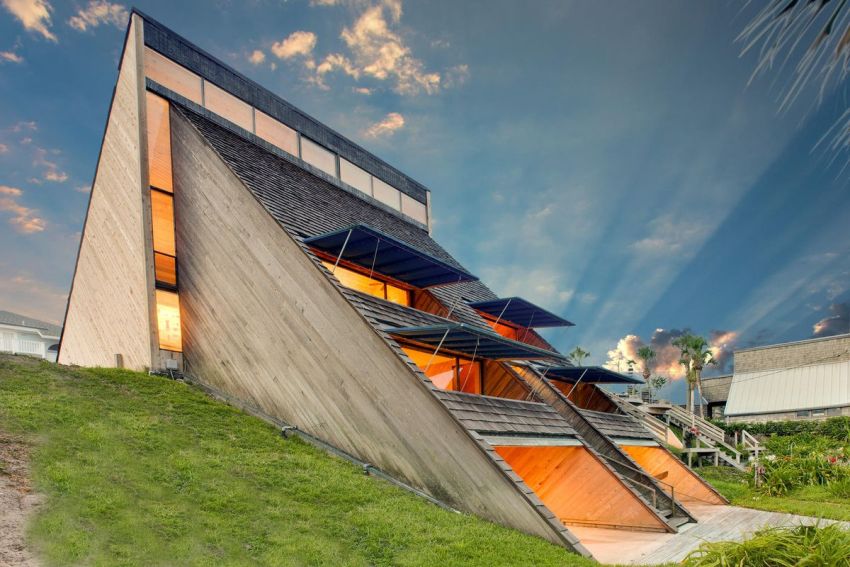
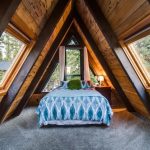
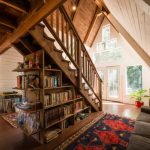
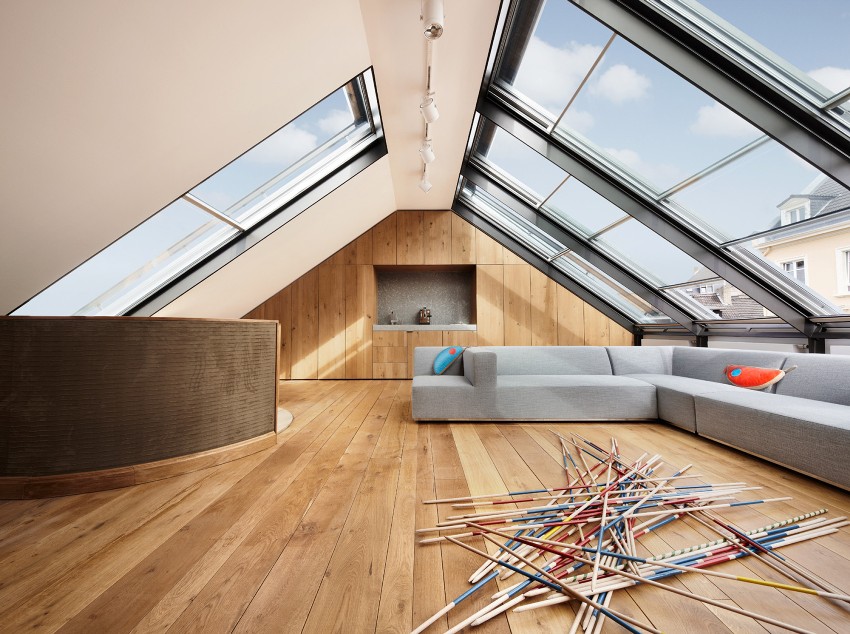
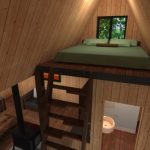
A hut house can be called one large attic, which can have two or three levels - as much as the height of the roof allows
Features of hut houses: photos and design nuances
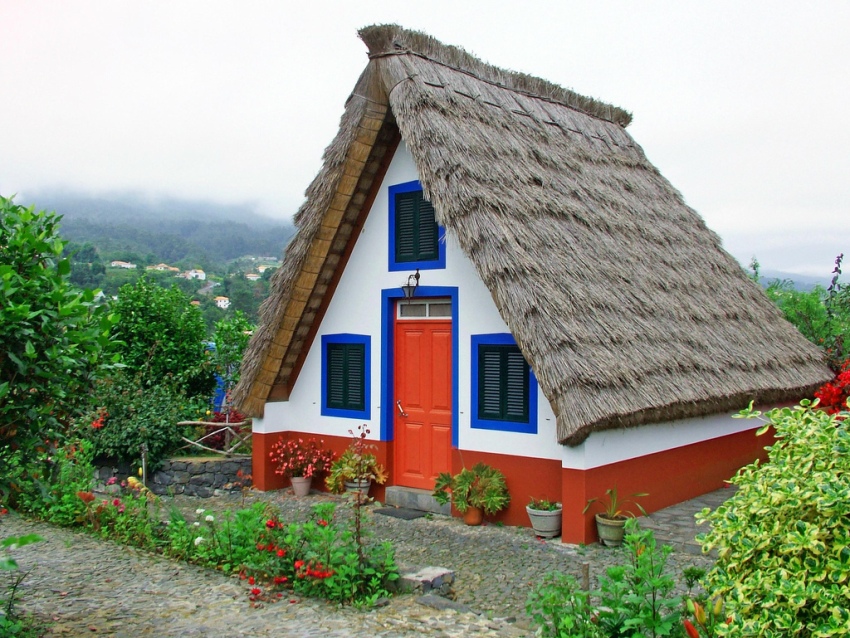
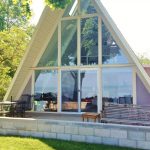
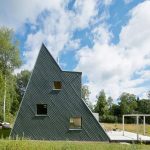
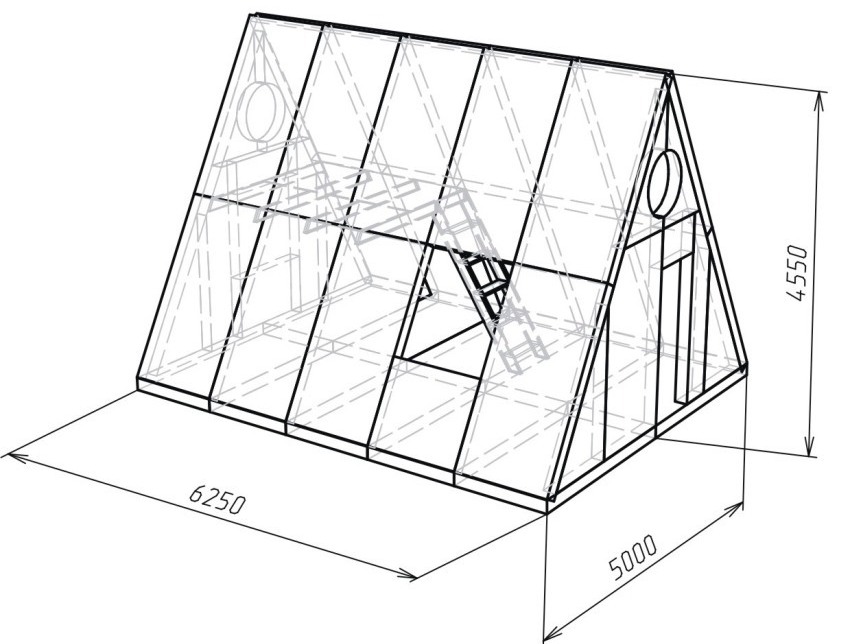
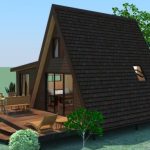
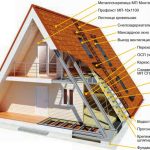
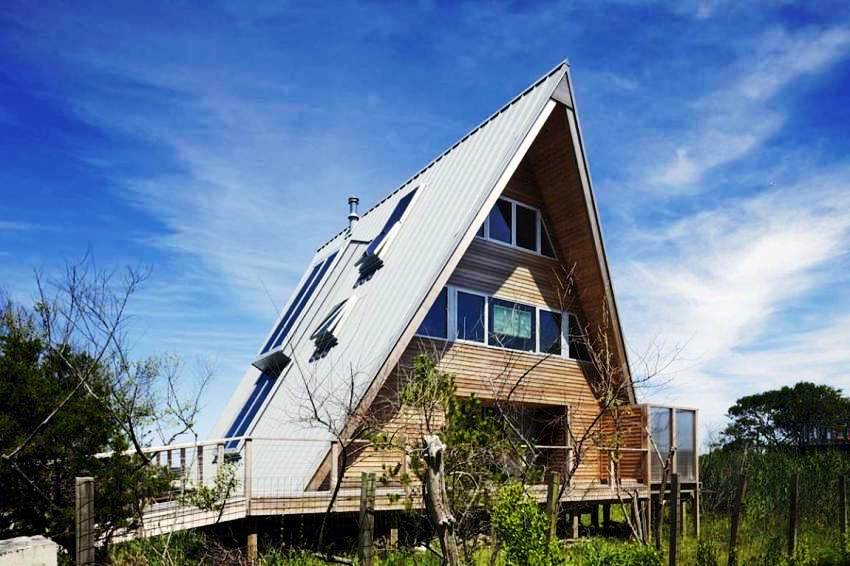
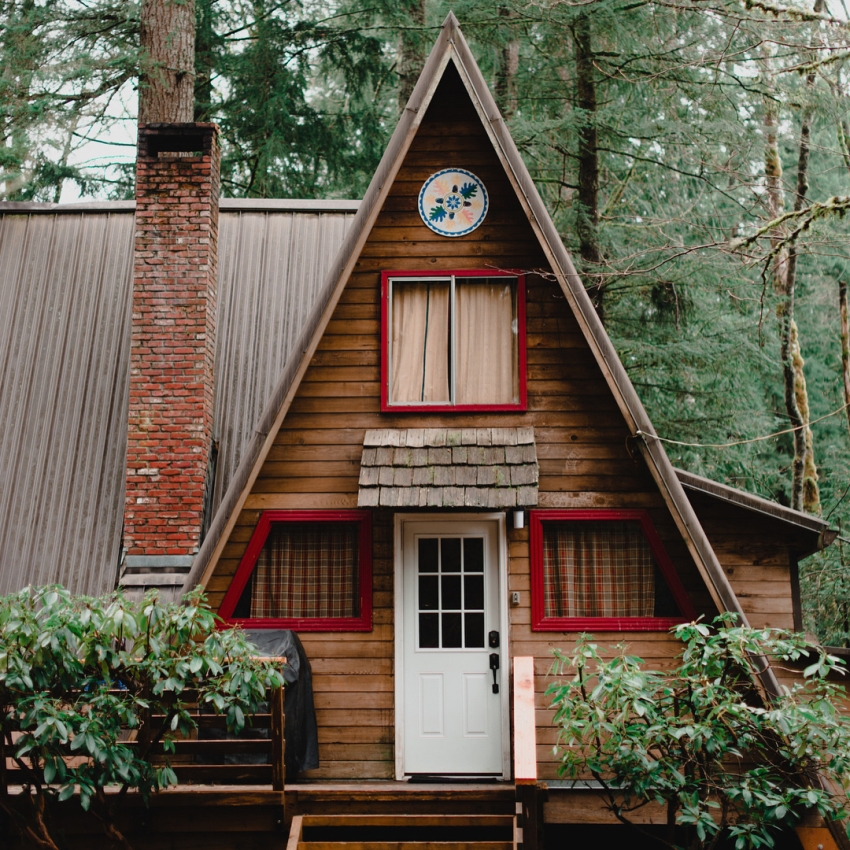
The structure of the hut is made in the shape of a triangle. This house has two facades. There are no walls, their function is performed by roof slopes. In general terms, the building consists of a frame base, which is made of several triangular frames. The gable roof is lowered to the very foundation. In some photos of country houses, you can see other design options, where the roof begins with a low basement.
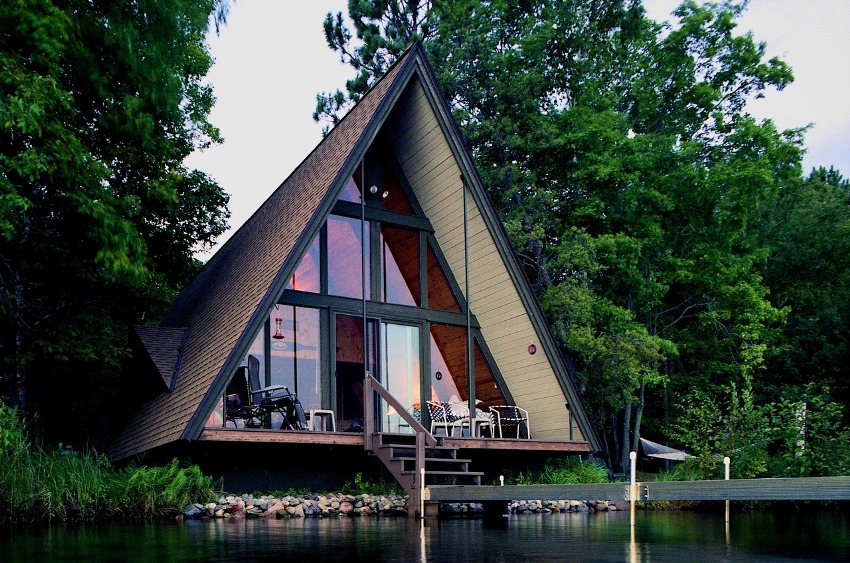
There are no walls in a hut-type house; they are replaced by an enlarged roof, under which the living rooms are located
Such buildings are successfully used both as temporary and permanent housing. Depending on the project, the house can have one or two passages, and even a balcony.
Helpful advice! Through placement of passages will allow rationally organize the movement of residents from one side of the yard to the other through the interior of the house.In addition, such an arrangement will provide additional coolness in summer due to the draft.
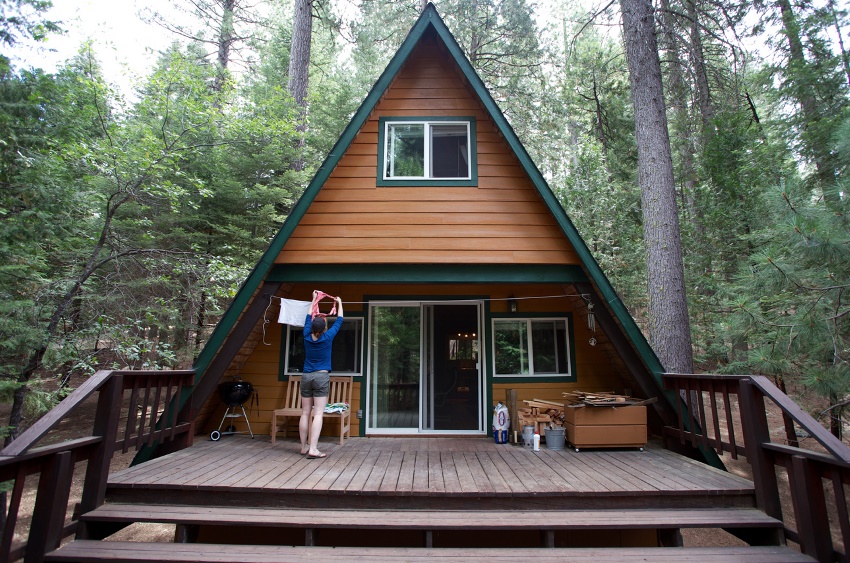
Spending a minimum of time, effort and money, you can build an excellent house for seasonal or even year-round living
Triangular structures are quite simple to assemble, so the owners of summer cottages can bring to life beautiful projects of frame houses with their own hands without the help of specialists.
For construction, you can use:
- wooden boards;
- lining;
- timber;
- dry board.
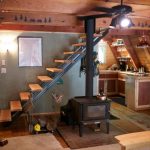
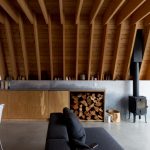
Since there is not so much internal space in triangular buildings, in order to save usable space, the fireplace and chimney is removed outside the building. In the photo, houses in the forest with this design look very impressive. Although this approach has disadvantages, since a significant part of the heat will go outside.
House-hut and the beneficial advantages of such projects
The popularity of the huts is due to the large number of advantages. Such buildings are characterized by a simple installation system. For construction the help of specialists is not required, since the owner of the land plot can assemble the structure of a modular house with his own hands. The frame structure will take a little longer to tinker with, but it will not cause serious problems either.
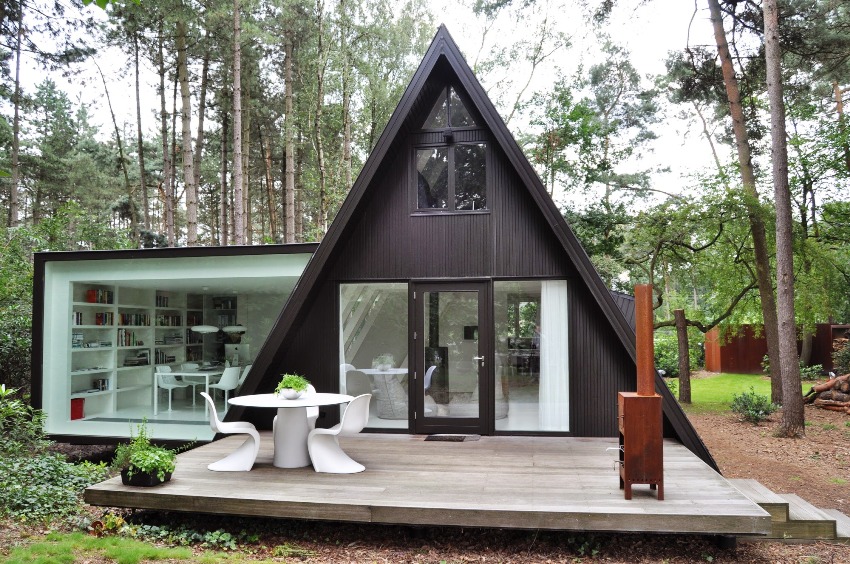
An important advantage of a hut house is space saving, thanks to the triangular type of construction, which, moreover, will not block the sun from the plants
The building has no walls, so it will take less time to build it. There is no need for masonry work or pouring of formwork structures. The simplicity of installation also explains the low price of buildings in the form of a hut. The estimate does not include the costs of masonry work, as well as the purchase of mortar for them. In addition, the structure does not require a heavy and massive foundation, so construction costs are significantly reduced.
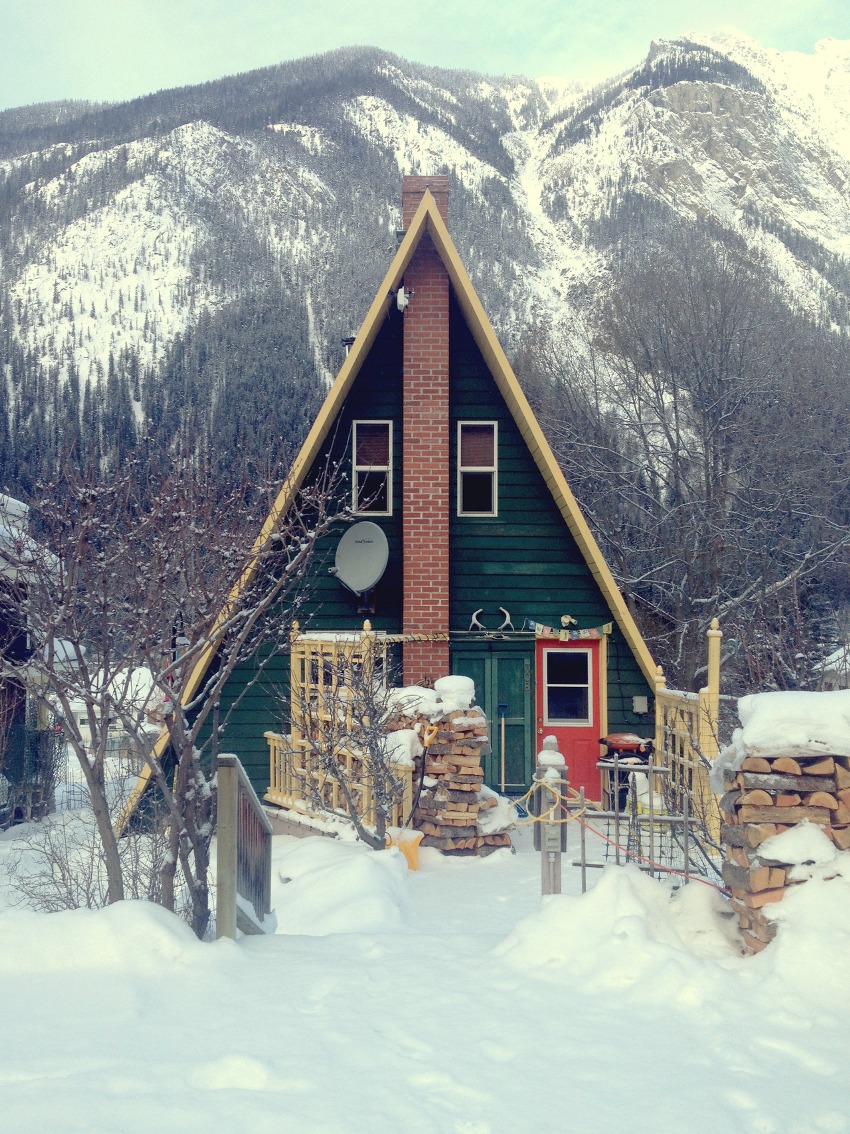
The relative ease of erection of the structure and high rates of construction, due to the absence of walls, are important advantages of a hut house
Triangular buildings allow you to save free space on small land plots. On the network you can find many ready-made projects of houses on 6 acres with compact dimensions, which are ideal for temporary residence in the country. Due to their configuration, the buildings in the form of a hut give a minimum of shade, which is an advantage if light-loving plants are grown on the site.
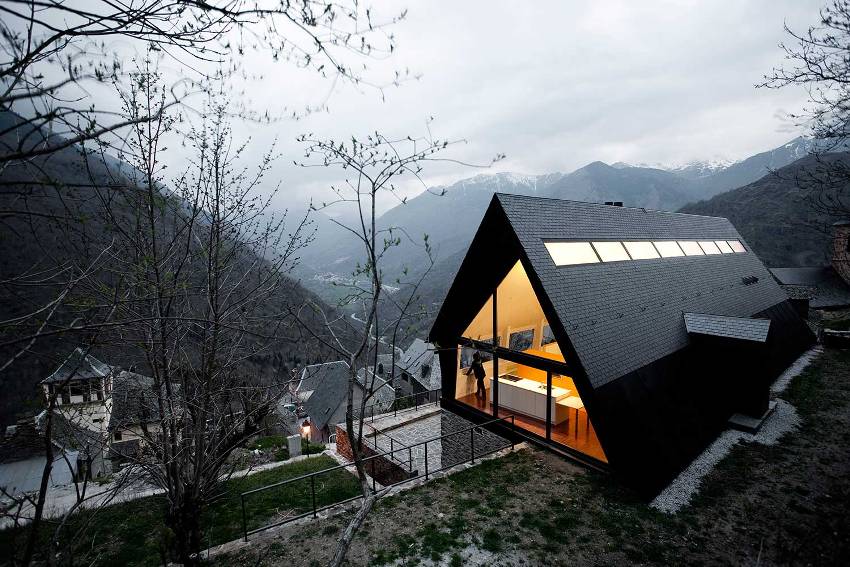
A gable roof, reaching the very foundation or basement, is the most suitable option for regions with a humid climate
A house made from natural materials will ideally fit into any landscape, be it a hut in the forest or a triangular building in the countryside. The design will look equally good in an open space, next to other given buildings or surrounded by tall trees and mountains.
A roof with two slopes will be the best option if the construction of a house is carried out in an area with humid climatic conditions, where there are prolonged rains in autumn, and winter is accompanied by heavy snowfall. Due to the low placement, the roof protects the foundation and other areas of the building from wetting and destruction.
Related article:
Modular homes for year-round living: modern affordable housing
Basic principles and stages of construction. Advantages, disadvantages and features of modular buildings. Individual design.
What are the disadvantages of building triangular houses
The function of the main enclosing structures is performed by the roof, which is not capable of providing a high level of protection from the cold.To create comfortable conditions for living in the winter, you will have to additionally insulate the building with high-quality thermal insulation materials.
Forming the side walls of the building, the roof slopes gradually taper upwards. Because of this, the housing loses a significant part of the internal space that could be used for rooms. If a do-it-yourself house project involves the construction of two floors, you will have to build a staircase inside. It is not only difficult to implement, but also leads to additional loss of usable area.
In summer, the gable roof, due to its considerable size, is subjected to strong heating. As a result, heat is transferred to the interior, so the installation of an air conditioning system will not be superfluous. In addition, steep slopes complicate the installation of roofing material.
The large slope of the roof imposes other restrictions, so for construction you will have to buy extra long rafters of non-standard size. Such products are made exclusively to order. For this, high-quality wood is used. The same difficulties arise with panoramic glazing. Most often it is used in the end parts of the house, occupying most of the facade. Panoramic windows, as well as special double-glazed windows, will have to be bought to order. In addition, cleaning such large glasses in the future is not an easy task.
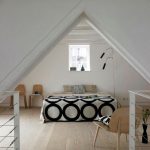
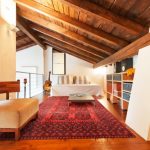
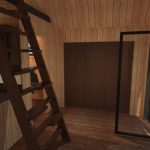
Sloped walls require a special approach to the interior. You will have to carefully select pieces of furniture or even make them to order, since standard designs can hide useful centimeters in rooms with an unusual configuration.
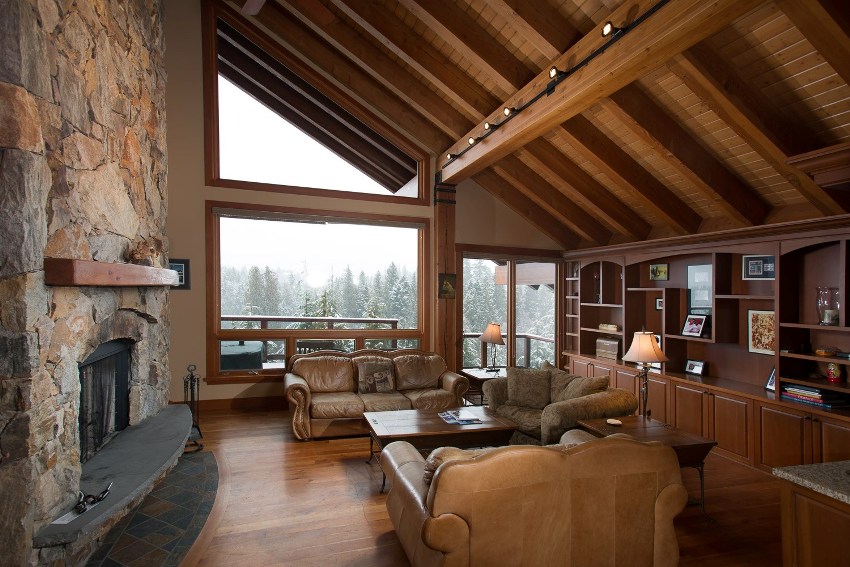
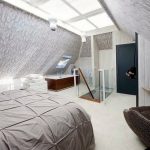
Sloping walls may not please everyone, because arranging furniture in such a room is not an easy task
Development of the project of a hut house: dimensions and photos, construction technology
Before you seriously think about building housing in the form of a hut, you should preview the photos of houses in the country and choose the most suitable project.
The mistakes made at this stage are very difficult and sometimes impossible to fix. Therefore, it is necessary to carefully select the design of the building, its dimensions and develop a plan for the territory. These data will help to correctly determine the place for the construction site. This issue is especially relevant for small areas.
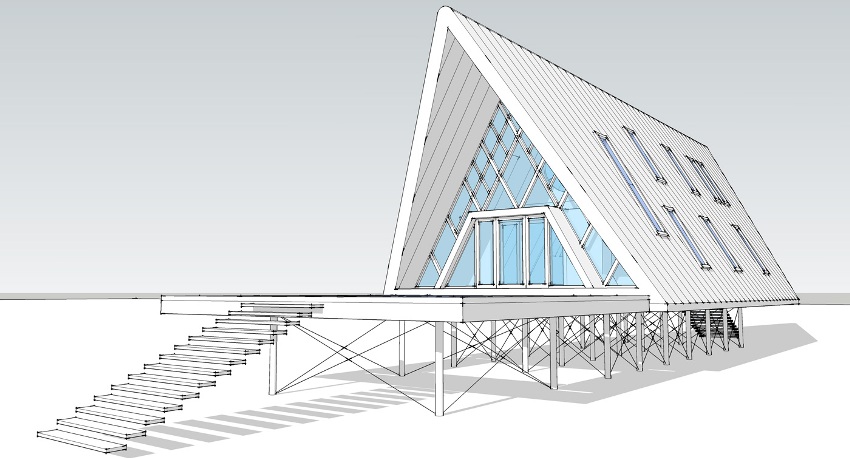
It is difficult to find a ready-made standard project of a tent house, since this construction option is not very popular and widespread
Important! When choosing a place for building a house, you should pay attention to the plants that are on the site. The building should not interfere with the growth of trees or shade plantings that need sun.
In the absence of experience in construction, you can order a ready-made project of an A-shaped house. In this case, professionals will select the optimal place for placement, calculate all the parameters and sizes.
In most cases, a standard project involves the following types of work:
- foundation making;
- the creation of a frame and partitions;
- roof construction;
- installation of windows, stairs and door structures, as well as the formation of the floor;
- insulation and decoration.
Each company offers its own list of standard jobs. Before ordering the execution of the project, it is advisable to clarify this point.
How to make an optimal project of a hut house
Due to the steep slope of the roof slopes, the building loses a significant amount of interior space. That is why many developers prefer spacious and low bungalow houses. In order to minimize these losses, choosing the proportions of the structure, it is advisable to dwell on the option consisting of two regular triangles. In this case, the shapes will have the following corner sizes: 30 °, 90 °, and 60 °.
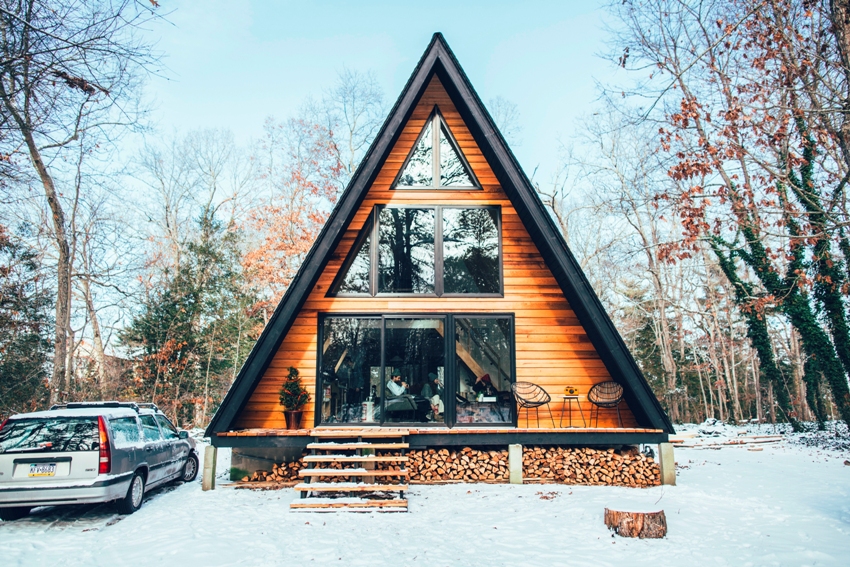
In fact, the hut house consists of repeating structures, namely wooden frames that resemble the letter "A"
If the angle of the roof slope is 28 °, then a person with a height of 1.8-1.9 m will be able to stand at a distance of 1 m from the inclined surface of the wall. The area under the slopes, which is below the height of a person, can be divided using vertical partitions and placed in this area pantries or lockers for storing things. If people will live in the house all year round, the walls used for vertical zoning must be insulated.
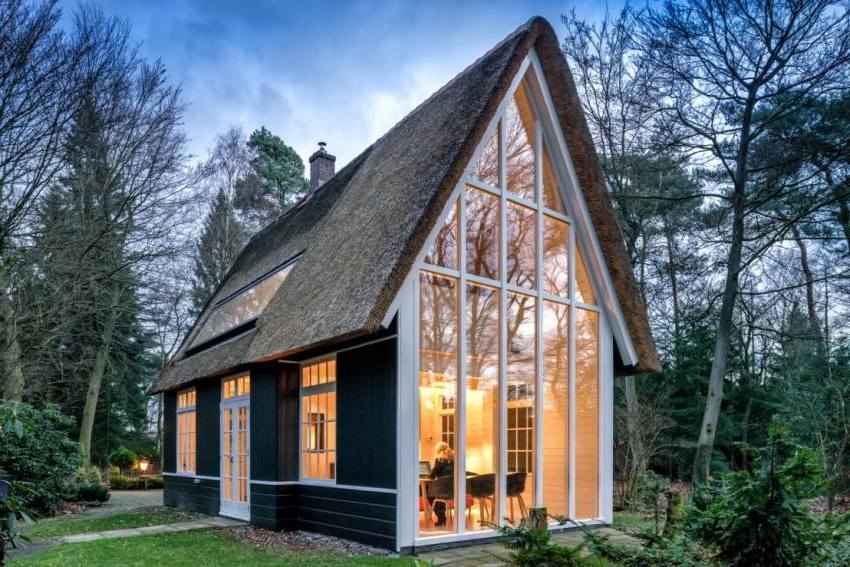
The space below the height of a person under the inclined walls of the hut can be separated by vertical partitions
The most commonly used roofing materials are corrugated board or metal. These coverings have a smooth surface, so the snow load on the roof is minimal. Precipitation does not linger on the roof, sliding down steep slopes. For this reason, building a house-hut with your own hands will be the best option for sites located in mountainous areas or regions with snowy winters.
Important! Do not forget that a high roof creates windage, which is why the building is exposed to significant wind loads. When choosing a place for construction, be sure to take into account the wind rose. It is better to give preference to a reliable base and high-quality strapping of the frame part.
The initial stage of building a house: photo and description of the process of creating the foundation
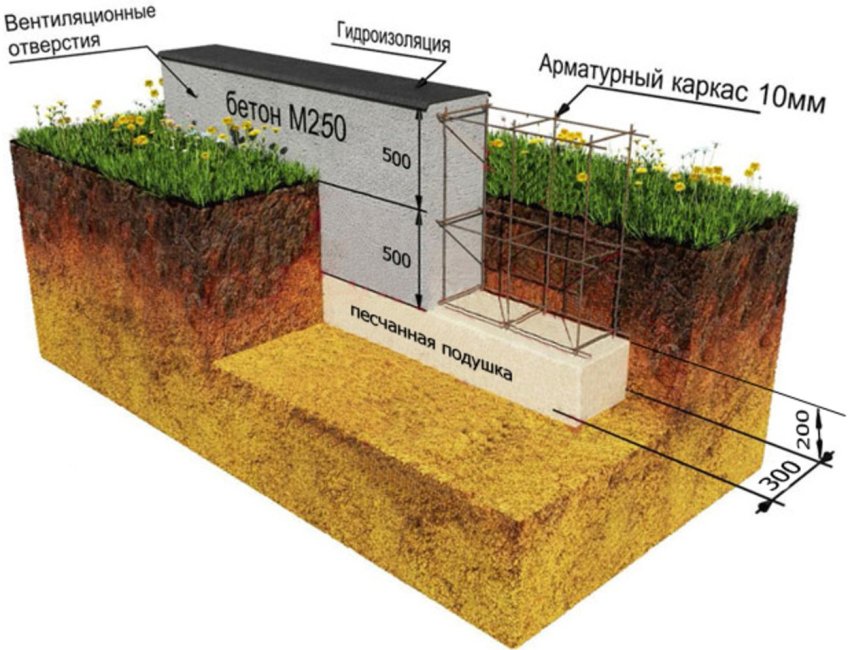
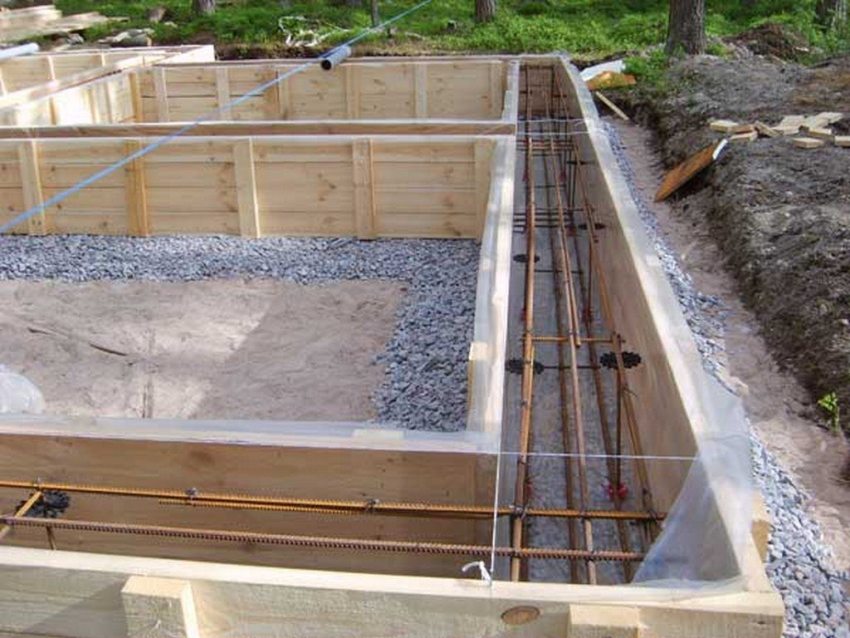
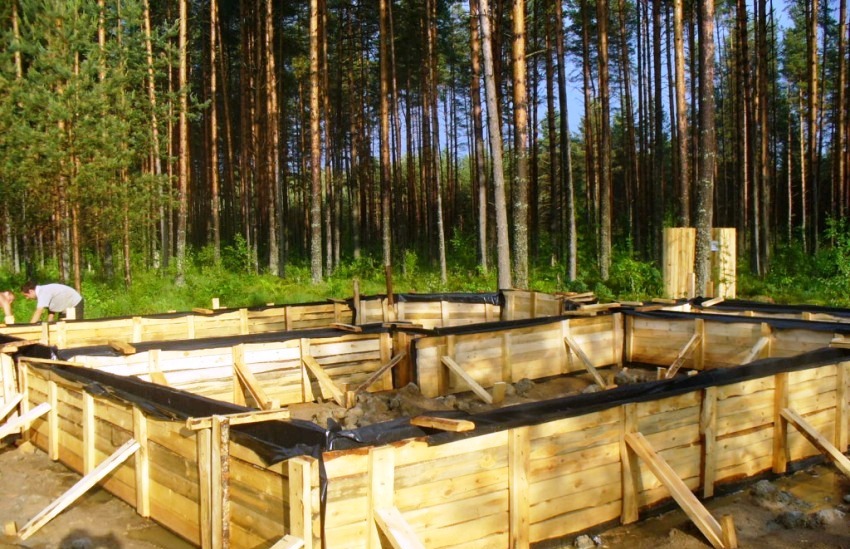
The selected construction site should be leveled and cleaned of stones, debris, stumps. Then, using pegs and cords, the base axes of the future foundation are marked. Taking into account the developed plan of the territory, a trench is being dug. Its size should slightly exceed the parameters indicated in the project.
A sand and gravel cushion forms at the bottom of the trench. In this case, the stones are laid down, and sand is poured from above to the lower level of the marking. Each layer of material should be carefully tamped. Formwork panels must be installed along each trench. The upper part of this structure is connected with planks. This must be done so that a distance of 0.3 m is formed between the walls.
Next, a rubble stone is laid. Large cobblestones are used for the first row. They are laid dry and tamped. Only then can you fill with a bud. For this, it is better to use the M100 brand. The next rows are formed so that the stones are slightly recessed in the mortar covering the previous masonry.
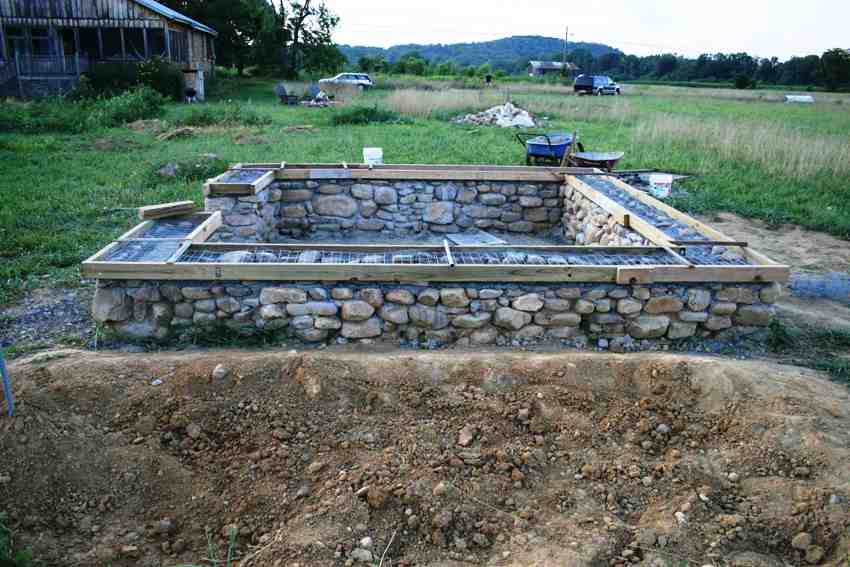
Rubble foundations for the house are environmentally friendly and perfectly resist the effects of soil water
Performing such operations as laying material and pouring concrete, one should focus on the design mark - 0.230. The installation of bearing girders depends on how well and correctly these elements are installed. Before lowering the metal pins into the solution, you need to apply the appropriate markings on them to indicate the indentation from the base and parallel axes. This segment is 2.5 cm. In those places where embedded parts are mounted, it is advisable to use a small filler.
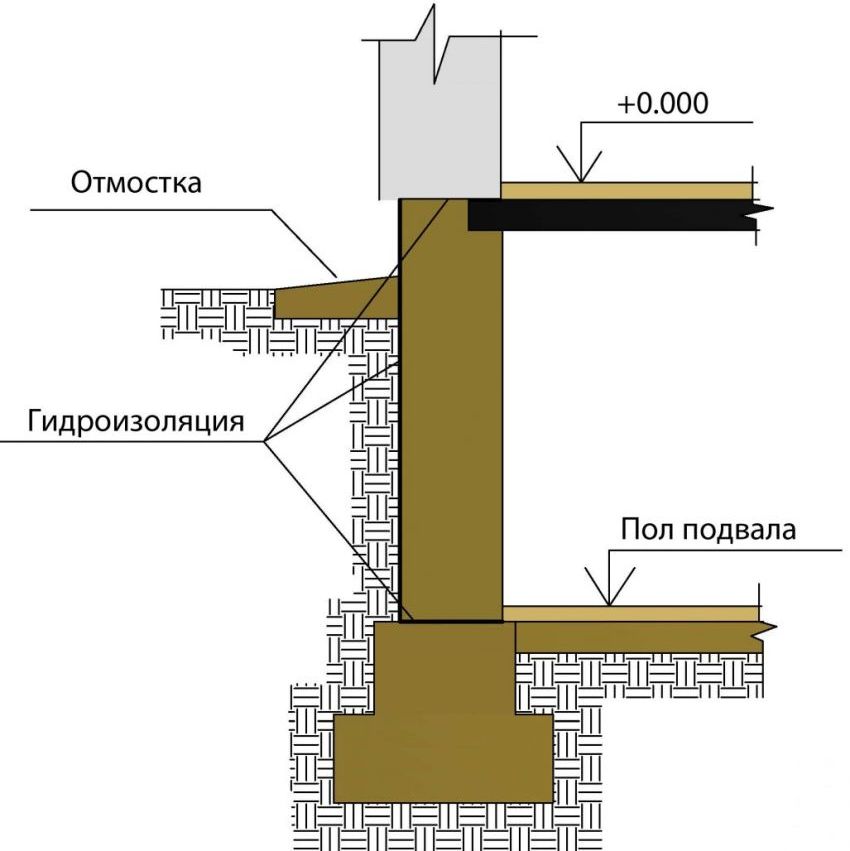
The finished foundation is kept in the formwork for 3 days. All this time, the base must be regularly moistened with water. After dismantling the formwork, the resulting voids should be filled with sand, and a blind area 0.7 m wide should be erected around the perimeter of the building.The optimal design of the blind area consists of a layer of sand (0.1-0.15 m) and crushed stone (0.1 m ), as well as concrete or asphalt pavement.
Helpful advice! It is desirable that the cover of the blind area is located at a slight slope so that rainwater flows down. Thanks to this, the foundation will not get wet and will last much longer.
How to make house-hut: construction of the frame part of the building
The frame part of the building is already constructed on the finished foundation. Since it is made from wood, it is important to protect the material from moisture. This is especially true for those elements that are in the ground. They should be treated with an antiseptic and covered with a waterproofing material, for example, roofing material. Parts that rise above the foundation must be passed through the slots in this protective coating, after which they are poured with hot bitumen. After that, supporting girders are mounted on the waterproofing.
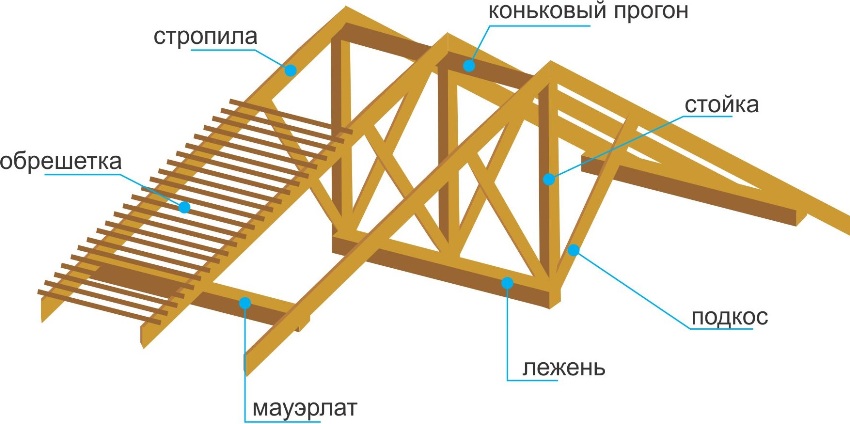
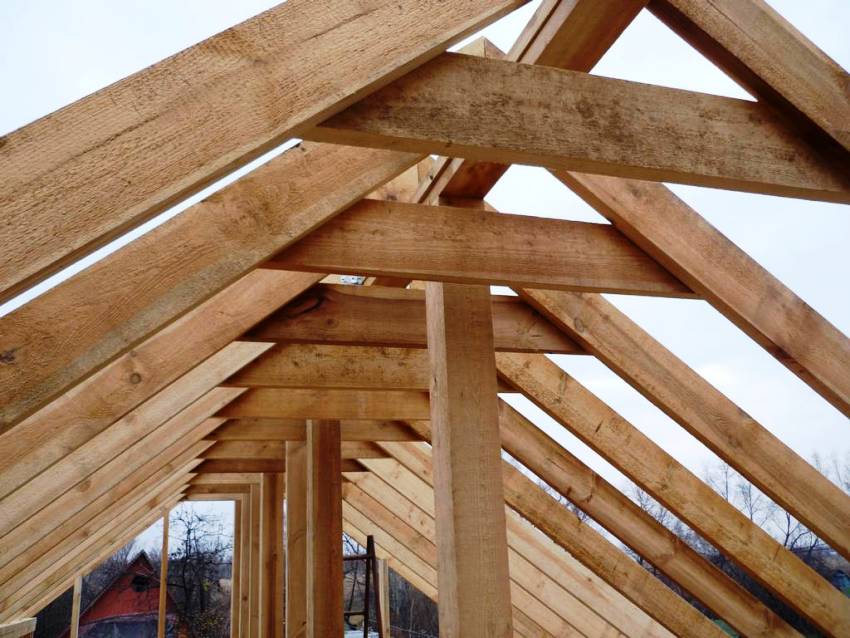
To simplify the work when creating a frame country house with your own hands, this operation can be divided into several small stages. The rafter legs must be placed on the ground, taking into account the configuration of the roof. After that, the ends of the beams are connected using ridge pads. You can grab them a little using M10 bolts. Then, after checking the segment between the free ends, the floor beams are fixed in the required position. Only then are the ridge assembly bolts fully tightened.
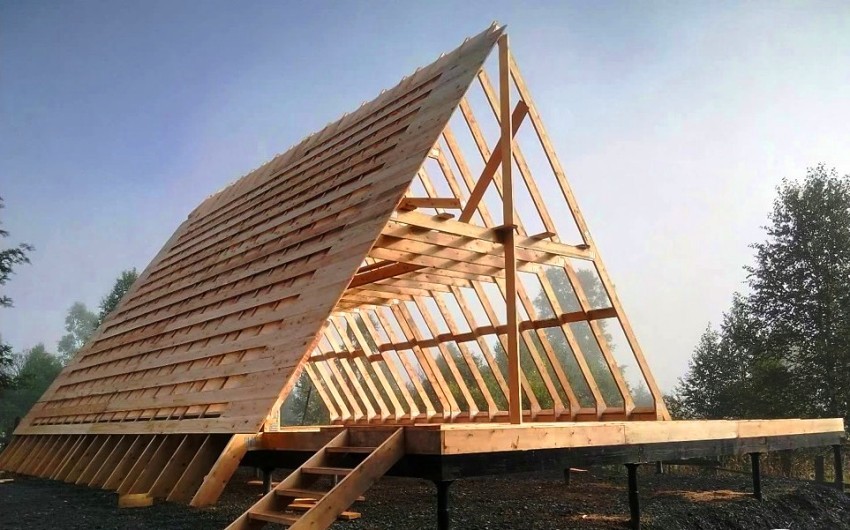
A-shaped rafters of a hut house are assembled on the finished insulated floor of the first floor according to a template and rise to the design position
When further assembling the rafters, it is advisable to build some kind of a slipway, focusing on the first installed parts. At this stage, the assembled structure is fixed on a flat surface using pegs. They are hammered so that in the future all elements can be removed. Then the following parts are placed in its place, the assembly of which is carried out in a similar way.
The procedure for installing the frame on load-bearing girders:
- Installation of extreme rafters, which are part of the gable of the facades.
- Verification with a plumb line.
- Fixing the rafters with supports and fastening the lower corners with metal plates and M12 bolts.
- Marking of the frame fixation zone on the ridge board.
- Installation of frames with nails.
- Installation of rafters under the ridge.
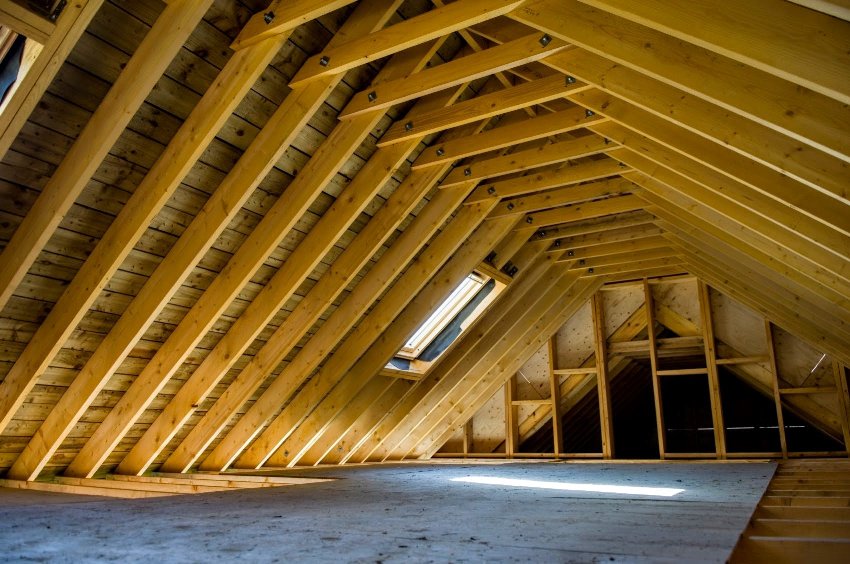
The problem may arise with the length of the roof beams, they may have to be spliced to achieve the desired height
After the listed work is completed, wind ties must be attached at the top of the frame. They are fixed to the rafter legs. The temporary supports can then be removed. All three frames are connected in the same way at each end.
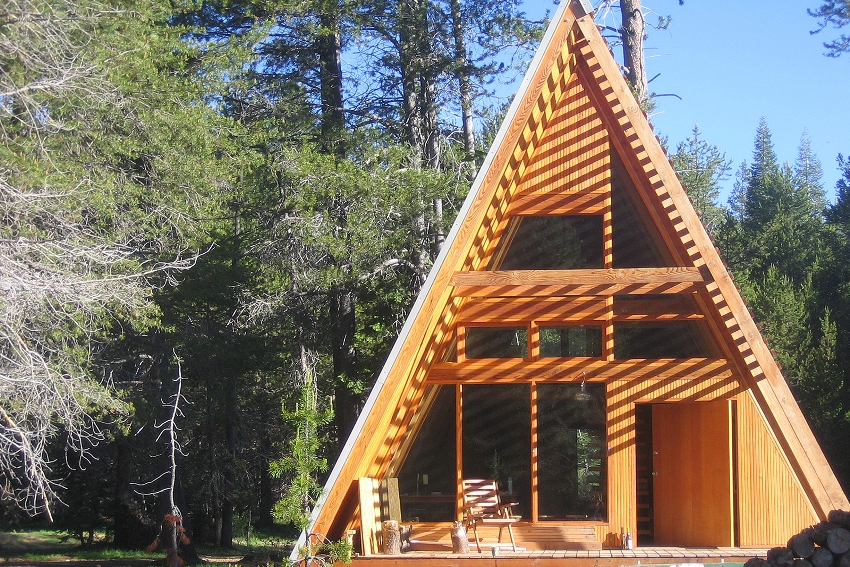
For all its simplicity, the triangular building has an original look, laconic forms, and the break of the upper wall emphasizes the originality and comfort
How to build a hut house: laying the roofing material
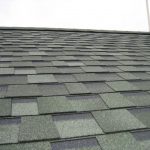
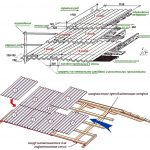
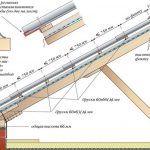
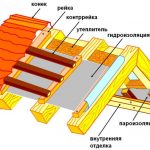
Sheet slate will be used as roofing material. Installation work begins with the installation of the lathing structure. To do this, take the beams with an average cross-sectional size and fix them on the rafters. These wooden elements are installed in 0.5 m increments. After that, the beams should be released outside the frames located at the edge by about 50 cm. Roofing material should be spread over the resulting sheathing, and the slate should be laid and secured with nails.
Important! Always use rubber pads to secure the sheets. Slate is very fragile and can be damaged during installation.
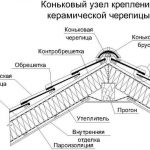
All work on the installation of the roof covering is best done from the bottom up. In this case, the sheets will overlap each other, preventing moisture from entering under the roof. The skate also needs protection. To do this, you can use a strip of roofing metal that has been folded accordingly.
Finishing work in the house-hut for year-round living
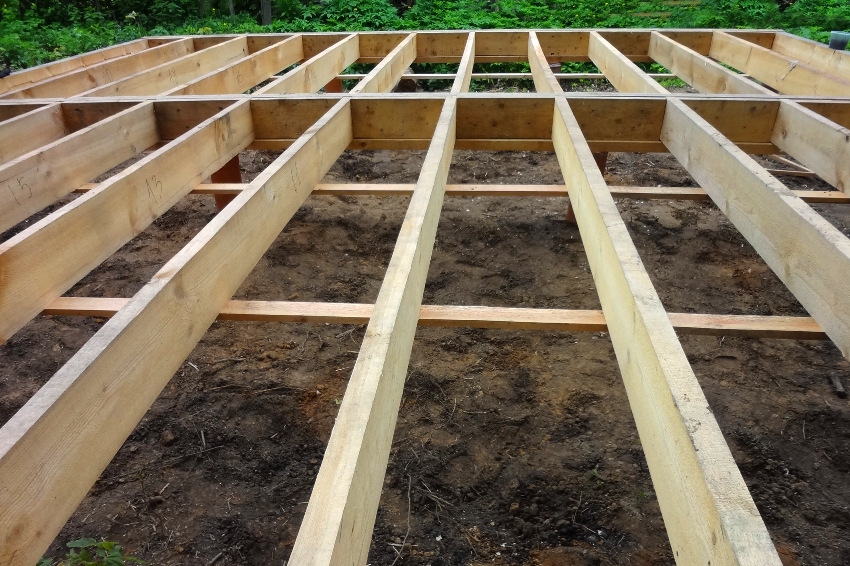
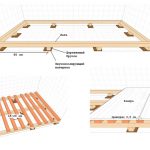
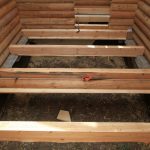
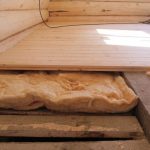
At the first stage of finishing work, the floor is formed. For this, wooden logs are laid along the bearing girders of the rafter frames. These elements are placed in 50 cm increments. It is advisable to use nails to fix them.
Then you need to form a finishing floor. For this, high-quality and durable boards are used. They are placed perpendicular to the lags. The boards can be replaced with special floor slats. Their thickness is 2.8 cm. The advantage of the slats is the presence of spikes and grooves. Thanks to these design features, the flooring is durable and reliable, and the assembly is carried out according to the same principle as laying the laminate. There is no need to fit parts and control the size of the gap between them.
For the exterior of the building, you can use boards. They should be placed horizontally. For these purposes, you can use ordinary material that is nailed with an overlap. The use of boards with quarters is allowed.
How to carry out the interior decoration of an A-shaped house
Internal walls need good insulation. For these purposes, fibreboards with a soft structure are perfect. The optimum thickness is 2.5 cm. Solid versions of the material are also used for insulation, for example, hardboard. In this case, the material should be thin - no more than 4 mm.
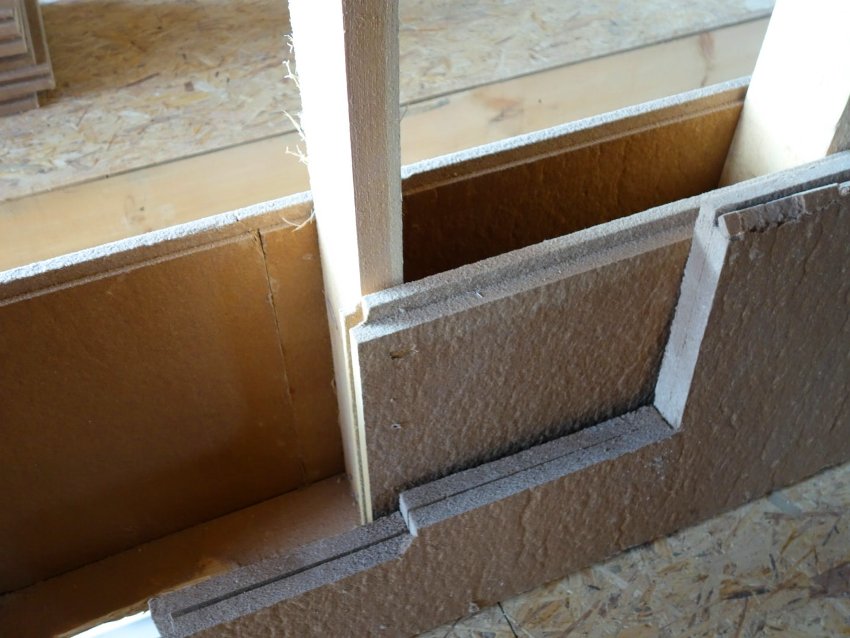
The use of insulating material such as fiberboard with a soft structure is safe even for people prone to allergies
If sheet material is used as a finish, special bars should be fixed to the supporting structure for its installation. They are installed along the frame at a distance of 2.5 cm from the front edge. Mounting of hardboard is carried out over a soft insulation. You can use a skirting board to mask corners. The slats will cover the joints.
When the interior decoration is completed, all that remains is to install the door and window blocks. Openings are prepared for them in advance. To ensure the drainage of rainwater, a metal drain can be installed. The design of such a house is very simple to implement. Arrangement of the terrace and veranda will expand the space. Projects with wings, large-scale glazing and carvings look interesting.
