The choice of the design of the greenhouse that is planned to be installed on the site largely depends on the purposes for which it should serve. Greenhouse Breadbasket is one of the most common options, since it is easy to do it yourself, and its design is suitable for growing many crops. Consider the principle of self-construction of such greenhouses, as well as their characteristics and features.
Content [Hide]
- 1 Greenhouse Bread box: design features
- 2 Practical advice on choosing a location for installing a greenhouse Bread box
- 3 Characteristics and dimensions of the greenhouse Breadbasket
- 4 Greenhouse Bread box with your own hands: drawings, material selection features
- 5 Greenhouse Do-it-yourself bread box: drawings, dimensions, instructions for manufacturing
- 6 Greenhouse Polycarbonate bread box: prices and features of finished structures
Greenhouse Bread box: design features
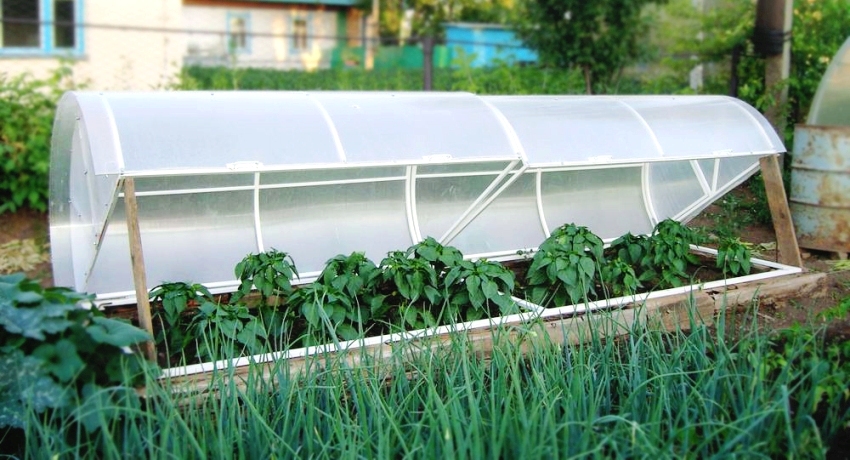
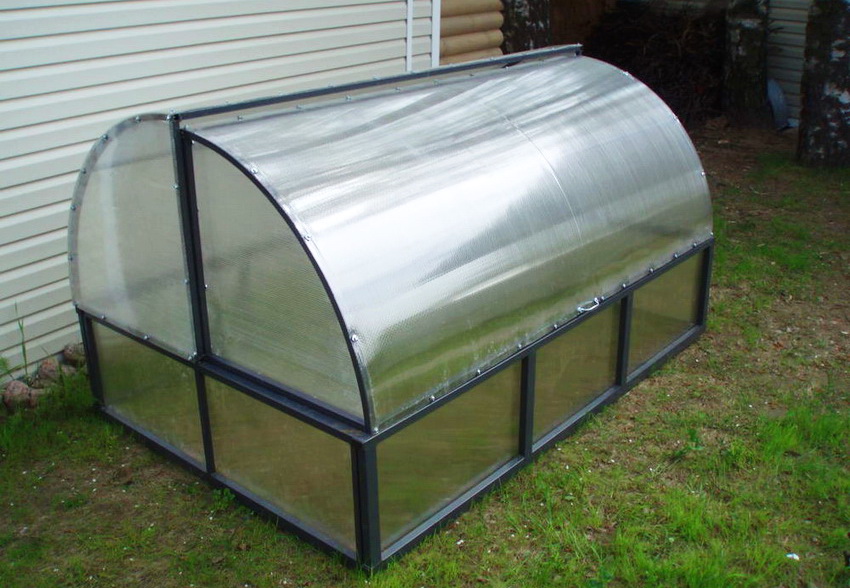
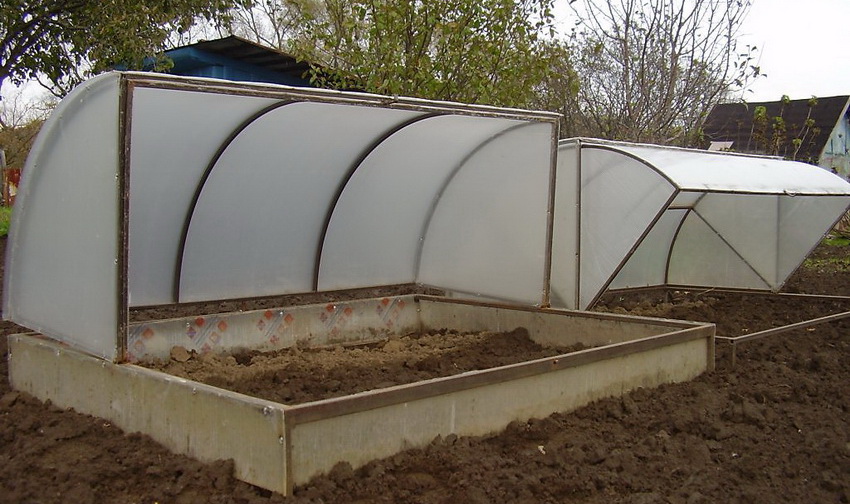
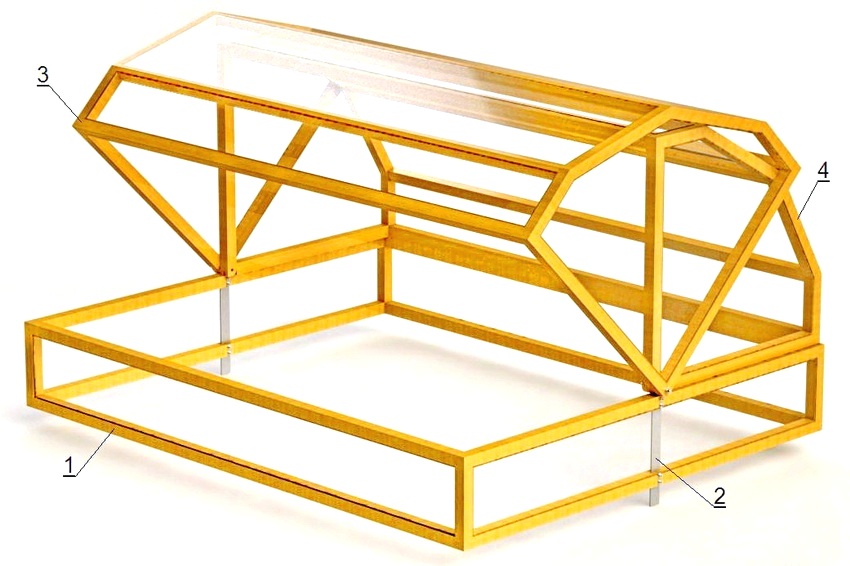
Greenhouse frame The bread box is a structure consisting of three parts: the right and left halves and the foundation. Adjustment of the microclimate inside is carried out by raising the side flaps through the use of hinge elements. You can make or buy a greenhouse Breadbasket yourself, in which one or both parts will open at once.
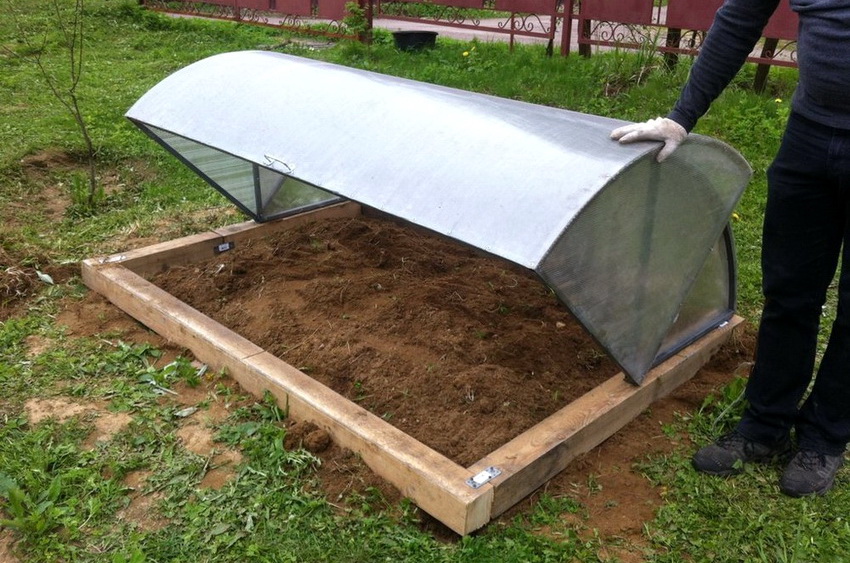
The most common use of structures in which the full opening of one part upwards is provided. For this, the hinges are installed on the lower frame of one of the sides. In order to be able to fix the frame in the desired position, a wooden beam is used, on the end cut of which cuts are made.
Important! It is imperative to fix the sash in the open position with a wooden block, since, otherwise, a strong wind can close it, which is unsafe for the summer resident.
This model got its name due to the similarity of the mechanism of operation with a conventional bread bin, the semicircular lid of which rises. The pivot axis of the upper part is located at the end part of the vertical pipe. In this case, the sidewalls are tightly closed. In order to open the greenhouse, the turning part is raised up.
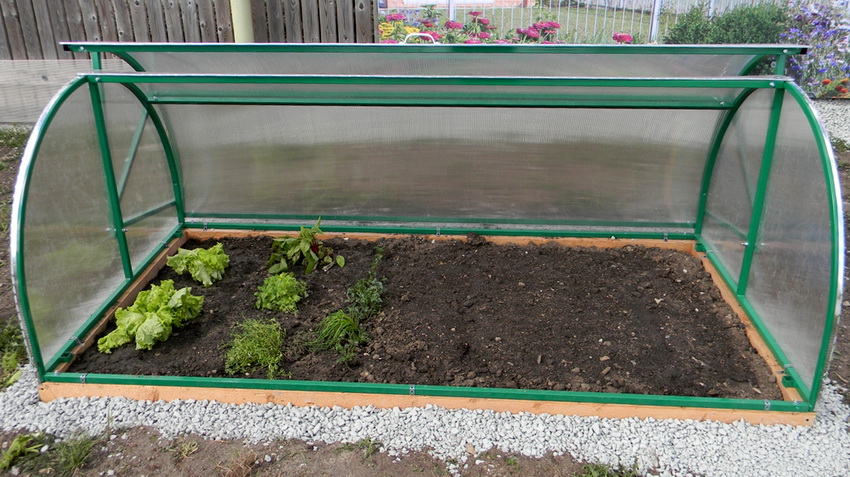
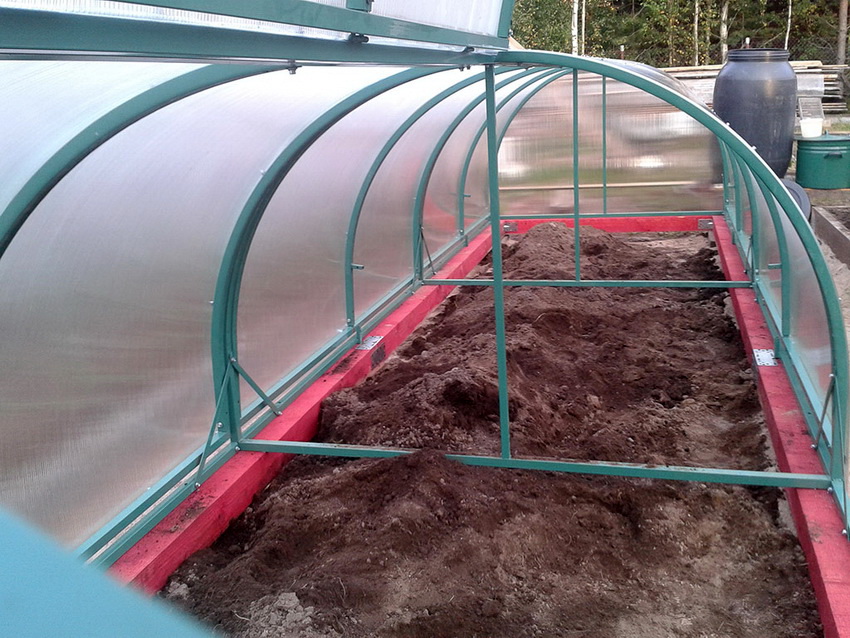
Profiled metal or hollow polyethylene pipes are used as a material for the manufacture of the frame, and polycarbonate or film is used as a covering material. In case of wear or mechanical damage to the coating, you can easily replace it in whole or in part.
Advantages and disadvantages of the greenhouse Khlebnitsa: user reviews
Many gardeners prefer this particular design, since it has a number of positive characteristics that determine the convenience of its installation and use. Consider what positive aspects of the operation of the greenhouse Khlebnitsa are found in user reviews:
- self-fabrication of the frame using ready-made diagrams and drawings is available even for a beginner;
- simple assembly and installation in case of buying a ready-made greenhouse;
- the ability to replace individual parts of the covering material increases the life of the greenhouse;
- this design is suitable for growing almost any crop. The only exceptions are climbing plants;
- the greenhouse is lightweight;
- affordable cost.
At the same time, this option has some disadvantages that you should know about and take into account before making or buying such a greenhouse:
- for proper operation of the hinges, it is required to regularly inspect them and periodically lubricate them;
- over time, you may encounter a squeak or jamming of the sash during the opening process;
- strong wind can cause the greenhouse to move if one of the doors is open;
- installation of a large greenhouse will require the efforts of 2-3 people, since it will not be possible to cope with this on your own.
Useful advice! You can attach the brushes to the opening part of the greenhouse frame. Then dust and dirt will be automatically wiped off the surface every time you open it.
Practical advice on choosing a location for installing a greenhouse Bread box
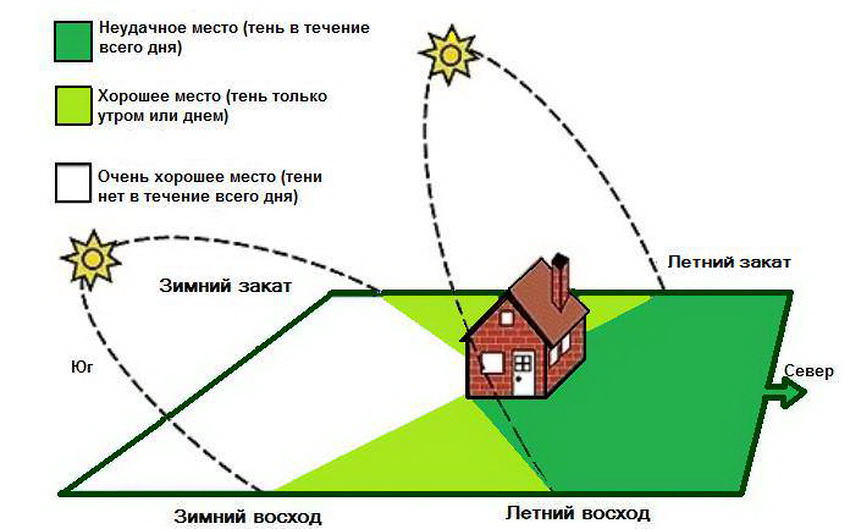
In order for the crop grown in such a greenhouse to please with its abundance and quality, even at the construction stage, you need to carefully approach the choice of a place for installing a greenhouse. It is worth paying attention not only to its location relative to the cardinal points, but also to the presence of nearby bushes and trees that can shade the greenhouse.
It is best to choose a location that is away from buildings. Thus, it is possible to ensure that the maximum amount of sunlight reaches the plants. Here are some basic standards to adhere to:
- the distance to the nearest building must be at least 5 m;
- if there is a bathhouse, sauna or outdoor shower on the site, the distance between them and the greenhouse must be at least 8 m;
- in the presence of a septic tank, the required distance from it is 25 m.
Another important selection criterion is the evenness of the site on which you plan to build. In order to be convinced of this, it is enough to use a simple building level. Such a check is mandatory, since it eliminates the risk that the structure will be installed unevenly or distorted over time.
What plants can be grown in this type of greenhouse
Greenhouse Bread box is well suited for growing many crops, however, among them there are those that will feel most comfortable in such a greenhouse:
- strawberries and strawberries;
- any greens: dill, parsley, sorrel, onion, garlic, etc.;
- carrots, beets, lettuce, lettuce.
A greenhouse is also suitable for tomatoes. However, due to the large size of the bushes, over time, they must be transplanted into open ground or a larger greenhouse.
Useful advice! If you equip heating in a greenhouse, then it can be used not only in summer, but also in winter. So, fresh herbs and vegetables will be on your table all year round.
Characteristics and dimensions of the greenhouse Breadbasket
The classic design of the greenhouse Bread box is an arched frame made of a round metal or profile pipe.In order to make such a base yourself, you need to cut the material according to what is indicated in the drawing. Covering material (polycarbonate or film) are bought separately and cut into pieces, the dimensions of which correspond to the openings in the frame.
If you purchase a ready-made structure, then various manufacturers may offer some additional features designed to improve the usability of the greenhouse. For example, it can be legs designed for deepening into the ground, a curb to protect plantings.
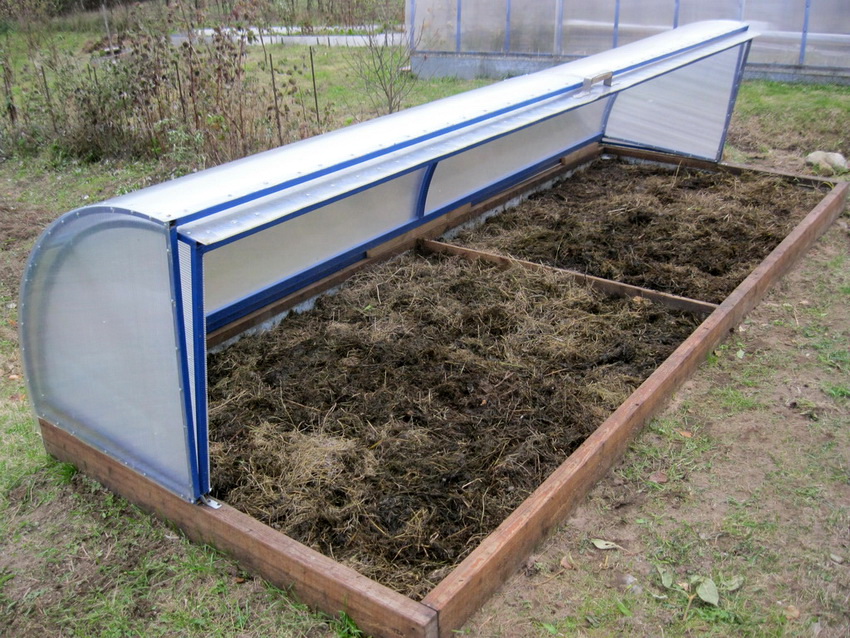
Some models open on one side, and some open on both, and the pivot centerline can be located on the bottom frame or in the middle of the vertical end post. The differences between these models are clearly visible in the photos of the Khlebnitsy greenhouses, which can be found on the Internet.
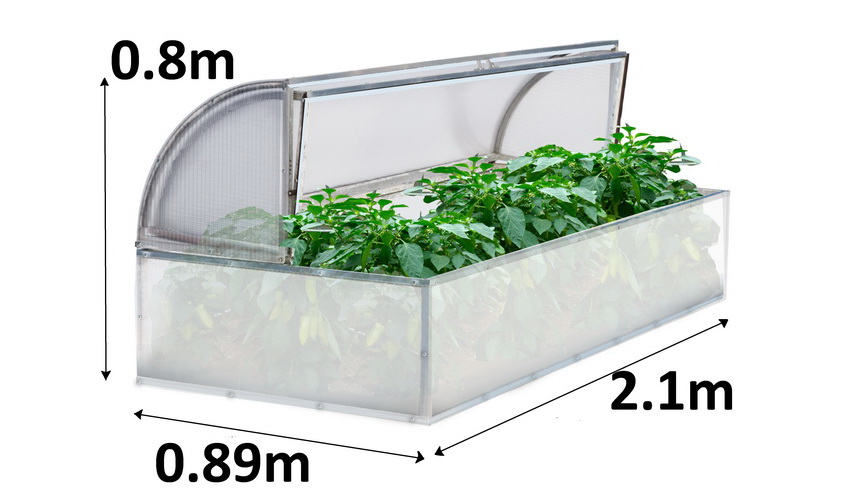
The dimensions of such greenhouses have some limitations: the width of structures in which one part opens is up to 1.3 m, for a two-sided one - up to 2 m.The length, as a rule, ranges from 2-4 m, and the height from 0.5 to 1 , 5 m.
Useful advice! It is preferable to use polycarbonate as a covering material, since it bends well, but at the same time has high strength. The film is more difficult to fix, it breaks more often and requires replacement after 1-2 seasons.
Greenhouse Bread box with your own hands: drawings, material selection features
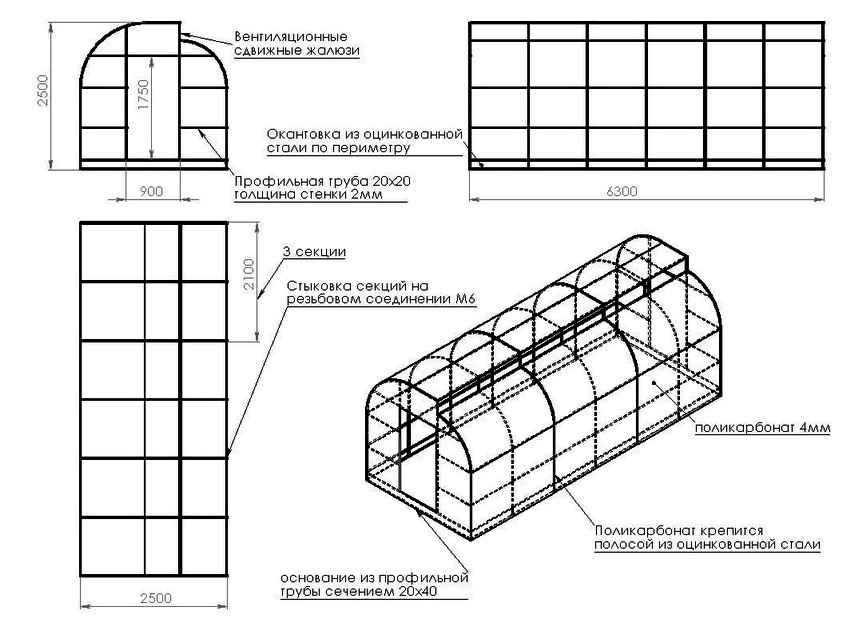
In order to make a greenhouse with your own hands, you will need a drawing with precise indications of all sizes, as well as the necessary materials. For this purpose, plastic or metal pipes, wooden bars, hinges, fasteners, and covering material are used. The foundation will require bricks, planks, sleepers and wooden blocks. The exact information on how much materials will be needed can be seen by reading the drawings and dimensions of Fedorov's greenhouse.
If you are planning to assemble a metal frame, you will need a pipe bender, a hacksaw for metal, a drill and a welding machine. To work with wooden elements, you need a saw, a hammer, a screwdriver and a knife.
You can make a wooden structure, however, it turns out to be heavier, cumbersome and requires regular maintenance from the owner. For this option, spruce or aspen bars are used, the size of which is 40x40 or 50x50.
Useful advice! For wooden greenhouses, a metal strapping of the beams is used at the bolt attachment points to extend the operating life of the greenhouse. Thus, the hinges will be secured more securely.
The ideal material for the manufacture of such a greenhouse is considered to be profiled metal pipes, the wall thickness of which is at least 1.5 mm, and each side is 2 cm.With this combination, the structure is as strong and durable as possible, but at the same time lightweight. It is worth considering that it will not be possible to work independently with such material without the presence of a special tool and skills. In order to bend a pipe, you need a pipe bender and a welding machine to connect the individual parts.
Another option is to use polyethylene pipes for the frame, which are inferior to metal ones in terms of stiffness. Moreover, if the diameter of the pipes is incorrectly selected, then the greenhouse will turn out to be unstable and will not be able to maintain its shape. It is important to strike a balance here: thin pipes will not give the structure the required strength, and too thick ones will bend poorly and cause excessive residual stress in the pipe.
Greenhouse Do-it-yourself bread box: drawings, dimensions, instructions for manufacturing
The first thing that is needed to create a greenhouse Bread box is a drawing. But construction work begins with the preparation of the foundation. This will require wood (timber and sleepers), bricks and concrete. You need to start by determining the desired size and marking the beds.The trench is dug to a width of 20-30 cm and a depth of 40-50 cm. From sand and gravel, you need to make a pillow about 10-15 cm high.
Related article:
Do-it-yourself greenhouse for cucumbers: photos of the best solutions for a summer cottage
Do-it-yourself greenhouse for cucumbers: photos of traditional and original solutions. Instructions for self-construction.
The next step is laying out bricks using mortar around the perimeter or creating formwork. Then concrete is poured inside and allowed to dry. After that, the boards must be removed, and the drips of the solution from the masonry must be cleaned. Next, you can proceed to installing and securing the greenhouse. It is important that the size of the foundation matches exactly the size of the lower frame of the greenhouse. To do this, you need to use a dimensional drawing. Greenhouse Bread box in this case will be durable and stable.
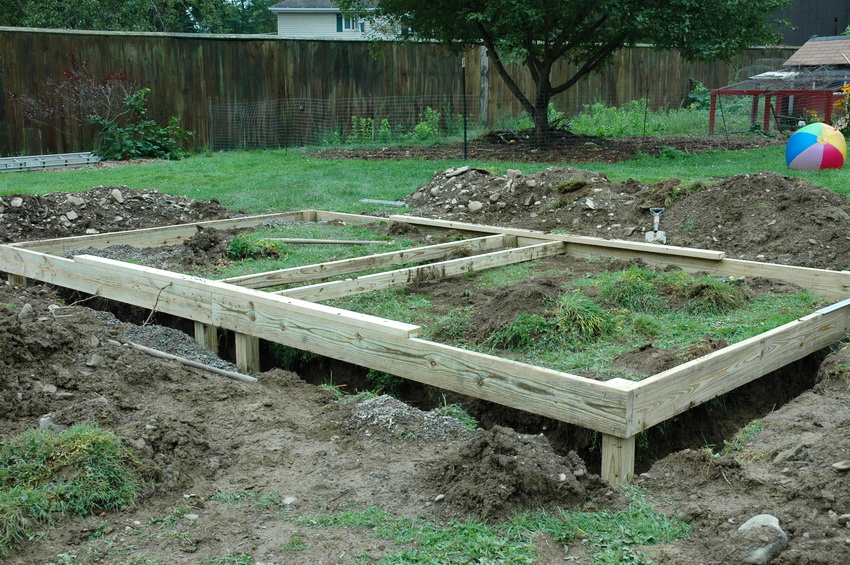
Another option for creating a base for a greenhouse is a wooden foundation. This option is good because it can be easily dismantled and, if necessary, moved to another location. To erect it, you need 150x150 bars, which must be laid out along the perimeter of the garden bed, deepening them into the soil by 5-10 cm and fastening the corners with bolts. A greenhouse is installed on top and attached in several places.
Useful advice! To create a natural heating of the greenhouse, you can fill it with organic debris from both sides. Preya, dry leaves, grass and manure will generate heat, naturally warming the soil.
Step-by-step instructions for creating a greenhouse Polycarbonate bread box
In order to make a greenhouse that opens on one side, the length of which will be 4 m, width - 1 m, and height 0.5 m, you will need the following set of materials:
- shaped pipes 20x20x1.5: 2 pcs. length 4 m, 2 pcs. - 1.6 m, 3 pcs. - 3.96 m, 8 pcs. - 1m;
- 2 hinges, self-tapping screws and bolts for fastening elements together;
- 2 sheets of polycarbonate, 2.1x6 m in size, 6-8 mm thick;
- paint for metal.
Useful advice! For the manufacture of a greenhouse, it is preferable to use polycarbonate, which is protected from ultraviolet radiation. It is able not only to protect the seedlings from exposure to aggressive sunlight, but also to keep heat inside the structure longer.
Using a pipe bender, it is necessary to prepare 2 arcs 1 m long for the moving part of the greenhouse and 2 arcs 1.6 m each for the side parts of the frame. In this case, the diameter of the circle should be 1 m. Using a regular marker, mark the middle on the side parts.
The lower frame is assembled from two pipes of 3.96 m each and two-meter parts, which are welded together at the corners. The seams must be cleaned. Using a welding machine, the sidewalls are welded to the finished lower frame. Then you need to fix the end posts in the middle of the side and bottom elements. As a guide, you can use the drawing of the greenhouse Breadbasket, which displays a model of a suitable size.
The holes for the hinges must be from the outside. To the marked middle of the sidewalls, you need to weld a workpiece made of 3.96 m pipes. At this, the frame part can be considered finished.
In order to make the moving part of the structure, side arches and two transverse strips 4 m long are welded together. The axial strips, which provide opening with hinges, are also welded to the frame. Each axle strip must be cut at a 45º angle and then welded together. In this case, the corners must be cleaned.
For the hinges, holes are made on the inner side of the slats, after which they are installed on the end posts. The moving part is hung up and checked for proper movement. After that, it remains only to paint the frame and make sure that the foundation is ready for installing the greenhouse.
Important! Before you start welding the elements, it is recommended to check the verticality and horizontalness of each part using a level.
Greenhouse DIY polycarbonate bread box: finishing work
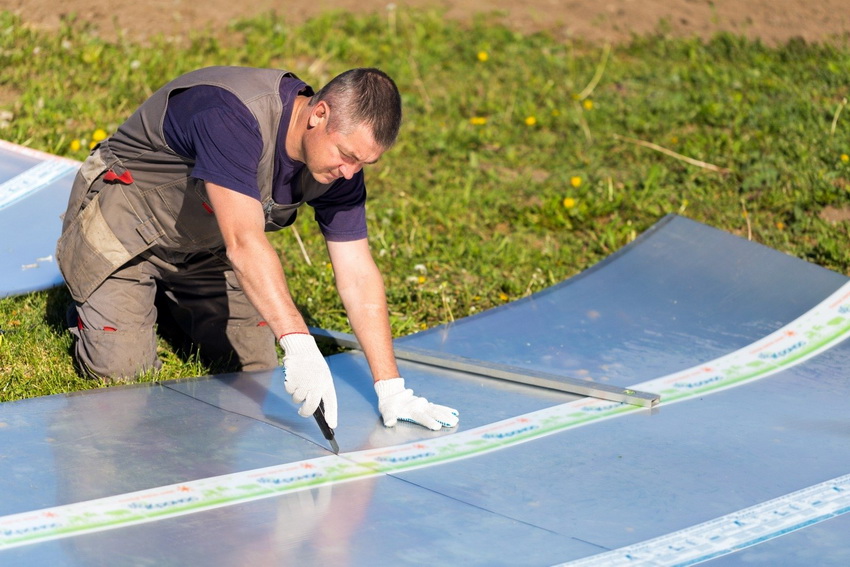
If polycarbonate is used as a covering material, then it must first be cut. You will need 4 parts for the sides of the frame, 1 part for the blind and 1 part for the moving sash. You can fix the material to the frame using ordinary self-tapping screws, using rubber washers for reliability.
Fastening the greenhouse to the foundation must be carried out in several places. If the foundation is made of wood, then brackets are suitable for this purpose, and if it is made of brick or concrete, then screws.
As you can see, with a certain experience and a drawing, a do-it-yourself polycarbonate greenhouse is a quite feasible task even for a beginner. The main thing is to comply with the recommended dimensions of Fedorov's greenhouse, and ensure reliable fastening of all its elements.
Greenhouse Polycarbonate bread box: prices and features of finished structures
It is possible that buying a greenhouse Bread box made of polycarbonate will not be much more expensive than making it yourself, taking into account the purchase of all the necessary materials, as well as the efforts spent on work. Therefore, before making a decision, it is recommended to consider the option of purchasing a finished product.
As examples, consider two options that are on sale, paying attention to their features and prices. Greenhouses Bread boxes, as a rule, have the same design, and therefore their price directly depends on the quality and quantity of materials used for the manufacture.
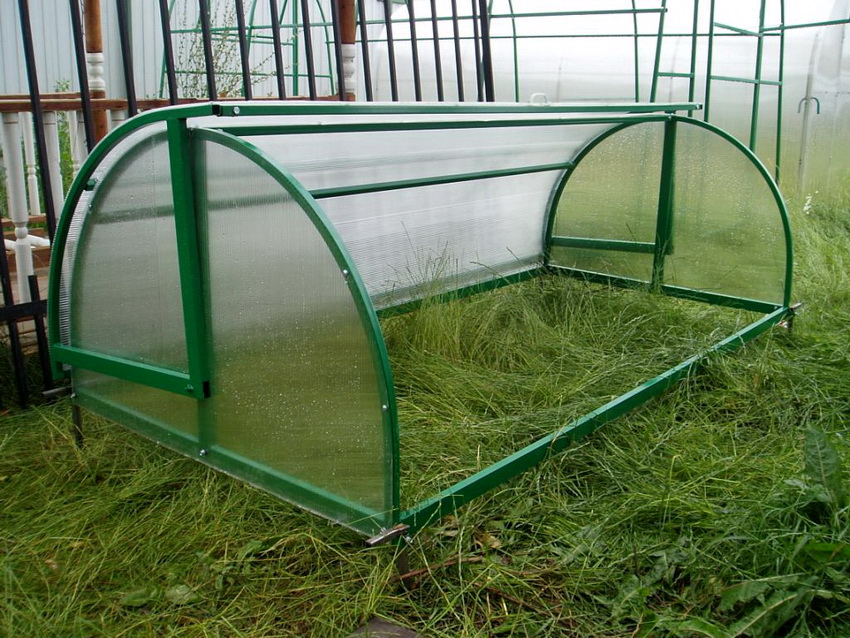
If you do not have enough experience to make a greenhouse with your own hands, you can purchase a finished product
The Teplichka company offers its customers a polycarbonate greenhouse. The length of such a structure is 2 m, and the width is 1.2 m. The height of the greenhouse is 0.84 m. For the installation of such a greenhouse, a foundation made of a wooden bar is quite suitable. For the frame, a profile pipe with a section of 20x20x1.0 mm is used. The distance between the arcs is 1 meter. The price of a greenhouse, taking into account the cost of polycarbonate, is 5500 rubles.
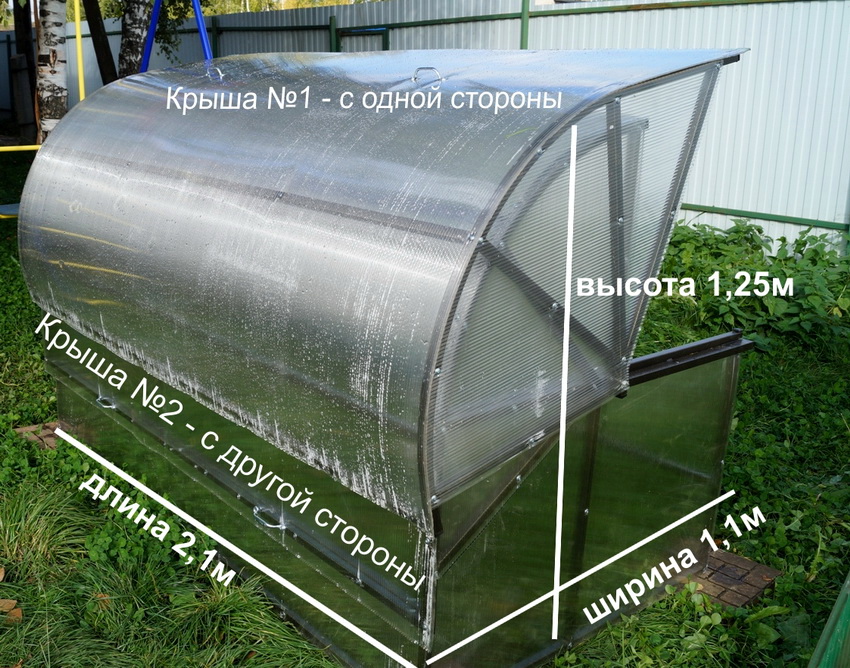
Another popular option is the Snail greenhouse, which is arranged according to the same principle and has one opening sash. The product is made of a 20x20 mm steel pipe, the strength factor of which is extremely high. The cost of this model in the amount of 2.1x1.1x0.75 m is 5000 rubles. At the same time, the frame can be painted gray or green, which will allow the greenhouse to fit into the surrounding design as organically as possible and be not only functional, but also a beautiful element of the site.
Regardless of whether you decide to make a greenhouse Breadbasket with your own hands, or you purchase a ready-made structure, it is perfect for growing seedlings of any plants. By opening one or two doors, you will get comfortable access to the inside of the greenhouse and will be able to water and fully care for the plants that are in it.
