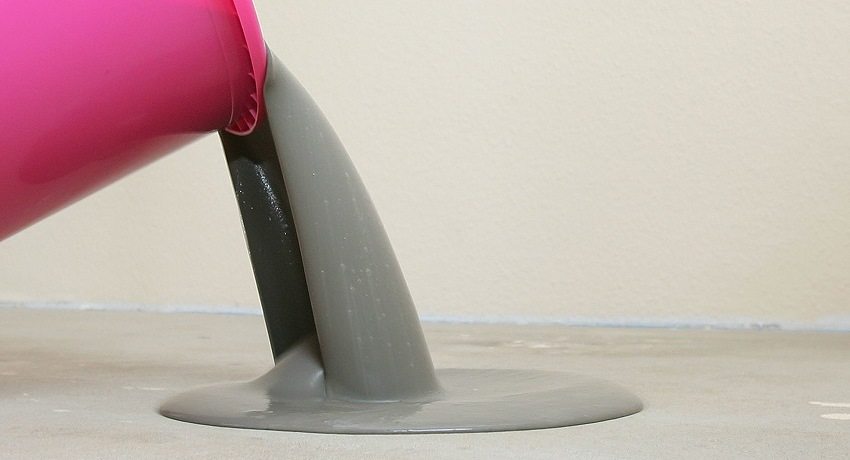
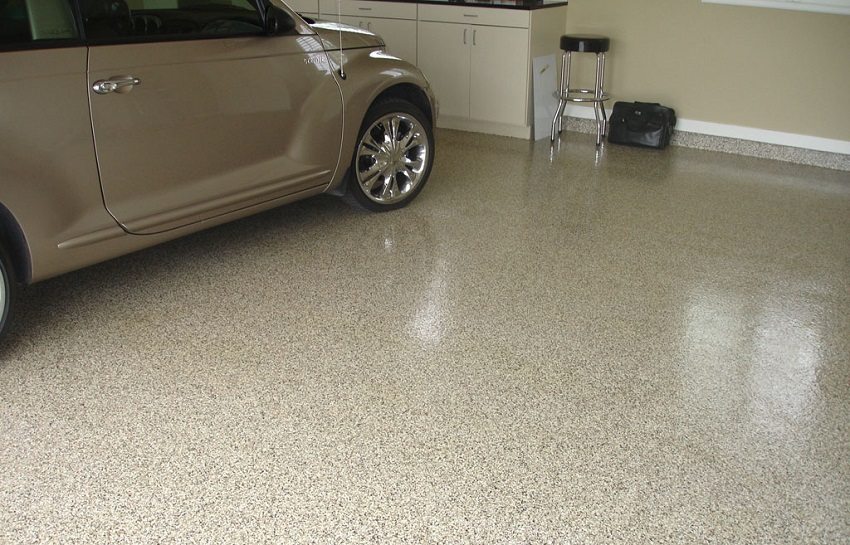
Increased requirements for the quality of repairs stimulate manufacturers of building and finishing materials to create modern high-quality products. A new generation of self-leveling floor mixes can be safely attributed to such products. They are mobile, flow easily and quickly gain strength. Leveling the floor with a self-leveling compound is a quick and reliable way to get a flawlessly even floor.
Content [Hide]
Leveling the floor with a self-leveling mixture: types and properties of mixtures
Self-leveling floor mixtures, according to their application, are divided into several types:
- coarse mixtures - used for flooring in a rough version. The application layer is usually about 6 cm.Used as a base under the coating (laminate, tile, parquet), as well as to eliminate defects in the existing screed: potholes, cracks, bumps;
- finishing mixtures - a thin layer of application (minimum - 2 mm, maximum - no more than 10 mm). It is used as a topcoat. It is characterized by fast drying;
- high strength mixtures - have good adhesion to surfaces and high strength indicators. Found application in the elimination of local floor damage (cracks, holes). They are used for leveling wooden floors;
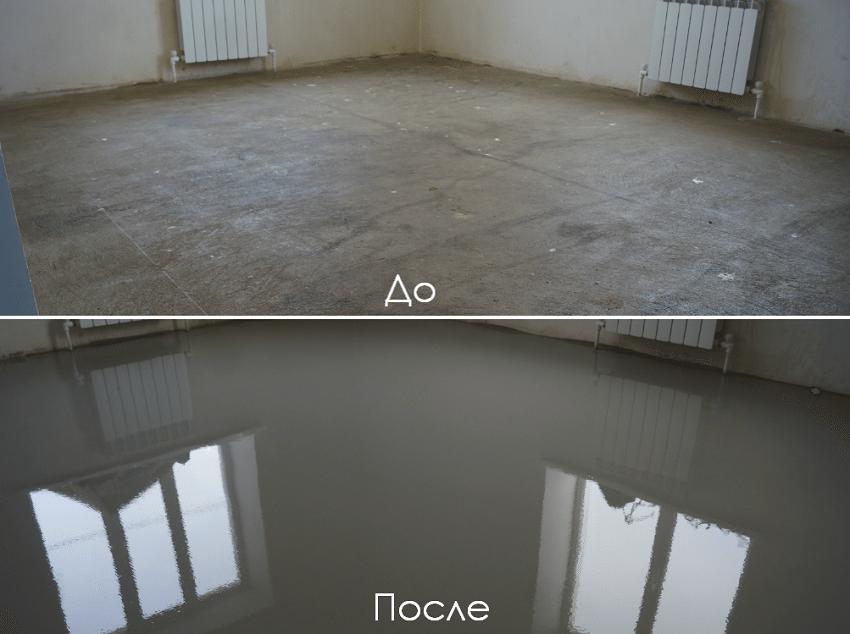
Leveling the floor with a self-leveling compound is a fast and reliable way to get a flawlessly even floor
- quick-drying mixtures - such mixtures are used when the time for repair work is limited. It dries up within two to three hours, however, it is recommended to use it as a base under the flooring not earlier than after two days. They need an additional reinforcing layer.
Often, to obtain the desired result, several types of self-leveling mixtures are used in stages.
Helpful advice! To be sure of the quality and properties of building mixes, purchase them only from well-known, well-established manufacturers.
Self-leveling floor mixes differ in their composition:
- Cement - self-leveling mixtures, in which the main element is cement.Inexpensive in cost, they can be used as dedusting mixtures for priming the floor surface. They have high adhesive and strength properties, are resistant to shrinkage, are not afraid of moisture, do not crack. A layer up to 5 cm is allowed.
- Gypsum - gypsum acts as a binder. They differ in thermal conductivity (can be used for a warm floor), resistance to shrinkage, and environmental friendliness. They are used only for dry rooms. A layer over 10 cm is allowed.
- Polymer - contain epoxy resins, polyurethane, methyl methacrylate, etc. They have surface strength, resistance to vibration, shock and temperature extremes, and a long service life.
Floor leveling technology with self-leveling mixtures
In order to fill the floor with a self-leveling mixture to give the desired result, the correct selection of the dry mixture is of fundamental importance. For different types of surfaces to be leveled, as well as depending on the condition of these surfaces, the technology of use is different.
Leveling the floor with a self-leveling mixture with your own hands can take from 1 to 14 days. On the base of the quick-drying mixture, you can lay the topcoat after a couple of hours. However, the properties of these mixtures do not allow their use for large-scale reconstructions.
DIY floor pouring tools
Do-it-yourself floor pouring technology provides for the presence of special tools, without which it is impossible to achieve the required alignment:
- container for mixing dry mixture - choose containers with a volume that allows you to use a bag of 25 kg of mixture at a time;
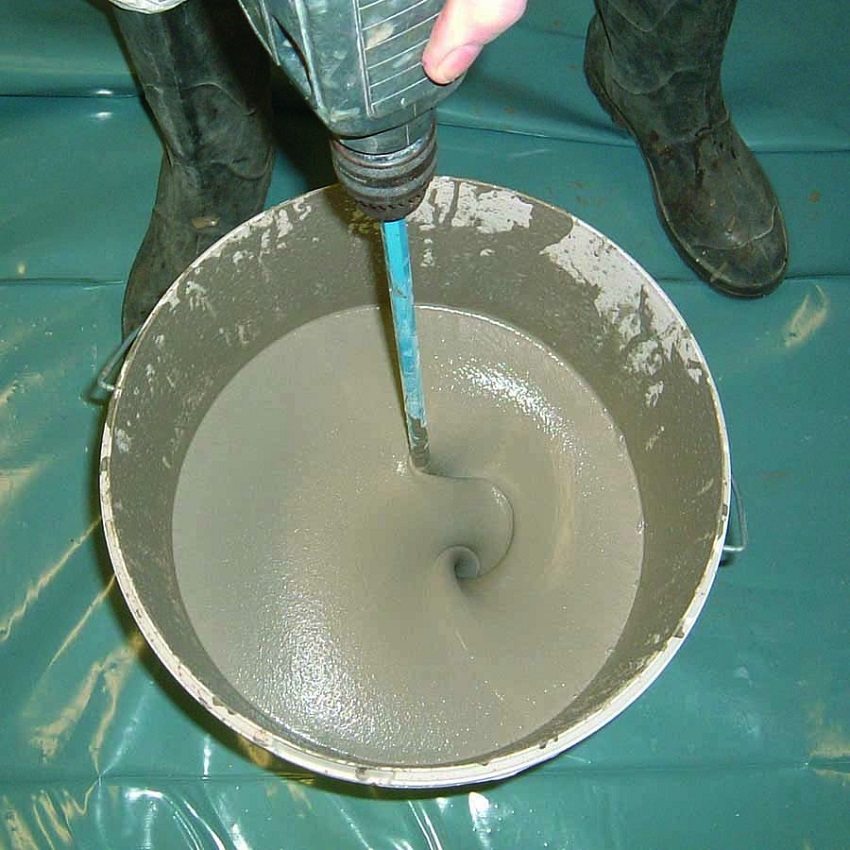
- a perforator or drill with a mixer nozzle - since the solutions are quick-drying, high-quality and fast pouring is required;
- notched spatula (up to 100 cm wide) - in order for the mixture to show its functions, it is necessary to roll it out in an even and thick layer. The size of the teeth should correspond to the thickness of the layer;
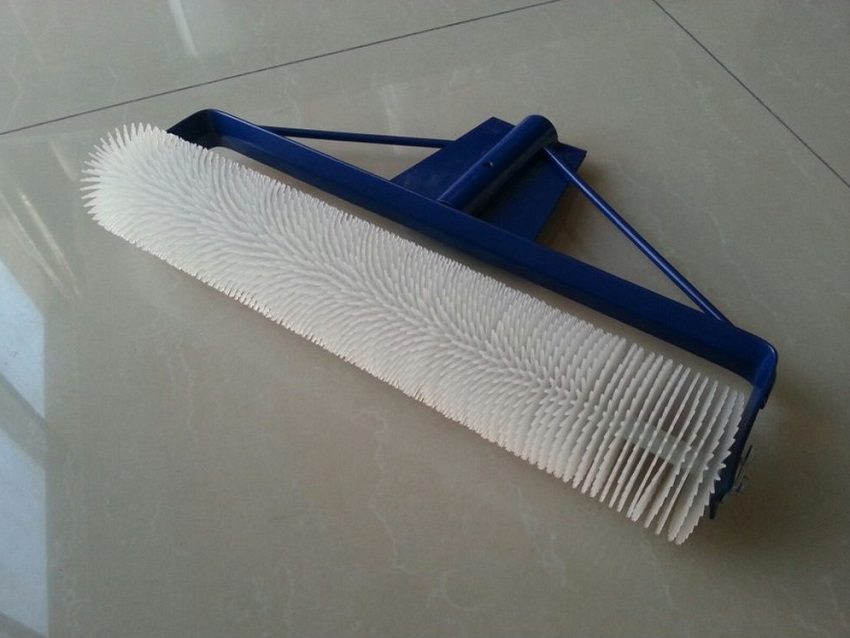
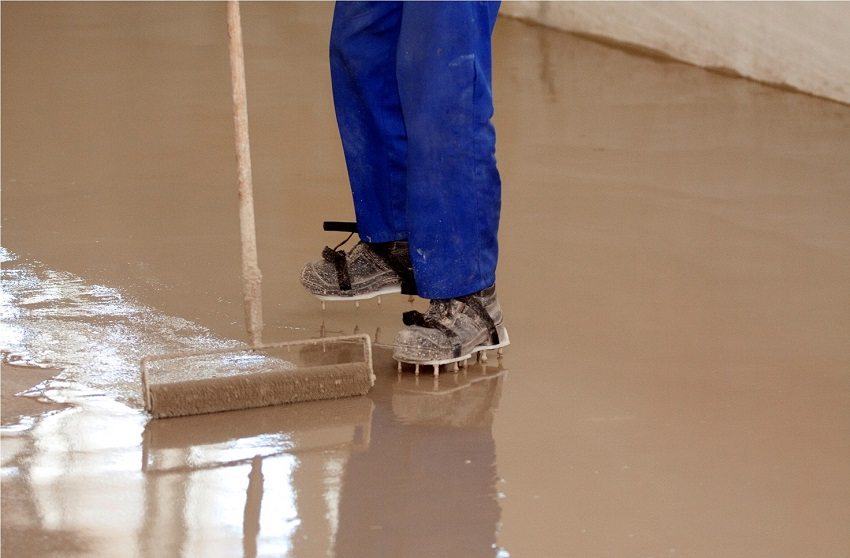
- needle roller with telescopic holder - for smooth rolling of the solution and air removal;
- spike nozzles for shoes - usually use spikes on the soles up to 3 cm long, in which you can move along the filled screed without leaving any marks;
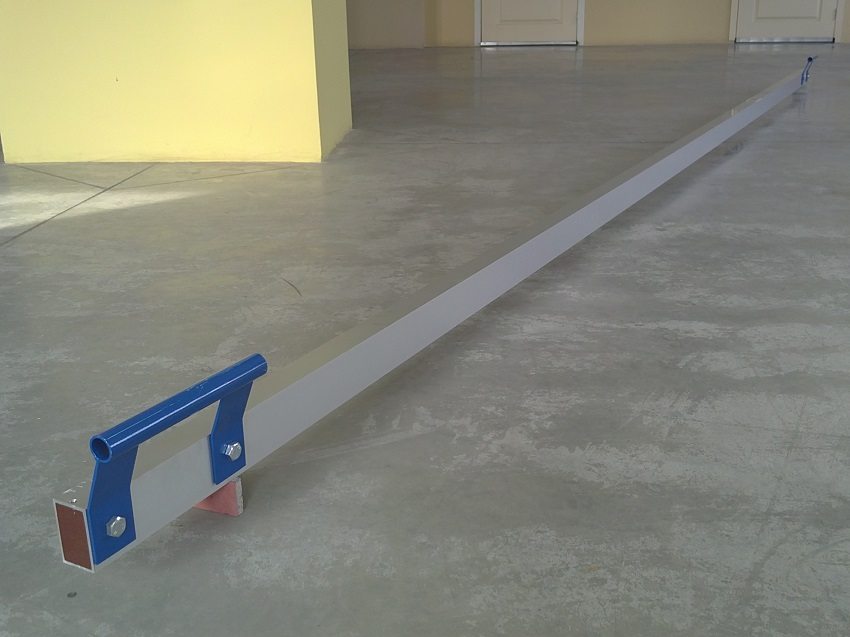
- rule - used when pouring a screed on beacons;
- building level - preferably from 1.5 to 2 m, it is necessary to calculate the consumption of a self-leveling mixture for the floor and check the quality of the fill.
Preparatory work
The technology for pouring the floor with your own hands with self-leveling solutions requires careful preparation of the base. The presence of cracks or fistulas at the base is not allowed, where fluid mixture can flow. All defects are pre-filled with putty or covered with a rough screed.
After processing the base, all debris, remnants of the old coating are removed, since even the slightest excessive inclusion can weaken the adhesion of the mixture to the base base. Subsequently, this can lead to cracking self-leveling floor... When the base is free of debris, it is necessary to treat it with a primer. In the case of rapid absorption of the primer, the procedure is repeated.
Priming is an important process, after its application the self-leveling mixture has good adhesion and lays down in an even layer.
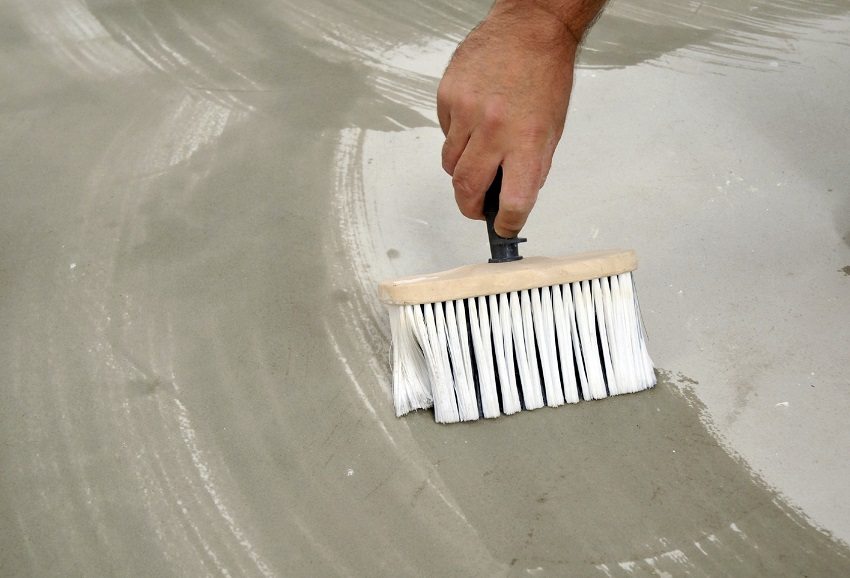
Priming is an important process, after its application the self-leveling mixture has good adhesion and lays down in an even layer
Do-it-yourself solution from a dry self-leveling floor mixture
When purchasing self-leveling floor mixtures, take the trouble to read the instructions, which indicate the necessary proportions for the preparation of solutions. Follow the directions, as an overly liquid mixture spreads and smoothes more easily, but loses its declared qualities. Cracks and chips may appear in the self-leveling screed.
It is also important to follow the sequence of preparation of the solution. If you pour a dry mixture into a container, and then add water to it, it will be difficult to achieve a uniform consistency, without lumps. The correct technology lies in the fact that the dry mixture is poured into the water, and not vice versa. Stir carefully, given the fact that the fluidity of the solution remains for about 30 minutes. After the screed thickens, it becomes unsuitable for pouring.
The consumption of dry mix for pouring the floor is determined depending on the thickness of the layer, the type of mix and the structure of the base base (presence of drops, potholes, etc.) on which the mix is poured. Consumption of the mixture for one square of pouring 1 mm thick is about 0.5 kg. To reduce the consumption of the mixture, you can apply an underlying layer with the addition of quartz sand to the mixture. Such a layer will provide additional leveling and significantly reduce the consumption of the self-leveling mixture.
Helpful advice! For a significant (1.5-2 times) savings in the consumption of a dry self-leveling mixture, quartz sand is used as a screed filler. This filler does not affect the strength characteristics of the self-leveling floor.
In addition, to reduce the consumption of the main mixture, you can use polymer compounds (for example, polyurethane impregnation), which are more economical, when laying the floor.
How to fill the floor with self-leveling mixture with your own hands, video examples of work
When starting to fill the floor, it is recommended that you familiarize yourself with the advice of professionals on self-leveling flooring, watch video information on the relevant topic. Self-leveling floor mixes are more convenient to pour when several participants are involved in the process: for mixing, pouring and leveling the screed.
Related article:
Self-leveling self-leveling floor with your own hands. Video and description of technology. A set of tools, principles for choosing materials, important information for beginners.
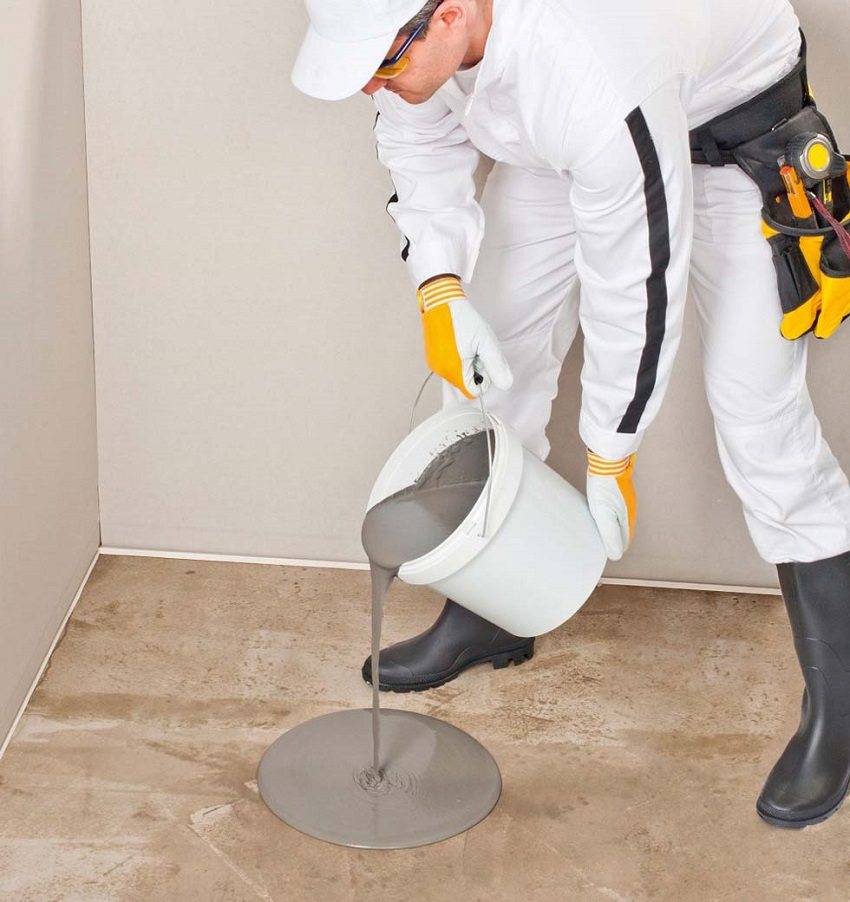
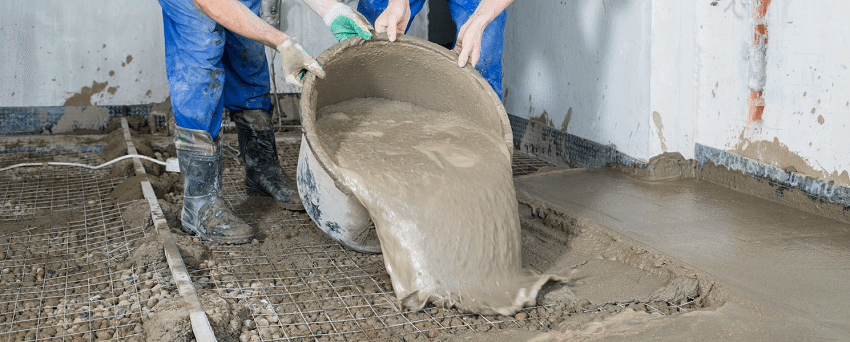
The container with the solution is turned over in the required place and rolled out on the base with a spatula. In order to avoid defects in the coating, it is necessary to remove any air bubbles with a needle roller.
The drying time of the screed on the floor depends on the choice of the composition of the mixture, its thickness and the conditions of the work performed. It is advisable not to cool or overheat the finished surface. After the time specified in the instructions self-leveling floor ready for flooring.
For clarity, watch a selection of videos on self-leveling self-leveling flooring.
Technology for leveling a wooden floor with a self-leveling mixture
To perform work on leveling a wooden floor with your own hands, it is necessary to take into account some features. The technology itself remains similar to pouring a concrete base, but using a certain type of mixtures. Such mixtures contain polymers and fiber additives (fiberglass). Thanks to them, sufficient adhesion to the wooden floor surface is ensured and the absence of cracking.
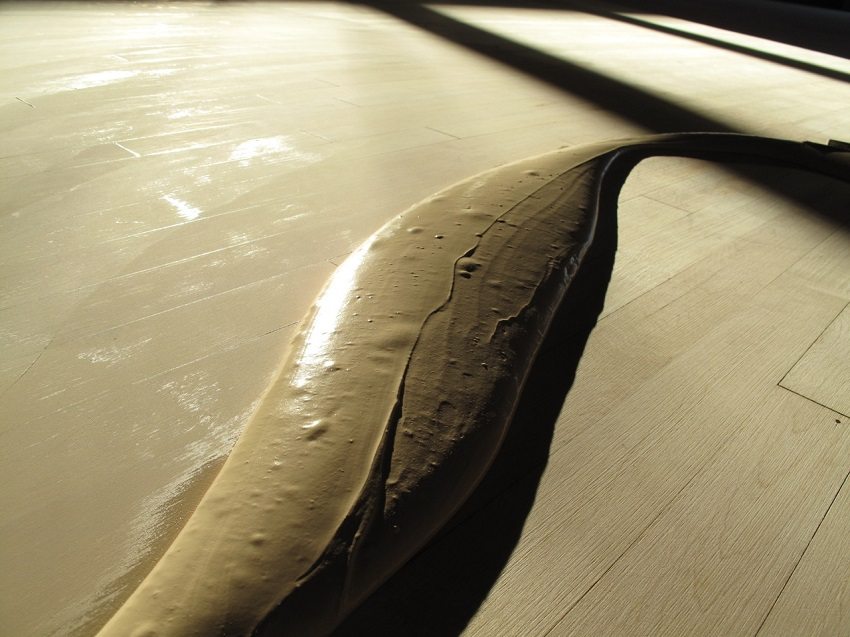
When purchasing a self-leveling mixture for leveling wooden floors, make sure that its composition is suitable for pouring wooden surfaces
Helpful advice! When purchasing a self-leveling mixture for leveling wooden floors with your own hands, pay attention to the manufacturer's notes, which indicate that the composition can be used to fill wooden floors.
Preparation of wooden floors for leveling includes strengthening of sagging boards, cleaning of old paint, filling gaps with acrylic, sanding all irregularities and chipping elements. After that, debris and dust are removed and the wooden base is carefully primed in two layers, which will further improve the adhesion to the self-leveling screed and prevent rotting of the wooden base.
Next, a solution of a self-leveling mixture is prepared with their own hands and the wooden floor is poured. In this process, it will be useful to attract several people to work: one - mixes the solution, the second - distributes over the base, the third - evens out and removes air. As soon as the self-leveling mixture on the wooden floors is dry, you can proceed with the finishing laying of the coating.
For example, on the Internet, you can find video instructions for pouring a wooden floor with a self-leveling mixture.
Today, floor leveling with a self-leveling screed is a quick, uncomplicated, although not the cheapest way.
