What are the pros and cons of a dry floor screed and what is the technology of its creation. All this interests people who have dismantled the old floor and are preparing to install a new one. The technology for constructing a dry screed is fundamentally different from other methods of leveling the sub-floor. It does not use a drop of water and does not require a large number of assistants during installation. For this reason, everyone can make a dry floor screed with their own hands. A video of how experienced craftsmen do this can be watched in order to visually study the whole process.
Content [Hide]
What are the features of dry screed
Probably no other method for creating screeds is as original and, at the same time, simple to perform as a dry screed. We will have to consider the pros and cons of such a leveling base further. This method was invented not so long ago, but it is already very popular, especially among owners of private houses.
And it is not surprising, because most often the floors in them are wooden, which excludes the use of liquid leveling mixtures without using an impressive layer of waterproofing, which carries additional costs.
From the name it is clear that all components of the dry screed do not contain liquid. It is also sometimes called "prefabricated floor", which makes sense. After all, it consists of two independent components:
- filling part, which can be, for example, expanded clay crumb, about 5 mm in size. It not only evens the surface, but also has excellent sound insulation and poor thermal conductivity. There are other bulk materials with similar qualities, which will be discussed below;
- hard sheet covering made of gypsum fiber boards, which are laid on top of the backfill. A topcoat of any type is placed on them.
There are various bulk materials that can be used to dry floor screed. The features are different for everyone, but they can be considered in more detail:
- expanded clay or crumbs from it. It is hot and foamed clay. Due to its very low density, it is practically weightless, but at the same time it has excellent thermal insulation characteristics;
- foamed vermiculite, which is a natural material with a very low weight (1 m³ weighs only 160 kg). Sometimes its use is more justified than the use of expanded clay;
- expanded (heated to 1000 degrees) perlite. A volcanic material stripped of all moisture by heating.
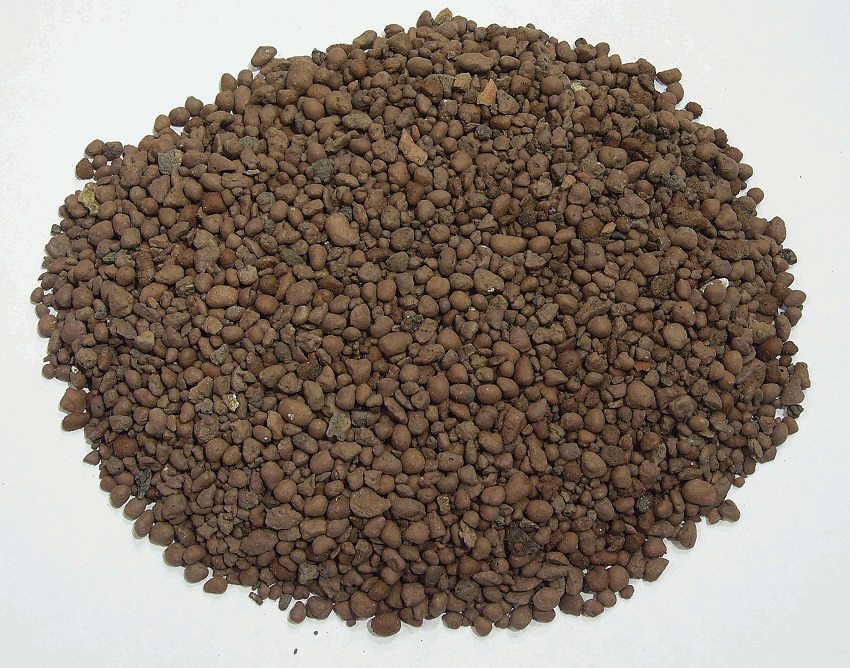
Small expanded clay can be used as filler for dry floor screed
Useful advice! The perlite is so light that it can be blown away by a slight draft. For this reason, when working with it, the windows must be completely closed.
- expanded polystyrene in plates. This material is not a backfill and should only be used on an even base, when there is no need for additional leveling. Expanded polystyrene boards have excellent sound insulation properties.
The top layer can be made from various sheet materials. We list those that are most suitable for creating a dry floor screed. Each has its own pros and cons:
- wood chipboards (Chipboard) - well-known old material obtained by pressing and impregnating wood chips with resin. It has a moderate cost, is easy to install, but it is afraid of moisture and contains not entirely harmless substances;
- gypsum plasterboard (gypsum plasterboard) - ordinary drywall made of a layer of gypsum between two layers of thick paper. The material is convenient to process, it is cheap, but it is also afraid of moisture;
- gypsum fiber boards - a material similar to drywall, but it contains a reinforcing mesh that increases strength. There are moisture resistant. Their surface is covered with a waterproof material. Screed with such sheets you can even arrange in the kitchen and bathroom;
- gypsum board (GSP) - is a mixture of gypsum and shavings, bonded with resins;
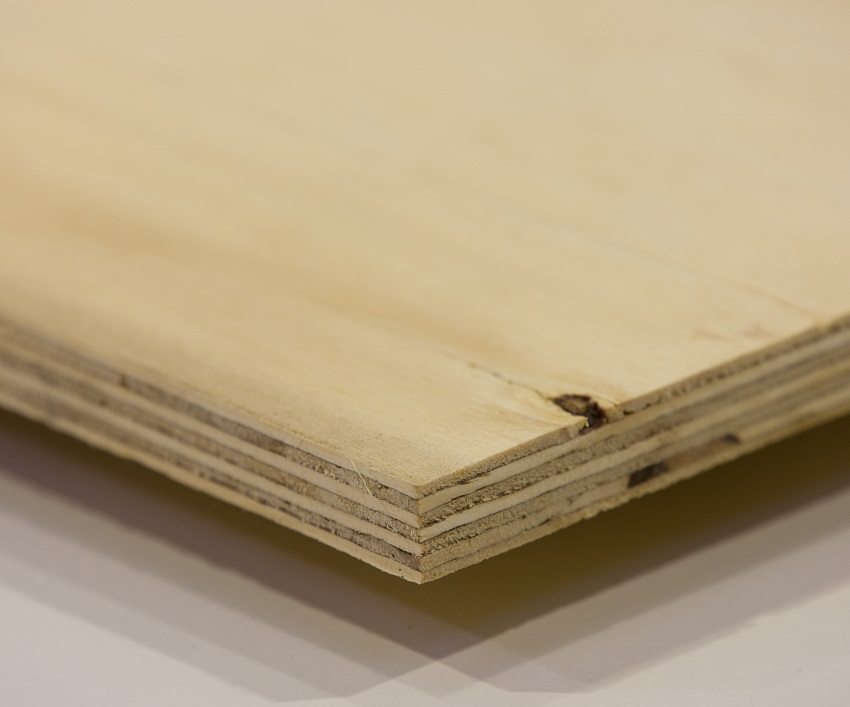
- moisture resistant plywoodwhich has very good moisture protection properties.
Useful advice! The choice of sheet material should be taking into account the room in which it is planned to make a dry floor screed. The pros and cons of each need to be considered in the context of how well it is protected from moisture and what are its strength characteristics.
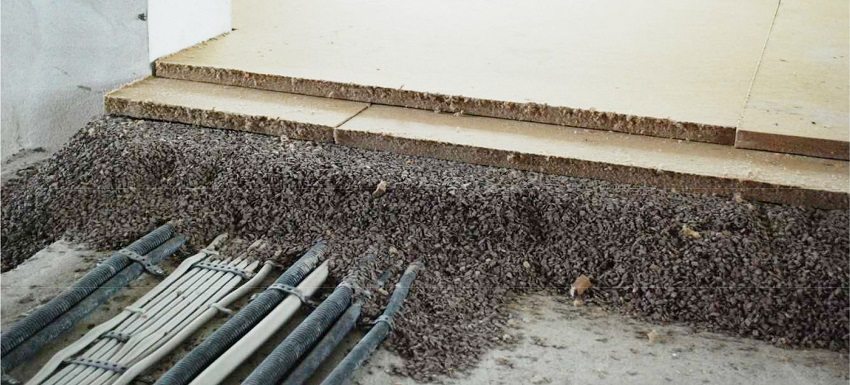
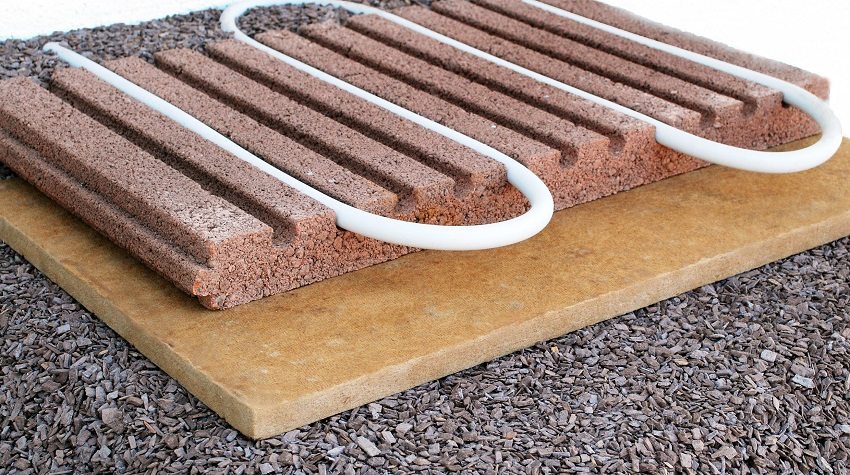
In a layer of free-flowing filler of a dry screed, it is convenient to hide the wiring of communications
How to make a floor screed with your own hands: video and description of dry laying
Today there are many video instructions on how to make a do-it-yourself floor screed. The video also shows the dry method in detail. As in any business, when performing work on the device of a dry screed, you first need to prepare the base.
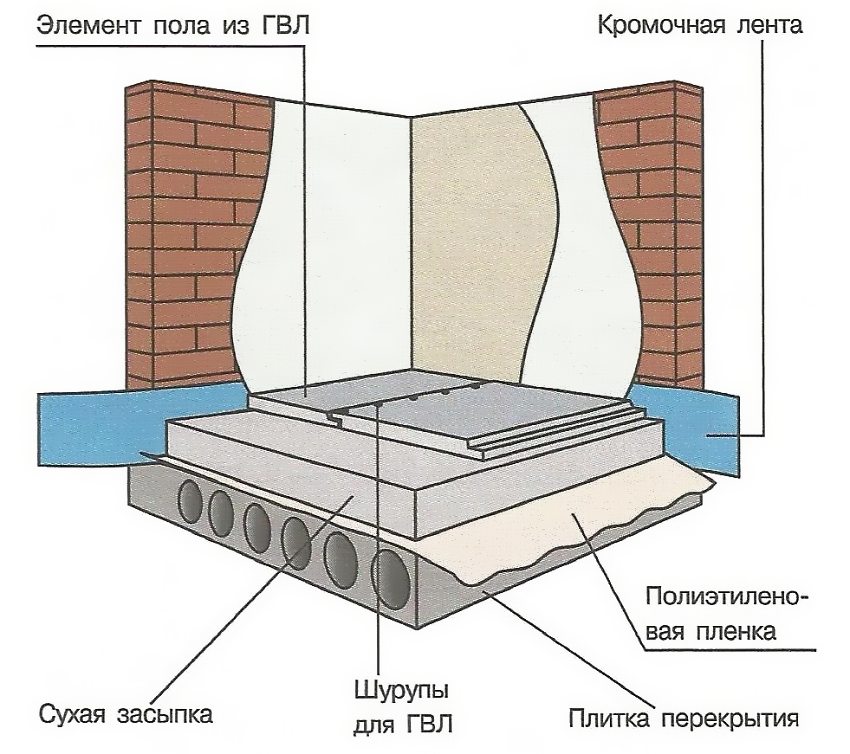
For this, dismantling work is carried out: they free the room from the old floor, the remains of cement and other structures. Holes near utilities are sealed with polyurethane foam or cement mortar. After that, a film waterproofing is made, extending onto the walls to the level of the topcoat. The room must be completely dry.
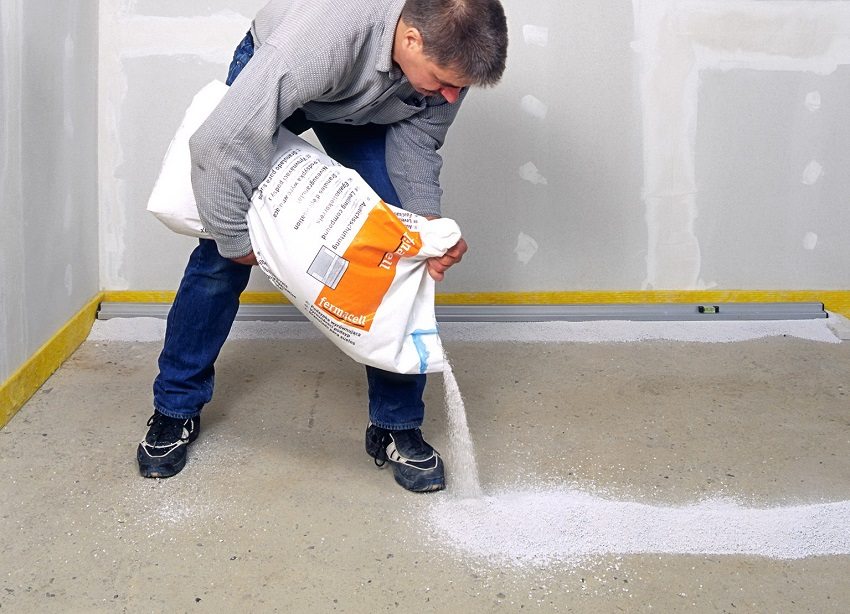
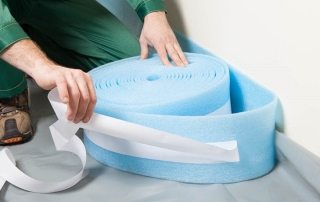
Via laser level beacons are installed at the height where it is planned to level the upper layer, and along the perimeter of the walls, a tape that compensates for thermal expansion must be fixed. Its top edge should also extend onto the surface of the finish coat.
Related article:
Pros and cons of a semi-dry floor screed and the technology of its device. The technology for creating a semi-dry floor screed with your own hands, its features and properties. Algorithm for performing a semi-dry floor screed.
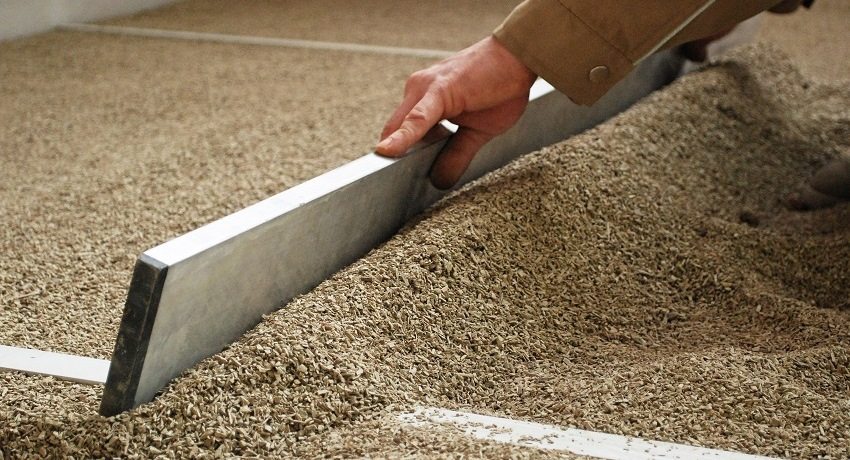
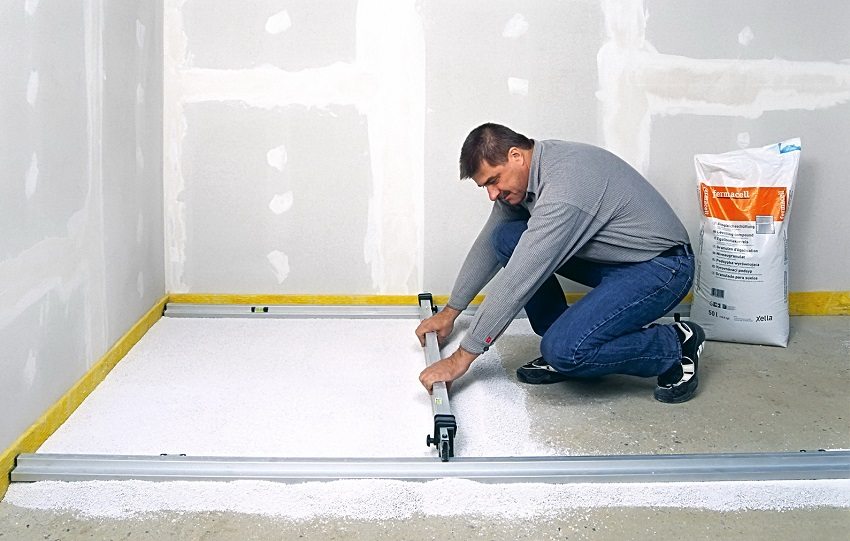
Bulk material is poured between the beacons and leveled using a rule or rail along them. The layer can be obtained in different thicknesses, from 30 to 60 mm, which is normal, since it is needed for leveling.
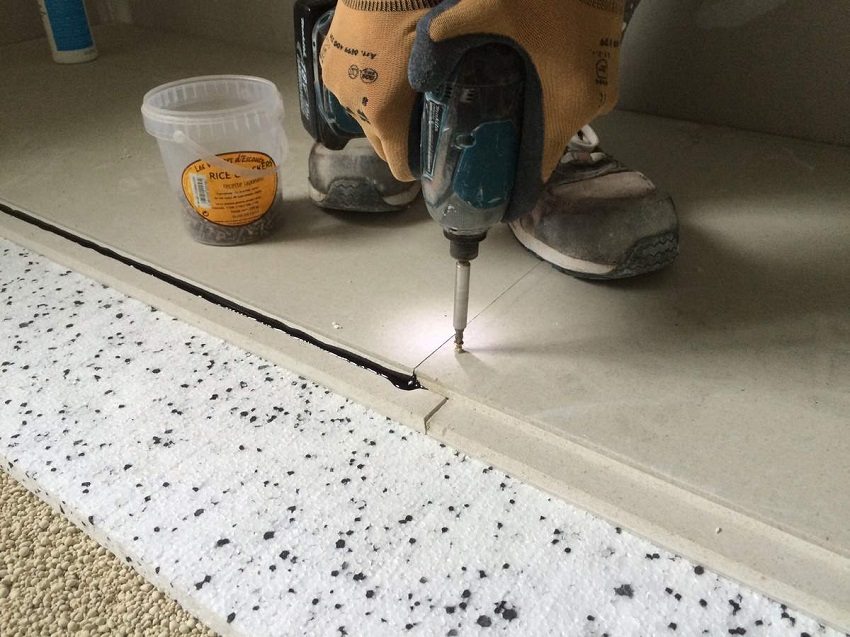
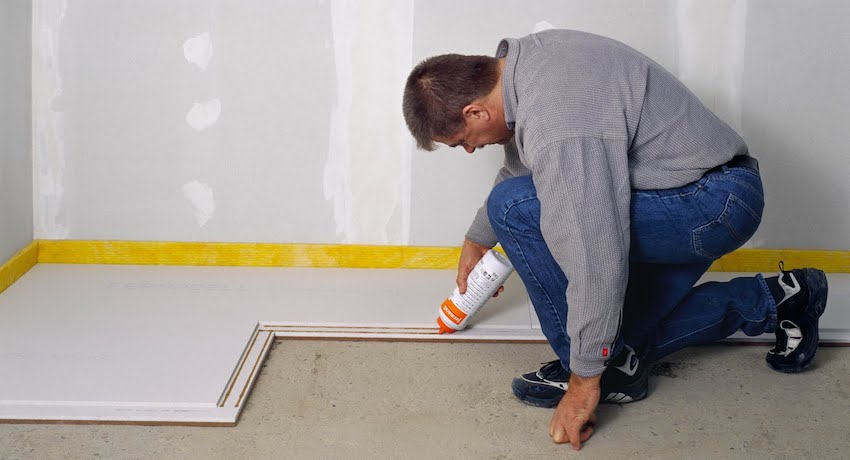
Gypsum-fiber sheets of the top layer of a dry screed are attached with glue and rigidly fixed with self-tapping screws
Useful advice! If it turns out that in some places the layer thickness exceeds 80 mm, then the plates should be put in two layers. This will strengthen the screed and prevent it from sagging over time.
Gypsum-fiber sheets are laid directly on the backfill, shifting them relative to each other by 40 cm. I glue the sheets together with ordinary PVA construction glue.After that, the sheets are attached to the beacons with self-tapping screws, rigidly fixing them along the horizon. Any decorative topcoat can be mounted on top of the sheets.
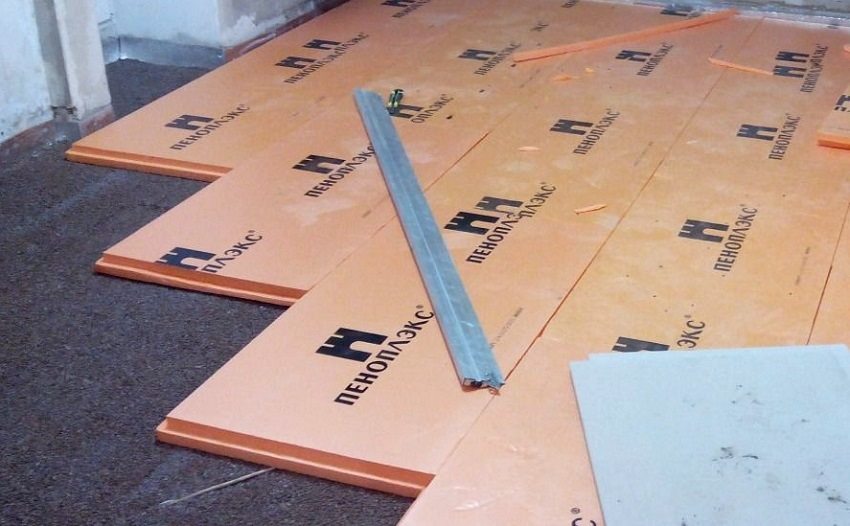
Plates of expanded polystyrene are used along with a free-flowing filler in arranging a dry floor screed
Pros and cons of dry floor screed
Dry screed is a very quick and relatively cheap process. In addition, there are other pros and cons of dry floor screed:
- absolute purity during the entire process;
- as a "side effect" an additional heat-insulating layer is created on the floor;
- the lightness of the entire structure, allowing it to be created even in dilapidated wooden houses;
- ease of laying various engineering communications;
- reduction of repair time, since there is no need to wait for drying. Installation of the topcoat can be started immediately.
Like everything else, a dry screed has one, but significant disadvantage. This is the fear of copious moisture. If enough of it gets on the surface of the slabs and is not immediately removed, then the material will swell and damage the topcoat.
Having considered all the nuances of laying a dry screed, it can be concluded that its use is justified in those rooms where water is little used, and the risk of flooding or other emergency situation is minimal. The device of this type of screed in bathrooms and toilets entails certain risks, even if boards with a moisture-resistant coating are used.
