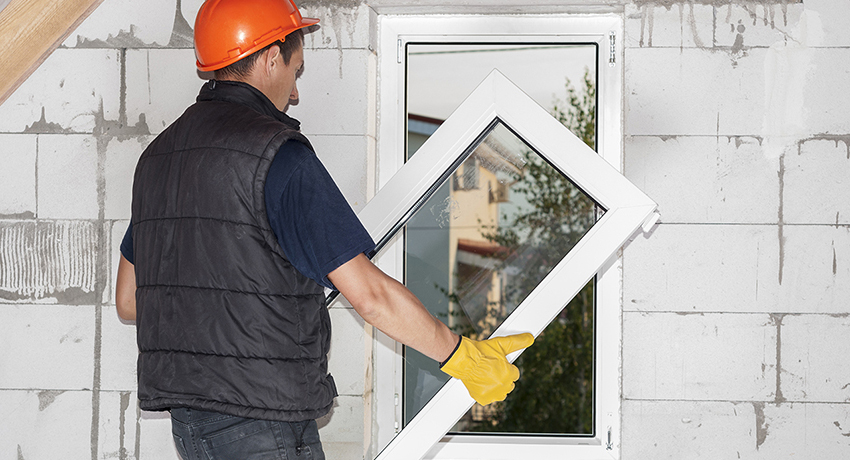
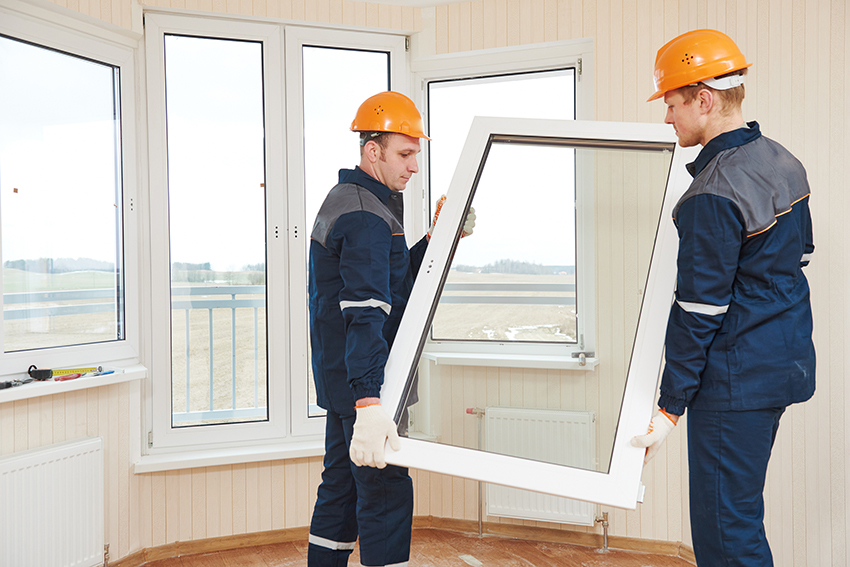
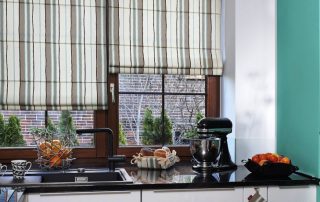
Installation of plastic windows is a serious undertaking that is best entrusted to experienced craftsmen. If during the installation all the nuances are not taken into account, then during the operation of the windows, problems may arise, including: poor tightness, heat leaks, as well as fogging of the glass unit. This article will consider the design features of polymer windows, as well as the algorithm for their installation in multi-storey buildings and private wooden houses.
Content [Hide]
- 1 Features of the design of plastic windows
- 2 Tips for the correct installation of plastic windows and the cost of products
- 3 Installation of plastic windows: basic steps
- 3.1 Installation of a plastic window: profile insulation
- 3.2 Installing a plastic window with your own hands: fixing the profile
- 3.3 Installing a low tide on a plastic window and sealing joints
- 3.4 DIY plastic window installation: installation of sashes and double-glazed windows
- 3.5 Do-it-yourself installation of a window sill on a plastic window
- 4 Features of installing plastic windows in a wooden house: casing organization
- 4.1 How to put a plastic window in a wooden house: types of casing and the main stages of their installation
- 4.2 Installation of PVC windows in a wooden house: disassembly and preparation of a double-glazed window
- 4.3 How to install a plastic window in a wooden house: frame installation and window assembly
- 4.4 Installing slopes on plastic windows with your own hands in a wooden house
- 5 How to install a plastic window with your own hands: video
Features of the design of plastic windows
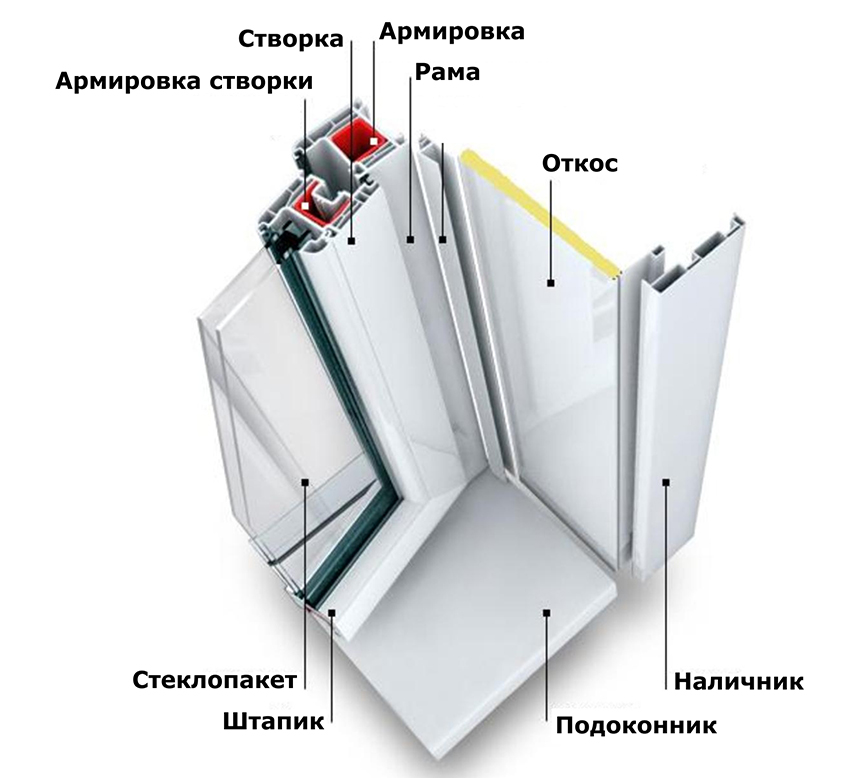
In most cases, plastic windows are made from a special polymer material - polyvinyl chloride (PVC). They differ in a variety of shapes and colors, but they all have certain structural similarities. A plastic window includes several basic elements, among which are:
- frame;
- sash;
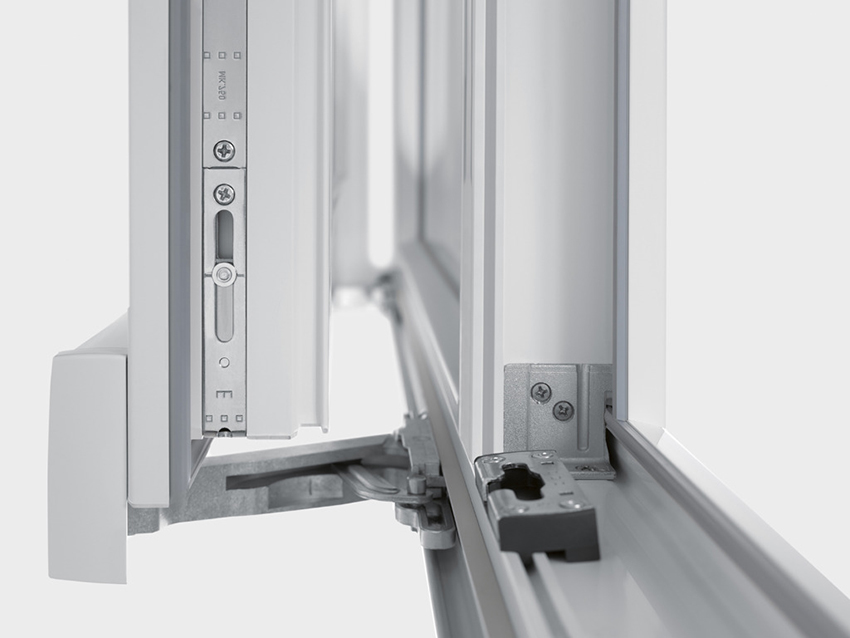
- fittings;
- double-glazed window.
Note! When installing PVC plastic windows in a window opening, it is necessary to take into account the size and characteristics of the material from which the building is made.
The window frame is the main element of the system. Products such as sashes and fittings are fixed on it. Sashes are movable window elements that can be opened in several directions. For their work, it is necessary to install the appropriate fittings.
There are three main options for fixing the sash:
- turning;
- folding;
- combined.
In the first case, the sash moves inward, and the tilt angle is controlled by means of special mechanisms. The second fixing option involves opening the transom relative to the hinges installed in the horizontal plane. In turn, the structure, fixed by the combined method, combines both of the above methods.
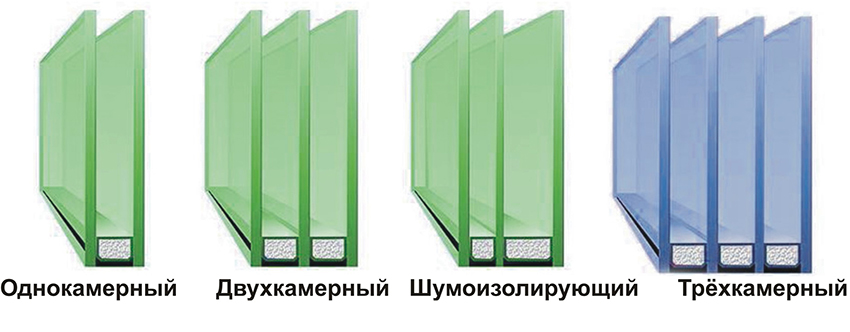
A double-glazed window is a sealed structure that includes a certain amount of glass, docked with each other using spacers. There are several main types of glass units.
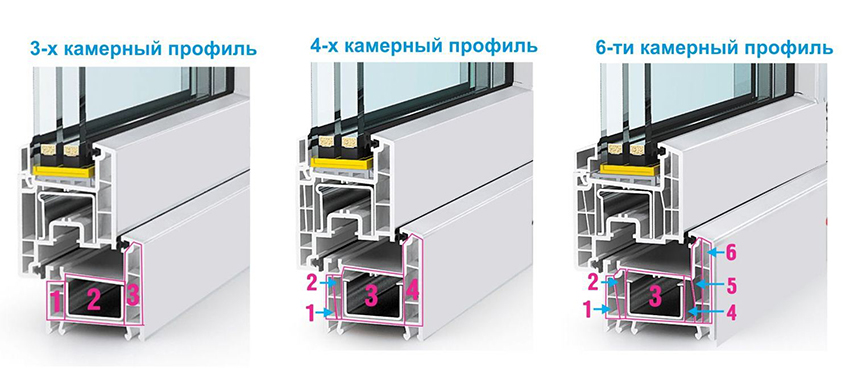
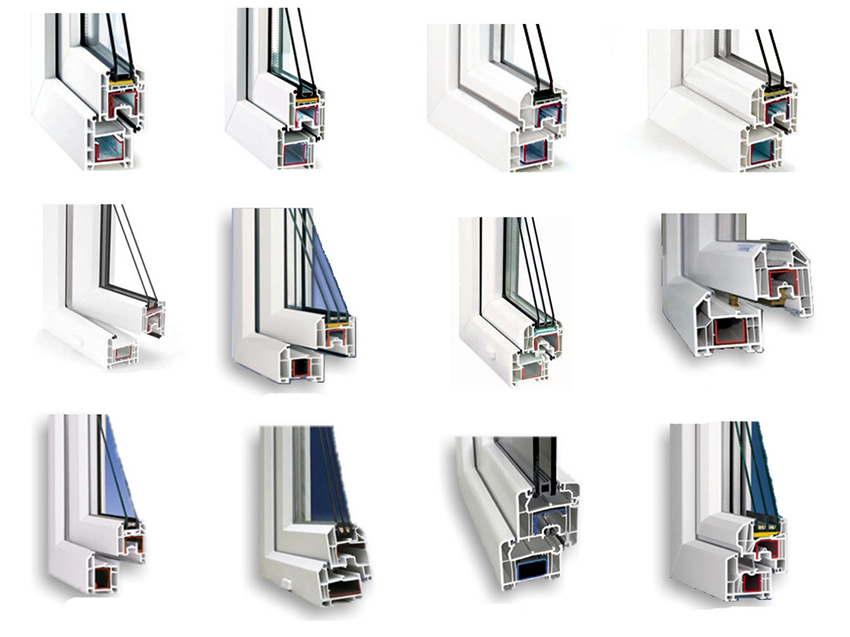
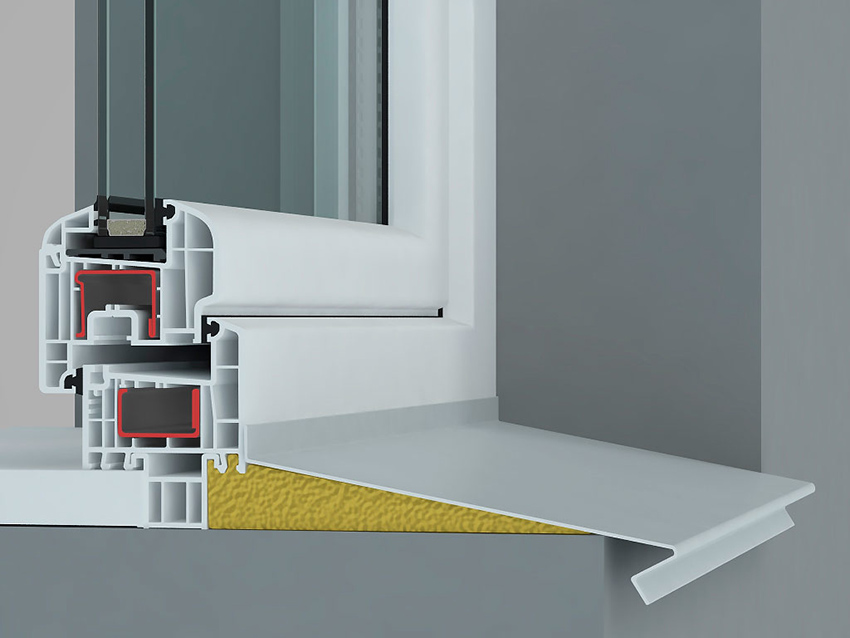
At first glance, the frame is a fairly simple design, but this is not the case. It is made from a special window profile, which has a rather complex structure. It has a cellular structure and includes a certain number of chambers, which are delimited from each other by partitions.
For a more visual study of the structure of the profile, you can use the search on the Internet. Pictures of plastic windows in section are freely available and anyone can get acquainted with them.
The device of plastic windows: varieties of profiles
One of the main characteristics by which all window profiles are classified is the installation depth corresponding to the thickness of the frame. Today, this indicator fluctuates depending on various factors, but there are certain standards. Manufacturers of plastic window products most often produce frames with an installation depth of 58, 60 or 70 mm. If necessary, you can purchase more "thick" designs (with a width of up to 130 mm).
The second equally important characteristic of profiles is the number of cameras. These cavities are filled with air and extend along the entire length of the window frame. Depending on this, the following types of profiles are distinguished:
- two-chamber;
- three-chamber;
- four-chamber.
There may be more chambers, but the most popular products today have a three-chamber structure. The frame design assumes the presence of not only empty cavities in the profile, but also reinforced ones. The latter are necessary to give the structure the necessary strength and rigidity indicators. The reinforced cavity in a plastic window contains a polymer layer, and in a metal-plastic one - a metal one (usually aluminum).
Helpful information! The operational characteristics of the structure directly depend on the number of cameras in the window profile. Here we can note the following pattern: the more chambers, the higher the thermal insulation qualities.
All profiles are also subdivided into O- and U-shaped according to their shape.
O-shaped. A closed loop, which does not have the best thermal insulation characteristics. The design features of this type of profile affect its rapid cooling.
U-shaped. They have higher thermal insulation characteristics and are used in the production of plastic windows much more often.
The last criterion by which profiles for plastic windows are classified is their class (economy, standard or premium). Experts recommend using structures that have a standard class for installation for private purposes. Economy products freeze too quickly, and premium products are distinguished by their high cost and the presence of, in fact, unnecessary functions.
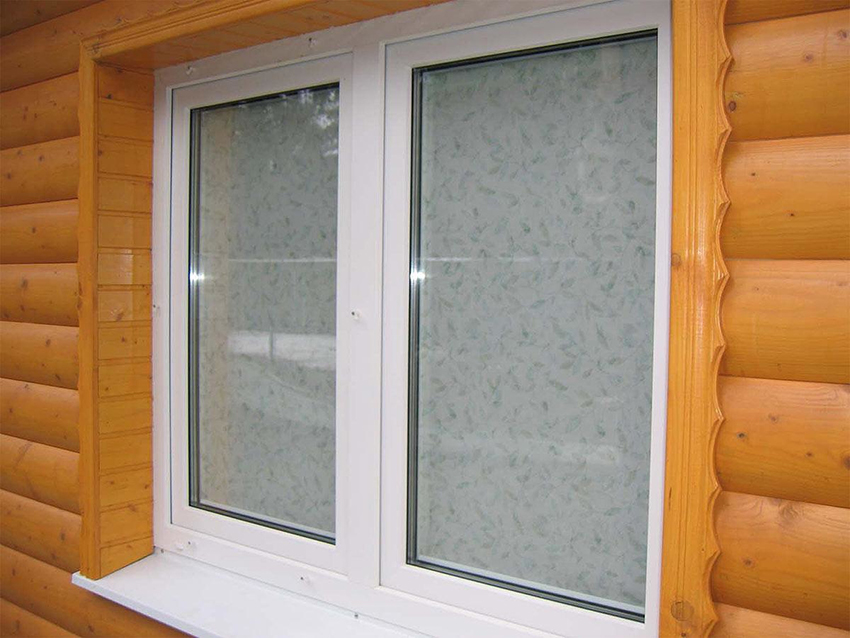
As a rule, the profiles are standard white. Windows in wooden houses are produced in the color of various types of wood.If desired, you can order a profile of any color (red, blue), however, it should be noted that colored structures have a higher cost in comparison with standard white ones. Before choosing a color, it is recommended to study the photos of plastic windows on the Internet.
Insulating glass characteristics
A glass unit is a very important element of a window. It is limited to the frame and is fixed in its opening. A double-glazed window can consist of two or three glasses, which are located at a certain distance from each other. The width of the air chamber between the panes may vary depending on the window model (from 1 cm or more).
The design of the glass unit is completely sealed, so its disassembly is not possible. The glasses are joined to each other along the perimeter, and between them there are special inserts. The air in the air chamber is moisture absorbing and is often represented by the inert gas argon. Air dryness is the main factor that determines the thermal insulation properties of glass units.
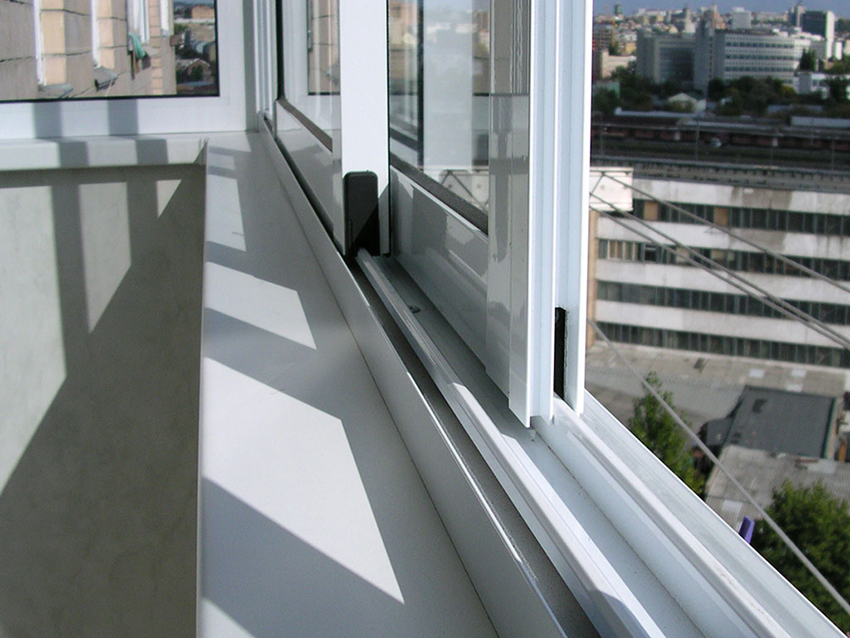
To prevent moisture from penetrating into the structure, the tightness of the glass unit must not be violated
If you break the tightness of the glass unit, then moisture will penetrate into the structure, which will subsequently affect the formation of condensation. There is a standard distance between the glasses - 1.6 cm. This indicator allows you to achieve the highest thermal insulation value. If the distance between the glasses is higher, then the thermal conductivity of the glass unit will increase.
Varieties of double-glazed windows
Depending on the number of chambers, the following types of double-glazed windows are distinguished:
- with one chamber (2 glasses);
- with two cameras (3 glasses).
Helpful information! As a rule, single-chamber structures are used for the installation of a double-glazed window in residential buildings.
Glasses in standard single-chamber systems are 4 mm wide, and the distance between them is 1.6 cm.The installation depth in this case is 2.4 cm.This design allows not only to provide good thermal insulation and protect the room from frost in winter, but and reduce the noise level coming from the street.
Two-chamber structures are more reliable and have better thermal insulation. Of the disadvantages of such double-glazed windows, one can single out the fact that they practically do not transmit ultraviolet rays.
Today, you can also find other types of double-glazed windows.
Soundproof. Such structures include special glasses that are equipped with a protective film. This reduces the noise level by several times. Such double-glazed windows may differ depending on the thickness of the glass.
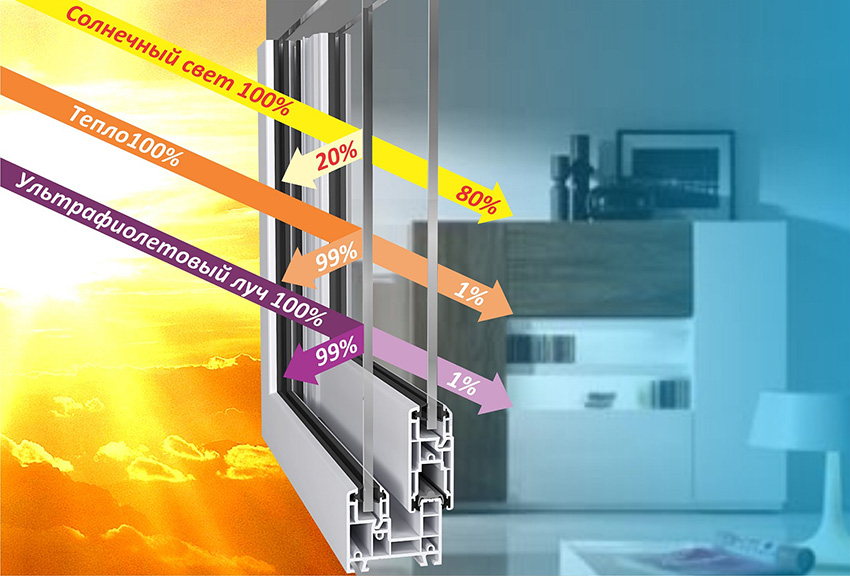
Energy saving. They include special I-glass, which is made using modern technology and is equipped with metal spraying. Thanks to this element, the thermal conductivity of the glass unit is reduced several times. I-glass is a reliable screen and does not allow thermal radiation to penetrate into the room.
Protective. Glasses in such models are equipped with protective films that prevent the scattering of fragments in case of damage to the structure. Most often, protective glass units are installed in shops and banks.
Tinted. From the name it is clear that such double-glazed windows are distinguished by their opaque properties. Experts advise installing them if the windows face the sunny side.
Related article:
Standard sizes of plastic windows: correct selection and installation
Opening elements. Types of windows and their measurements. Selection and installation of a plastic window. Typical malfunctions, their elimination.
When choosing a double-glazed window, first of all, it is necessary to focus on the location of the building and its purpose.For shops and kiosks, it is advised to buy shockproof glasses. If the building is residential and located in a noisy area (for example, near a road), then it is better to choose double-glazed windows with sound insulation.
Other components of plastic windows
The composition of plastic windows also includes other structural elements, which will be discussed below.
Slopes. These products are made of plastic or drywall, which has moisture resistant qualities. They border the structure on all sides and are installed at the very end of the PVC window installation. Thus, the slopes are a decorative finish.
Shpros. These are special covers that are installed on glass and have two main functions. The first is to strengthen the structure of the glass unit, and the second is decorative. The window with spros looks stylish and unique. Today you can find many varieties of these products: straight, rounded, and also curved.
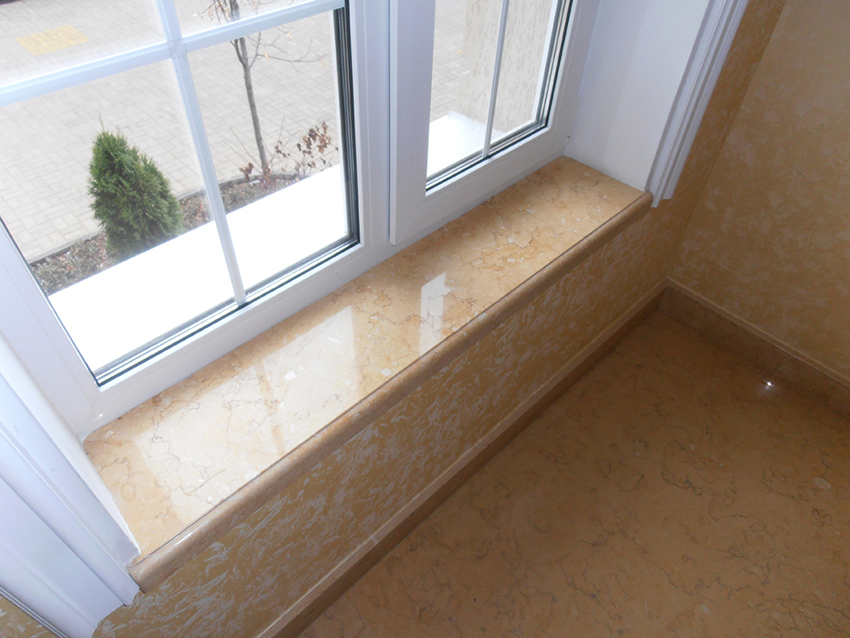
Window sill. A special panel that is made from PVC or chipboard. Differs in a variety of finishing methods. If you wish, you can purchase a varnished window sill, a laminated model and even a product with imitation of wood and marble surfaces. This structural element of the system is highly durable and easy to maintain. It also acts as an additional insulating element.
Helpful information! Window sill installation takes into account three mounting options: glue, brackets or polyurethane foam. The standard length of this part is from 4 to 6 m, and the width is selected depending on the depth of the opening and can be 0.1–1 m.
Shtulp. It is a profile that is mounted to one of the leaves (right or left). During installation, the windows are fixed from the outside. It allows you to ensure a high level of sealing of the structure and strong fastening. Thanks to this product, it becomes possible to completely open the window.
Low tide. Street overhang whose function is to protect the bottom of the binding. This element is fixed on a special profile, which serves as a support and is located under the window frame.
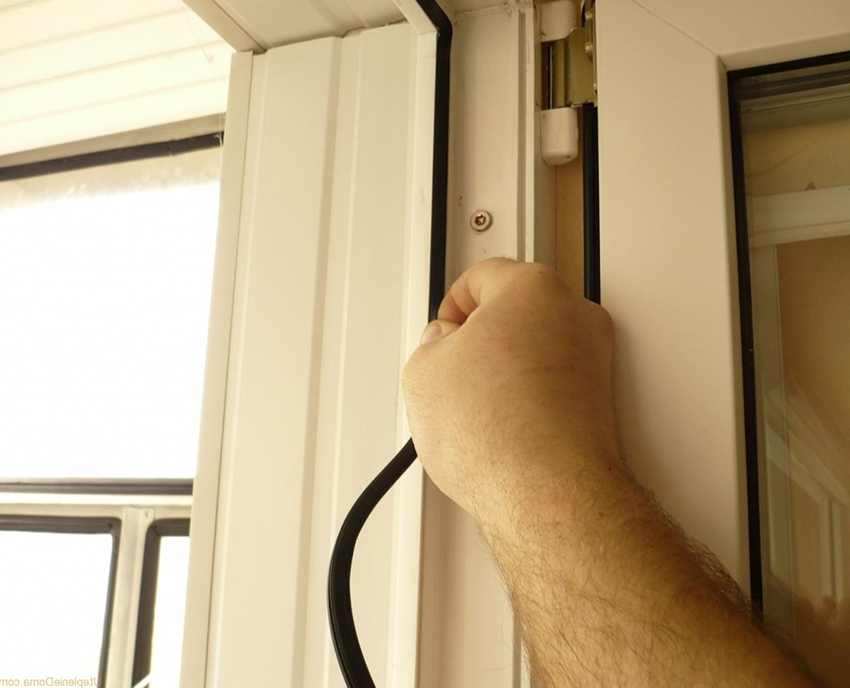
Seals. Products that are made of special material and serve as heat insulators. Thanks to these elements, the possibility of moisture and draft entering the room is excluded. The main qualities of seals include high strength, resistance to deformation and environmental friendliness. The materials for the manufacture of these products are PVC or silicone.
Mosquito net. This product is used to keep the room safe from mosquitoes, flies and other insects. From a constructive point of view, there are several types of nets: frame, sliding, roller shutter and plunger. The last two are the most modern and reliable.
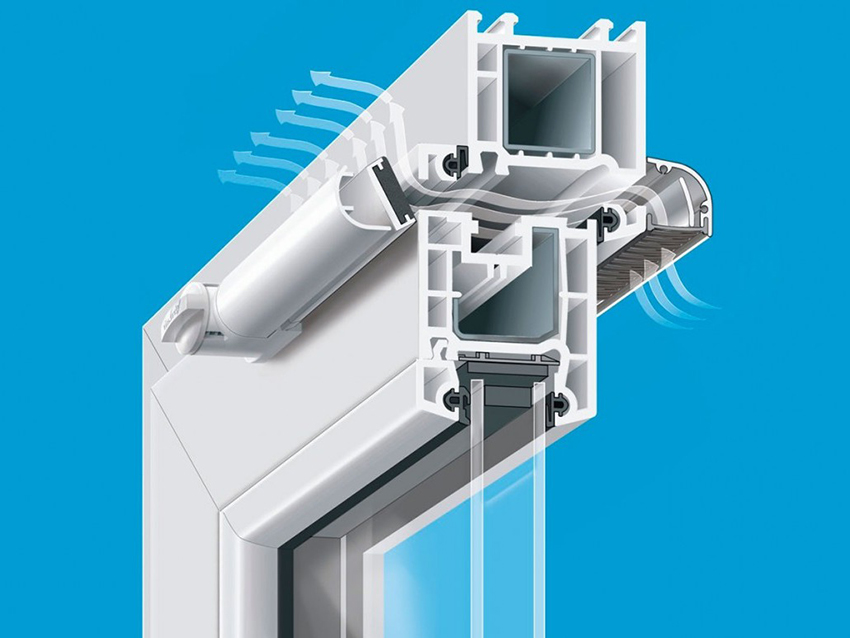
And also it is worth mentioning ventilation. It is a novelty on the modern market, which is offered by many companies involved in the production of plastic windows. This system integrated into the window allows air to enter the house, filtering it from harmful impurities.
Fittings: functional part of a plastic window
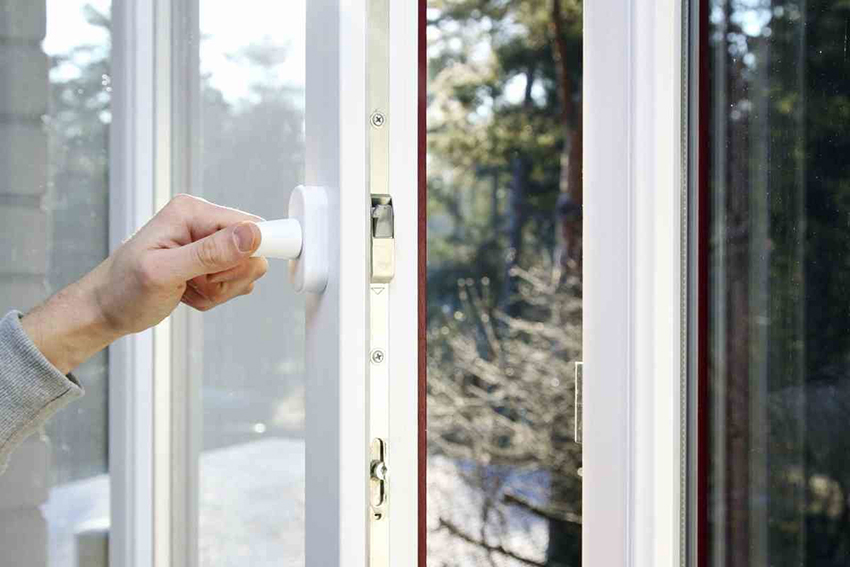
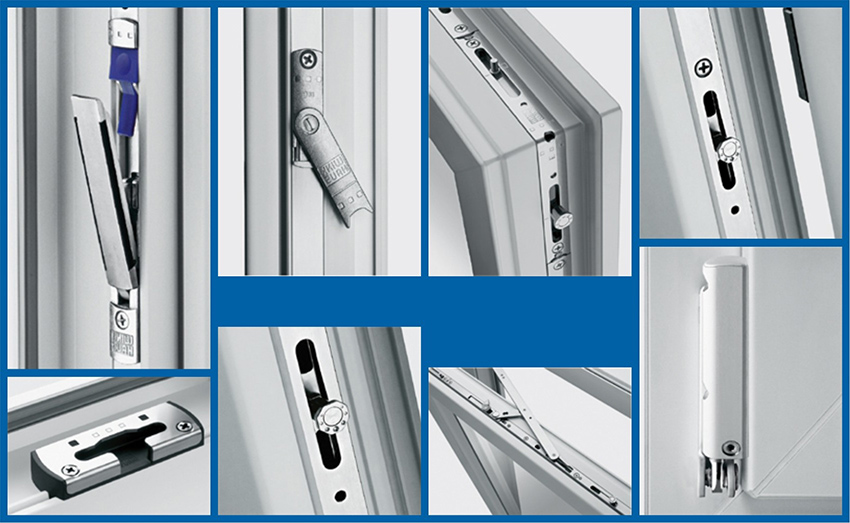
The work of the window depends on its functional part - fittings. This is a system that consists of separate, interconnected devices located along the inner perimeter of the window frame, as well as on the outer side of the sash. The interaction of individual elements of the fittings with each other allows you to adjust the position of the window.
The standard set of fittings includes a minimum of functions, but each manufacturer can add additional options to the basic set at the request of the buyer.These include:
- protection from children;
- sash squeeze protection;
- additional ventilation modes (for example, micro-slot).
Note! If necessary, it is possible to purchase special anti-burglar fittings. It differs in that it has high strength, and also protects the window from power burglary, drilling. It also comes with special locking handles. These windows are recommended for installation on the lower or upper floors of buildings that are most vulnerable to burglary.
In order to extend the operating life of the hardware, it is necessary to periodically clean and lubricate it. In this case, the system will last several years longer.
Tips for the correct installation of plastic windows and the cost of products
Replacing old wooden windows with plastic ones is a serious undertaking, which should be followed by a number of important rules. First of all, you need to remember that it is best to install the structure in the warm season (summer). In addition, the work is highly discouraged in rainy weather.
In extreme cases, replacing windows with plastic ones can be carried out in winter. However, the outside temperature should not be lower than -5 ° C. Experts also advise against installing windows in too hot weather. All this is due to the fact that PVC, from which window frames are made, is a polymer material that can expand or contract depending on the temperature index of the environment.
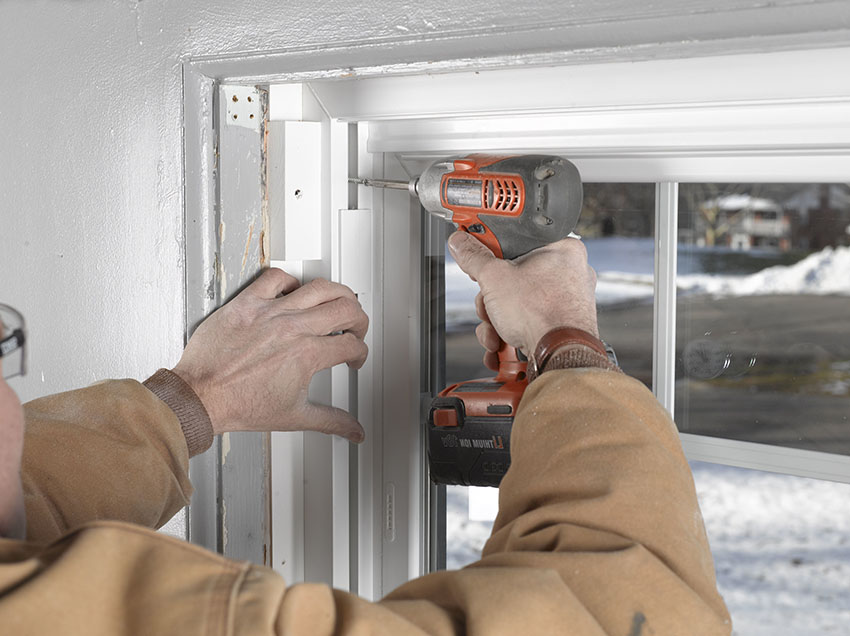
Plastic windows are not recommended to be installed in rainy weather, at subzero temperatures and in heat
After determining the time it will take to install the PVC window, it is necessary to perform a few more important preparatory procedures. These include the measurement of the opening and the choice of a suitable window model. Photos of PVC structures, which can be viewed on the Internet, greatly facilitate the choice of the desired system.
Today there are three most popular companies producing PVC windows:
- Veka;
- Rehau;
- KBE.
The first two brands offer quality products and also provide a long-term warranty on their products. The average price of a window with dimensions of 1470x1420 mm from Veka and Rehau is 9500 rubles. The cost of the model of the same size, which is offered by the KBE plastic window installation company, is more attractive - 7700 rubles.
How much does it cost to install plastic windows? For the installation of such a structure in a brick house, you will have to pay about 1400 rubles. for 1 m². The cost of installing a plastic window in a panel building will cost several hundred rubles less.
Measurement of the window opening
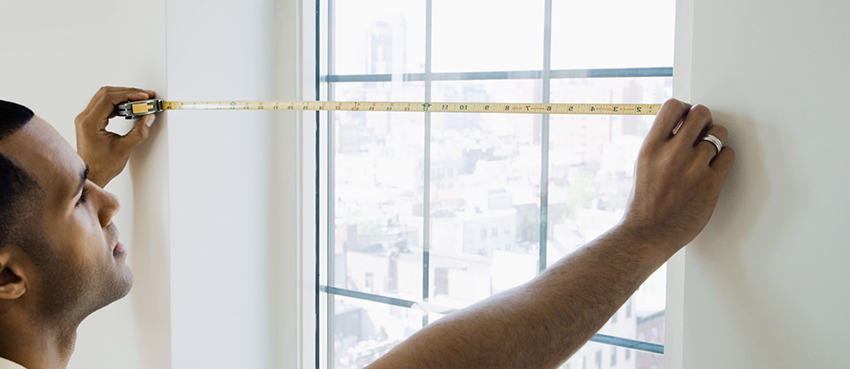
Before buying a suitable window model, it is necessary to carry out one more preparatory procedure, namely: measuring the opening. The obtained data will be needed in order to order a plastic window via the Internet or purchase it in a specialized store.
Note! Experts recommend ordering windows on the Internet, since in this case the manufacturing company will make a design that fits your size and deliver it at any time convenient for you. Ready-made windows, which are sold in construction hypermarkets and shops, are made in accordance with GOST and have standard dimensions. Such models are not always suitable for specific window openings.
First of all, you will need to measure from the inside. It is made in width, starting from the base of the wall. If there are slopes on the windows, they must be dismantled, otherwise the accuracy of the calculations will be in doubt.
Next, you need to measure the height of the opening.This procedure is carried out taking into account the type of window sill. In panel houses, this product, as a rule, is part of the slab, so measurements can be made from it. If the window sill is removable, then the height is measured directly from the base of the slab itself.
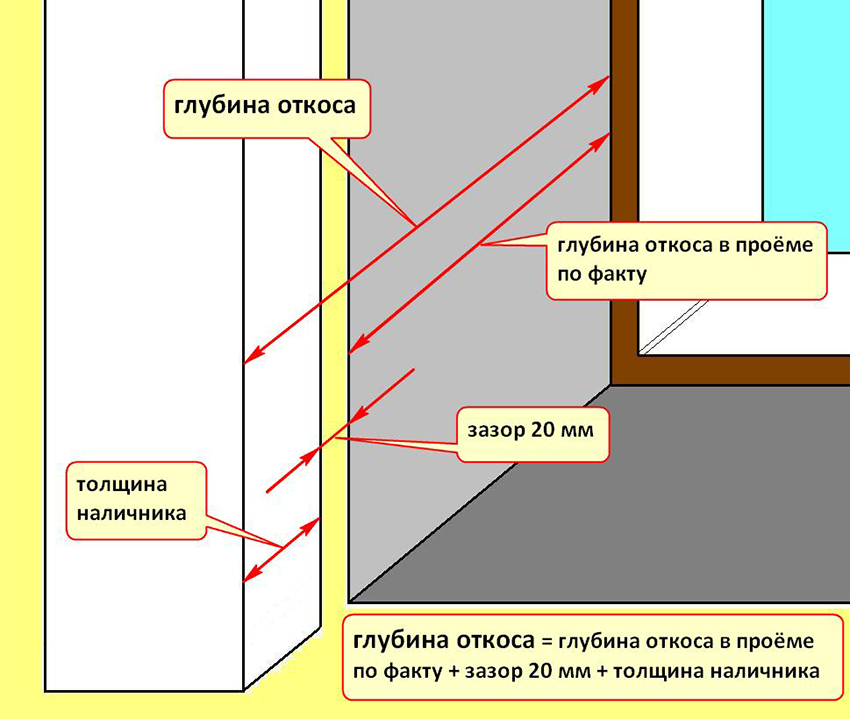
At the third stage, the depth of the opening is measured. To make a correct measurement, it is necessary to remove the plaster, and in some cases dismantle the wooden plank. After taking measurements of the inside of the window opening, it is necessary to perform the appropriate procedure on the outside, where the width and height are first measured, and only after that the depth of the opening between the window and the wall. As a rule, this also requires the removal of a certain amount of plaster.
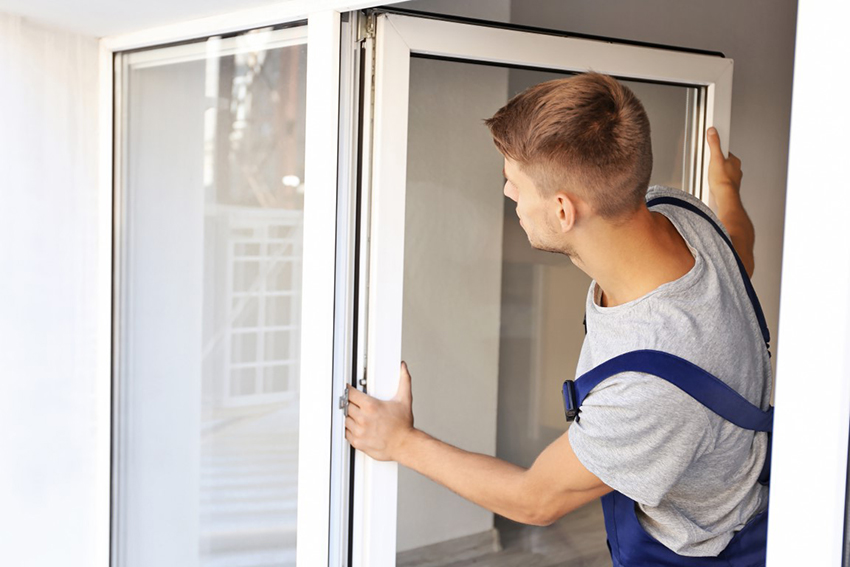
The first measurement must be made from the inside of the opening, having previously dismantled the slopes
Measurement of the window should take into account the gap that is necessary for the narrowing and expansion of the PVC frame, depending on temperature fluctuations. Consider the standard dimensions of the gaps required for windows with different dimensions:
- 120 cm - 15 mm gap;
- 220 cm - 20 mm gap;
- up to 300 cm - a gap of 25 mm.
It is also necessary to take into account that the window should "sit" in the opening only a few centimeters. Thus, the distance from the edges of the glass unit and the sash should be no less than 40 mm. This is necessary for the normal installation of slopes on a plastic window.
Dismantling the old window and preparing the opening
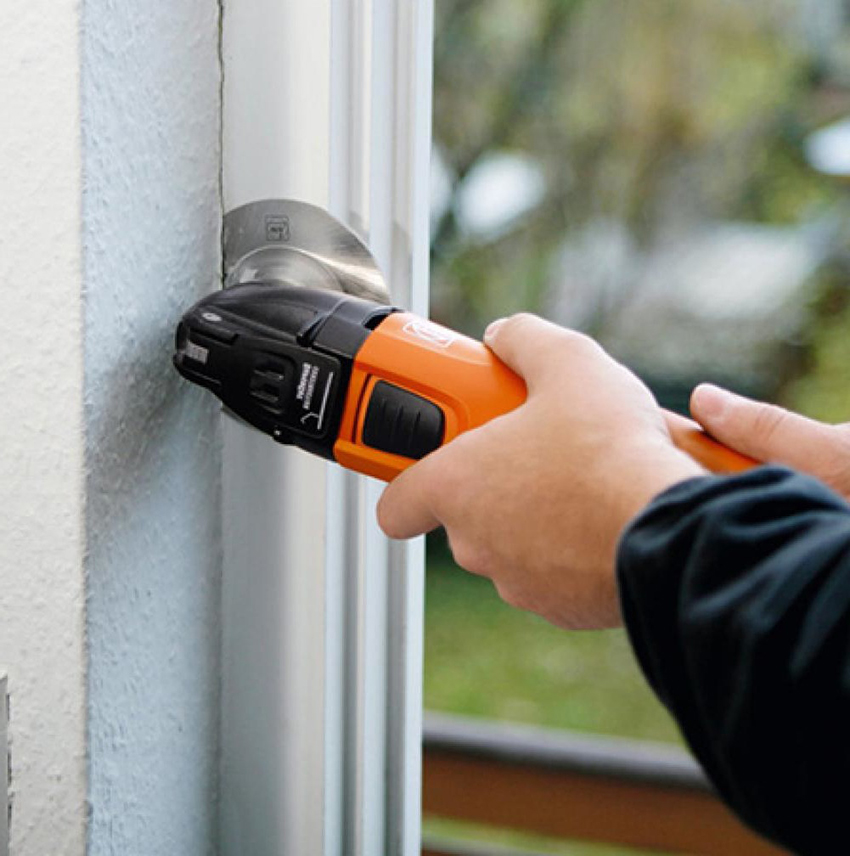
After determining the dimensions of the window opening and purchasing a suitable PVC window, you can proceed to the next stage - dismantling the old structure. This kind of work is accompanied by dusting the room, so it is recommended to remove all furniture from it, or cover it with plastic wrap.
To carry out dismantling, the following tools are required:
- an ordinary hammer;
- mount;
- chisel;
- hacksaw.
First of all, you need to dismantle the smaller sash, and then the larger one. After this, the inter-leaf septum is removed. To do this, you need to use a hacksaw. The partition is sawn at a point that corresponds to its center and is pulled out of the frame. The bottom of the frame is removed in the same way.
After dismantling the window frame, it is necessary, using a chisel and a hammer, to remove all protruding parts of the plaster and make two grooves on the sides. This is necessary so that when installing the window sill, it goes into the wall a short distance.
Helpful information! Before inserting a plastic window, you need to clean the opening from debris and dust, and also run a wet sponge around its perimeter (for moistening).
Installation of plastic windows: basic steps
Many people are interested in a common question - how to install a plastic window yourself. Self-assembly of such a structure is a rather complicated process. Therefore, experts categorically do not recommend undertaking the installation of a window profile, without having certain building skills and knowledge in this area.
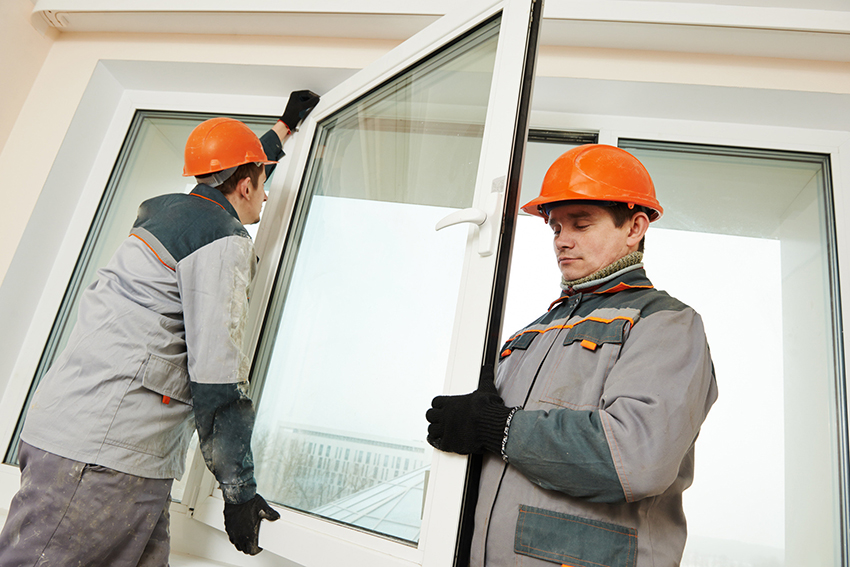
Installation of a plastic window is a rather complicated process, so if there is no experience, it is better to seek professional help
The technology for installing a plastic window with your own hands takes into account a number of successive stages. Among them:
- Profile preparation.
- Insulation of the profile.
- Fixing the profile.
- Ebb installation and sealing of seams.
- Installation of sashes and double-glazed windows.
- Installation underwindow window.
The first stage is very important, as it takes into account the preparation of the profile for installation. To do this, it is necessary to remove the sash, as well as remove the glass units from the blind parts of the structure.
Next, you need to peel off the protective tapes from the outer part of the window frame and install decorative caps in the holes for draining.The last step is to attach the mosquito net. For this, special screws are used.
Before installing the structure, it is recommended to watch a video of the installation of plastic windows, which can be found on the Internet at various resources.
Installation of a plastic window: profile insulation
Studying the step-by-step instructions on how to insert a plastic window will allow you to complete this procedure even for people who do not have developed building skills and experience in this area. However, it must be remembered that if you do not have confidence in your own abilities, it is better to turn to professionals.
Previously, the instructions for the installation of plastic windows did not indicate the point of profile insulation. However, today this process is described in detail in articles and videos. This point is very important and it appeared for one simple reason. Often, even if all the installation rules were followed, a self-installed window began to freeze.
Consider the algorithm of actions for insulating a window profile:
- First, you need to glue the perimeter of the profile from the outside with a special tape. It is a sealing material that is vapor-proof and expandable depending on the ambient temperature. Such a manipulation ensures high tightness between the window opening and the profile.
- At the second stage, you need to tape the side parts of the profile with a tape that is able to isolate from steam. The procedure is carried out from all sides closer to the inside of the window.
- Further, a self-expanding sealing tape is applied to the side of the profile (top).
Note! Insulation of the profile allows you to avoid the formation of condensation and fungus and, accordingly, freezing of the profile.
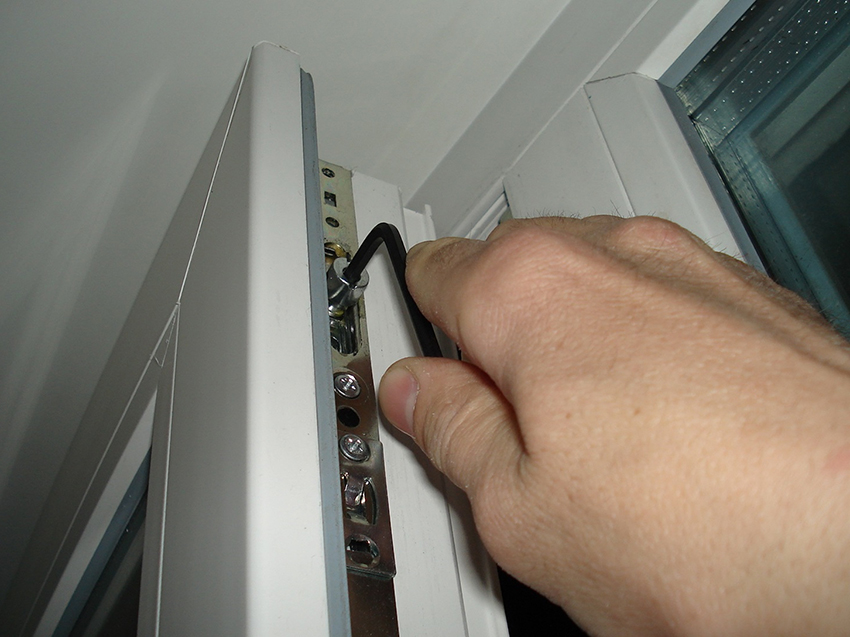
It is necessary to insulate windows in order to avoid the formation of condensation and fungus in the future.
Thus, the initial stage of work on installing a plastic window is carried out. The video on which the profile is insulated can be easily found on the Internet.
Installing a plastic window with your own hands: fixing the profile
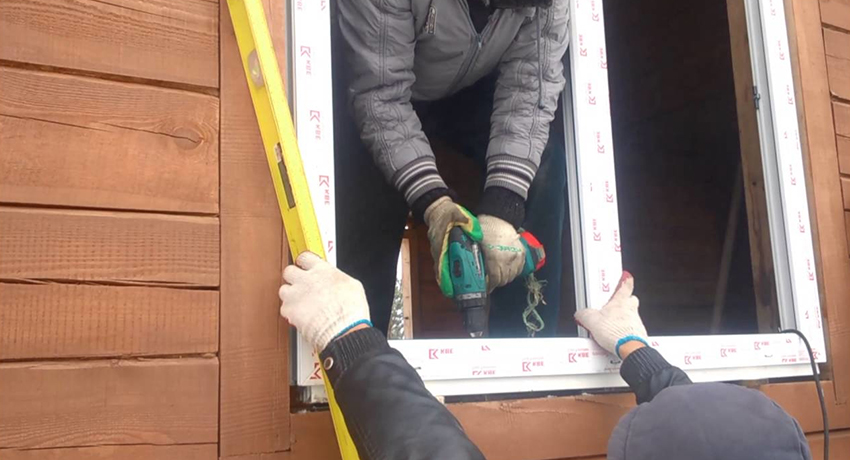
Before installing a plastic window in the opening, it is necessary to check all its planes with a building level. The working surfaces must be perfectly flat, otherwise problems may arise during installation.
The first step is to adjust the window profile vertically. Installation of a plastic window in accordance with GOST takes into account the use of special wooden or polymer linings for these purposes. With the help of them, the frame is lifted, which allows it to be adjusted along the top of the opening. Further, the profile is aligned horizontally. Temporary fastening of the window frame is carried out by means of wooden or polymer linings.
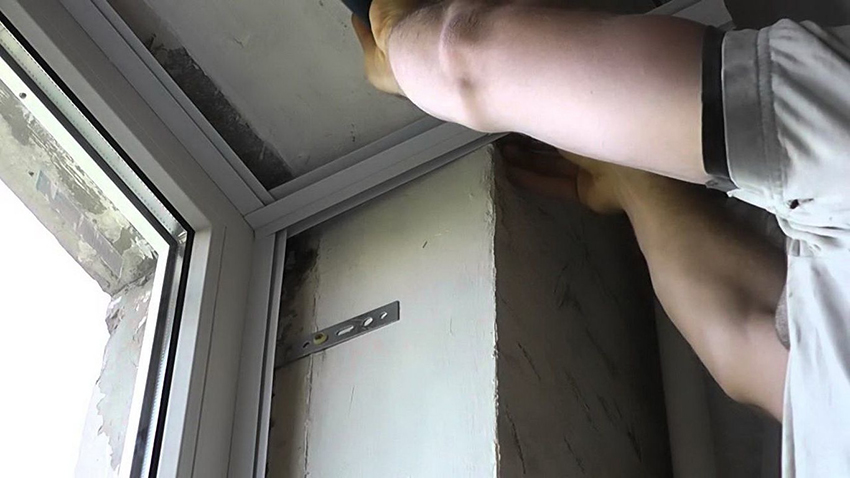
After the window frame is aligned on all sides, you can proceed to its final fixation, which is made on special mounting plates. First, you need to use one dowel-nail. This is necessary so that in the event of a profile deviation from the level, it is possible to make timely adjustments. After checking the level of the frame, all the plates are fixed by means of the second dowel-nails.
After organizing the final fastening of the window frame, the wooden linings must be removed. Blades are removed at the top and sides of the profile. The lower elements cannot be removed as they are the basis of the structure. After installing a plastic window, according to GOST, a deviation from the level of 1.5 mm per 1 running meter of the frame is allowed.
Note! If anchors are used for the installation of PVC windows with their own hands, then it is necessary to make holes with a puncher, and then screw in the fixing elements. It is very important not to tighten them all at once, as the geometry of the window frame may be disturbed. It is best to twist them gradually, periodically checking the level of the profile plane.
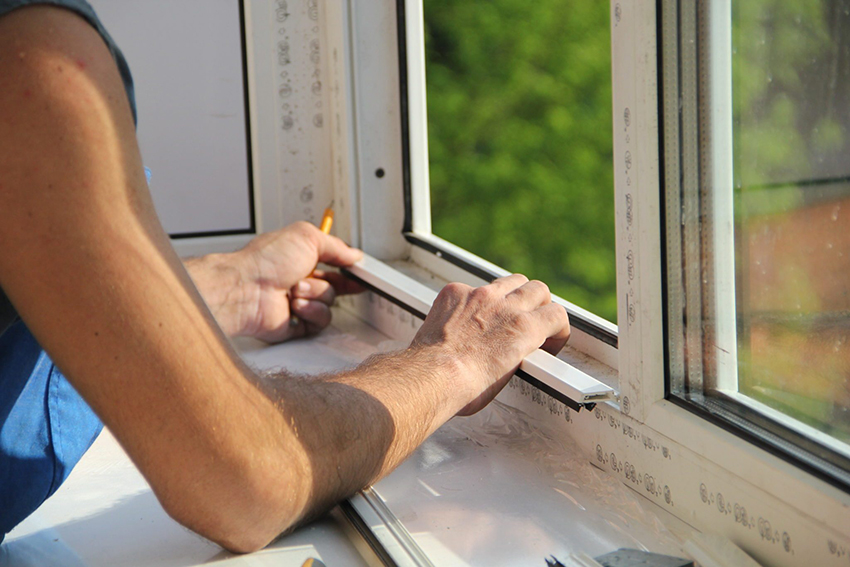
If you follow all the points from the instructions for installing windows, then the geometry of the structure will not be violated.
Fastening the profile is the main stage in installing a plastic window. It is very important to follow all points of the instructions and tips, as this will allow you to install the structure without violating its geometry. Installation of a metal-plastic window is carried out using the same technology.
Installing a low tide on a plastic window and sealing joints
The next step in installing PVC windows with your own hands is the installation of an ebb. This process is carried out in several stages. Consider them:
- First, you need to measure the ebb and fit it to the desired size. To do this, you need to use special scissors for metal.
- Next, you need to stick a tape with vapor-proof properties to the bottom of the profile. It is necessary to protect the seam.
- After that, the tape must be closed with a layer polyurethane foam.
- At this stage, polyurethane foam is applied to the edge of the slab, which makes it possible to ensure the tightness and sound insulation of the drainage system.
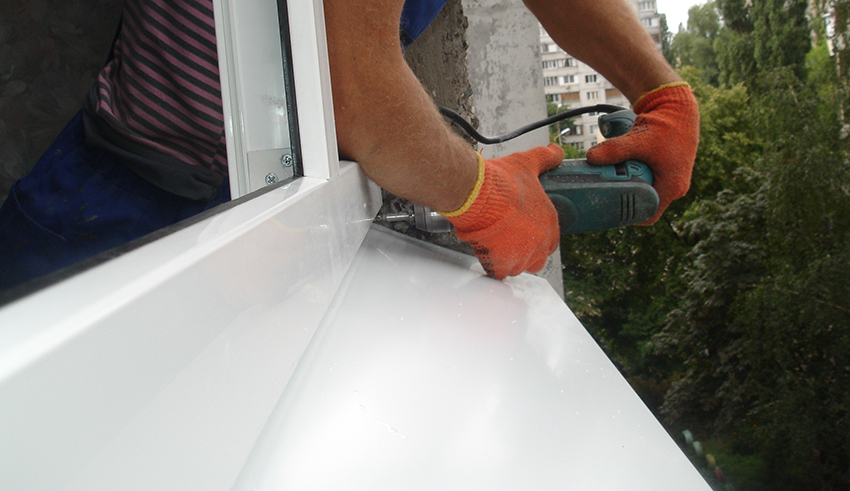
- At the last stage, the drainage is inserted into the grooves of the window profile and fixed by means of special screws.
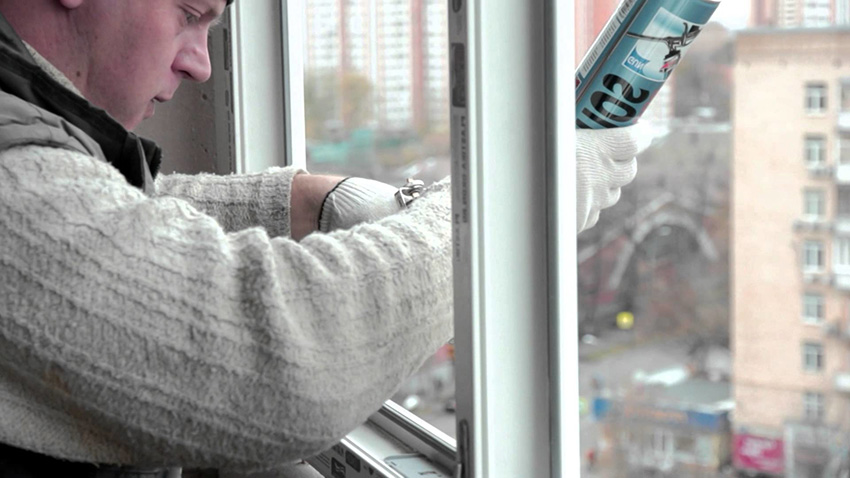
After installing the ebb, you can proceed to sealing the seam between the window opening and the profile. This is a very important step in installing the window. The window must be sealed, taking into account all installation rules. First you need to blow out the foam on the left side, then the right, and only then the top.
Polyurethane foam has one undeniable advantage - it does not expand, filling the cavity just as much as necessary. Experts advise to moisten the walls before applying this sealing compound. After the polyurethane foam dries, you need to perform one more action - apply insulation tape over it.
When installing plastic windows on the balcony, the process of sealing the assembly seam requires special care. This is due to the fact that the total area of the window in direct contact with the street is higher. And the assembly seam itself is much longer.
All of the above processes must be performed in accordance with GOST. The instructions for installing a plastic window (section on the seams) are detailed in this regulatory document, which is assigned the number 30971.
DIY plastic window installation: installation of sashes and double-glazed windows
The first thing to do when installing the sashes is to remove the protective tape from the side that will face the street. To install a double-glazed window with your own hands, you must use special pads, which are needed in order to evenly close the opening.
Next, you need to fix the glass unit. For this purpose, special strips are used, which must be hammered into the grooves. After installing the sash and fixing it in the awnings, the handle is attached.
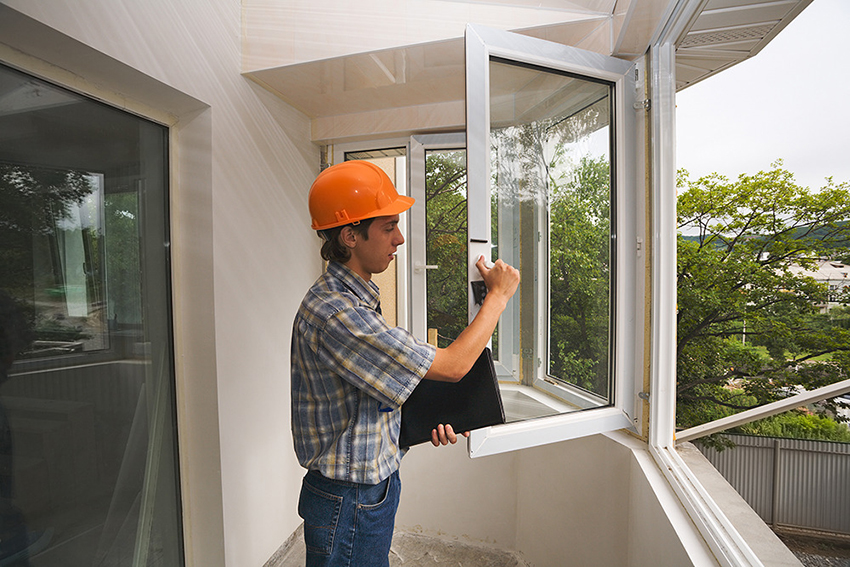
Note! After completing the basic steps, you need to carry out a trial adjustment of the sash in the vertical and horizontal plane. And after that, at the very end, a mosquito net is installed.
Thus, the basic processes were considered that allow you to answer the question of how to insert a window. Last but not least, an important structural element is installed - the window sill.
Do-it-yourself installation of a window sill on a plastic window
Consider the sequence of steps for installing a window sill on a PVC window. First of all, it is necessary to apply foam to the lower assembly seam. Then a special vapor barrier tape is applied to it, which is necessary to protect against condensation.
Next, you need to install wooden linings that will serve as the base of the window sill. It is very important that the length of these elements is not less than 10 cm. The correct arrangement of the blocks allows you to firmly press the window sill to the bottom of the window profile.
Then check if the window sill is firmly fixed. If the fastening of this element is not in doubt, then it is necessary to fill it with foam from below. It is recommended to use foam that expands.
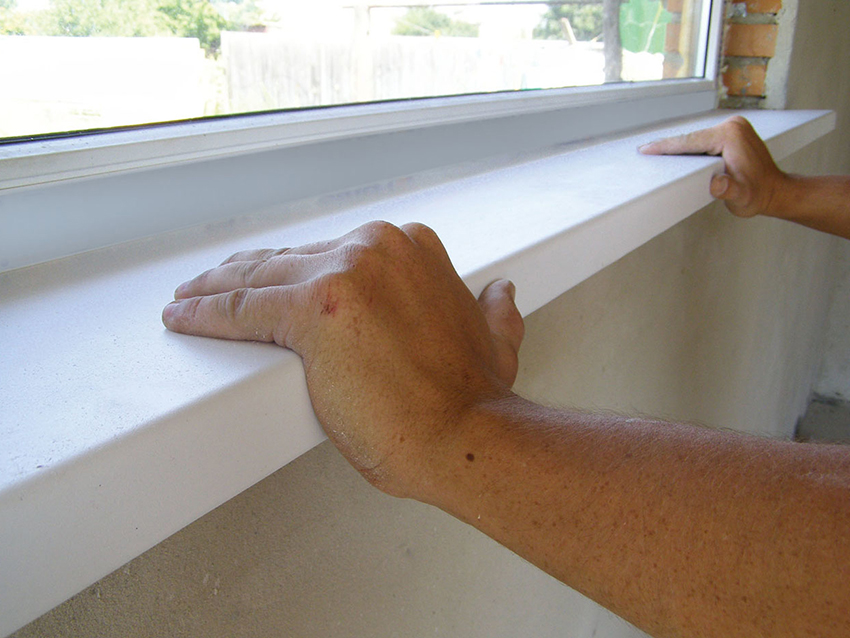
Before pouring windowsill foam, you need to check its fasteners
At the end, you need to put something heavy on the window sill, which will fix it in a certain position. For these purposes, five-liter bottles filled with water are perfect.
Installing a window sill on a plastic window has some nuances. For example, the tilt of this element towards the room should not exceed 5 °. It is also important to remember that the window sill should not overlap the battery, as this will interfere with the spread of heat. There is also no need to fix the window sill to mounting plates or clips.
Features of installing plastic windows in a wooden house: casing organization
There are some features of installing a window in a wooden house. The first of these is the mandatory organization of the casing. Okosyachka is an indispensable element of a window opening in a wooden building. It is necessary in order to protect the window from distortions and bends. Changing the geometry of a window can occur for two main reasons:
- shrinkage of a building made of timber or logs;
- swelling of the soil due to temperature changes.
For the installation of the casing, it is necessary to use only high-quality boards, which are distinguished by good strength characteristics, as well as dryness. For example, an edged board, the thickness of which must be at least 5 cm and a bar with dimensions of 150x100 mm. In some cases, a 50x50 mm bar can be used. The width of the board should be the same as the thickness of the wall.
Helpful information! Frame buildings do not need to organize a window. This is due to the fact that the frame itself already has window openings with the required strength and stiffness.
However, if desired, you can perform additional casing for the window opening in the frame building. This will significantly increase the strength of the structure and protect the plastic window in a wooden house from unwanted distortions.
How to put a plastic window in a wooden house: types of casing and the main stages of their installation
First, let's look at the three most popular types of ossicles:
- into a thorn-monolith;
- in the mortgage bar;
- into the deck.
The last installation option is the most labor-intensive, but also the most reliable. But in most cases, the second type of casing is used, since it does not require professional carpentry knowledge and skills. To organize a box in a mortgage block, you will need to perform a number of important steps.
In the window opening, it is necessary to cut two grooves in the vertical plane (in the middle of the timber). The size of the furrows should be approximately 50x50 mm. This can be done using a chainsaw or even a regular ax.
Further, in the grooves prepared in advance, a bar with the corresponding dimensions is driven in. It must be equipped with a seal, which is usually used as linen.This material must necessarily be located on three sides on the timber and adjoin the wall and on the sides of the groove.
Then it is necessary to place the edged board on the mortgage beam and fix it with special self-tapping screws flush from the top and bottom. To do this, it is advisable to first take care of the holes for the fixing elements.
If you decide to use the "thorn-monolith" method, then you need to make an element in the shape of the letter "T" and drive it into the groove. After that, it is fixed on self-tapping screws.
The distance between the vertical elements and the upper edge of the window opening must be at least 80 mm. This is necessary so that the top mounted on them, having a thickness of 50 mm, is located at a distance of 30 mm from the wall beam. This arrangement of individual elements is called a shrinkage gap.
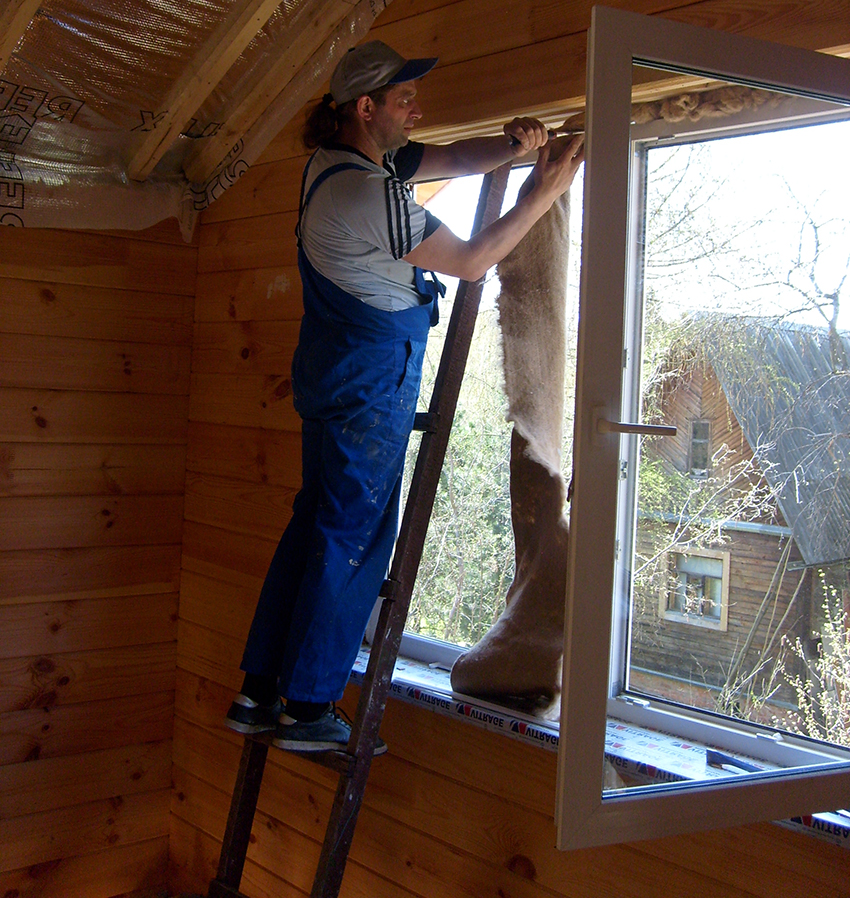
It is necessary to keep the distance between the upper edge of the window opening and the vertical elements
The tip itself must be inserted into the groove with a certain effort. Free entry of this element into the groove indicates errors in dimensions. The tip is fixed by means of special self-tapping screws, which must be screwed in at a certain angle.
Last of all, the shrinkage gap is supplied with insulation, which must be closed on the inside with a vapor barrier tape, and on the outside with a windproof membrane.
Note! It is strictly forbidden to cover the insulation with vapor-proof films on both sides. Otherwise, in this case, a favorable environment will be created for the formation and accumulation of condensate, which will subsequently lead to the appearance of mold on the tree.
Installation of PVC windows in a wooden house: disassembly and preparation of a double-glazed window
Delivery of a double-glazed window is carried out in the assembled finished form. However, to install plastic windows with your own hands in a wooden house, it is necessary to disassemble it (up to the frame). To do this, you must strictly follow the instructions that will allow you to do the job without errors.
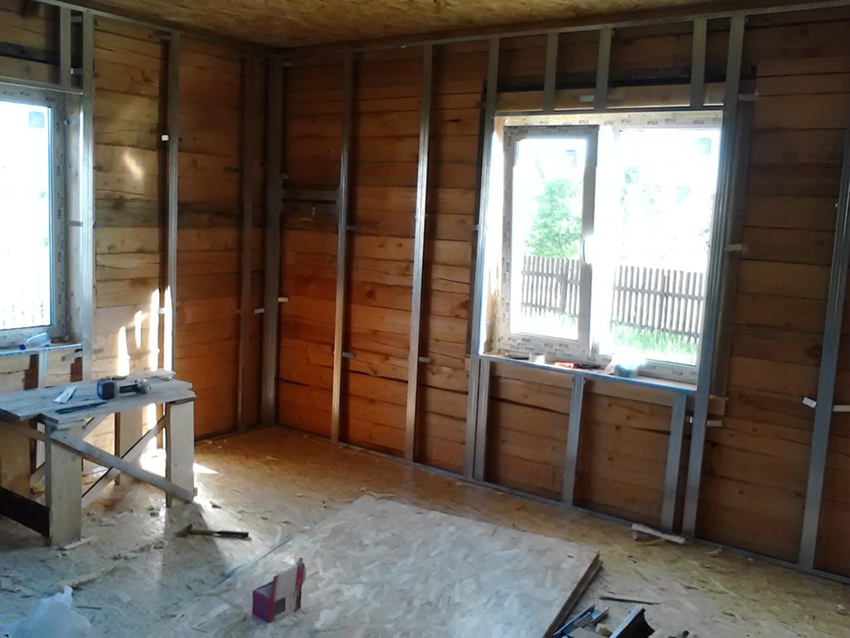
The process of installing a plastic profile in a wooden house is similar to installing in a panel or brick house.
First, you need to remove the pins located at the top and fixing the swinging sash. Next, you need to insert the handle and open the sash, then remove it from the lower fixing elements. Then you need to knock out special elements - glazing beads. This will allow the glass units to be pulled out. You will need a hammer and knife to remove them.
After removing the glazing beads, it is necessary not to get confused about which of them are right and which are left. It is recommended to mark them with a marker. After that, the protective film is removed from the outside of the glass unit and all additional structural elements are installed. These include: mosquito net holders and decorative drain plugs.
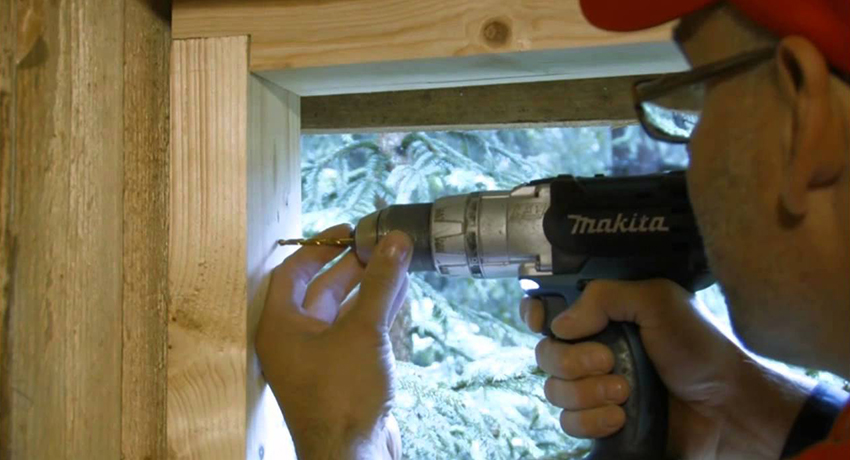
Then you need to make holes for the pins. It is important to remember that from the corners of the frame, the holes are made at a strictly defined distance, which is 20 cm. Further, their course should be no more than 60–70 cm.
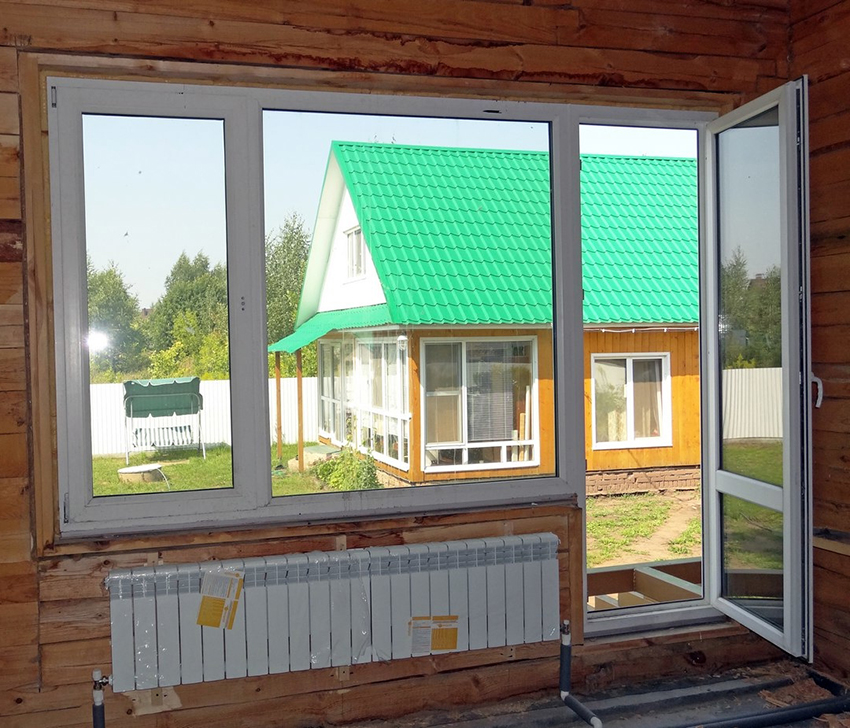
When disassembling and preparing the plastic installation, you must adhere to the instructions in order to avoid mistakes
After that, it is necessary to glue the sealing tape, which is capable of self-expanding, from the outside along the end, if a window opening with slopes is being installed. And when installed in a quarter, the sealing element is applied to the outer edge.
After the preparatory stage is over, you can proceed to the main one - installing a window in a wooden house.
How to install a plastic window in a wooden house: frame installation and window assembly
Before assembling the structure, it is recommended that you familiarize yourself with the video of installing a plastic window with your own hands in a wooden house. Installation of a profile in a wooden building is similar to a similar process in a brick or panel building.The bottom edge is aligned first (level). Wedges placed under each post should not provide even the smallest distortion.
Then the side braces are installed. Next, you need to align the profile in the horizontal plane, and only then - vertically. After that, it is fixed (first from the side racks). For fixation, special wooden blades are used. When performing such work, you must remember that at each stage you need to check the plane of the profile by level.
After fixing the frame, the drainage is installed. Then, special overlays are put on the fixing parts of the sash, which perform a decorative function. The sash is mounted on the frame, and only then the handle is fixed to it. Next, double-glazed windows are installed (for gaskets).
At the very end, the glazing beads are driven in. First, short glazing beads are inserted into the top and bottom of the window. After that, the long elements are driven into the sides of the frame.
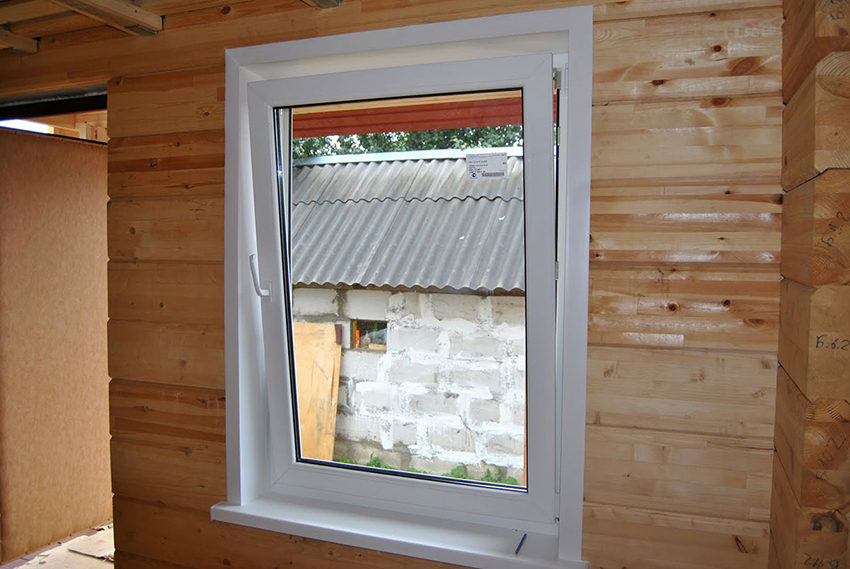
It is recommended to place insulation between the slope and the wall so that condensation does not form
Helpful information! In order to put a plastic window in a wooden building, it is necessary to take into account that it must be located in a "warm zone". If the wooden walls are not equipped with additional insulation, then such a zone is located clearly in the center of the building.
Sealing the assembly seam and installing the window sill is carried out in the same way as in the case of installing PVC windows in a panel or brick building. After the foam hardened, with which the assembly seam was processed, you can proceed to the last process of assembling the structure - the organization of decorative slopes.
Installing slopes on plastic windows with your own hands in a wooden house
The most common option for installing slopes on PVC windows is the installation of plastic panels. The popularity of this procedure is due to its simplicity. Consider the three main stages of organizing plastic slopes:
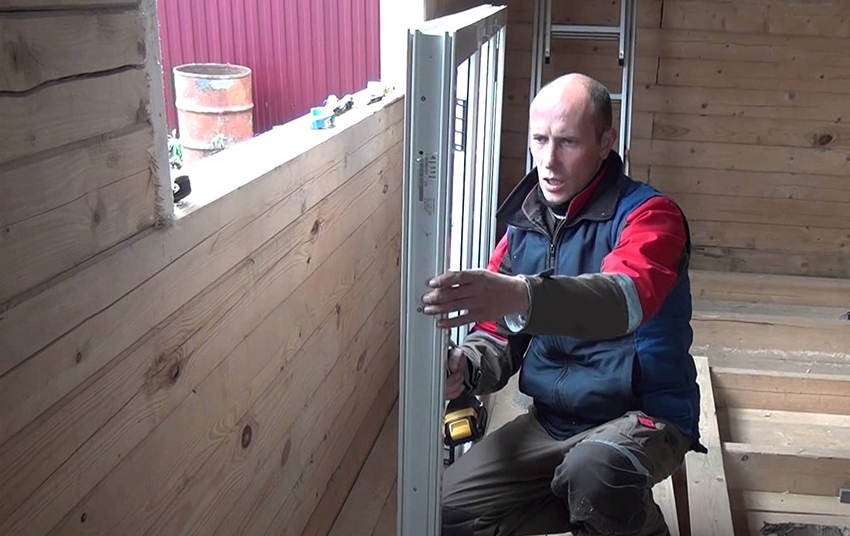
During the installation of the window at each stage of work, it is necessary to check the plane of the profile by level
- First you need to take a plastic profile in the shape of the Latin letter "L". It must be screwed to the wall with self-tapping screws. It is very important that it is located close to the window profile.
- At the second stage, it is necessary to insert a plastic lining into the above profile.
- At the end, a plastic corner is screwed, which performs a decorative function. It should cover the end of the panel from the side of the room.
Experts advise to install insulation between the wall and the slope and close it with vapor barrier tape. This will ensure maximum sealing and eliminate the possibility of condensation.
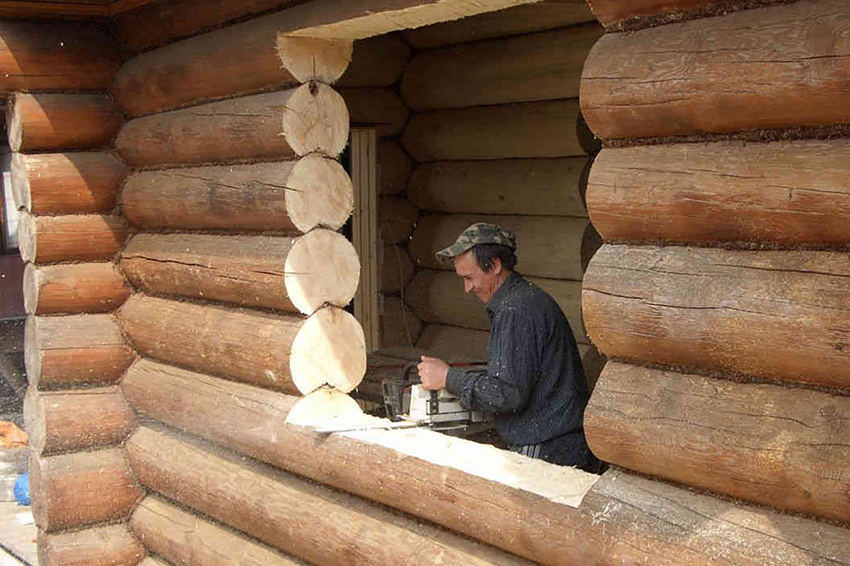
To make the installation of the casing with high quality, it is necessary to use only durable and dry boards.
Anyone can carry out decorative finishing of PVC windows. However, in order to avoid installation errors, it is recommended to watch a video of the installation of a plastic window slope with your own hands.
Thus, it was considered how to properly install a plastic window in a wooden house. Of course, all the work can be done with your own hands. However, it is better to turn to specialists who will carry out a quick and high-quality installation of the structure.
How much does a plastic window with installation in a wooden house cost? The price for installing a structure of this type will cost approximately 2,000 rubles. for 1 m².FROM Taking into account the cost of the window itself, the total amount will be approximately 9500-11500 rubles, depending on which company you have chosen to install plastic windows.
