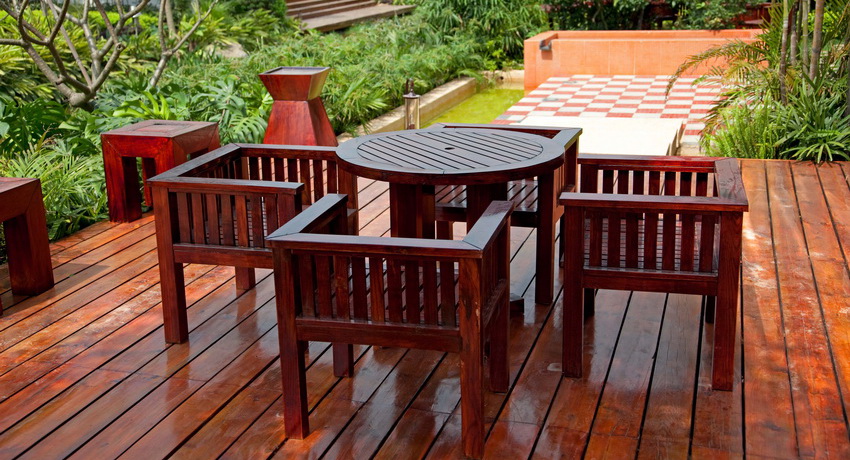
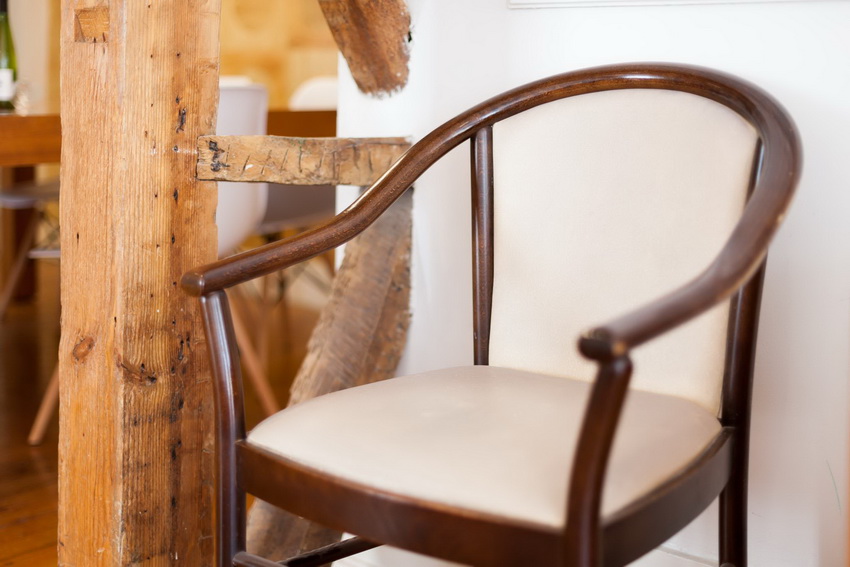
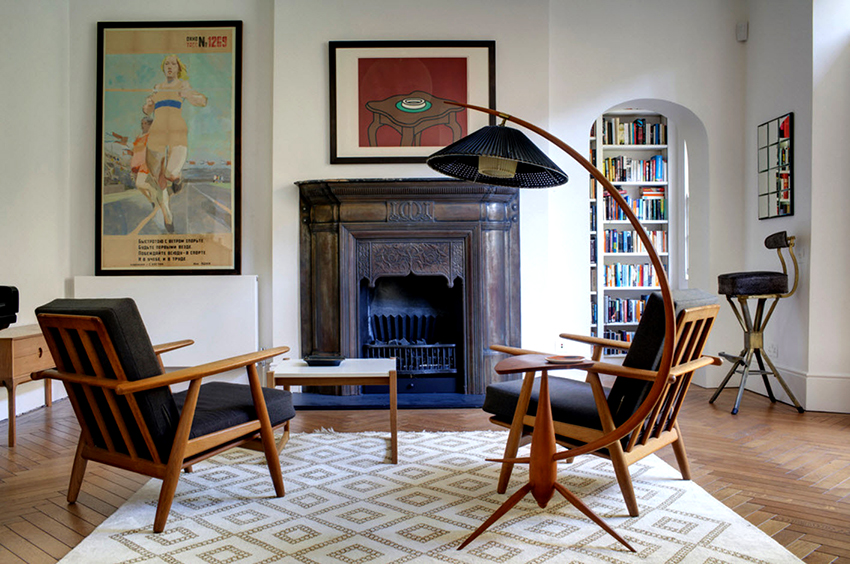
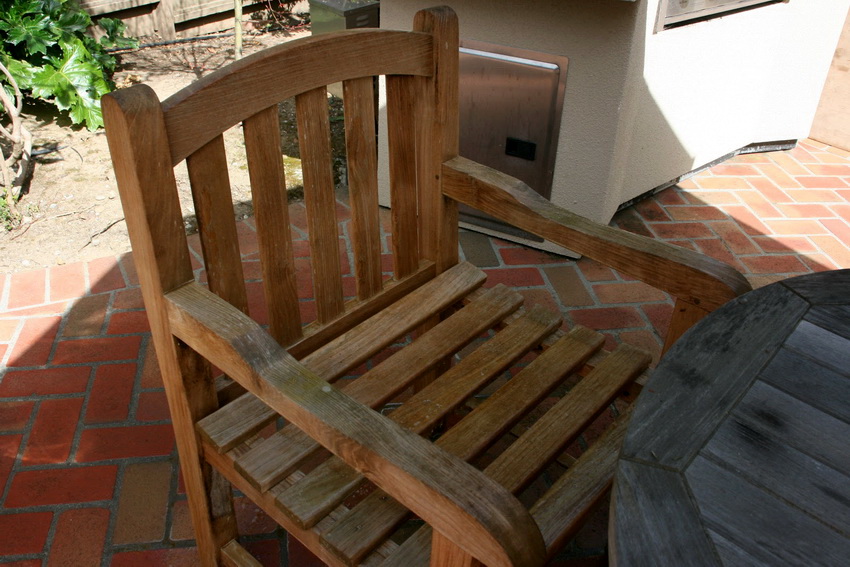
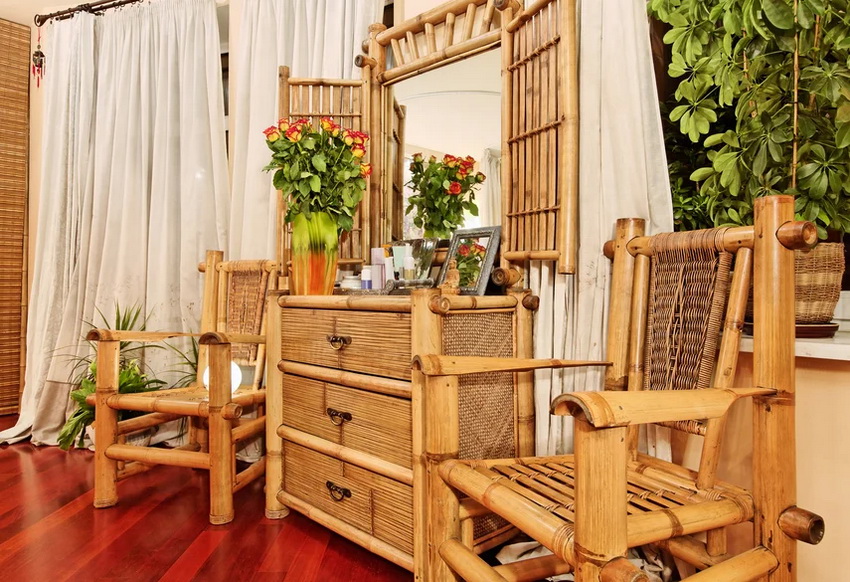
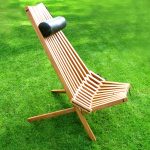
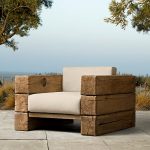
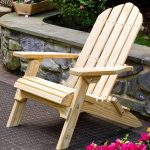
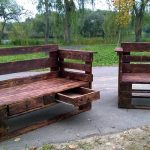
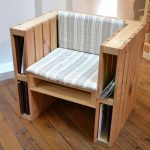
The presence of a wooden chair in the house makes it possible to make rest more convenient, comfortable and pleasant, and also brings a sense of lightness and tranquility to the interior. Wooden products create coziness and warmth in the room. Such constructions serve for a very long time. In this publication, we suggest that you familiarize yourself with the varieties of this furniture, their shape, advantages, and also tell you how to make wood chairs with your own hands.
Content [Hide]
- 1 Wooden chairs: advantages and disadvantages of designs
- 2 DIY armchair: choice of materials and tools
- 3 The simplest DIY chair: making a stool
- 4 DIY wooden garden chair: instructions and recommendations for making
- 5 Chair for a summer residence: features of work
- 6 Diy wood rocking chair: design drawings and necessary materials
- 7 The original pallet chair with your own hand
- 8 DIY wood armchair: useful tips
Wooden chairs: advantages and disadvantages of designs
It is difficult to imagine an apartment or a house that does not have armchairs. Their shape depends on the style of the interior, purpose and age of the owner. In addition, anyone with carpentry skills can make a product on their own using instructions and drawings from the Internet.
Wooden furniture has many advantages over other materials:
- Environmental friendliness. Furniture made of wood is natural, it is harmless, hypoallergenic, which means it is safe.
- Strength, reliability and durability. Wooden furniture is very durable, resistant to mechanical damage, does not lose its functional qualities over a long period of use.
- Refinement and variety of models. Wooden chairs are characterized by a variety of shapes and sizes. Also, the use of all kinds of carving, special paints and varnishes allows you to create an elegant, attractive interior item that can decorate any design.
The disadvantages of furniture made of natural wood include its cost, which is quite high. However, there is always the opportunity to try to create a wooden chair with your own hands.
DIY armchair: choice of materials and tools
Working with wood is not as difficult as it seems, and if this material is processed correctly, the product will last a very long time. First of all, you need to decide on the model of the chair and decide what functions it will perform.
The selection of material plays an important role.To make a reliable, high-quality product, you do not need to spare money for the highest quality material. Even so, manufacturing the chair yourself will be cheaper than buying a finished product.
It is important to know that not all types of wood are suitable for making furniture. The main factor that influences the choice of a particular type of wood is the loads that the structure can withstand.
Best suited for the manufacture of solid wood chairs:
- soft species - pine, linden, cedar;
- types of medium soft - mountain ash, birch, aspen;
- moderately hard varieties - larch, cherry, beech, pear, walnut, oak;
- hardwoods - maple, ash, hornbeam.
To make the simplest chair, you will need the following materials:
- bars with a cross section of 40x40 and 40x60 mm - for making a frame;
- strips and lintels, which are made of boards 1-1.5 cm thick.
- a sheet of plywood (if the chair has a back and a soft seat).
Before starting work, you should prepare the following tools:
- table-type circular saw;
- jigsaw;
- chisel;
- plane;
- a hammer;
- screwdriver;
- drill with drills;
- sandpaper for grinding;
- mallet;
- clamps;
- stapler;
- pliers;
- screwdrivers;
- tape measure and ruler in the form of a triangle;
- joiner's glue;
- varnish or paint for wood;
- self-tapping screws;
- staples.
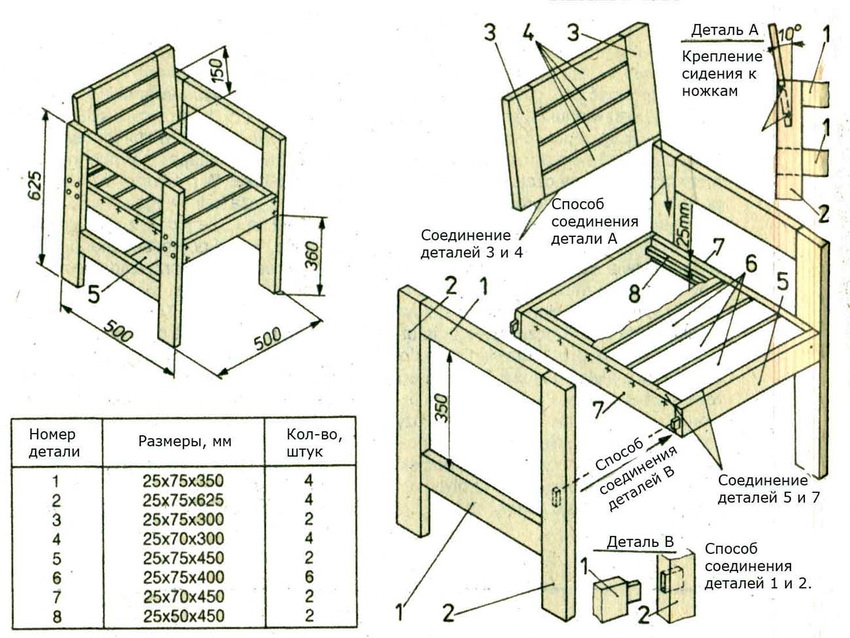
Drawings of a wooden chair with your own hands with measurements of all the details can be found on the Internet. All parts of the chair are made according to the specified values and the necessary holes are drilled.
Helpful advice! Oak or beech is ideal for the production of chairs, but such wood is quite expensive. Therefore, for those new to carpentry, it is better to buy another dense wood that is cheaper, for example, mountain ash.
The simplest DIY chair: making a stool
The simplest product to manufacture is a stool, that is, a backless chair with a hard or soft seat. There are many photos on the Internet with drawings and instructions that will help you understand the process of creating a stool.
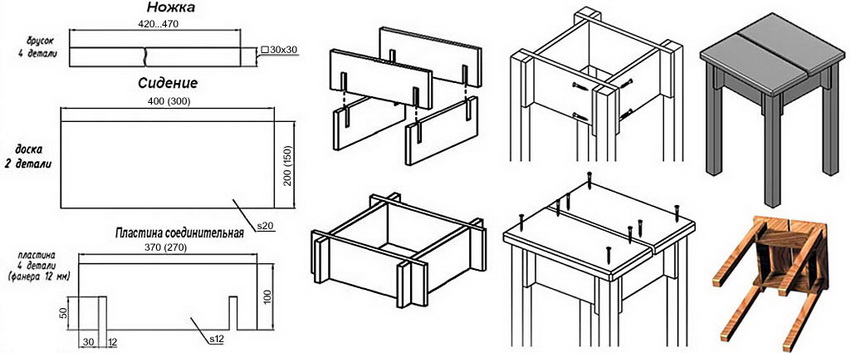
For a stool, you will need four beams with a cross section of 40x40 mm and a length of 44 cm. It is imperative to ensure that there are no significant roughness on the wood. Sandpaper will help to remove them. The stronger the burrs, the harder the sandpaper is required.
You also need to prepare four tsars - jumpers, which are located at the bottom of the seat and are the support and main fastening element of the stool. The dimensions of the support are 2x5x28 cm.
The seat is best made from a solid wide plank, but often several planks are connected with a tongue and groove. Such spikes must be made at the ends of the jumpers and on the legs. The grooves and spikes must be at least 2 cm.
Related article:
Chairs made of wood: conceptual concept and implementation of a creative project
Practical guides for making various models with your own hands. Recommendations for the choice of material, chair assembly and possible design.
Before making a chair, you need to check if the parts fit well together. Only after that should the structure be assembled into a single whole and glued together with wood glue. To enhance the strength of the product, you can fasten the parts with self-tapping screws. They need to be screwed in from the front side of the stool cover, having sunk the caps into the tree, and the fasteners should be hidden by means of special plastic plugs. The finished product needs to be varnished or painted.
Helpful advice! It is necessary to choose a timber strictly of the required section. The pre-prepared bars must have a flat and smooth surface.Before starting work, it is important to check the material for roughness and cracks.
DIY wooden garden chair: instructions and recommendations for making
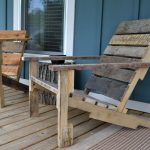
The most organic among the bright flowering plants in the garden looks like a chair made of wood. It is convenient to relax in it, enjoy the fresh air and the surrounding nature. Wooden interior items are comfortable, reliable and environmentally friendly furniture. Folding chairs for summer cottages are also a great idea for small spaces. In addition, such products are convenient to store when not in use.
These recommendations will help you create comfortable and beautiful garden furniture:
- The main requirement for a garden chair for a summer residence is transportability. This design should not be bulky so that the product can be easily carried from place to place in case of bad weather.
- When choosing wood for this model, it is better to give preference to oak, beech or walnut, and you can also use pine, aspen, cedar or larch. These types of raw materials are the most durable and resistant to mechanical stress.
- Since the furniture will be outdoors, it must be protected from exposure to sunlight and precipitation.
- The relief of the structure of the material depends on the number of knots on the tree. To make the future chair look even better, it is necessary to treat its surface with a colorless varnish.
- When assembling a chair for a summer residence with your own hands, it is important to drown all the fasteners as much as possible into the wood. This will improve the appearance of the product.
Before starting work, the boards should be folded into a room with a canopy. Such drying under the influence of wind will give the material strength. Next, it is necessary to sand the wood, impregnate it with antiseptic substances and a solution of drying oil. After that, you need to dry the boards again.
To create a chair for a garden, you need to prepare the following materials:
- 20 pieces of hardwood dowels - 2.4x6 cm;
- brass screws - 20 pieces measuring 0.45x0.5 cm and 20 pieces 0.45x0.32 cm;
- sandpaper for grinding;
- polyurethane based glue;
- drying oil and varnish for furniture;
- masking tape.
You will need to make the following parts:
- two rear legs measuring 2.1x25.5x78.8 cm;
- two front legs - 2.1x7.6x53.4 cm;
- supporting armrest with parameters 2.1x12.8x40.7 cm;
- the back of the chair in the form of a back - 2.1x28.0x91.5 cm;
- jumpers - 2.1x5.2x59 cm;
- back support part of the armrest - 2.1x7.8x61.1 cm;
- two inserts - 1.3x2.1x25.5 cm.
Chair for a summer residence: features of work
Thick boards are needed to make the legs, backrest, armrests and seat. To obtain such a material, it is necessary to select boards similar in texture and color and glue them.
To create the back legs, you will need a stencil, which must be prepared in advance. You should attach it to the board and draw a pencil outline. Two blanks are connected with adhesive tape - this way you can make two parts at once. Experts advise making the part blank a couple of millimeters larger than indicated in the drawing of the chair, and then using a plane or a mill to reduce the part to the required parameters.
For the construction of the back, you will need to saw the workpiece from the glued boards. The lower backrest should be cut 12.5 ° so that it is proportionally attached to the rear legs. The upper part of the back is rounded by 9 mm. Next, the structure is mounted, parts are adjusted with millimeter accuracy.
The legs are fixed to the back of the chair with screws and wood glue. Corner joints are used to hold the sides and legs together. To close the gaps formed, strips are used. They are fastened with screws.The better all connections are made, the higher the reliability of the chair will be.
The seat of the chair is fixed to the back with a groove. The fastening should be done at an angle, this will provide an excellent joint tightness. When cutting out the front legs, it is necessary to bevel the parts at an angle of 6 degrees at the top. After that, you need to attach them to the main structure using screws and glue.
A do-it-yourself wooden chair for a summer residence is not reliable, therefore experts recommend creating an additional jumper in the form of a projectile, which will add strength to the chair. To create it, you need to measure its location and cut out the part in accordance with this data. The wedge-shaped supports that are fixed on the front legs will help to make the chair even more convenient to use.
At the final stage, when all the parts are assembled, the final grinding can be performed. As a result, the surface of a homemade garden chair should turn out to be flawlessly smooth. After that, the product can be painted in the desired color or covered with a colorless varnish, which preserves the natural texture of the wood.
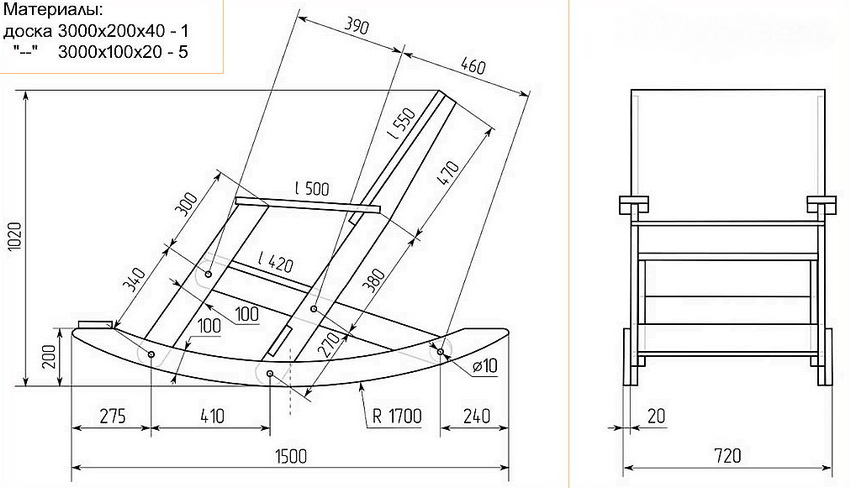
Diy wood rocking chair: design drawings and necessary materials
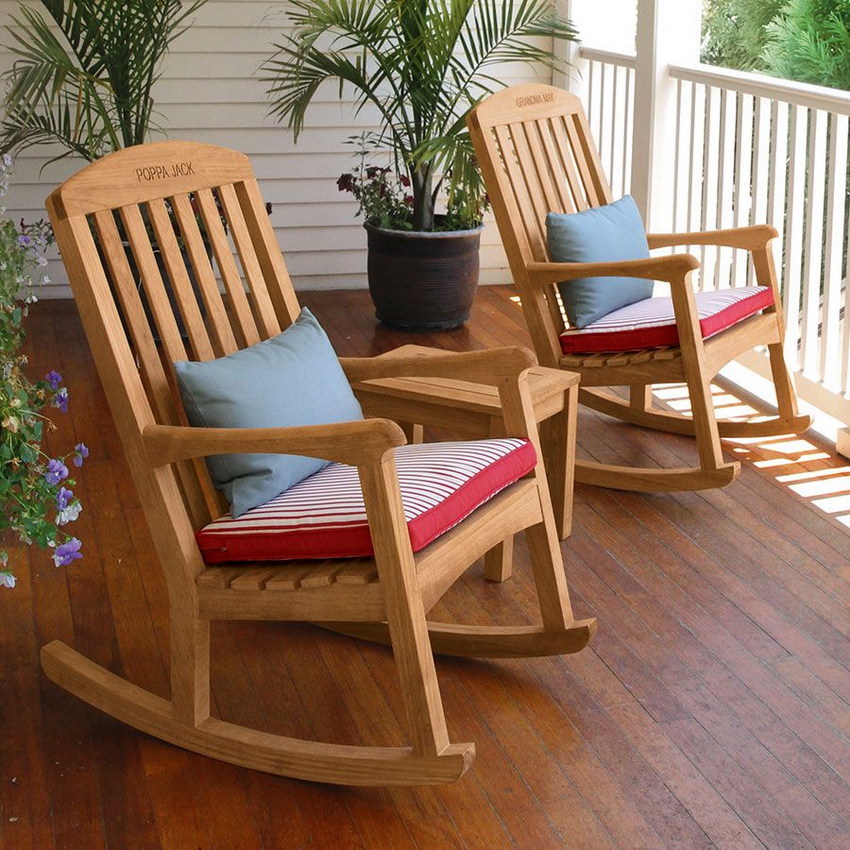
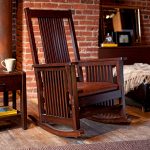
A do-it-yourself rocking chair made of wood is a special piece of furniture that allows you to relax in comfort, relax and gain strength. You can install such a product both in the house and as a country chair in the garden or in the yard. Since a rocking chair made of wood has significant dimensions, the materials for the product must be of high quality.
To create such a chair, you need a minimum number of tools, namely:
- jigsaw;
- disc sander;
- chisel;
- screwdriver;
- drills for wood;
- hacksaw;
- sharp knife;
- a hammer;
- paint brushes;
- roulette;
- pencil;
- building level.
A rocking chair made of wood - the model is quite simple. The shape of the product resembles an arc, which consists of two lateral parts fastened between the boards.
The rocking chair is made entirely of wood. For the runners, a wooden bar measuring 15x5 cm is suitable, and for the rest of the parts of the chair, this part must correspond to the parameters of 10x3.5 cm. Conventionally, the structure can be divided into two main parts: a back with a seat and armrests with runners. Marking on a tree is done using a template, pencil and tape measure. During the transfer of the drawing to the workpiece, small blots are possible, however, it is necessary that the two side parts be cut with maximum accuracy.
The most labor-intensive part of the rocking chair is the backrest seat as it is made up of a large number of parts. You will need 2x2 cm blocks with a length of 1.2 cm. The length of these elements depends on the width of the rocking chair. Details are attached to the spike with glue. To drill the holes, you need a drill with a 16 mm bit.
Then all elements must be sanded. You can perform this procedure using a special tool. If you have experience with it, then grinding will not take much time and effort. Special attention is required to be paid to the end sections.
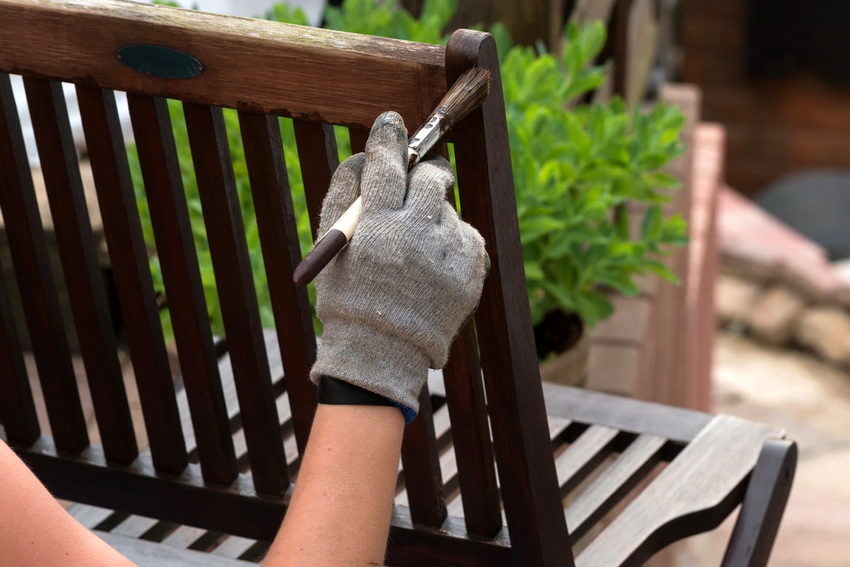
After that, all parts should be treated with stain and varnish. These substances are best applied in two layers, and the second can be applied only after the first is completely dry. To protect the future product from moisture absorption, it is necessary to treat parts of the structure with hot drying oil.
The final process of work is assembling a homemade rocking chair. At the same time, it is important to monitor the strength of the joints, since the durability of the product directly depends on them. Experts recommend joining the elements using euro screws for furniture (15 pieces with dimensions of 0.5x12 cm) and wood screws (150 pieces - 0.4x4.5 cm).
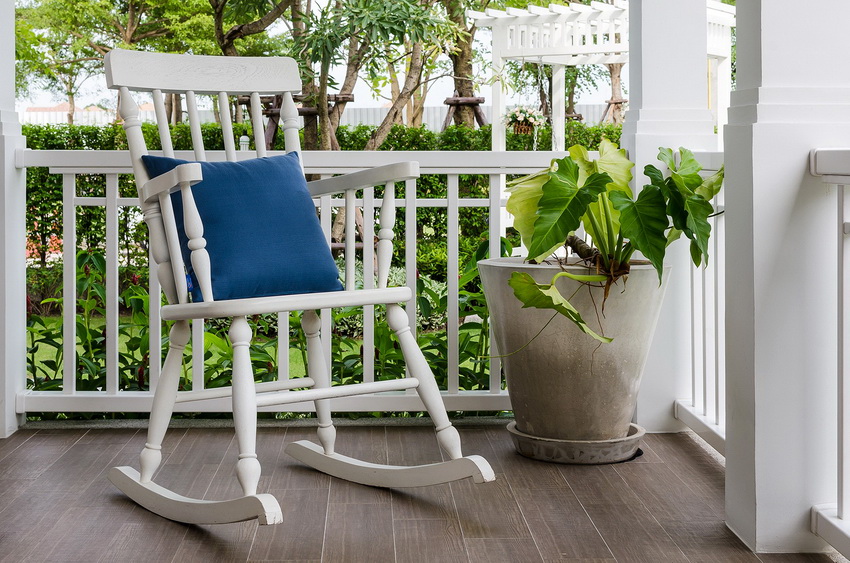
By using a special putty, you can hide the holes from the screws. This substance will also help to get rid of possible cracks or material defects. It remains only to paint or varnish the resulting product. Several soft pillows will help you to decorate and make a more bright and comfortable rocking chair made of wood with your own hands.
Helpful advice! To create holes for seat fasteners that will be visible on the surface armchairs, it is best to use a jig under a confirmation (euro screw). This tool will facilitate this work and make all holes identical.
The original pallet chair with your own hand
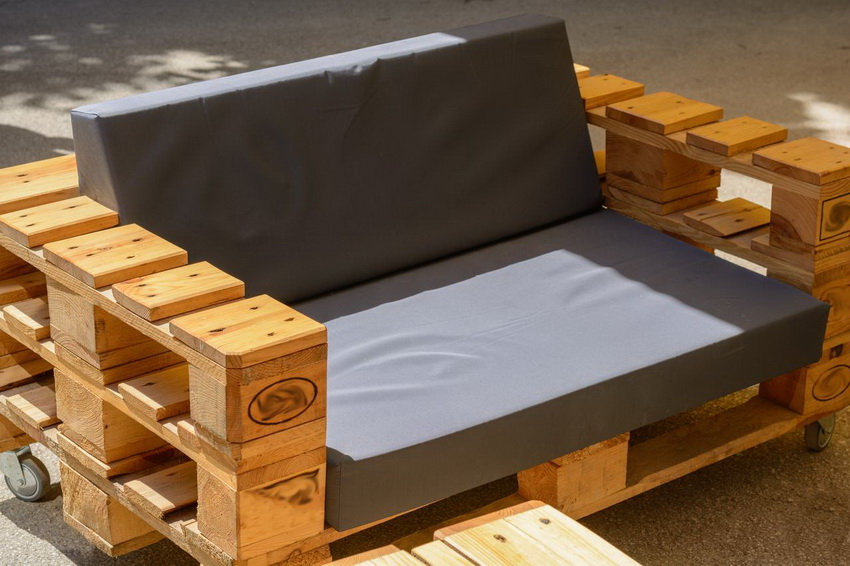
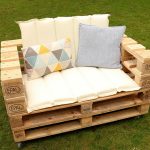
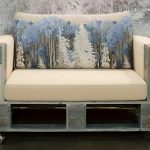
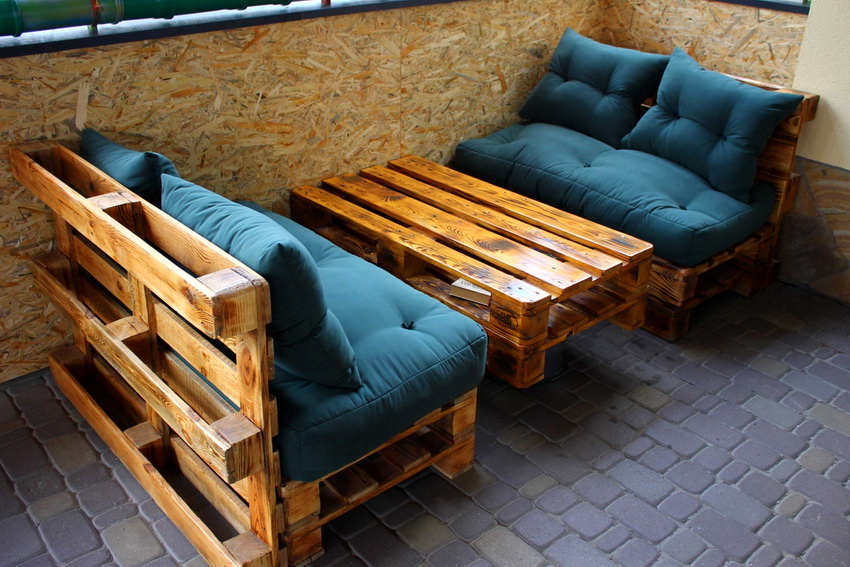
Manufacturing of furniture from pallets has been gaining immense popularity lately. This is evidenced by numerous publications on the network. Basically, options for summer sofas for summer cottages are created from pallets, but you can also decorate the living room with such furniture.
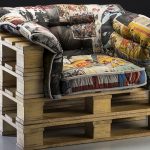
Wooden pallets are ready-made parts that need to be processed and combined into a single structure. It is quite easy to build a chair, sofa and even a table from them. You can paint the finished structure, throw a blanket over it, a couple of pillows, or choose another design that will harmoniously combine with the interior design.
To create a chair, you will need two pallets and the most common tools. The product manufacturing process consists of the following stages:
- cut one pallet into two parts in half: the first part will serve as a back, the second as a chair seat;
- the second pallet is needed to create armrests, for this it is also cut in half;
- all parts of the pallet are polished with sandpaper;
- attach the backrest to the seat perpendicularly. If you make the backrest inclined, then at the attachment point it is necessary to cut the wood diagonally;
- the side parts are screwed to the main structure;
- the product is painted or varnished. If the chair will stand on the street, then it should be additionally treated with moisture-proof substances.
It is also easy to make a nice and comfortable wooden sofa from pallets. This will require two pallets, nails, a saw, a drill, a few planks, and sandpaper. It is best if the pallets for the seat and backrest are the same size.
Helpful advice! The sides should be seated on the bolts, having previously drilled holes. It is not recommended to use nails, since the structure will not last long on them.
DIY wood armchair: useful tips
Wooden chairs, as well as other interior items that can be used both indoors and outdoors, are very comfortable and comfortable. In order for them to serve for a long time, you must adhere to the following rules:
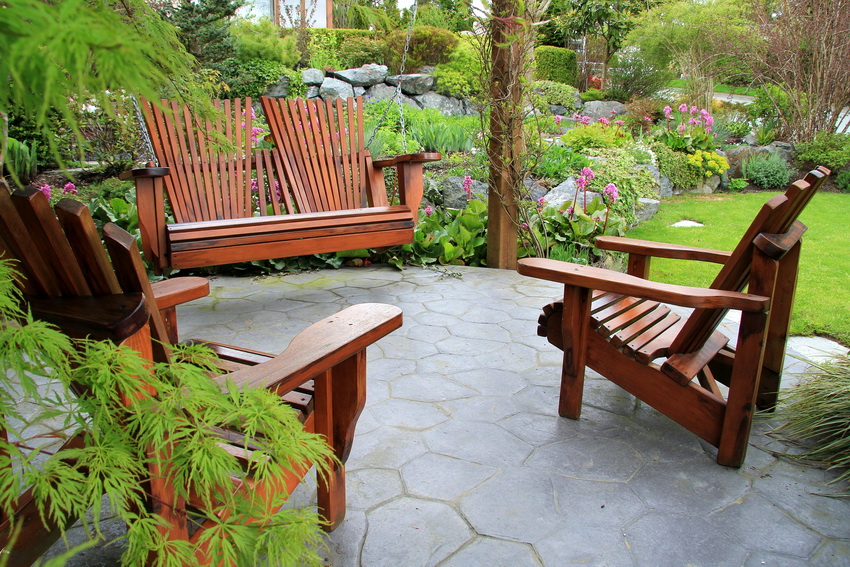
An armchair made of wood is not only a functional piece of furniture, but also a decoration of a site or interior
- If a do-it-yourself chair made of wood (the photo illustrates this) will be used in humid places, then it is better to choose fine-pored wood as a material: oak, larch or the central parts of conifers. In extreme cases, you can make beech and hornbeam parts.
- If the product will be alternately in the house, then on the street, it is recommended to cover it with paint for external and internal work.
- If moisture will affect the chair, then it must be treated with a special antiseptic primer.
Helpful advice! If the wooden chair will be permanently placed in the bedroom, living room or children's room, then priming is not needed.
An armchair in the interior is the simplest furniture design, which is very easy to choose and purchase.You can get a stylish, exclusive and comfortable little thing in the country or at home by making a wooden chair with your own hands. Often, such an undertaking is much cheaper than buying a finished product. In addition, you can independently make not only an armchair from wood, but also other pieces of furniture, for example, a bed, a chest of drawers, a children's chair or a computer chair with your own hands. Such products will not only decorate any room, but also give it a special charm and naturalness.
