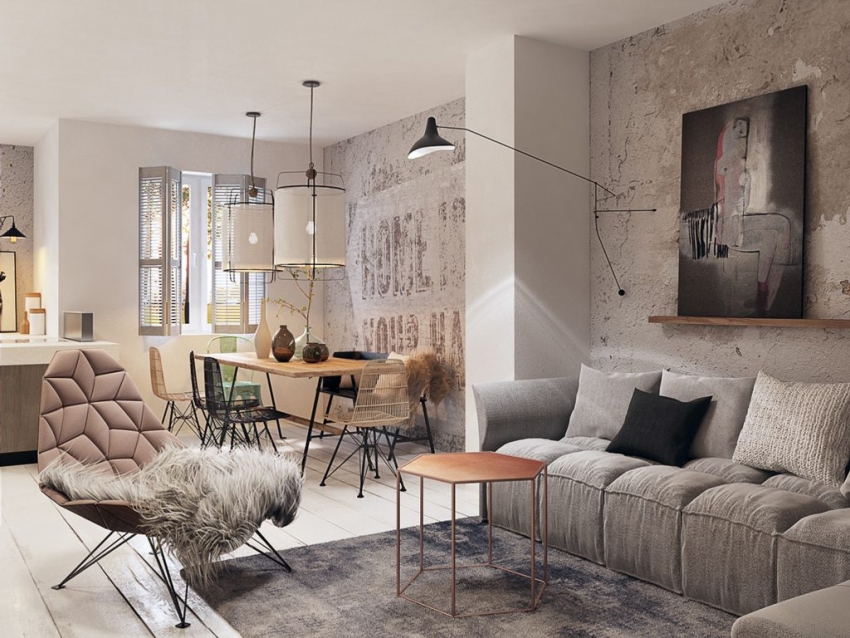
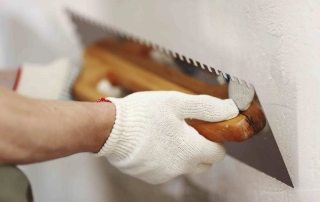
The use of textured plaster is very popular not only for decorating building facades, but also for structural elements inside the building. Each specific case of using the material involves obtaining an exclusive design. In addition, textured plaster for walls inside and outside the premises creates an environmentally friendly, durable, moisture-resistant and durable surface.
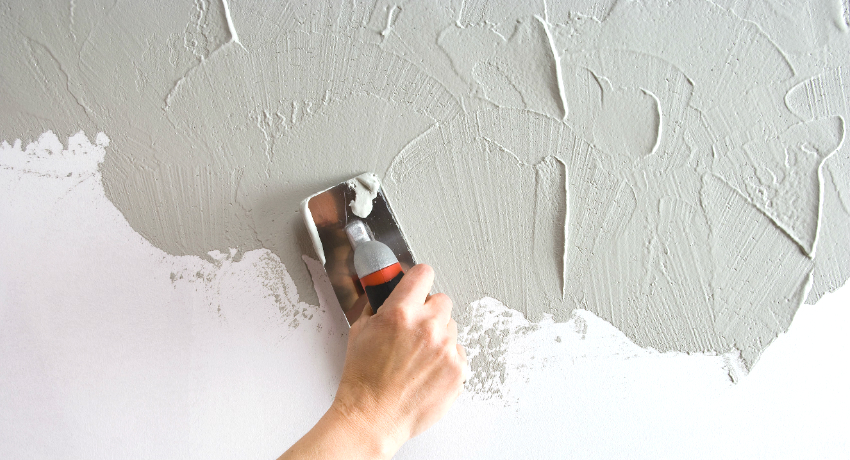
With the help of textured plaster for walls, you can create amazing effects: wrinkled leather, silk, decorative stone or concrete slabs
Content [Hide]
Textured plaster for walls: composition features
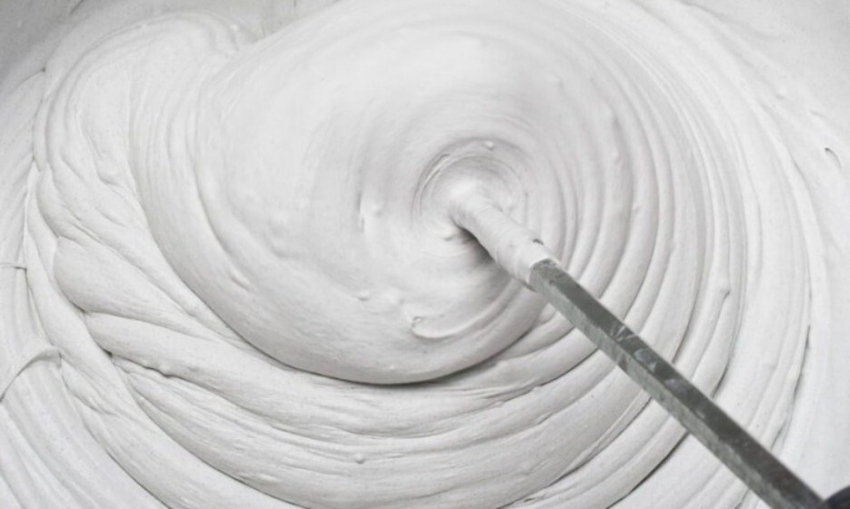
Textured mixture for walls is a heterogeneous viscous mixture of white color, which contains various fillers, combined with a certain binder. Pebbles, ground brick, mica, gypsum, fine-grained sand, wood and cotton fibers are used as additives. It is the type, quantity, size and color of particles, as well as the application technology that determine the appearance of the finishing material. The price of textured plaster for walls depends on the type of composition and the manufacturer.
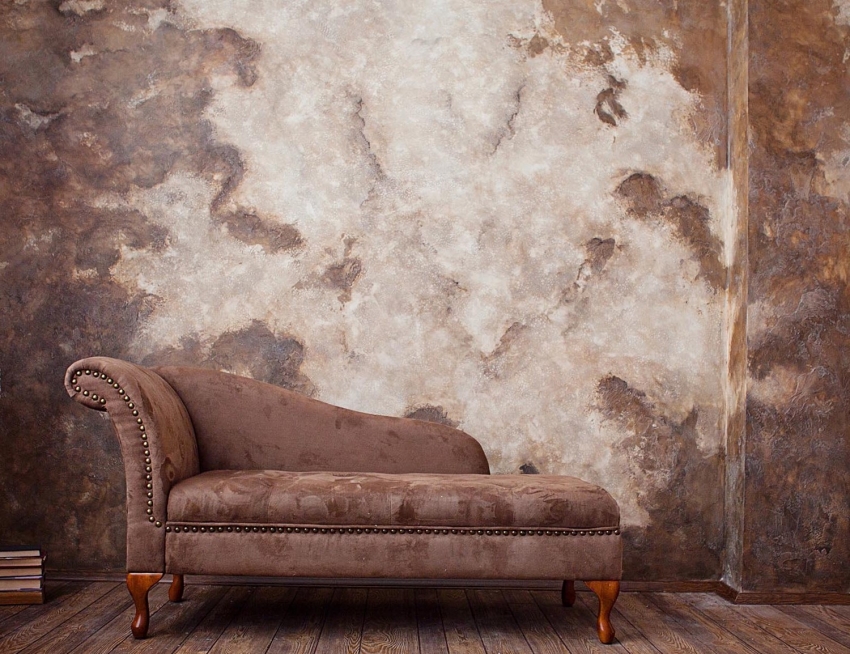
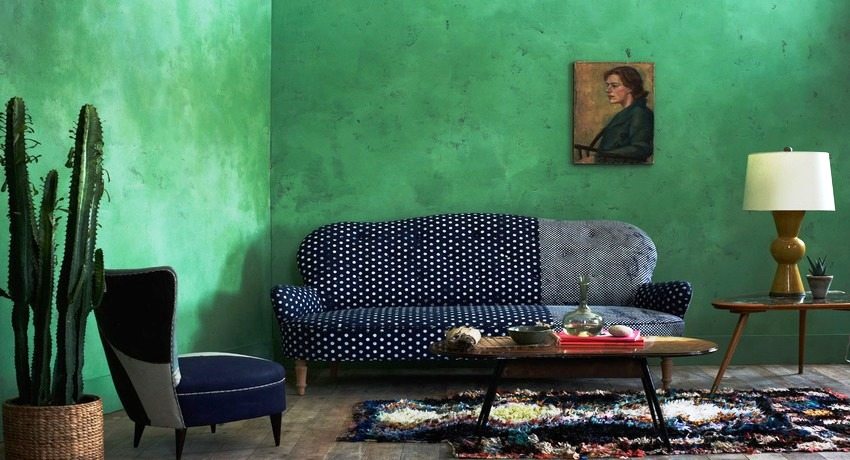
With the help of decorative plaster, you can highlight a specific accent wall or area, which will make the interior more interesting
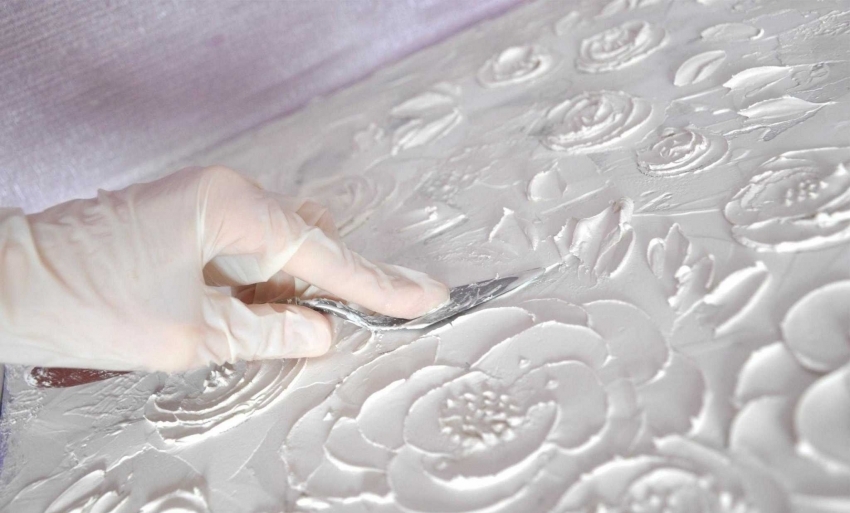
Using this material, you can create a surface with a different level of grain, with a rough structure, volumetric reliefs, imitate stone, wood, velvet or leather. The mixture is applied to any surface and allows you to hide all existing wall defects.
Depending on the binder, acrylic, silicate, mineral and silicone textured plaster is distinguished. Each option has its own advantages and disadvantages. However, they all have basic distinctive features:
- ease of application, which does not require professional skills;
- elasticity of the material, which allows you to form an attractive and unusual surface;
- does not contain toxic substances;
- antistatic coating;
- fire resistance;
- high surface resistance to mechanical stress;
- resistance to UV rays and moisture;
- resistance to temperature extremes;
- increased vapor permeability;
- the material creates good sound and thermal insulation;
- the surface is easy to clean and wash.
Plaster wall decoration not only performs a decorative role, but also protects the surface from mechanical damage
Textured plaster application technology
To get a neat, high-quality and durable surface, work should be done in a specific sequence:
- Preparatory work.
- Basic stage.
- Creating an invoice.
- The final stage.
For preparatory work you will need a primer, a paint brush, putty, putty knife, sandpaper.
List of required materials for finishing work:
- metal and rubber spatulas of various sizes;
- trowel;
- rule;
- grater;
- level and plumb line;
- rollers, brushes, paint;
- masking tape;
- various devices for imparting texture.
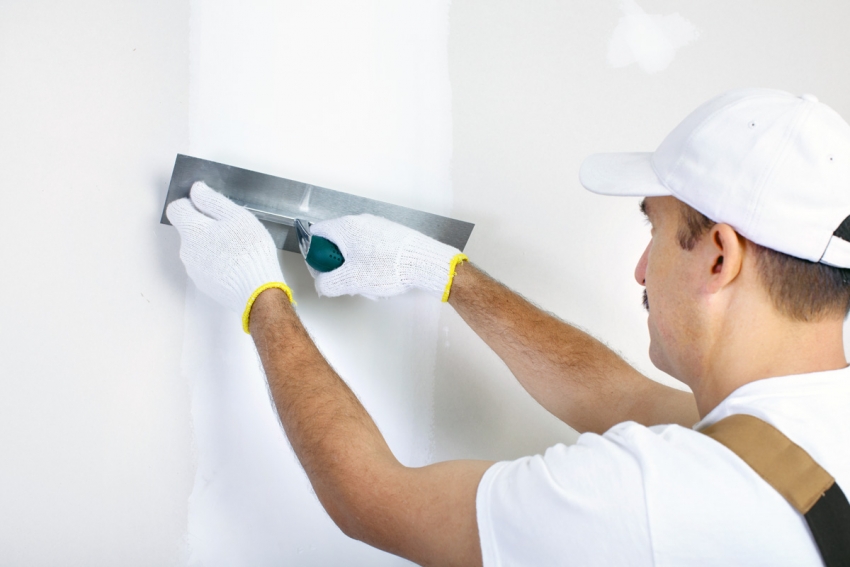
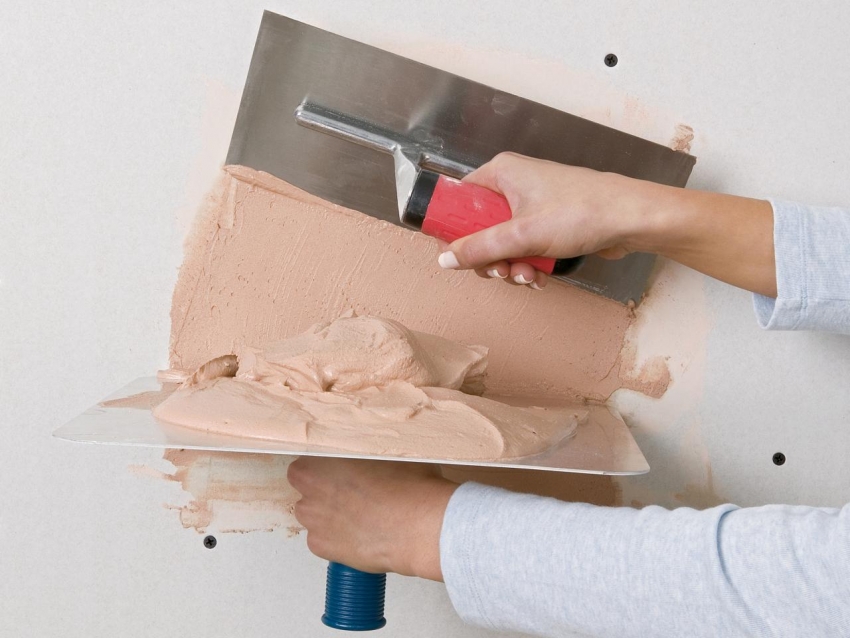
Depending on the chosen decorative effect, you can pre-level the walls with a base layer of plaster or immediately apply a thick layer of material followed by creating a texture
Preparation of walls for decorative plaster begins with cleaning them from the old coating. The surface must be flat. All cracks and crevices must be repaired with a putty. Before plastering walls inside a room made of aerated concrete, foam concrete, brick, it is required to install a reinforcing mesh, which will not allow the finishing material to crack and crumble after drying, but will create good adhesion of the plaster and the base.
Many types of plaster do not require prior leveling of the walls. If the surface has significant irregularities, they should be eliminated with a gypsum, lime or cement-sand mixture, after plastering the walls on the lighthouses with your own hands, applied in several layers. It should be borne in mind that it may take about 24 hours to dry one layer. The use of a cement-sand mixture involves the installation of a reinforcing mesh for plastering the walls.
To install beacons, it is necessary to hang the walls horizontally and vertically using a level or plumb line and identify all deviations from a flat plane. The lighthouses are attached with self-tapping screws. To determine the thickness of the plaster layer, the thickness of the lighthouse is added to the most convex section of the wall. If the wall has minor errors and irregularities, you can do the plastering of the walls with your own hands without beacons.
Helpful advice! If leveling the walls turns out to be too costly and complicated process, it is recommended to use drywall boards.
The leveled surface is primed twice. For the best effect, a deep-penetrating compound should be used, which will create good adhesion of the plaster to the base. An acrylic primer does this job well. Next, you should dry the wall well before applying the facing material.
If finishing work is carried out in a room with a high level of humidity, the surface should be treated with an antifungal compound, which will create additional resistance of the coating to the negative effects of moisture.
Basic stage
The basic stage is the application of a decorative mixture, which can be done in several layers. Consumption of plaster per 1 m2 of wall is 1-2 kg of material. With multi-layer coating, this figure increases.
Textured plaster, the price of which starts from 700 rubles, can be in the form of a dry powder, where it is necessary to prepare a working solution for plastering walls by adding a certain amount of water, or in finished form. Any texture has a traditional white color, which can be changed with the help of special dyes. For rooms with high humidity, dyes on a moisture-resistant basis are used.
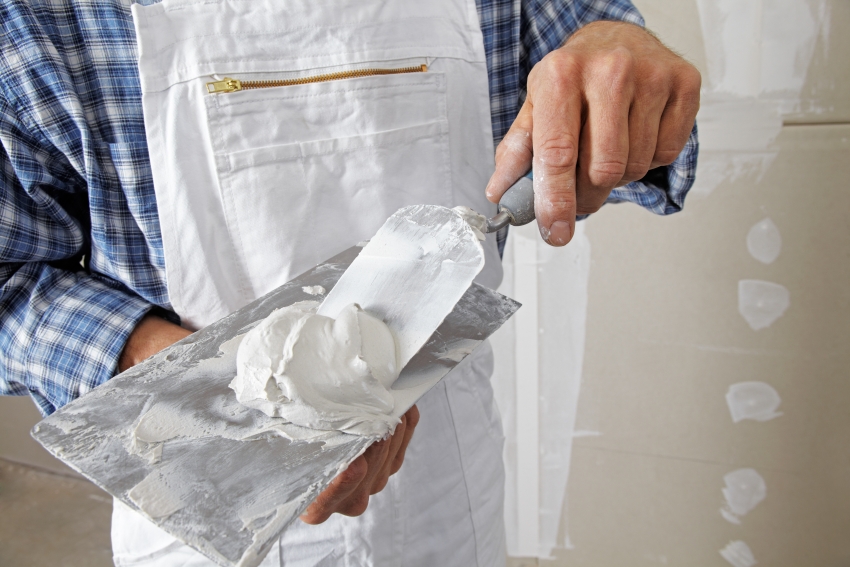
A small amount of the mixture is spread over the trowel with a spatula. Next, using a tool attached to the wall at an angle of about 30 degrees, the mixture is applied.The material should be applied on small areas, since it sets quickly enough. However, in working condition it is very malleable, which allows you to create any pattern on the surface. The layer thickness must be at least 3.5 mm, which includes a layer about 1.5 mm thick to create texture.
Particular attention is paid to the corners. Here the plaster is applied with a narrow trowel and stretched over the surface.
Helpful advice! Before applying the textured plaster to the wall, a test application of the mixture should be carried out in order to "feel" the material, choose the layer thickness, and try to create a future drawing. This will help avoid mistakes.
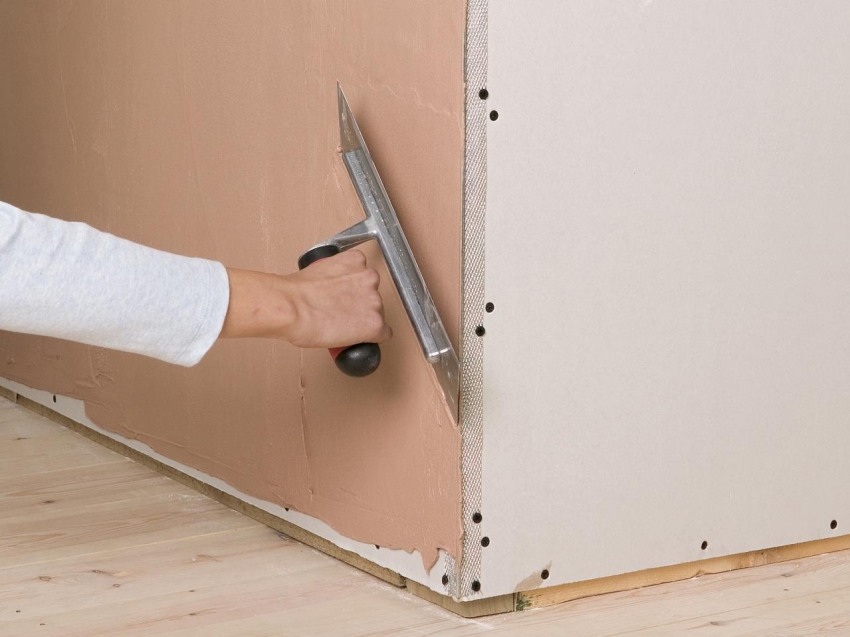
When applying plaster, you should pay special attention to the corners, using special corners and a reinforcing mesh
Methods for applying decorative plaster
Today there are many different options for obtaining a unique pattern on the treated surface. It all depends on the type of plaster and the technology of its application.
There are two options for obtaining a decorative effect:
- Formation of patterns using various tools and the use of textured plaster with varying degrees of grain in its composition. This option is cheaper. In addition, you can make textured plaster yourself. A video of this process will help you study the technology made.
- Application textured roller for decorative plaster with applied ornaments. In this case, to obtain a clear pattern, the roller is drawn once along the entire length or height of the wall. You can also use a regular roller with various attachments (wrap with a rag, paper, film), which can be rolled in different directions on textured plaster. Then, using a spatula, you can smooth out the sharp corners a little.
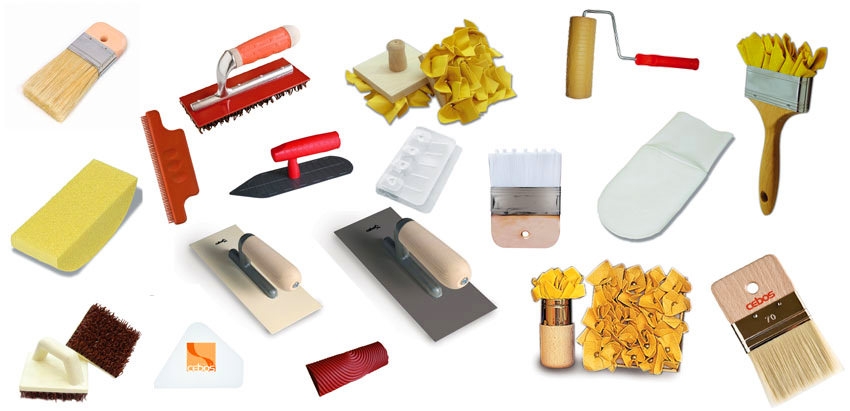
For working with decorative plaster, there are a large number of tools that give the surface certain textures and effects.
To obtain a drawing or ornament, you can use a ready-made stamp by attaching and pressing it to the plaster. You can buy it or make it yourself. To make the impression clear, it is necessary to regularly clean it from plaster and moisten it with water. To bring the pattern to narrow sections of the wall, you can use a soft version of the stamp made of rubber. The use of an imprint will reduce the consumption of finishing material.
On the surface of the wall, you can create an imitation of stone, leather or fabric. Use a trowel or notched trowel to create a wild stone finish. Using a brush, you can simulate fabric. To do this, apply a thin one-layer coating with a brush in the vertical or horizontal direction, or by turning it like a compass.
Important! During the creation of the picture, you should not go deep to the very base of the wall, as some fragments may fall off the wall after drying.
When using a mixture with fine fractions, you can use a wooden float to create an ornament. Moving the tool up and down, you can get the effect of "rain", with horizontal friction, a wood imitation is obtained. By moving the float in a circle, you can get the "lamb" effect.
Popular embossed textures of textured plaster in the interior. Photo examples
One of the most budgetary options is the application of textured plaster with a "fur coat" effect. This can be achieved by throwing the solution through the mesh, sprinkling with a long-bristled brush or a broom, walking over the plaster layer with a roller with a short fur coat or applying the mixture with a pneumatic gun.
The most popular is considered to be textured plaster with fine granules, which creates the texture “bark beetle". The mixture is applied with a spatula or trowel to the wall 3-7 mm thick, depending on the size of the inclusions.After the surface is slightly dry, it is necessary to process it with a float in any direction, scratching the surface, thereby imitating the pattern.
An equally interesting option is the application of decorative plaster for traventine, which imitates natural stone masonry or aged stone walls. The mixture is applied in two layers. To decorate the surface for masonry, special grooves are made with the help of improvised tools.
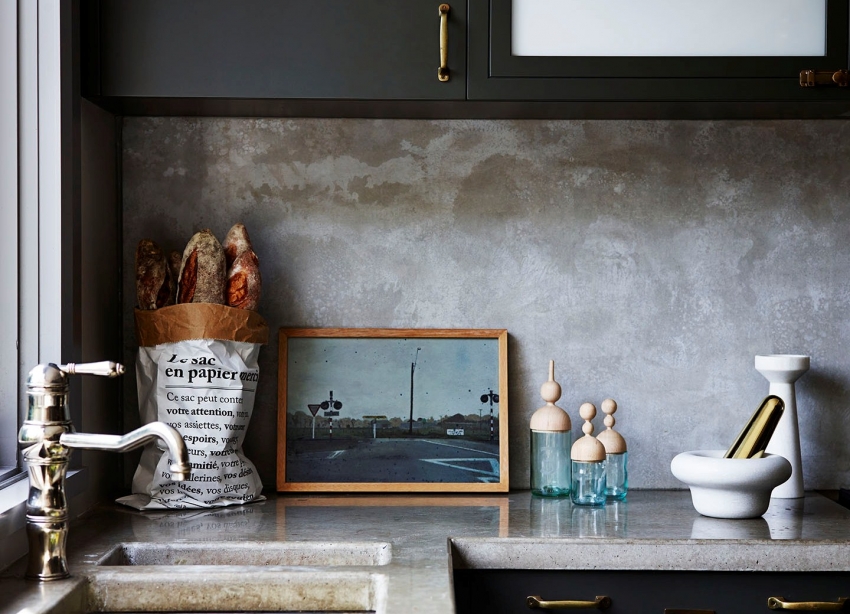
Textured plaster, which contains special water-repellent components, can be used to decorate a kitchen apron
Helpful advice! If you carry out wide strokes, you get a calm pattern, small ones - a more saturated pattern.
The technique of applying Venetian plaster requires a certain skill. The prepared wall should be perfectly flat and smooth. The material is applied with a polished trowel in a thin layer with sharp short strokes. Apply 3-10 coats, each sanding for a more pronounced marble effect. At the finishing stage, you should complete iron using a trowel, which is rubbed over the surface with effort to give it a noble shine and glossy texture. After the surface is partially dry, it must be polished with wax.
Related article:
Venetian plaster: photos, tips for making and applying
Photos of interiors using Venetian plaster. DIY mix. Prices for decorative plaster and work on its application.
By applying this mixture, which includes marble dust or sand, a marble effect is created on the wall surface. If acrylic resins or other polymers are used instead of lime as a binder, you can achieve the effect of leather, silk, suede, mother of pearl or velvet, as clearly shown in the photo of the interior of the room where Venetian plaster is used.
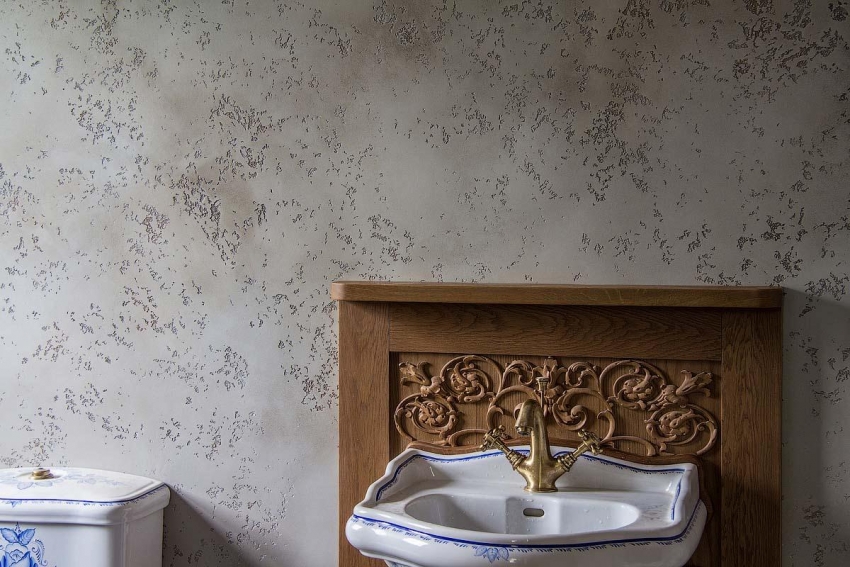
In order to give depth to the textured plaster finish, it is necessary to use compositions of different colors and shades and the application method "bark beetle«
Another complex, but giving an amazing result, is the technology of applying textured sgraffito plaster. The essence of the technique is to apply several layers of plaster of different colors to the wall surface. Using a special stencil, a drawing is applied in the topmost layer of all applied. The appeared ornament looks like a fallen shadow or applique.
The "world map" technique is performed with plasters with effects including: pearl shimmer, mother-of-pearl, metallic, or decorated with rubbing paint. The first layer is applied to the wall surface, which after 20 minutes is rolled with a roller to obtain a small fur coat. After the surface has completely dried with chaotic masks, the second layer is unevenly applied using a trowel. Between the strokes of the second layer, the surface of the first should be visible. After drying, the surface must be grinded, smoothing out all contrasts and transitions.
The final stage
After finishing all the plastering work, allow the surface to dry completely and harden. This will take at least 24 hours. Next, you should treat it with a fine sandpaper to remove excess solution. Then the surface should be primed.
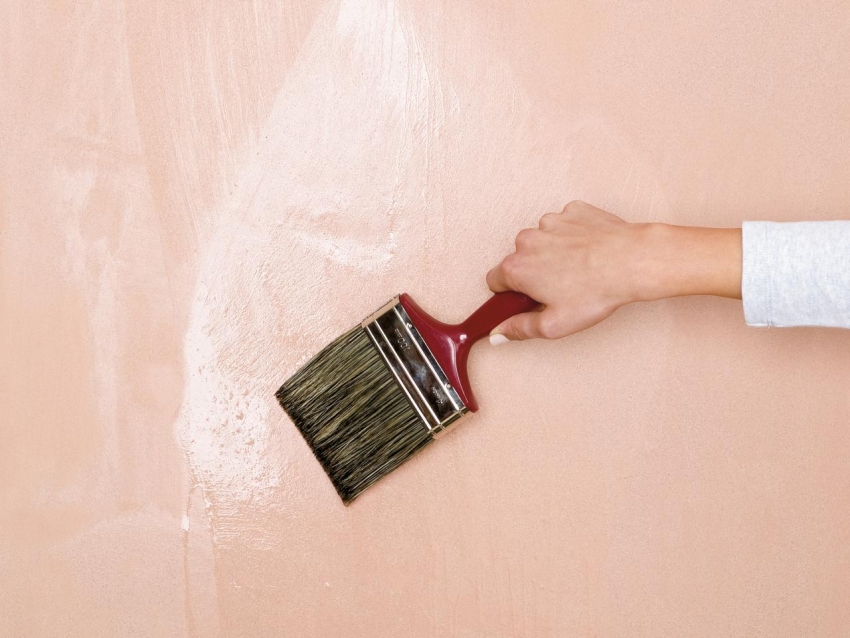
To fix the result of finishing from textured plaster and extend the service life of the surface, varnishes or special final primers should be used.
If the walls were plastered for painting, the surface should first be painted in a darker tone using a roller or a long-haired brush, and after drying, cover the protruding parts of the textured surface with light paint using a roller or short-haired brush. A light tone will add volume to decorative plaster.If the finished texture already contained a coloring pigment, you can simply highlight the texture with a different shade.
In the case of applying textured plaster in rooms where the walls are exposed to mechanical damage, the surface should be covered with colorless varnish or wax, which will increase the service life of the coating without losing its original appearance.
The surface obtained as a result of competent finishing with textured plaster will not only have an attractive appearance, but will also become practical and unpretentious in further operation. It is easy to clean and washable without the use of special detergents. The final varnish coating prevents the formation of mold and mildew on the wall surface, even in rooms with high humidity.
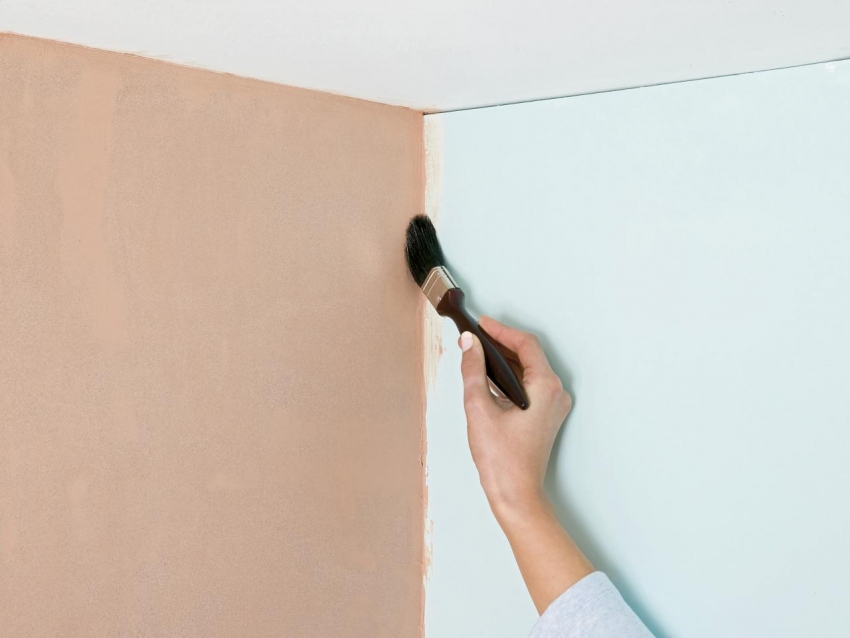
Particular attention should be paid to the joints and corners, carefully treating them with brushes or a narrow spatula
Varieties of textured plaster with your own hands
There are many options for making do-it-yourself textured plaster from ordinary putty.
The simplest option for many craftsmen is to use a lime mortar for plastering walls, which can be bought from 215 rubles, or made by yourself with the addition of cement, gypsum, sand or clay. Each component is added in a specific ratio. For a simple lime mortar for plastering walls, the proportions of lime dough and sand are 1: 2 -1: 5. The more lime there is, the cleaner the surface will be, but the likelihood of cracking will increase. If you add gypsum to this mixture in a ratio of 1: 3, you can get a stronger composition with high adhesion. In the case of adding cement in a 1: 2 ratio, you can get a mixture that is suitable for facing rooms with high humidity.
Helpful advice!To speed up the setting of the material, in addition to the lime-gypsum mixture, PVA glue can be added.
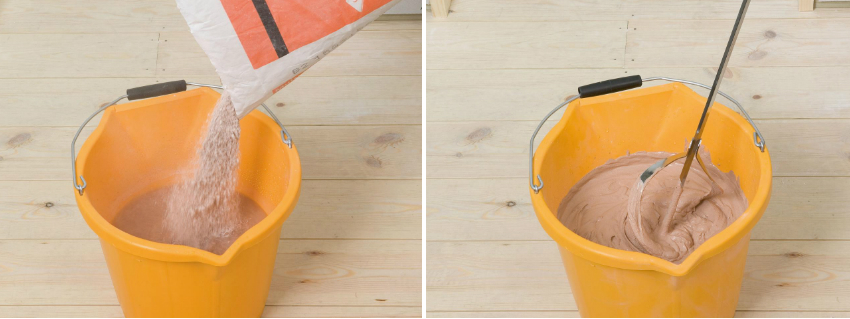
Correctly calculating and weighing all the components for textured plaster, you can get a high-quality composition that is not inferior to the purchased one
To create a gypsum-based mixture you will need:
- 2.5 liters of water.
- 6 kg of plaster.
- 1 kg of marble chips for surface relief.
- 200 ml of PVA glue to make the material elastic.
- Dye.
This mixture is suitable for all indoor surfaces. However, the base should be pre-primed and a reinforcing mesh for plastering walls made of bricks, aerated concrete and aerated concrete blocks should be installed. Consumption of gypsum plaster per 1 m2 of wall is about 9 kg with a layer thickness of 10 mm.
To prepare cement plaster, it is necessary to mix cement and sand in a ratio of 1: 3-1: 6, depending on the required strength of the material, and then use water to bring the solution to the correct consistency.
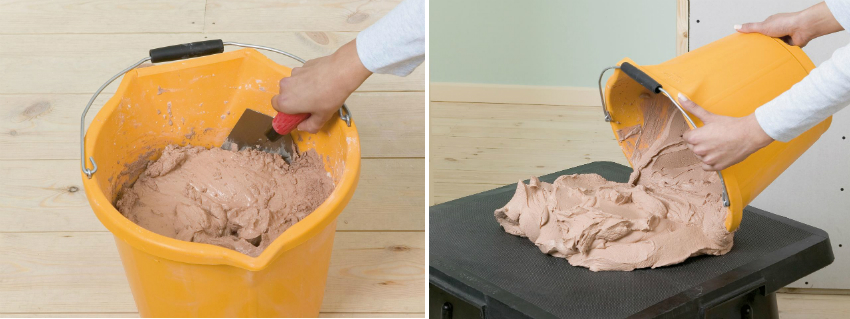
When decorating the walls with textured plaster, it is imperative to take into account the working time of the composition, during which it does not dry out and has the correct consistency
Helpful advice! To give the mixture elasticity, you can add 1 tbsp to the bucket of the finished solution. l. detergent.
When deciding which plaster is better than cement or gypsum, one should take into account the distinctive features of each option, from which it will become clear that the gypsum mixture is superior to cement in some characteristics. It has high hydrophobic and adsorbing properties, which influences the creation of a favorable indoor microclimate. Having a high viscosity index, the gypsum solution turns out to be more plastic, it is more convenient to apply and sets quickly, without cracking, which significantly reduces the finishing time. But, it is worth considering that gypsum is susceptible to moisture. However, today there are formulations in which special substances are added, which make the mixture strong and moisture resistant.
Helpful advice! If you do not have complete confidence in how to plaster walls with gypsum plaster, video instructions from experienced craftsmen on the Internet or on specialized sites will help and clearly demonstrate each stage of such work.
Wall plastering with cement mortar is used to tint wooden surfaces, walls made of sawn shell rock, drywall and previously plastered, uneven walls. For work, special tools are used, such as a trowel, as a rule, a float and a floor, which, after use, must be carefully cleaned of excess cement.
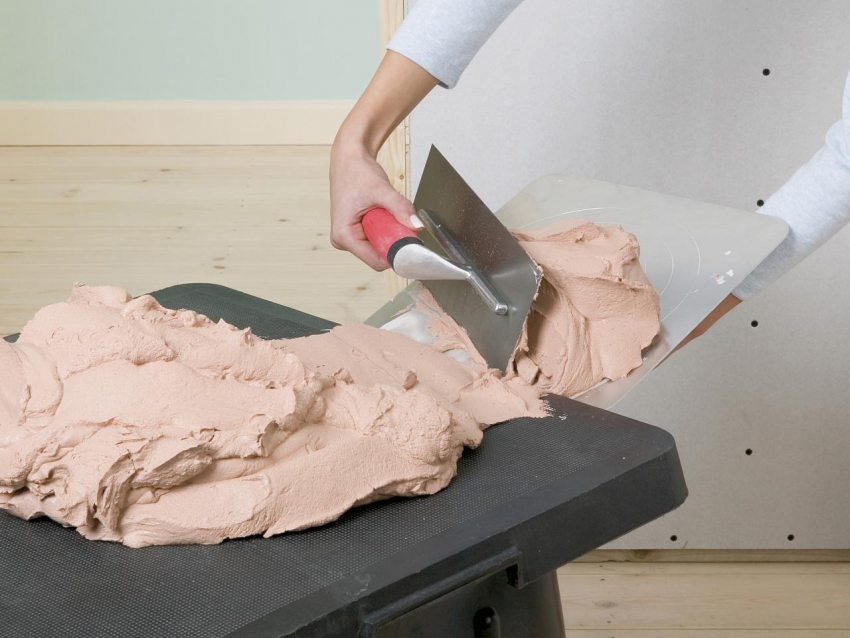
The correct choice of tools for working with plaster will provide you with the convenience of applying the composition and the correct finishing result.
How much does wall plaster cost?
Correct and quality wall decoration is an important part of a good renovation. Having previously learned how much plaster costs 1 sq. m. walls, you can decide to finish the walls yourself or invite specialists. But it should be remembered that only a good master knows all the features and subtleties of finishing works that are performed with expensive decorative mixtures. Therefore, in order to avoid mistakes, it is better to entrust this process to a competent specialist who has extensive experience. Especially when it comes to Venetian, Italian, silk, terrasite, artistic or author's relief plaster.
Having wondered how much a square meter of wall plaster costs, it is necessary to study in detail the prices for services offered by many construction organizations and choose the most appropriate option.
The price per square meter of wall plaster depends on several factors:
- surface geometry for plastering (marking, installation of beacons, leveling the base);
- the type of base on which the facing mixture will be applied;
- type of decorative plaster;
- method of applying textured plaster.
If the walls are pre-cleaned of the old finish, then there is no need to spend on dismantling the plaster from the walls, the price of which starts from 100 rubles / m², depending on the type of old finish, layer thickness and the total labor intensity of the work.
Today, the price of wall plaster per square meter of wall is on average 550 rubles, when using cement plaster. Work with decorative textured plaster will cost between 350-850 rubles / m². Covering with a relief mixture will cost 850-950 rubles / m². The cost of work with Venetian plaster will average 750-1350 rubles / m².
Wall cladding with textured plaster is a responsible and painstaking undertaking that requires minimal skills. To get an aesthetic and durable coating, you should choose the right finishing material, prepare the base and correctly plaster the walls in compliance with all the rules and recommendations.
