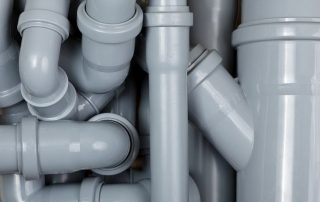
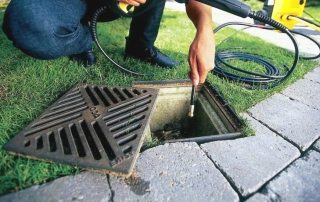
From this article, you will learn the features of such a design as a drainage system around a house: a drainage device at the foundation of a house, the rules for performing this procedure and the requirements put forward for storm sewers. You will be able to study in detail the technology of creating a wall-type drainage system, and also get acquainted with the prices for this type of work performed by turnkey specialists.
Content [Hide]
- 1 General information about the drainage system around the house
- 2 The main types of drainage and storm water around the house
- 2.1 Choosing a system for drainage of the foundation
- 2.2 Features of a high-quality drainage device around the house: the cost of work
- 2.3 Common drainage schemes for foundation and garden plot
- 2.4 Drainage device around the house: the price of the services of specialists in working with the foundation
- 3 Drainage system around the house: do it yourself drainage device
- 3.1 Organization of wall drainage around the house: how to do the installation correctly
- 3.2 Drainage technology around the house: how to do the bulk of the work
- 3.3 Do-it-yourself ring drainage around the house: how to install the system
- 3.4 Organization of drainage around the house with your own hands without pipes
General information about the drainage system around the house
Do not confuse the process of arranging drainage around the house with your own hands with waterproofing. These two concepts are incompatible, but the two technologies are not mutually exclusive. Together, they allow you to create reliable protection of the base of a residential building from moisture.
The organization of a drainage system for the house, or as it is also called - drainage systems, makes it possible to reduce the water level in a suburban area or completely eliminate excess liquid.
Note! The danger of overheating is possible both from the outside and from the inside. Outside, the base can be affected by flood waters, accumulations of precipitation. From the inside, groundwater causes flooding if it lies close to the surface. In this case, waterproofing protection comes in handy.
Even a well-made waterproofing is not able to properly protect the base of a residential building, its basement and basement from water penetration for a long time. Long-term exposure to moisture ultimately reveals weaknesses and gaps in the waterproofing. Drainage of the foundation at a high level of groundwater is simply indispensable.
Feasibility of arranging drainage around the house
Constant exposure to moisture can not only destroy the concrete base of the building, but also provoke the appearance of other negative impact factors.These factors include putrefaction, the development of fungi and other microorganisms that can live in the supporting structures of the building.
This result can be caused both by the lack of drainage of the foundation of the house, and by mistakes made in the calculations or direct installation of the system. Even if such a problem already exists, this does not mean that the situation cannot be corrected. The advantage of such a system is that the installation of wall drainage of the foundation can be carried out even after all construction work on the construction of the building has already been completed.
Installation of drainage systems for private houses is advisable in such cases:
- The site has a low-lying nature of its location - the lower the territory is located in relation to the surrounding landscape, the more urgent the problem of the lack of a drainage system becomes.
- The quality of the soil does not allow the absorption of moisture into the ground in a natural mode - loamy and clayey soil options slow down the processes of natural decrease in the water level at the site.
- The area is characterized by a high level of precipitation - storm waters are collected on the surface in such quantities that they simply do not have time to be removed by natural means.
- Groundwater is too close to the surface.
Note! Drainage schemes around the house should take into account the presence of waterproof coatings on the site. Such surfaces include walkways, vehicle entrances and rest areas with asphalt or paved tiles.
The main types of drainage and storm water around the house
It is quite easy to properly drain around the house, as well as installing a rainwater system in a garden area. The main thing is:
- perform the calculations correctly;
- choose the type of system corresponding to the site conditions;
- select materials suitable for technical and operational characteristics;
- carry out drainage of the foundation and blind area in accordance with the requirements and technology.
Choosing a system for drainage of the foundation
The type of system is selected based on what conditions the territory has. The more acute the problem with flooding the site is, the more decisive the protection measures should be.
The main types of surface systems:
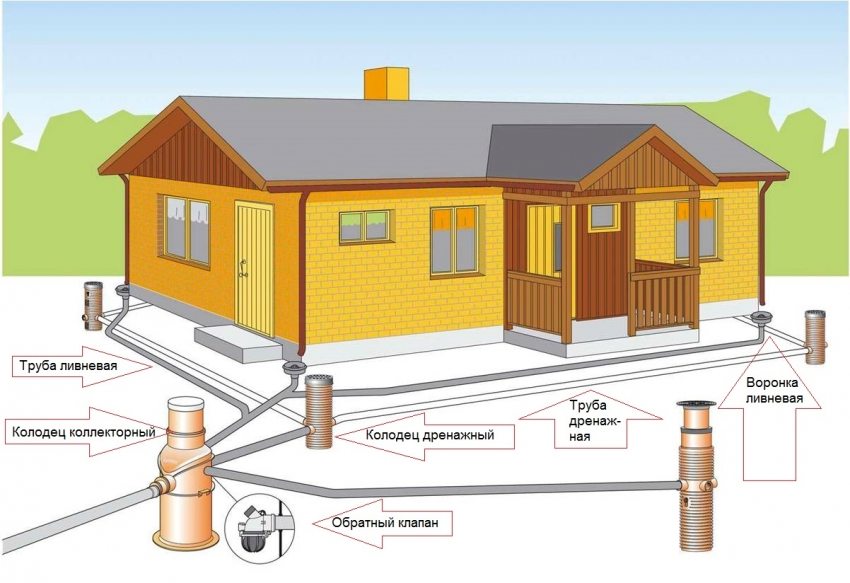
- storm drain or storm sewer - installing surface drainage around the house. Its main advantage is simple and affordable technology. Most of the work is carried out quickly and without the help of specialists. The disadvantages of this system include limited capabilities. The storm drain is capable of taking away only melted and storm moisture; it cannot cope with the problem of groundwater;
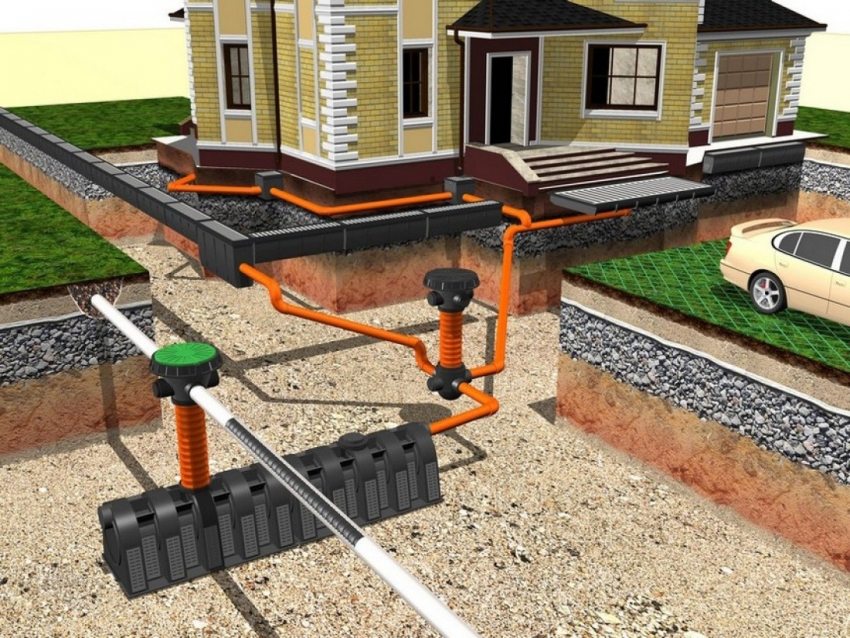
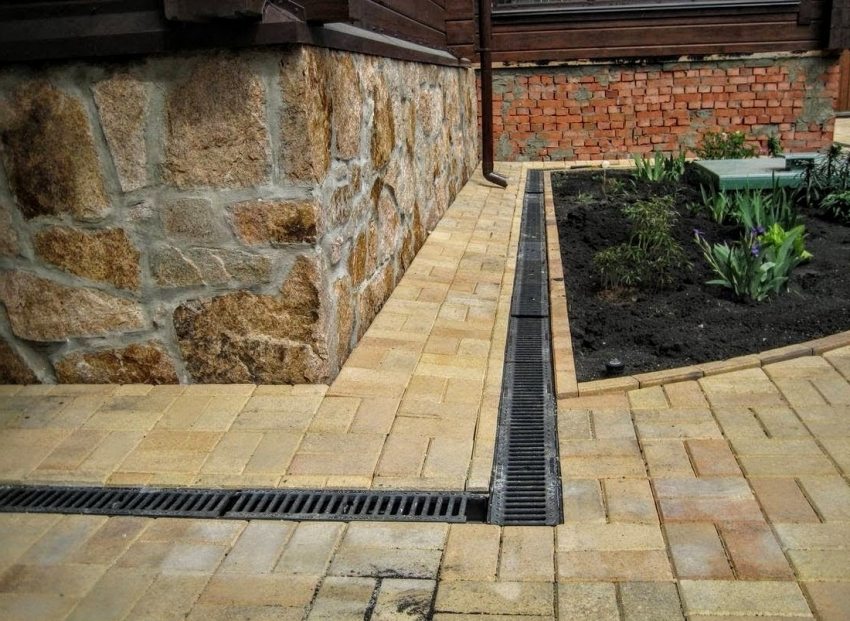
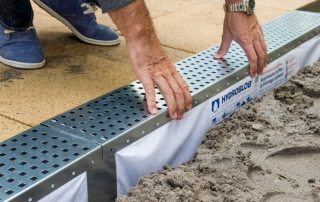
- linear system - covers a wide range of tasks, is able to drain the territory of the entire summer cottage and the area around the building. In this case, water moves through the channels and enters the well for drainage. In most cases, the channels are linear. Special grilles are put on top;
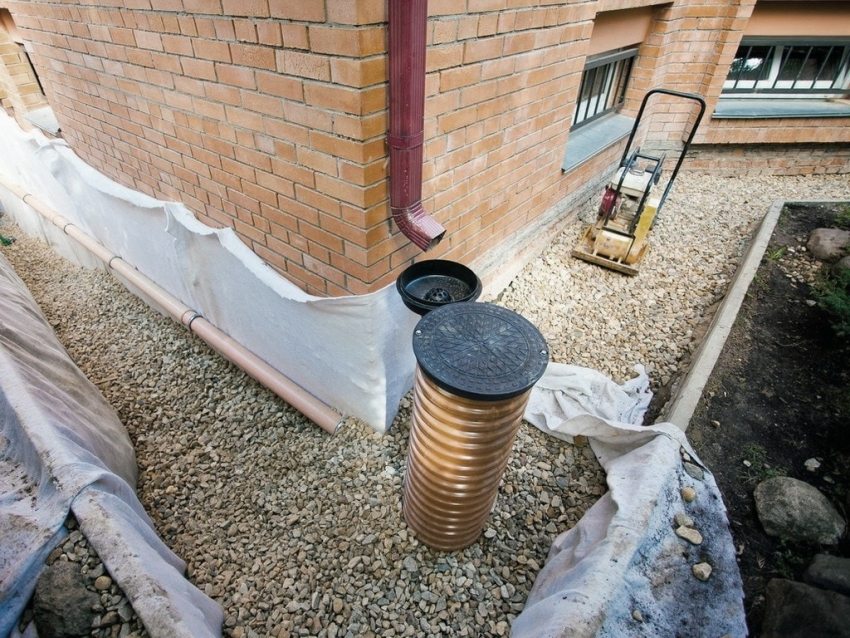
- a point system is a do-it-yourself foundation drainage option, which allows you to quickly remove excess moisture from locally located sources. These sources include sprinklers and downpipes. The point-type drainage is covered with decorative metal gratings. They prevent debris and leaf litter from clogging up the system. From each water intake point, drainage pipes are laid around the house with their own hands in accordance with a technology that assumes the subsequent connection of water transmission paths to a single highway leading to the well.
Helpful advice! Point and linear systems can be combined to create a combined drainage option to increase the efficiency of drainage around the building.
Features of a high-quality drainage device around the house: the cost of work
The price of drainage around the house on a turnkey basis, of course, is much higher than the cost of similar work done by yourself. But in this case, you get:
- guaranteed quality of the result;
- full compliance with all technological standards;
- accurate calculation of all parameters and the correct choice of materials;
- no errors fatal to the system;
- high speed of organization of turnkey foundation drainage.
Drainage price in the area around the house (stormwater):
| Service type | Depth level, m | Number of storm water inlets, pcs. | Price, rub / rm |
| Shallow storm water storm | 1 | 14 (maximum) | 1500 |
| 15 (minimum) | 1900 | ||
| Storm drain with deepening below the freezing level | 1,5 | 14 (maximum) | 2300 |
| 15 (minimum) | 2700 |
To the indicated cost of drainage around the house, the cost of installing each additional stormwater inlet is added, if necessary. It is 1500 rubles / piece.
To make a more accurate calculation of the cost, it is necessary to take into account the number of risers leading from the roof (for each riser, you should purchase storm water inlet), as well as the length of the building along the perimeter (based on this indicator, the molding of the system is determined).
Helpful advice! If you want to organize a system for the drainage of storm water, it is enough to limit yourself to the storm water of shallow depth (up to 1 m). It will be able to function only during the warm season. The system will cope with rain and melt water with a level of deepening below freezing of the soil (more than 1.5 m). This type sewers can be used in combination with cable-heated gutter systems.
Common drainage schemes for foundation and garden plot
All drainage systems around the house by type of location can be divided into two groups:
- drainage at the foundation of the building;
- drainage systems for garden plots.
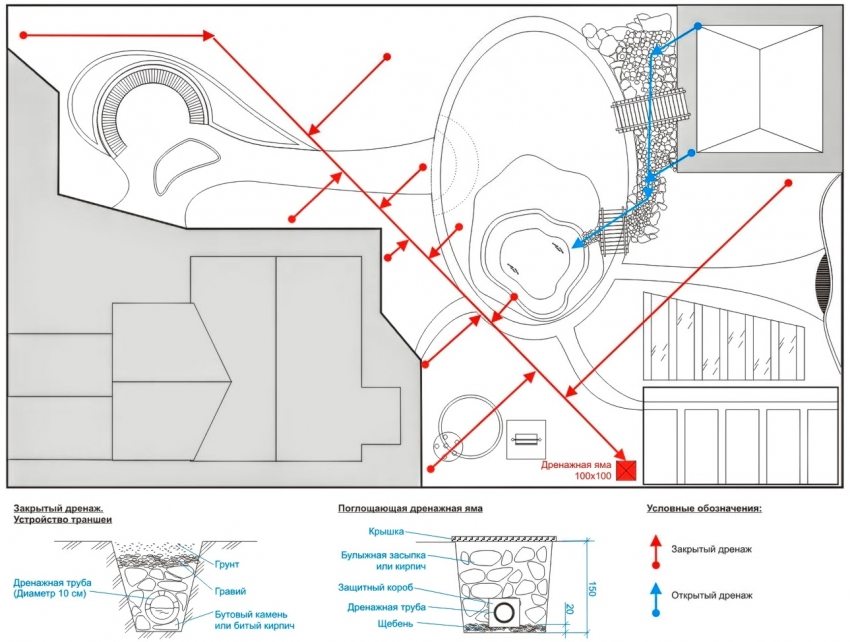
To organize stormwater and drainage structures for garden plots, the following schemes are used:
- Herringbone;
- "Partial sample";
- "Parallel placement".
In garden plots, closed or open drainage systems are installed. In other cases, other foundation drainage schemes are used: wall and ring.
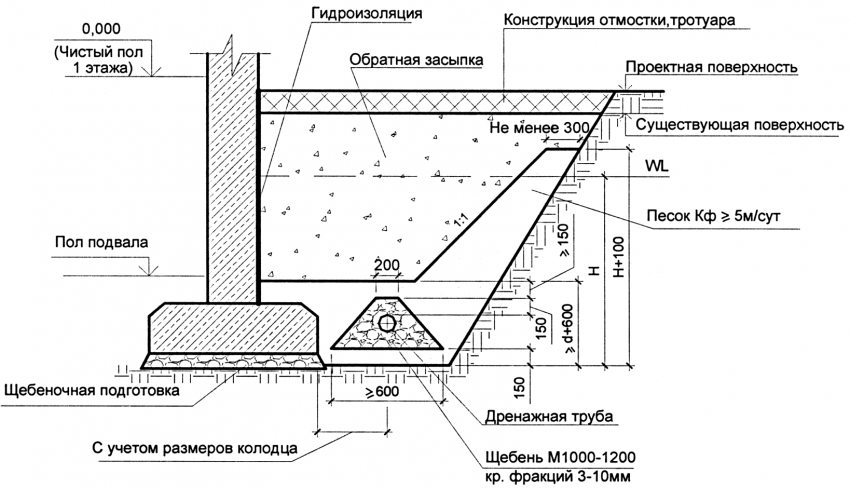
The wall drainage layout implies digging in and arranging a clay castle through the entire foundation around the perimeter. The width of this element is 0.5-1 m. This type of scheme is recommended for use if the building has a basement or is equipped with a basement floor. In this case, the depth of drainage around the house determines the level of placement of the floors. The pipes are placed about 25-30 cm lower than the floor surface.
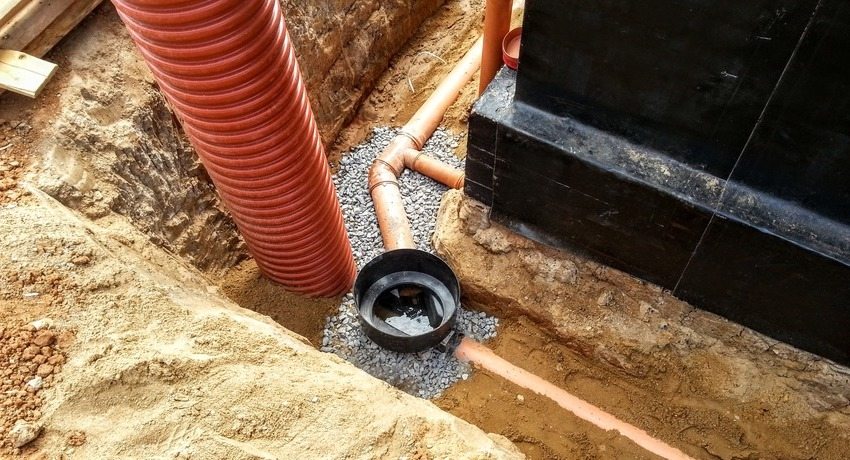
The drainage system at the base of the house consists of:
- sand pillow;
- geotextile film;
- pipeline (inner diameter 100-200 mm);
- sand interlayers with a drainage purpose;
- soil;
- clay interlayers (can be replaced with a waterproof film coating).
The scheme of ring drainage around the house involves the laying of trenches at a distance of 1.5-3 m from the building. To exclude moisture penetration into the zone located between the base of the house and the trench, it is necessary to organize a clay castle.
Helpful advice! Select the depth of the trenches taking into account the placement of the base of the foundation. You need to step back from it by 0.5 m. Thanks to this, you exclude the possibility of flooding the basement floor, as well as basements.
Drainage device around the house: the price of the services of specialists in working with the foundation
As in the case of storm drains, the prices for organizing a drainage system at the foundation depend not only on the length of the building around the perimeter, but also on the level of deepening of the drainage structure.
Arrangement of the ring drainage around the house: cost of work Full construction:
| Depth level, m | Price, rub / rm |
| 1 | 1500 |
| 1,5 | 2550 |
| 2 | 4600 |
| 2,5 | 7100 |
| 3 | 9450 |
The installation of a collector well for this system, complete with a pumping station, will cost about 35,000 rubles. Provided that the diameter of the product is 1 m.
The calculation of the exact cost of turnkey work is carried out taking into account the depth of the base of the house (the level of deepening depends on this indicator), as well as the length of the building along the perimeter (also take into account the necessary indent from the wall).
Arrangement of the wall drainage around the house: the cost of work Full construction:
| Depth level, m | Price, rub / rm |
| 1 | 1600 |
| 1,5 | 2450 |
| 2 | 4300 |
| 2,5 | 6900 |
| 3 | 9600 |
When installing drainage around the house according to this scheme, the same collector wells are used as in the previous case.
Drainage system around the house: do it yourself drainage device
To arrange the drainage of the blind area around the house or other similar system, soil analysis is carried out at the initial stage. As a rule, such data become known even during the construction of the foundation part of the building. For this, several wells are drilled (4-5 pcs.) In the construction zone to a depth of 5 m and the terrain is being studied.
On clay and loamy soils, moisture from precipitation and melting snow accumulates in the upper layer of soil. A similar situation occurs if groundwater flows at a depth of less than 2.5 m from the surface.
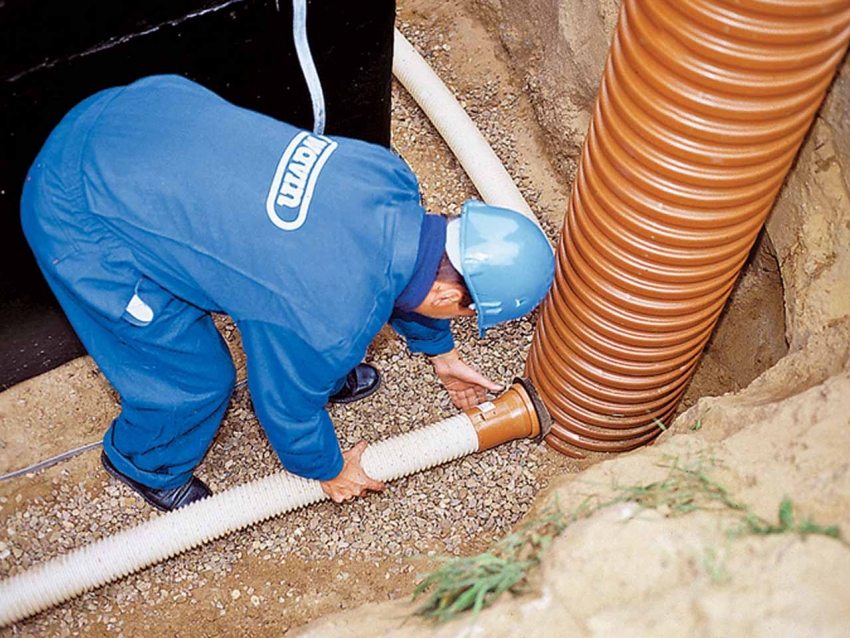
Drainage around the house slows down the process of destruction of the foundation due to the effects of groundwater
Helpful advice! If you are not confident in your own abilities, entrust the choice of a drainage system to professionals. In case of problems, specialists will be able to correct the causes of their occurrence.
Planning drainage around the house: how to do it right freezing depth calculation:
| Climatic zones | The depth of soil freezing, cm |
| Kurgan-Omsk | 210-220 |
| Orenburg-Kostanay | 180-200 |
| Vologda-Vyatka | 150-170 |
| Petersburg-Moscow | 120-140 |
| Rostov-on-Don-Kursk | 90-110 |
| Kaliningrad-Sevastopol | 70-80 |
The table shows the maximum freezing limit. In practice, this figure is usually less by about 20-30%.
Organization of wall drainage around the house: how to do the installation correctly
Before installing the drainage system around the house with your own hands, you need to perform a number of preparatory work, since this structure will adjoin the foundation of the building. Preparation includes:
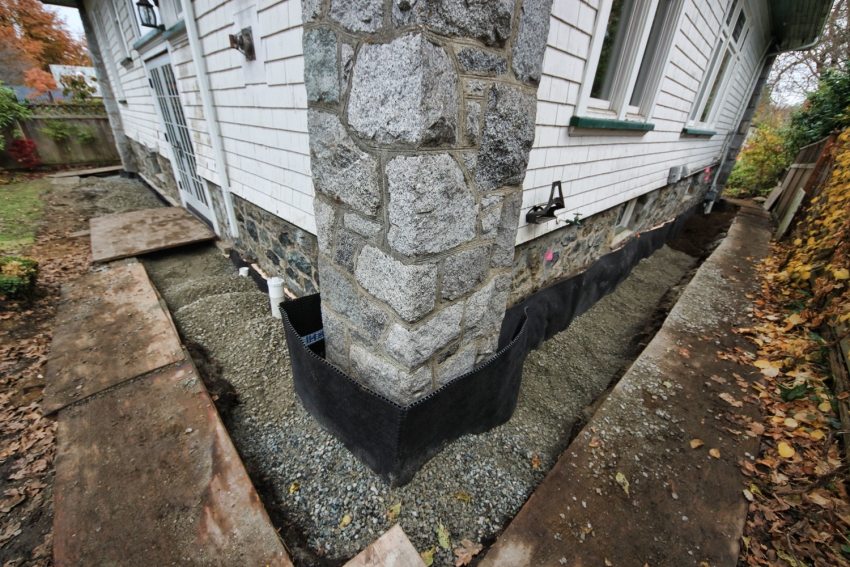
- Treatment of the base with a bituminous primer from the outside.
- Application over the dried surface of bituminous mastic.
- Gluing a reinforcing mesh with a mesh size of 2x2 mm.
- Drying the surface during the day.
- Application of the second layer of bituminous mastic.
The pipe-laying pattern can be influenced by the specific gravity of the soil. The data for the main soil categories are presented in the table.
Distance between drains for do it yourself drainage devices around the house:
| Pipeline installation depth, cm | Optimal distance between pipes, cm | ||
| Light soil types | Average soils | Heavy clay soils | |
| 450 | 450-550 | 400-500 | 200-300 |
| 600 | 650-750 | 500-650 | 300-400 |
| 900 | 900-1100 | 700-900 | 400-550 |
| 1200 | 1200-1500 | 1000-1200 | 450-700 |
| 1500 | 1550-1800 | 1200-1500 | 650-900 |
| 1800 | 1800-2200 | 1500-1800 | 700-1100 |
Helpful advice! When drawing up a pipeline laying scheme, take into account not only the specific gravity, but also the type of soil. On sandy soils, the optimal pipe-laying step is no more than 50 m, on clayey - 10 m, on loamy - 20 m.
Drainage technology around the house: how to do the bulk of the work
The procedure for creating a foundation drainage with your own hands on clay soils:
- in the lowest place of the site, a collector well is being installed;
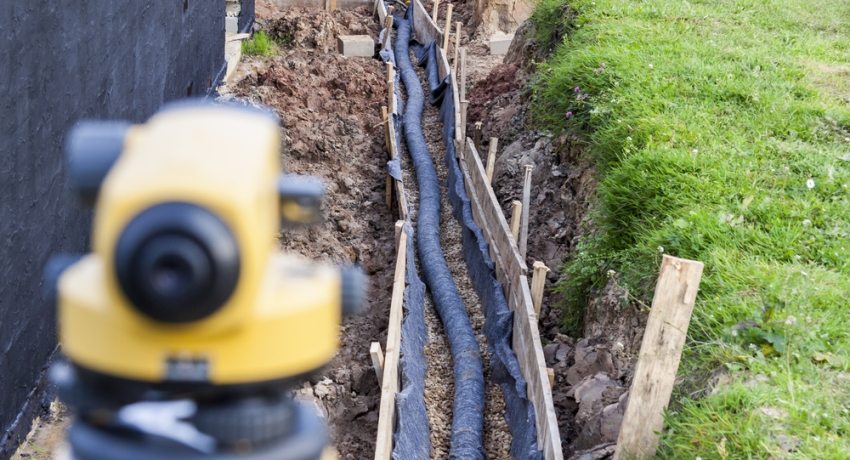
- a trench is formed along the foundation with a slope towards the drainage basin, which is regulated using the building level;
- a sand cushion is created at the bottom of the trenches 5 cm thick;
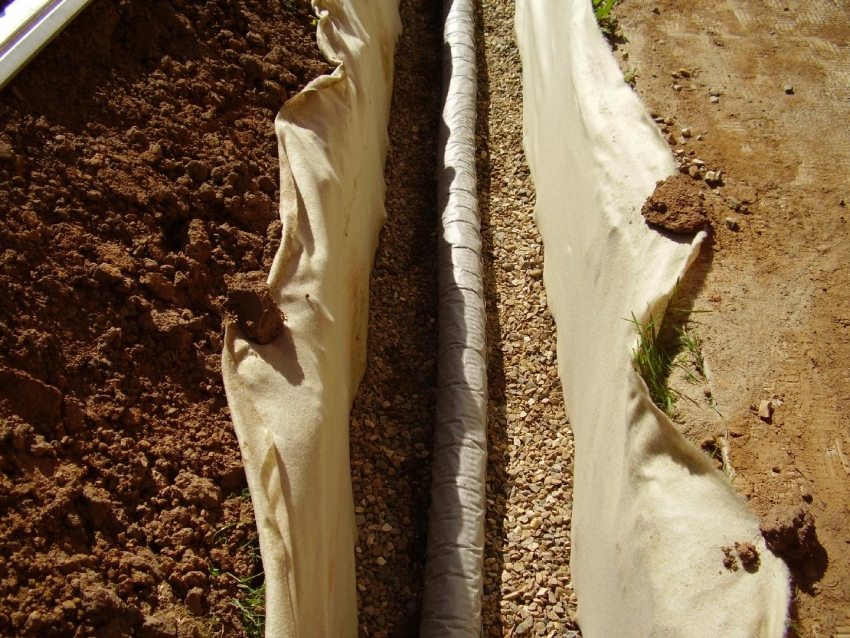
- is laid on top of the sand cushion geotextile fabric with a margin so that the ends of the canvas can be overlapped;
- the formation of a gravel cushion 10 cm thick;
- installation of pipes at an angle of 2 °;
- docking of pipeline elements using angle connectors and adapters;
- viewing wells are placed in the corners of the structure. A pipeline with a slope is laid from them to the catchment well;
- formation of a gravel embankment with a thickness of 10 cm;
- wrapping pipes with gravel with free ends of geotextile fabric, which is fixed with strong synthetic ropes;
- filling trenches with earth or sand (depending on the type of soil on the site).
Do-it-yourself ring drainage around the house: how to install the system
To install this system, it is required to make a closed system of trenches around the structure, taking into account the fact that their depth should exceed the level of the foundation by 0.5 m.
Helpful advice! Use perforated pipes in your work. The trenches must be removed from the base of the house by 5-8 m, otherwise the soil around the structure will begin to sink.
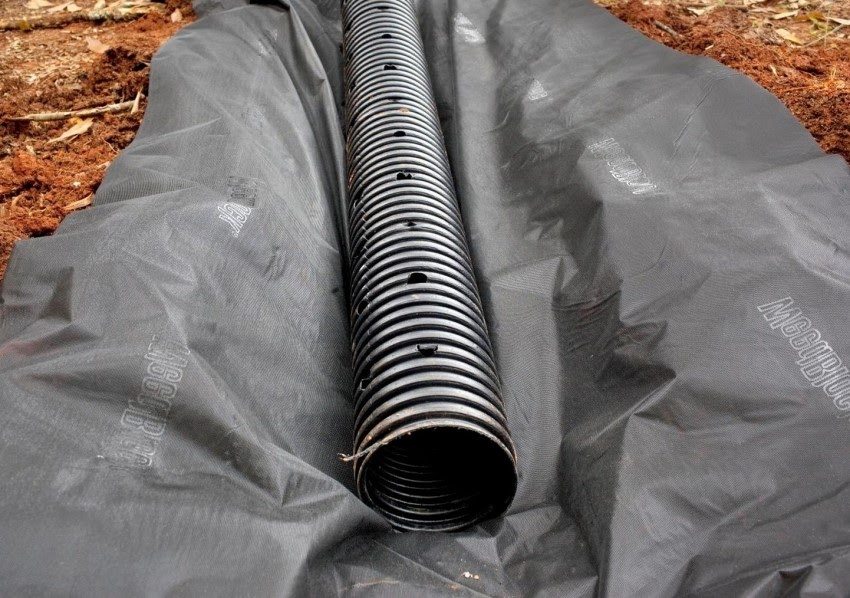
Drainage pipe for drainage system
In this case, the trenches should also be located with a slope towards the water collection well. The minimum slope is 2-3 cm / rm. By adding sand or removing it, this indicator can be controlled.
Step-by-step technology for arranging drainage around the foundation:
- Sand is poured at the bottom of the trench and geotextile fabric is laid with a margin (free edges must be wrapped around the walls of the trench).
- A crushed stone pillow 10 cm thick is formed.
- Installation of a pipeline with a diameter of 10 cm or more with an angle of inclination of 2 ° is in progress.
- Installation of inspection chambers is carried out in those places where the pipes turn. On straight sections, wells can be installed at a distance of 12 m from each other.
- An embankment is made of gravel or crushed stone (the thickness of the layer is 20-30 cm).
- Wrapping with free edges of geotextile fabric is performed.
- The trenches are filled to the top with sand and earth.
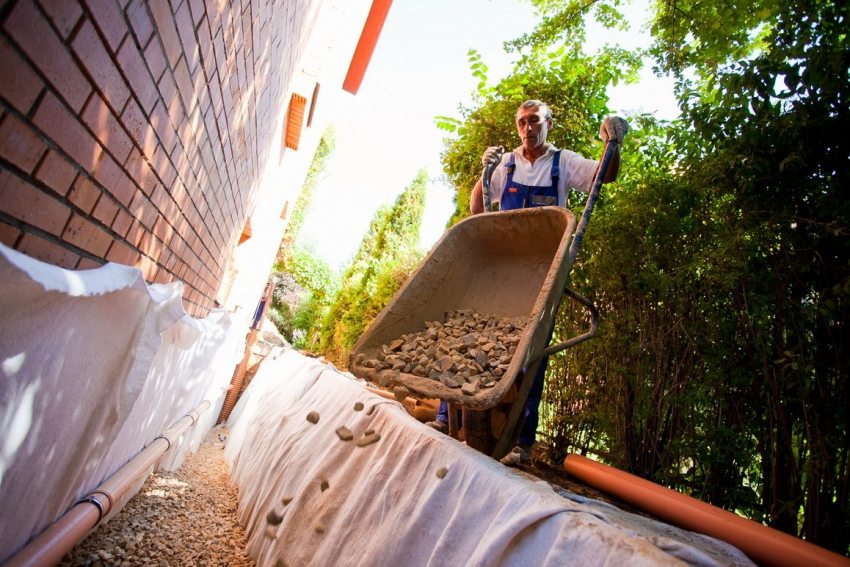
Closed drainage, subject to the technology of the device and correct operation, effectively collects water for many years
Organization of drainage around the house with your own hands without pipes
The process of arranging drainage around the house can do without the use of pipes and even rubble. Alternative types of drainage:
- Backfill system - as a filler for trenches, improvised materials (fragments of concrete, broken brick, stones, pieces of hardened cement) and necessarily geotextile fabric are used.
- Drainage based on plastic bottles - the material with screwed caps is laid longitudinally in trenches, covered with turf and earth.
- Fascin system - bunches of brushwood with a diameter of 30 cm are used, tied with nylon laces or wire.
- Pole drainage - at the bottom of the trenches, the installation of spacer sticks is performed, where small young trees or long knots are then placed.
- Board system - boards are placed on the bottom of the trenches in such a way that a triangle is formed in cross-section, with its top directed downward. It is recommended to put moss on the boards as a filter before filling with earth.
However, such systems can behave unpredictably and it is impossible to predict the drainage service life from available materials.
Use the video below for a more detailed consideration of the classic technology of creating do-it-yourself drainage around the house. Only in this case you will be able to achieve a really high-quality, effective and durable result. By adhering to the technology requirements, you will have a reliable drainage system, even if you create a gravel trench system without piping.
