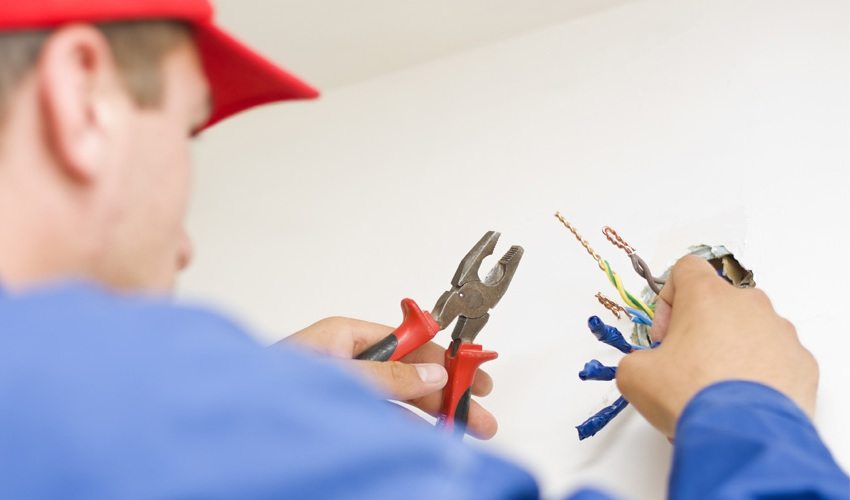
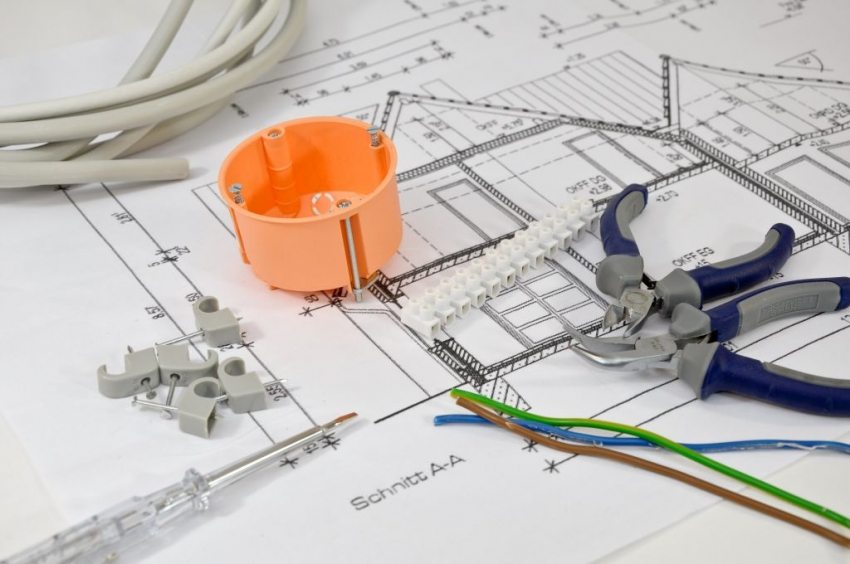
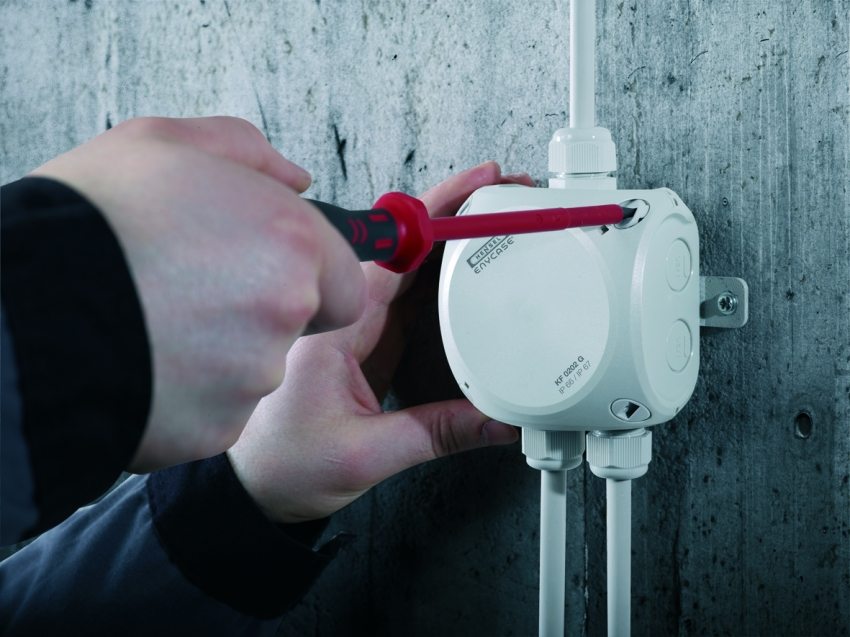
One of the main difficulties arising in the process of installing electrical wiring with your own hands is the need to connect the wires in the junction box for wiring. In order to prevent common mistakes, and, as a result, malfunctions of switches or sockets, we will consider each stage of independent work.
Content [Hide]
What is an electrical junction box for?
Almost everyone, one way or another, has an idea of what a junction box looks like. But not everyone knows why it is actually needed, and how it works. Consider the general data that we know about this element. electrical wiring.
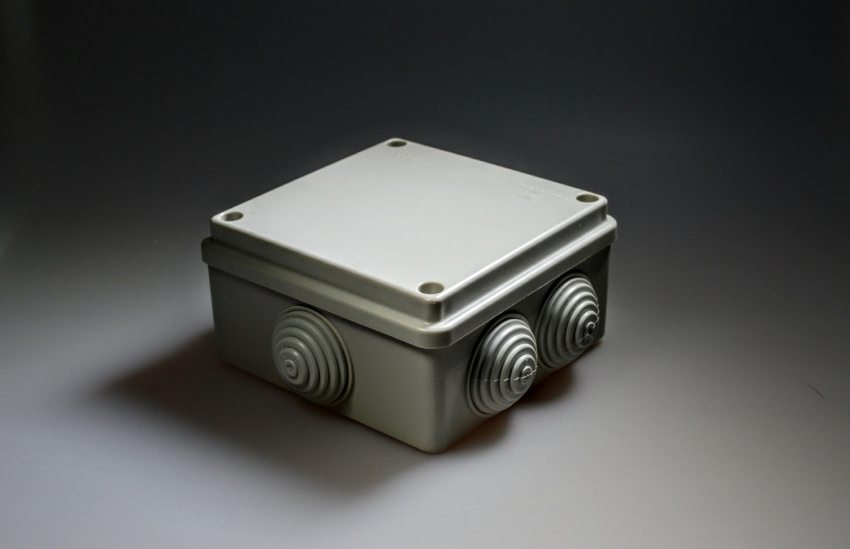
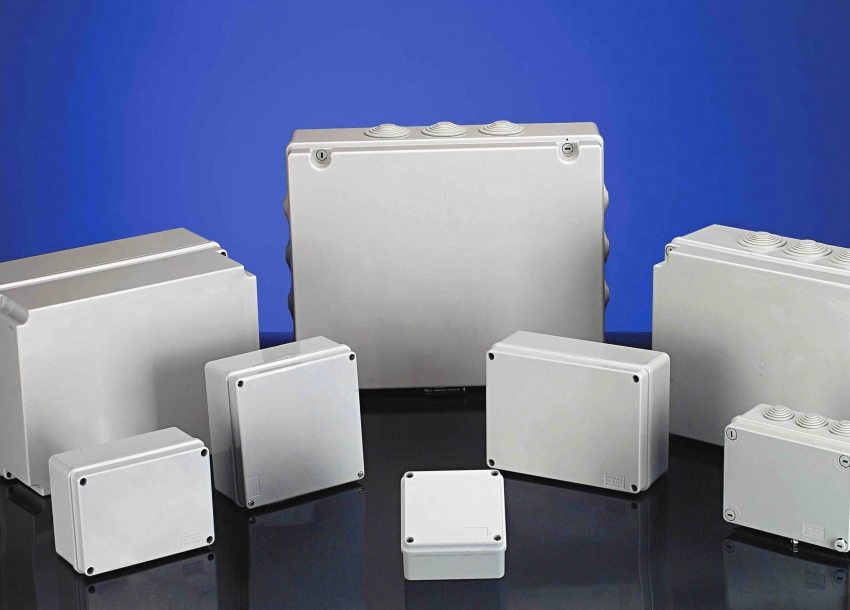
Junction boxes vary according to their shape and application. Some are rectangular and some are round. This parameter has no effect on functionality.
As for the features of the application, they distinguish here:
- junction boxes for hidden wiring;
- junction boxes for exposed wiring.
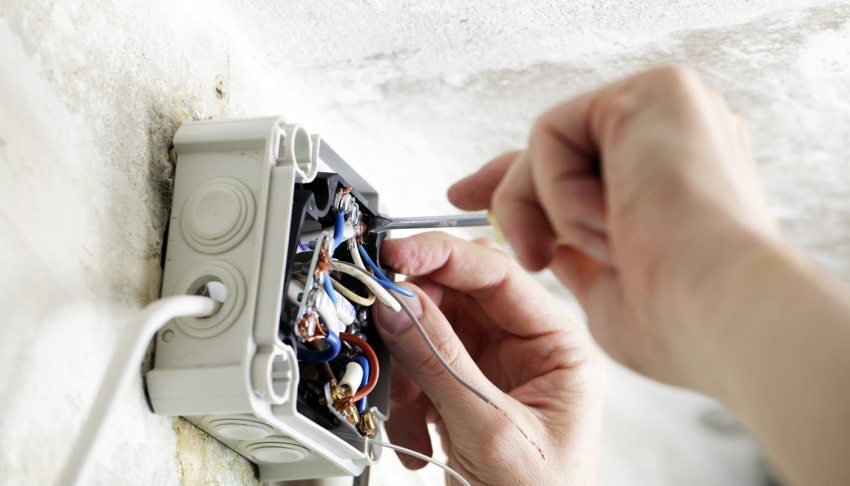
They differ from each other in the method of fastening, in some features of the device, and in some cases in size. In any case, they have one single purpose - the separation of wires from the shield to separately located power consumption points, for example, switches, lamps, sockets. At the same time, the distribution of electricity must be uniform in order to avoid interruptions in the operation of devices.
To achieve this goal, electrical wiring is divided into separate lines or so-called groups. Separate wires are laid in each room, which will supply the devices with electricity, ensuring their operation. It is at this stage that the junction boxes appear. They are installed at the nodal points where the wires are connected to each other.
It is necessary to buy a junction box for electrical wiring, first of all, for reasons of fire safety. Since it is at the points of wire connections that the risk of a fire source is greatest. If the contact is broken, the resistance increases and the connection begins to heat up. In some cases, this can cause a fire.
Outdoor electrical distribution boxes serve as an insulating layer between a potential fire and surrounding objects. In addition, they also have a significant aesthetic role, hiding not always beautiful wire connections from the eyes.
Is it possible to do without junction boxes
Some argue that the presence of junction boxes in the house is not necessary at all. But in fact, in order to do without them, it is necessary to lay a separate wire from the shield to each place of electricity consumption. To do this, you will need to make a lot of sufficiently deep and wide strobes in the wall to lay the wires in them in several rows. All this will entail additional costs of finance and effort.
If, when refusing to use junction boxes, we are guided by the fact that the laying of individual wires generally excludes the presence of connections in the wiring, and therefore is safer, then there is a good answer from specialists. The connection of wires, carried out in accordance with all norms and the wiring diagram in the junction box, does not pose a danger. In any case, you can always turn to specialists for help.
Junction box: dimensions and prices
Each junction box has a number of its characteristics, among which size and price play a special role. Consider the three most popular options that are customarily installed in residential buildings:
- Distribution box 100x100x50 mm IP54.
- Distribution box 80x80x40 mm for outdoor installation IP55.
- Distribution box IP65 88x88x53 mm.
The first option is one of the most affordable and at the same time widespread. For example, a Tyco junction box can be purchased for only 50 rubles. Its low cost is due to domestic production, as well as the minimum configuration (body and lid).
The second option also has a minimum cost - 46 rubles. It is made of propylene and LDPE. Of course, it cannot be said that it will ever be able to compete with metal junction boxes, but it more than fulfills its function of protecting wires from precipitation and wind.
The third option, made in Germany, will cost you a little more, about 211 rubles. At the same time, the characteristics and dimensions of the junction box differ little from the first two options. However, according to the manufacturer Hensel, the plastic that is used to manufacture their products is of very high quality and meets all the requirements for electrical wiring elements.
Of course, these are all fairly simple and cheap options. Electrical junction boxes with terminals will cost many times more. But even here we can say that their price is justified by the simplicity of connecting wires and their further maintenance.
Helpful advice! If you do not want to skimp on safety, then it is worth considering purchasing an explosion-proof junction box.
Junction box with terminals
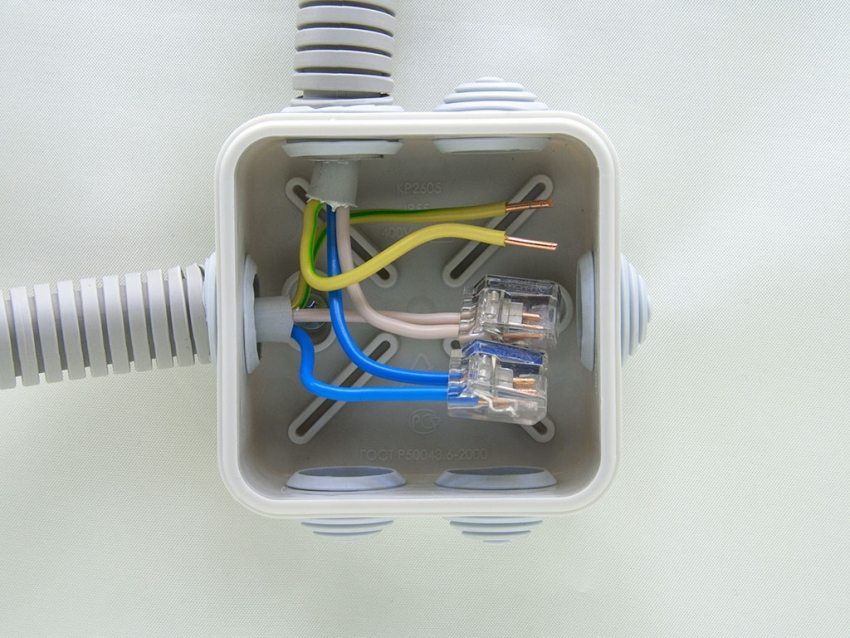
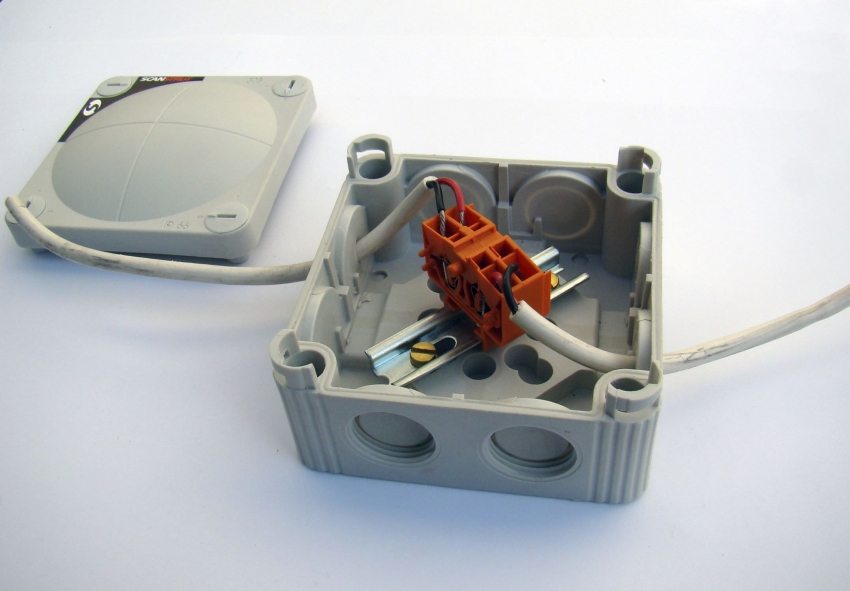
Terminals occupy a special place in the arrangement of electrical wiring. The installation of this type of junction box is the easiest and does not require special skills.The bottom line is that the box is already equipped with special clamps that are designed to connect wires. Compared to conventional junction boxes, such junction boxes have a number of advantages:
- installation and dismantling of conductors is carried out many times faster, and there is no need to use any additional tools;
- thanks to the use of a special paste, you can connect wires made of different materials, for example, copper and aluminum;
- a special wire placement system helps to maintain order in the box, which reduces the risk of a short circuit to zero;
- The special design allows for easy current measurements without the need to remove insulating materials from the wires and does not affect the integrity of the system at all.
For exposed wiring, junction boxes of this type have become the most popular option. After all, the lack of the need to independently twist and connect the wires made the use of terminals very convenient. There are many different options on the market today, including an explosion-proof terminal box.
Connecting wires in a wiring junction box in different ways
It is generally accepted that good contact is the result of properly connecting the wires together. If the work was not done well enough, it will immediately become noticeable due to weak contact or its complete absence. In addition, problems can arise at the moment when you plug in some powerful enough device.
All this, of course, causes a lot of discomfort. And it is much easier to take care of this in advance, even at the stage of installation of electrical wiring, than trying to solve this problem over time. Consider the most popular ways to connect wires to each other:
- twisting wires in a junction box;
- crimping;
- welding;
- spike;
- use of contact screw terminals;
- bolted connections;
- self-clamping.
All these methods are simple enough to implement and do not require special skills. Let's take a closer look at each of them to get an idea of how best to connect the wires in the junction box.
How to properly connect the wires in the junction box
In order to independently carry out all the work correctly, you should take into account only one main requirement that applies to the installation of junction boxes: it is necessary to provide free access to all wire connection points. This is necessary in case of a malfunction of one of the outlets or switch.
Note! If during the initial installation the junction box is hidden behind the finishing coating, then at the first malfunction it will have to be completely removed in order to carry out repairs.
The problem may not always be hiding there, but it will never be superfluous to check for contact. Therefore, think over everything in advance so that any repair work can be carried out as easily and quickly as possible. In this case, the connection of the wires in the junction box can be done in any way convenient for you, which will be discussed below.
Connecting wires in a junction box by twisting and crimping
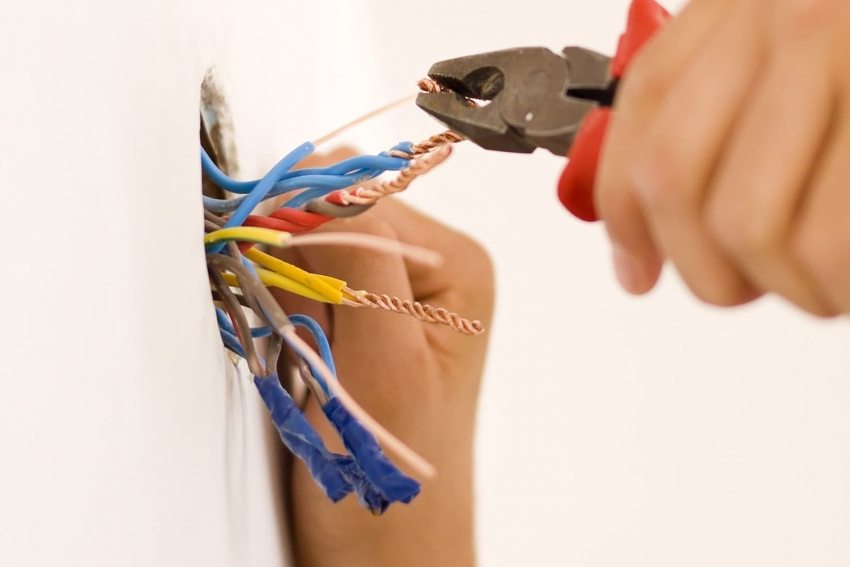
Almost everyone knows how to twist peeled wire ends. However, when it comes to connecting wires in a junction box, it is worth remembering the regulatory documents that illuminate this issue.
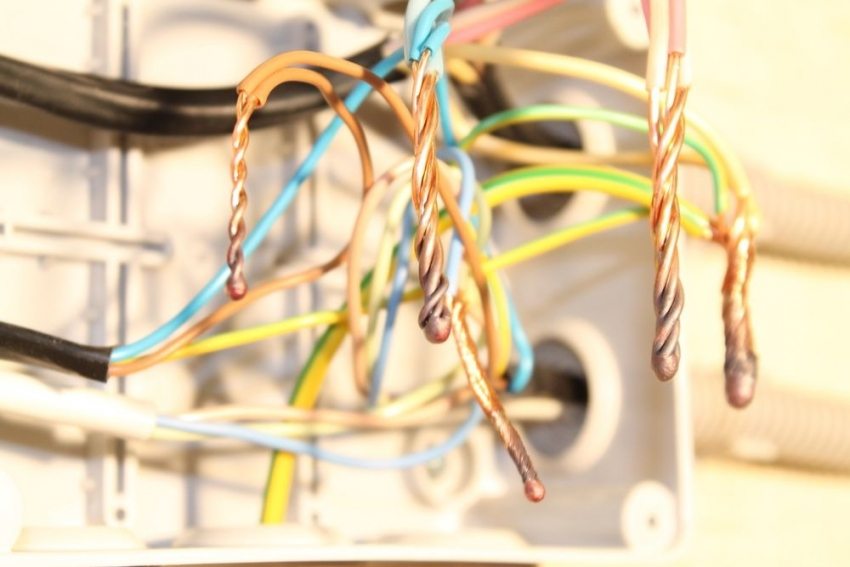
Twisting is considered an unreliable connection option, since the contact area is very small, and it is impossible to count on full contact between the wires.In addition, over time, even this small contact tends to weaken, which makes it impossible to use powerful devices that put a serious load on the system.
A much more reliable method is considered to be crimping, for which a special connecting sleeve is used. The main parameter of its choice is the thickness of all wires that will be placed in it. The material of manufacture can be either copper or aluminum, and the choice depends on what material the wires themselves are made of.
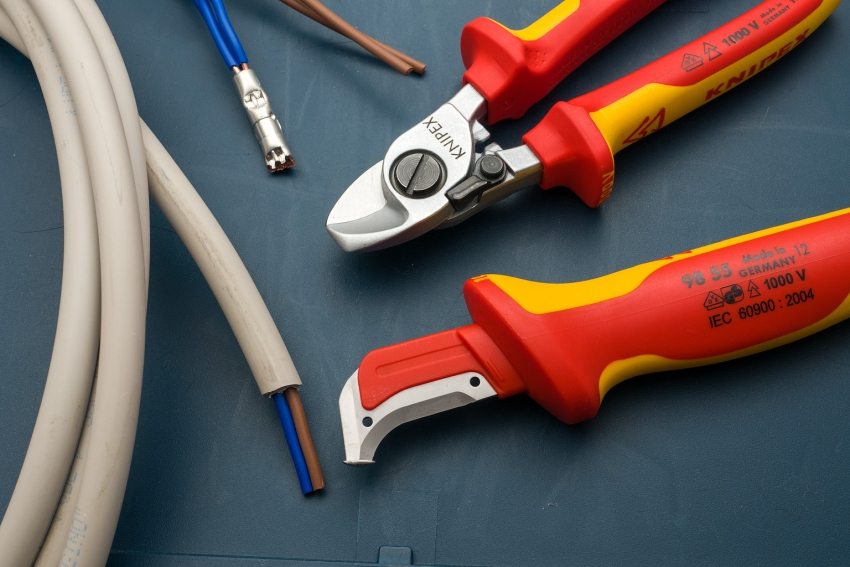
In order to ensure fixation, a special tool is used with which the sleeve is compressed. This can be done only with press pliers. Use for this pliers strongly discouraged. Otherwise, this technology fully complies with all norms and requirements stipulated by regulatory documents.
Here's how the wires are connected in this way:
- the insulation is stripped from the wires taking into account the required length, that is, the length of the sleeve used;
- the stripped ends of the wires are twisted and inserted into the sleeve;
- using press tongs, the sleeve is crimped;
- with electrical tape or heat shrink the junction is isolated.
How to connect wires in a junction box by welding
This method is considered to be very reliable, since as a result of the work, a single whole wire is obtained, which practically does not lend itself to oxidation. By fusing the wires together, you get a reliable contact that will not weaken over time. However, the implementation of this method is a little more complicated than the previous one, because you need welding equipment and the ability to handle it.
List of tools that are required to carry out work on welding wires:
- a welding machine with a power of at least 1 kW and designed for 24 W;
- carbon electrode;
- rosin or flux, which will further protect the metal part of the wires from oxidation;
- personal protective equipment: goggles and gloves for welding.
If you have at least minimal skills in working with a welding machine, as well as all of the above components, the further stages of work will not be particularly difficult for you. The insulation is cleaned from the wires, and their inside is cleaned with sandpaper to a shine.
Then twist the wires in the traditional way and pour the flux into the recess of the electrode. Press the wires against it and hold until you see the appearance of a ball, the so-called contact point. After that, the process of connecting the wires can be considered complete. It remains only to clean the junction of excess flux, varnish and insulate.
Soldering wires in the junction box
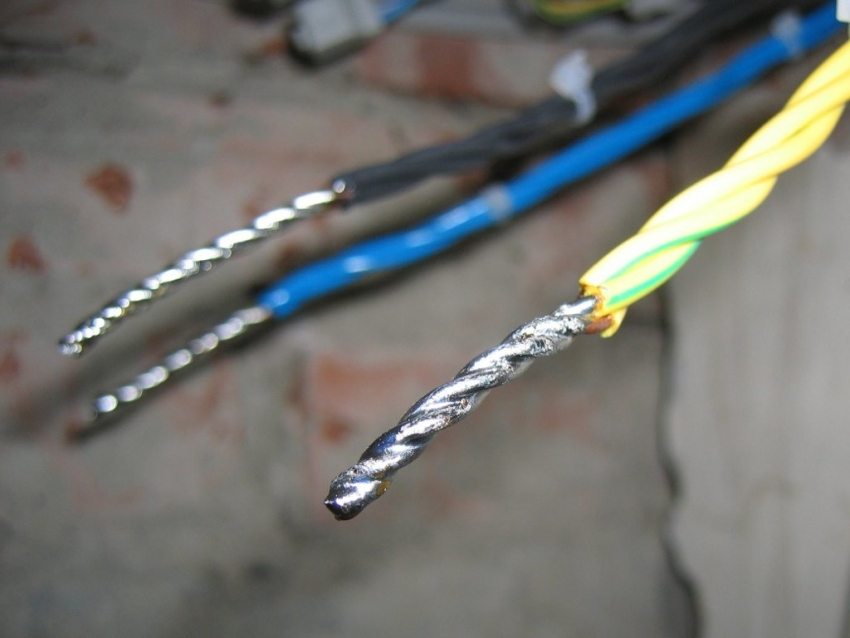
At first glance, this method is similar to the welding method, but it has a significant difference. Solder melted with a soldering iron is used to solder the wires together. This is an approved method and provides a reliable connection. Its only drawback is that it is not very reliable in places where the wires are subject to strong heating.
Note! If you do not know how to solder, then it is better not to use this method. The connection may become too fragile, and with the slightest mechanical stress or tension, the wires may simply break at the soldering point.
In order to solder the wires, you will need:
- soldering iron;
- tin-lead solder;
- rosin or flux;
- in the case of using a flux - a special brush for it;
- fine sandpaper.
For the most part, the process of connecting wires is done in the same way as welding. But it is not the metal itself that melts, but only the solder. In this case, you need to carefully monitor that the molten solder must flow into the twist for a more reliable bond.For the most part, this method is used to work with copper wires, however, subject to the availability of special solder, the same can be done with aluminum.
Using screw terminals and bolted connections
The use of screw terminals is a fairly common method used by many because of its simplicity and convenience. However, it also has its drawbacks, which it is useful to know about before starting work.
Initially, screw clamps were used to connect different metals together, which should not touch. For example, it could be copper and aluminum, which, in the presence of moisture, begin to interact with each other. Over time, this method began to be used to connect wires. And it was even fixed at the level of regulatory documentation.
Note! When using this method for aluminum wires, you need to know that they will require periodic crimping so that the contact does not get lost or weaken over time.
Bolted connections are also quite often used to connect wires, however, when it comes to hiding them after that in a junction box, then this method can be considered unsuitable. It's all about the bulkiness of the connections.
In order to connect the wires in this way, you need to insert a steel washer between them. This happens in the following sequence: a washer is put on the bolt, then one of the wires is put on, and then another washer. This is followed by a second wire and a nut that tightens the system. Of course, all this also requires good isolation, so the volume of the connection turns out to be decent.
Helpful advice! This method has its advantages - it is well suited for combining different metals, since you can put a special paste inside that prevents oxidation processes.
Wiring Junction Box Installation
Having figured out the ways in which the wires can be fastened together, we will consider how to install the system itself using the example of an IP55 junction box for outdoor installation 100x100x50 mm.
Most often, the installation is carried out in a blank wall of brick or concrete. This can cause certain difficulties in the process of how you will drill a niche for it, but the system will be securely fixed. If the box has round holes, special punch crowns can be used. For rectangular or square, use a grinder with a special diamond disc designed for working with concrete.
After the niche is ready, be sure to try on the junction box for it to make sure everything is prepared correctly. The junction box must fit completely into the wall so that after installation its front surface is flush with the wall.
Some junction boxes have special plugs that are specially designed in order to lead the cable in these places. They must be carefully broken or cut out, while maintaining the integrity of the overall structure. The ends of the wiring are started in them according to the diagram.
When you are sure that all the wires have been routed into the junction box, you can begin to prepare the mortar to fix it. The fixation principle is very simple:
- a certain amount of solution is poured into the niche prepared for the junction box with a spatula;
- the box with the cables already wound is pressed in as deeply as possible;
- excess solution protruding on the sides is removed;
- if necessary, the box can be held by hand for the first few minutes to allow the solution to grasp a little.
Helpful advice! Alabaster can be used instead of mortar.It dries much faster and will also support the weight of the box just as well.
Both in the work with the installation of a junction box for open wiring, and in the case when it comes to a closed system, high-quality installation largely determines the life and quality of the wiring service. The main thing in working with electricity is to correctly assess your capabilities and, if necessary, seek help from professional electricians.

