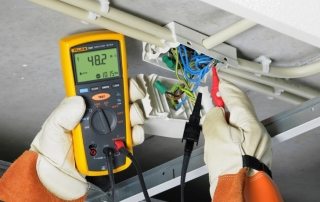
Light distribution has always mattered in interior design. With the advent of LED technology, LED strips have been used in almost every interior. With their help, you can visually change the geometry of the room, highlight the contours of furniture, illuminate decorative elements. The tape attaches easily to surfaces and can be used to frame complex curved paths. The connection diagram of the 220V LED strip to the network is simple, which allows you to install it yourself.
Content [Hide]
Advantages and Applications of LED Strips
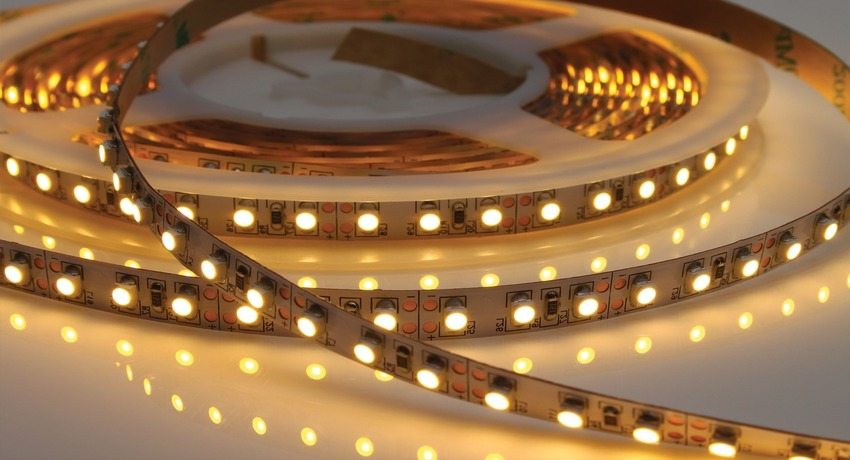
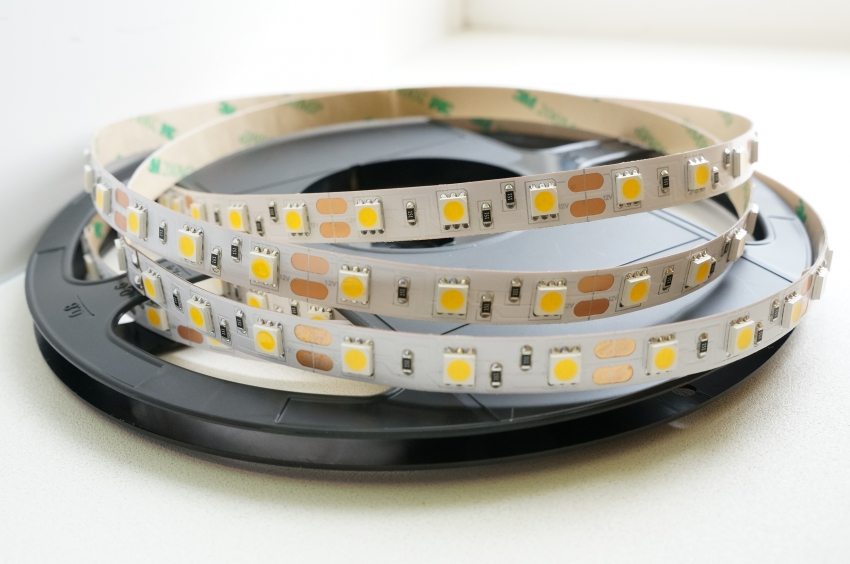
LED strip is a flexible printed circuit board with soldered to it LEDs... Applications for such lighting include outdoor advertising, traffic signs, interior and landscape design, electronic displays, portable device backlights, and even LED wallpapers.
Such widespread use of LED strips is due to a number of unique advantages:
- easy and quick installation - most tapes have double-sided tape on the back, which greatly facilitates fixing the cable to any surfaces;
- economical use - LEDs are characterized by low power consumption;
- duration of operation - a long service life, unlike traditional incandescent lamps and fluorescent lamps;
- environmental safety - do not contain substances harmful to health and the environment, due to the uniform distribution of light, they do not have a negative impact on vision;
- the ability to function in harsh operating conditions - withstand small vibrations, shocks, moisture, low temperatures;
- small size, flexibility and moisture resistance allow the use of ribbons in interior design, landscape design, advertising for illumination, distributed along the length;
- no heating - can be used for mounting on any surface: plastic, glass, acrylic and others;
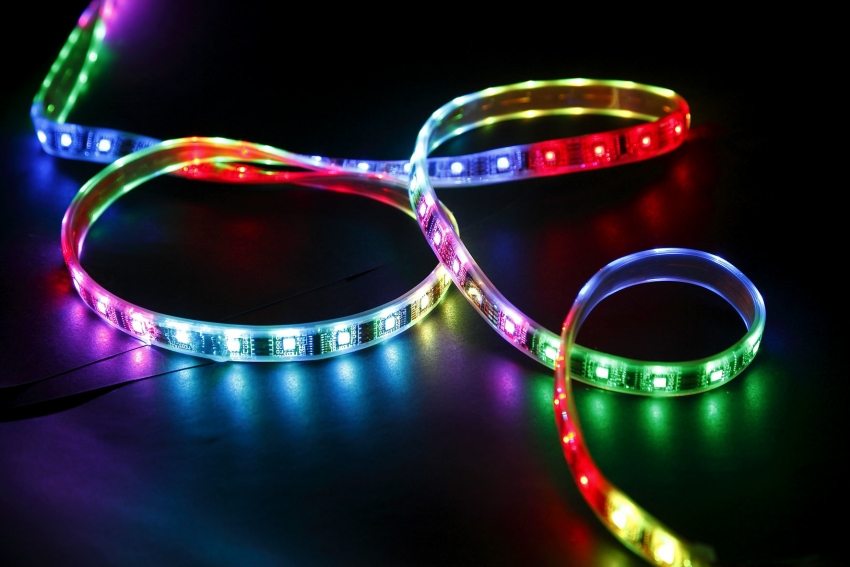
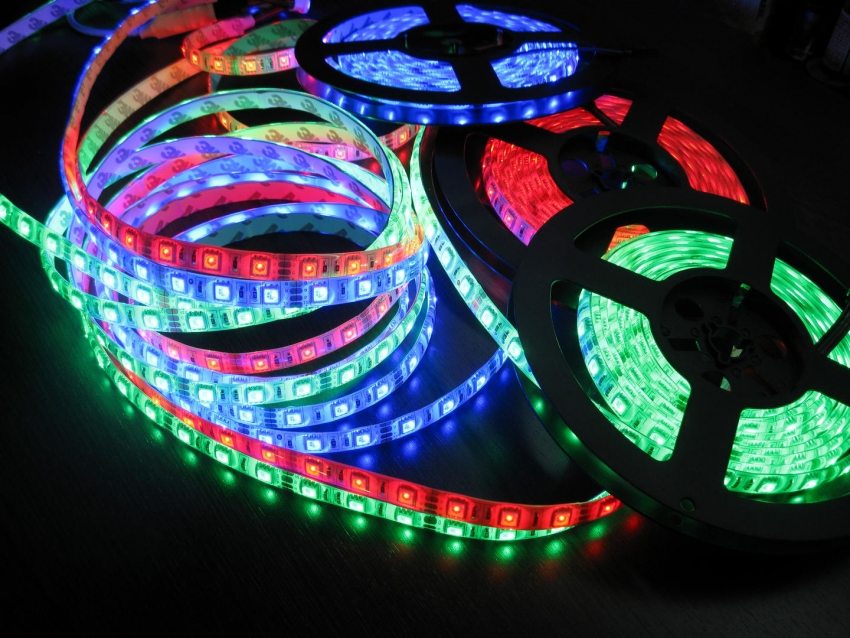
- a wide range of shades of light - by connecting an RGB LED strip with a controller, you can set any color to the loop.
Using LED strips, you can realize any ideas of the creators of home comfort.They are used for contour lighting of ceilings, floors, steps, as well as pieces of furniture and decorative elements: paintings, panels, aquariums. By applying such lighting in hard-to-reach areas, you can beat the flaws and emphasize the advantages of the interior.
Related article:
LED strip for lighting ceilings. Basic accommodation options. Basic rules and subtleties of choosing such backlighting options. Examples of LED strip placement on the ceiling. Features of its installation.
LED strip for ceiling lighting
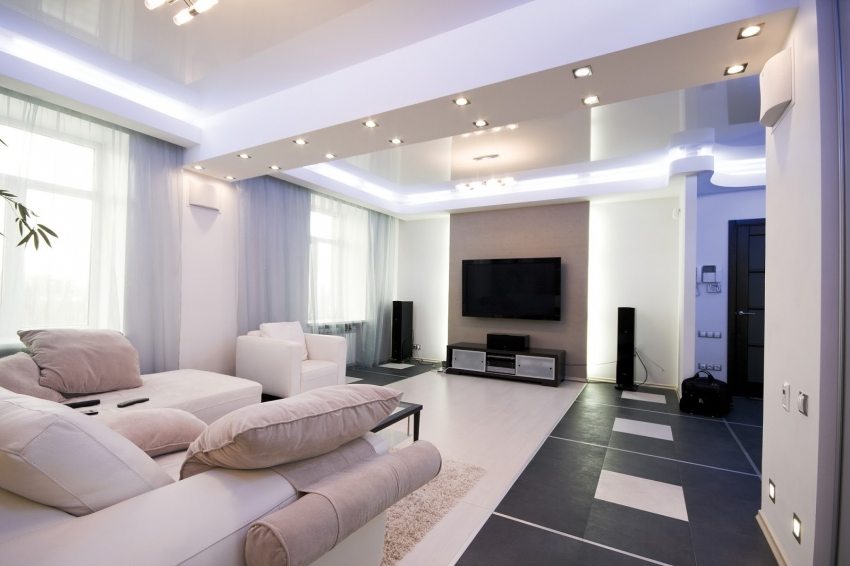
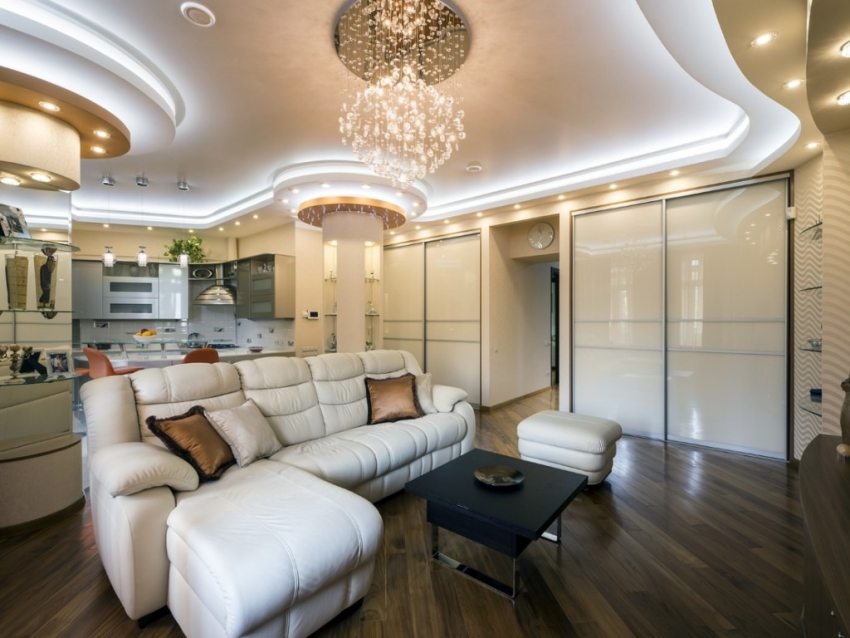
Due to its compact size, installation of the LED strip on the ceiling does not require large recesses: it usually takes several centimeters to accommodate it. Depending on your preferences, you can use monochrome ribbons emitting a glow of one color or colored trails, adjusting which you can get almost any shade. A photo of the ceiling lighting with an LED strip under the baseboard illustrates how to highlight the contours of a room.
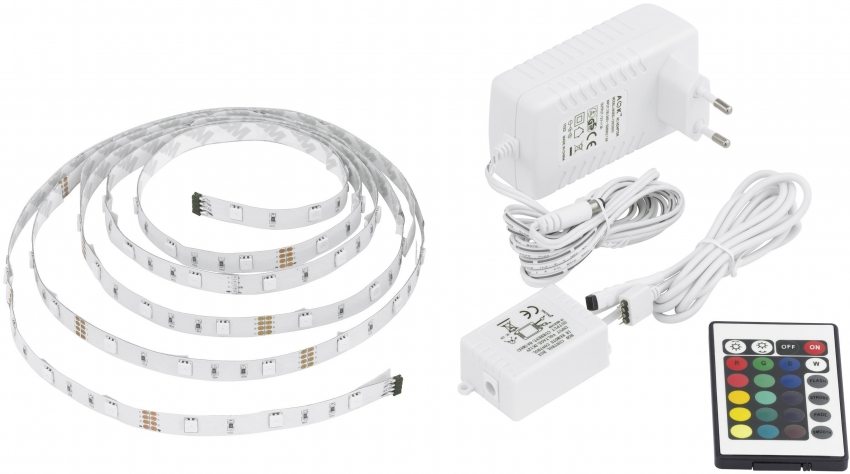
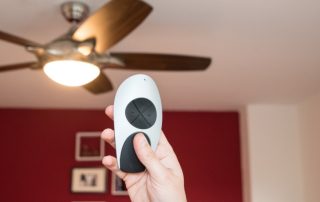
The tapes used for illumination, depending on the size of the diodes, are divided into two types: SMD 3528 and SMD 5050. SMD 5050 tapes have a powerful glow of diodes, each of which is capable of emitting three colors (RGB tapes). With the help of RGB LED strip with a remote control and a controller and with a power supply, not only the shades of the glow are set, but also the time during which they will change.
There is also a classification of tapes according to the number of diodes placed on 1 meter of flexible strip. Their number can be 30, 60 and 120. The higher the density of the diodes, the brighter the glow, and, consequently, the amount of power consumption of the LED strip. To illuminate the ceiling, it is recommended to use tapes, the intensity of the glow of which is insignificant: the backlight will not serve as the main source of light, but will only gently outline the contours of the ceiling zone.
Note! When choosing LED strip power per meter, it should be noted that the greater the brightness, the more powerful it will be required Power Supply and the more expensive the purchase will be.
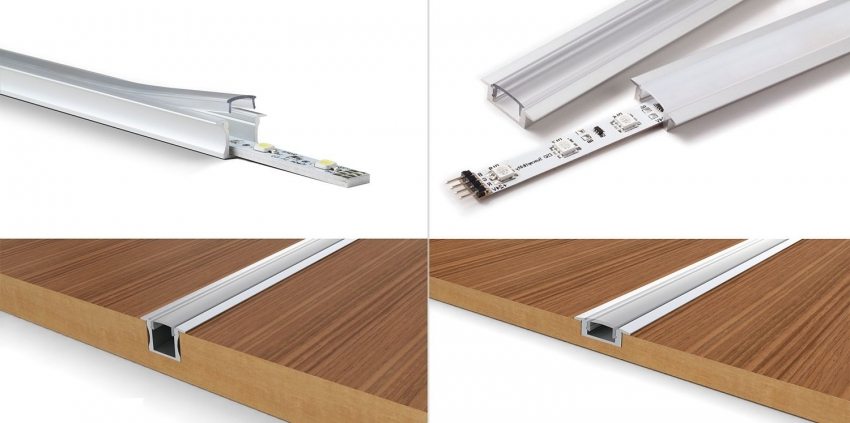
Before installing the LED strip on the ceiling (if it is not possible to hide it behind drywall or tension structure), a special profile is mounted in which it will be located. Profiles for LED strip are easy to attach and contribute to better strip cooling. You can buy profiles for LED strips at retail outlets specializing in the sale of lighting equipment.
LED strips in the interior of the apartment: photo of the idea of contour lighting
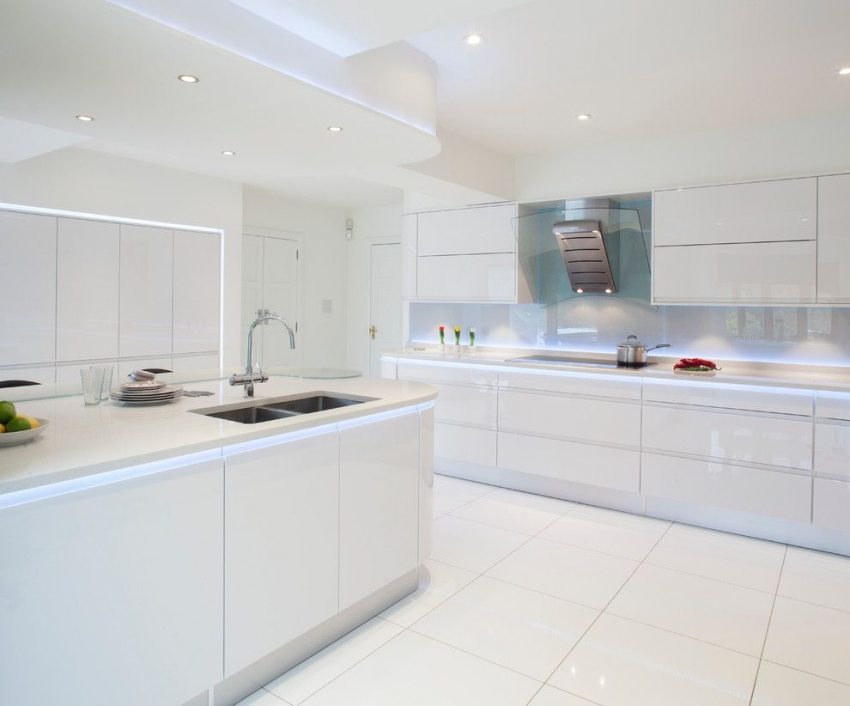
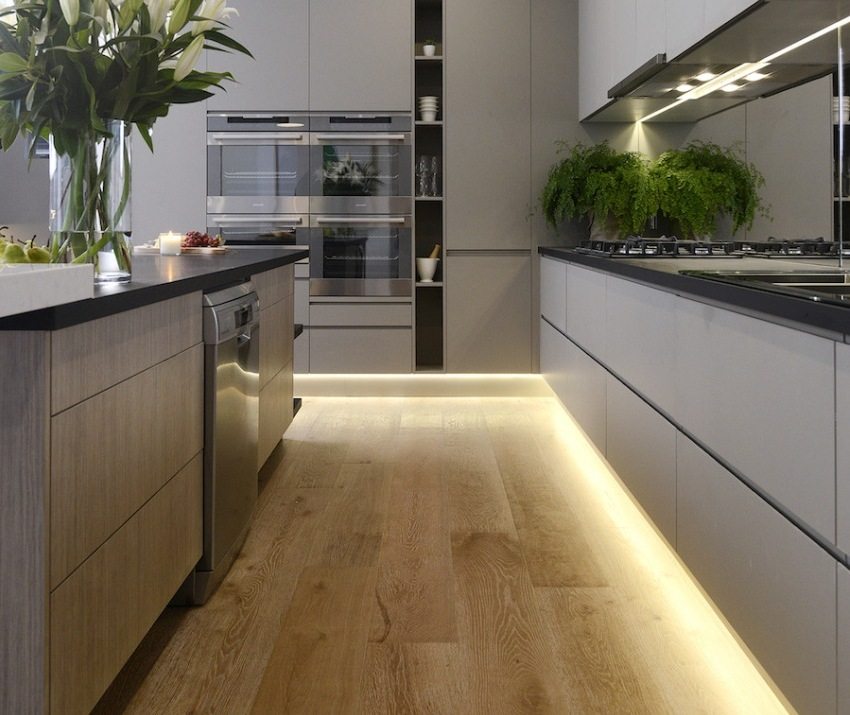
Most often, when decorating interiors, LED strips are used as local lighting that complements the main light sources. However, they can also be used to illuminate a small specific area, such as a headboard or a kitchen apron. The option of lighting the kitchen work surface is very popular, as evidenced by numerous photos of the LED strip in the kitchen.
Helpful advice! By assembling kitchen lighting with LED strip, position it so that the emitted light does not "cut" the eyes.
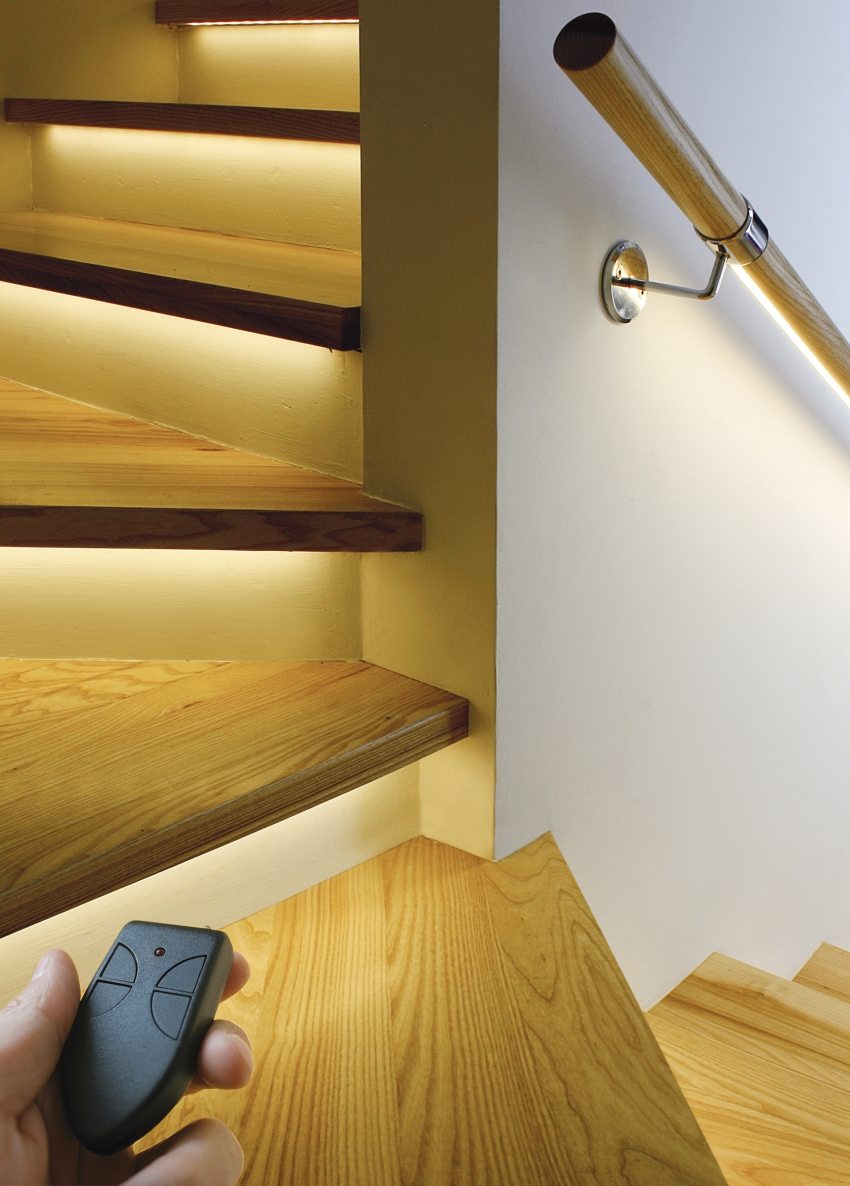
Framing the steps with tape is not only an excellent design solution, but also serves for the safety of moving up the stairs. Such lighting can be used in standby mode. By making it less intense, you can leave the orientation light at night. If you decorate the area where the TV is located with an LED strip, then you will not need additional light sources for comfortable viewing.
With the help of LED strip, they add volume to glass racks and shelves, illuminating them from the end. In interiors where natural light is not enough, LED backlighting is also used to illuminate paintings.Such a technique will add color and originality to the work, and the lack of heating will not damage the canvas itself. Curtains or drapes highlighted with tape look spectacular.
The flexibility of the train allows you to embody the highlighting of niches of complex shapes of any size, outlines of furniture, shelves, mirrors and other interior elements. Decorating transparent glass surfaces with colored lighting, you can create a festive feeling, or, conversely, an atmosphere of relaxation and solitude. It is very convenient to use tape in closets and wardrobes.
Self-adhesive LED strips 220V
The main difference between 220V LED strip and similar products is that it operates at 220V without a power supply. It is connected to the network using special power cables, so you can easily connect the LED strip with your own hands. In addition, you can connect up to 100 m of flexible LED strip 220V using one power cable.
The product is produced with various protection classes, including against dirt, dust, moisture, mechanical damage, adverse weather factors. Self-adhesive tape is produced on a thin flexible base with a thickness of 2 mm and 2 cm wide and is supplied in rolls of 50 and 100 m. The tape can be cut into multiples of one meter without compromising its functionality.
Manufacturers produce 220V flexible backlight models with different types of LEDs: SMD 3014, SMD 3528, SMD 5050. The types of LEDs affect the brightness and power consumption of the strip. The colors of the glow and the light temperature of the models are various. For mounting, special clips are provided for quick and convenient fastening.
For ease of installation, a sticky layer (double-sided tape) is applied to the reverse side of the tape, protected by a film. To fix the LED strip in the right place, it is necessary to remove the protective layer and attach it with the sticky side to the surface. To avoid peeling, it is recommended to cut too long sections (more than 5 m) into separate parts.
Note! If the surface on which you plan to install the LED strip is conductive, it must be insulated.
LED strip price per meter
Manufacturers produce LED strips that differ in the size and density of LEDs, degree of protection, glow colors and other characteristics. You can buy products in online stores, on the websites of manufacturing companies, as well as in specialized retail outlets. The tapes are supplied in rolls. Depending on the required length, the flexible board can be cut into desired lengths.
In order for the tape to emit a uniform glow, it is worth buying profiles for an LED strip with a diffuser. On sale there are profiles made of aluminum, plastic, with a round and rectangular section, they can be cut-in or overhead. For concealed installation, you can purchase corner profiles for the LED strip, which will provide its protection from mechanical and climatic influences.
The 220 volt LED strips (Duralight) that have appeared on the market are designed for direct connection to a regular outlet. In view of this, there is no need to purchase a power supply for them, which makes the purchase more profitable. By purchasing a 220 volt LED strip for interior decoration, you can significantly save money, given that it consumes significantly less electricity than incandescent lamps, while providing the same lighting.
Indicative prices per meter of LED strip 220V are presented in the table:
| LED strip name | Voltage, IN |
Power, W / m |
Degree of protection | Number of LEDs, pcs / running m |
Colour glow |
Price per running meter, rub. |
| SMD 3528 | 220 | 4,8 | IP67 | 60 | Warm white | 97 |
| SMD 5050 | 220 | 14,4 | IP67 | 60 | Warm white | 158 |
| SMD 5050 | 220 | 11 | IP68 | 60 | White | 186 |
| SMD 3528 sealed |
220 | 4,8 | IP67 | 60 | Warm white, red, yellow green |
194 |
| SMD 3528 | 220 | 18 | IP68 | 120 | White | 217 |
| SMD 5050 sealed | 220 | 14,4 | IP67 | 60 | Warm white | 242 |
LED strips have different supply voltages: 12V, 24V and 220V. Therefore, in addition to the tapes themselves, voltage converters (power supplies), controllers for regulating multi-color tapes, power cords, connectors, as well as ready-made sets of accessories are offered for sale. In addition, the product catalogs contain profiles and boxes for LED strips, which you can buy by placing an order.
The best price for a self-adhesive LED strip 12V SMD 3528, in one meter of which there are 60 LEDs, is from 73 rubles. per running meter, the same tape with 120 diodes can be purchased for 139 rubles. for one meter of length. The cost of waterproof LED self-adhesive tape 12V with 60 LEDs is from 110 rubles. per running meter.
Helpful advice! You should not buy cheap products: there is a possibility that over time, a poor-quality LED strip will have a color balance disturbance or even burn out the diodes.
Installation of LED strip: prices for work
If the correct location, connection and service life of LED strips are of fundamental importance to you, you should seek professional help. Experts will carry out not only high-quality installation using high-precision equipment, but also advise on the level of illumination, uniformity of illumination of structures and the choice of the exact installation site.
Specialized organizations offer to use modern lighting equipment, selected as a result of studying the properties and performance in different operating conditions. All connections are made with a high-quality cable by soldering with subsequent insulation. Quick-fit connectors are not used for connection.
In addition, all the necessary measurements are carried out for compliance with the illumination requirements regulated by SNiP. The work is carried out accurately, responsibly and in the shortest possible time. All types of services are guaranteed for up to 3 years. The price for installing one meter of monochrome LED strip is about 600 rubles, taking into account the cost of the strip, blocks and consumables. Installing an RGB tape will cost approximately 1400 rubles per meter.
Diagram of connecting a 220V LED strip to the network
The main reason why it is forbidden to connect the LED strip directly to a 220V household power supply is the high voltage. With such a connection, overheating will occur and, as a result, failure of the diodes. The tapes are designed for DC supply voltage 12V and 24V. The required voltage is indicated on the belt itself along its entire length. To obtain the required power supply, mains voltage converters are used.
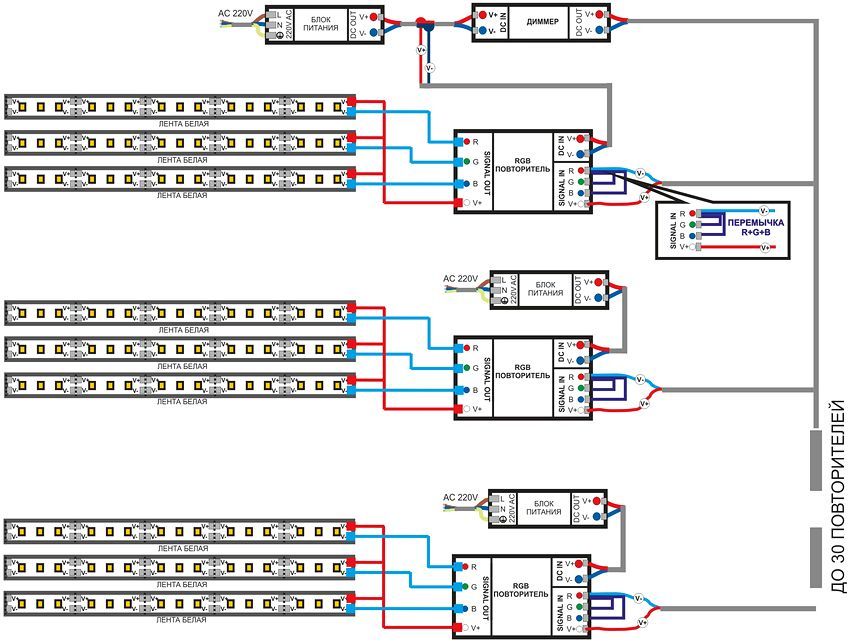
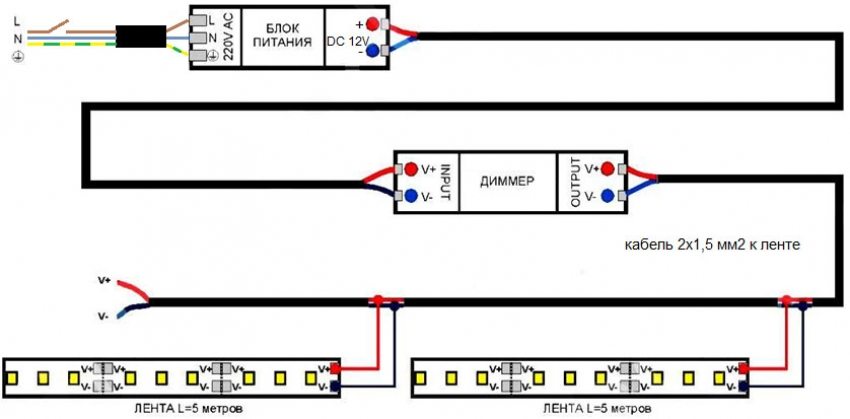
Connection diagram of a white LED strip with dimmer and amplifier
How to connect a 12 volt LED strip to the network
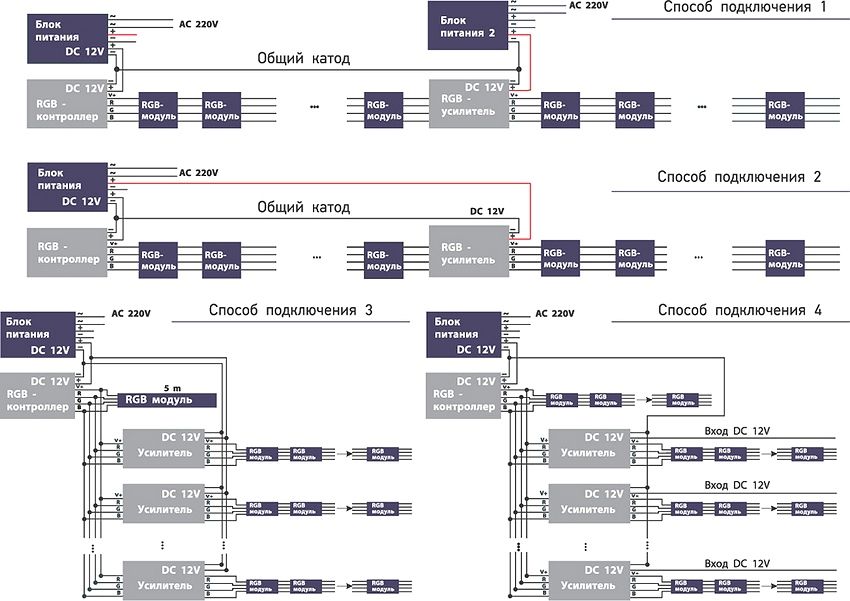
Wiring diagrams for 12V and 24V LED strips are as simple as possible and have an identical principle. Before connecting the LED strip to 220V, it is necessary to take into account several important points:
- The total length of the line along which the tape will be located should be determined. Knowing this value, it will be possible to cut the strips correctly.
- It is necessary to cut the tape in strictly defined places, marked by the manufacturer in the form of a symbol with a scissors and a cut line. If you make a cut in an arbitrary place, some diodes will be disconnected from each other and will not glow, as the circuit will break.
- Polarity must be considered. If during the connection the tape does not work, then the connection was made incorrectly and it is necessary to correct the situation.
- Read the product manual and the instructional video before installing the LED strip. Connect in the order specified by the instructions.
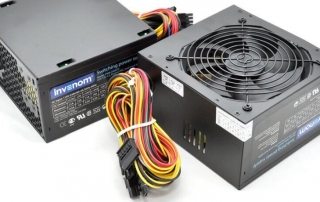
When connecting the LED strip to 12 volts, a power supply is used, the main function of which is to lower the voltage in the network from 220V to 12V. The connection is carried out using a two-core wire: in the power supply it is clamped with terminals, and soldered to the tape in the places of the contact pads. The connection of the transformer for the 12 volt LED strip is made taking into account the polarity: plus to plus, minus to minus.
Helpful advice! In order to hide the power supply, you need a certain amount of space. With this in mind, select the appropriate compact converter models.
Connecting LED strip 220V
The diagram for connecting an LED strip to a 220V network without a converter includes a diode bridge, which serves as a voltage rectifier. The peculiarity of the connection is that the LEDs are connected in one circuit of 60 pieces in series or in pairs. The tape should be cut after 50 or 100 cm. If one LED fails during operation, the entire segment will go out, which can be easily replaced.
When installing an LED strip with your own hands, you should first check the current passing through the LEDs. If during measurement it turns out to be more than the allowable one, it is necessary to attach another piece of tape. Such a connection should be done very carefully, since the soldering points remain exposed and, if you accidentally touch them, you can get an electric shock. It is necessary to take measures to exclude touching bare areas.
This is the circuit used in 220V LED strips. Factory products are already designed for connection to a 220V network. For safety, such tapes are placed in a transparent PVC tube: this eliminates the risk of touching dangerous contacts and additionally protects against moisture. Due to this, waterproof 220V LED self-adhesive tape can be used not only in rooms with high humidity, but also outdoors.
How to make a backlight from an LED strip with your own hands
To make an independent installation of the backlight, you will need the following tools: tape measure, soldering iron, scissors, screws, wires. Before installing the LED strip, it is necessary to measure the length of the surface in order to correctly calculate the required amount of strip and consumables.
Fastening the cut pieces of tape to each other can be done in two ways: by soldering the ends of the tape or by means of connecting connectors. If the mounted section of the backlight is long, it is recommended to use a parallel power circuit: when there is a cable from the converter to which the tape is connected. In this case, the glow intensity will be the same along the entire length of the backlight.
Installation begins with a do-it-yourself fastening of a profile for an LED strip. To do this, holes are pre-drilled in its base through which the profile is fixed to the surface using self-tapping screws. Then, a tape is attached to the side or bottom surface of the profile (with the side on which the adhesive base is applied). The wires and the power supply are hidden in niches or interior elements, and the indicator (IR) is left visible.
There are various options for making LED strip lamps with your own hands. The easiest way is to make a horizontal model to illuminate the countertop area in the kitchen, where food is usually cut. For manufacturing, you will need an aluminum corner with holes made and a piece of tape of the appropriate length. If the profile is not used for illumination, before installing the LED strip in the kitchen, the surface is thoroughly degreased.
Knowing the principle of operation of the LED strip, and using its flexibility, you can design lamps of various shapes on any surface. They will enhance the lighting range and give a special effect to the design of the entire room or individual elements. In addition, handmade products always radiate warmth and comfort.
