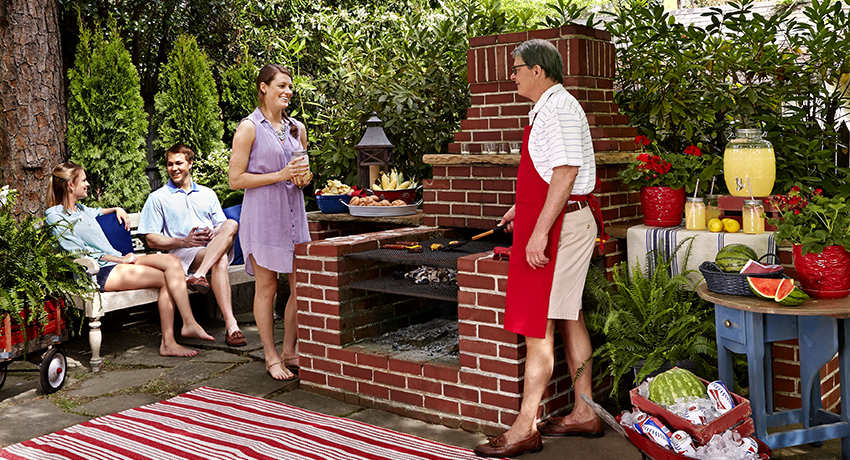
A brick barbecue is the dream of most summer residents. What could be better than outdoor recreation with the whole family or a friendly company? And the dishes cooked on an open fire, undoubtedly, differ in taste and are healthy. This article provides the information necessary in order to understand the details of self-laying barbecue in a summer cottage.
Content [Hide]
- 1 Brick barbecue oven: determining the location
- 2 Tools and materials for laying bbq barbecue
- 3 Preparing the base of a brick barbecue for a summer residence
- 4 Brick masonry grout for outdoor barbecue
- 5 Barbecue ordering: a guarantee of reliable and durable masonry
- 6 Optimal brick barbecue projects for a summer cottage
- 7 Brick barbecue: photos of the best solutions for a summer cottage
Brick barbecue oven: determining the location
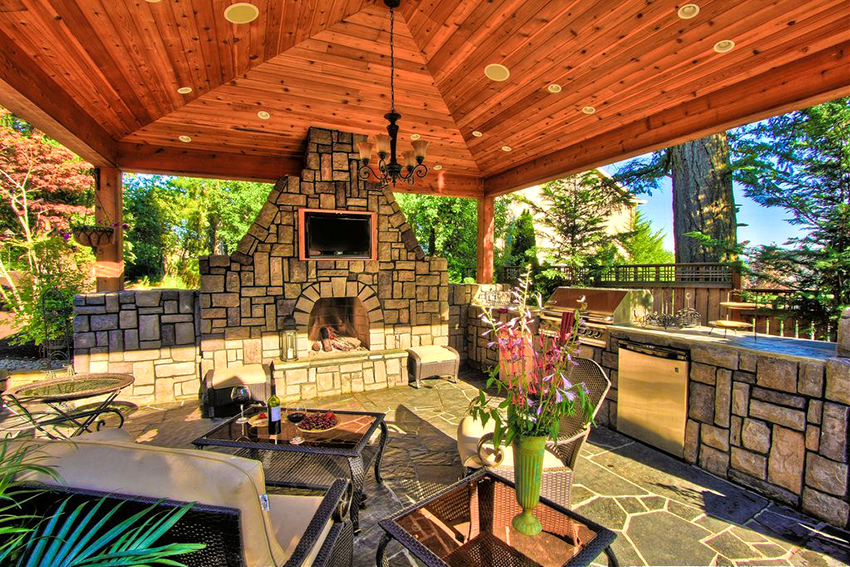
Before you start building a brick barbecue with your own hands, you need to decide on the place of its localization. Here you need to take into account that the building should be as far away from the neighbors' site as possible. It is also necessary that there are no flammable structures, wooden buildings, tree planting, etc. nearby. It would be advisable to allocate such a site that can be provided with water supply, electricity and on which a gazebo or recreation area can be built next to the structure.
As a rule, the presence of a barbecue implies that there will be a constant crowd of people near this device. If a decision is made to install a brick barbecue in the gazebo, landscape specialists recommend not planting grass or flowers in the surrounding area. Better to cover the site with decorative gravel, stones or tiles. In this case, the area located near the barbecue will have a more neat and tidy look.
Tools and materials for laying bbq barbecue
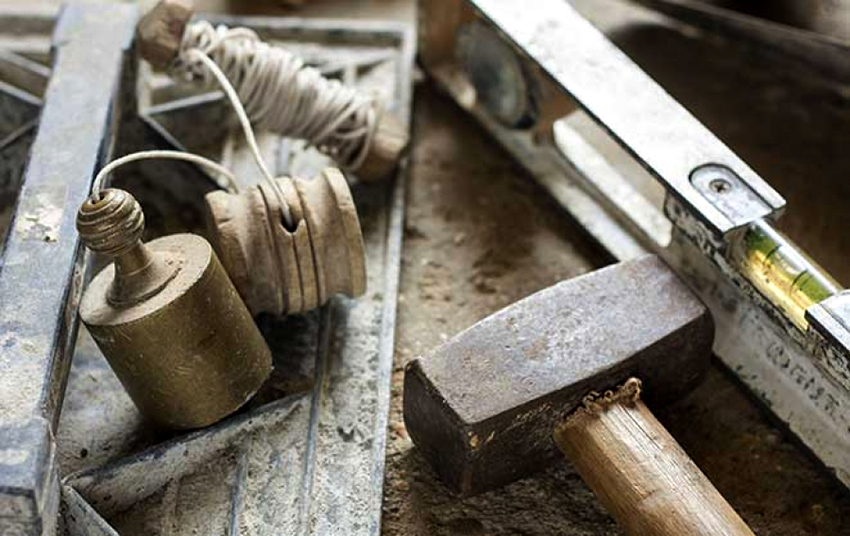
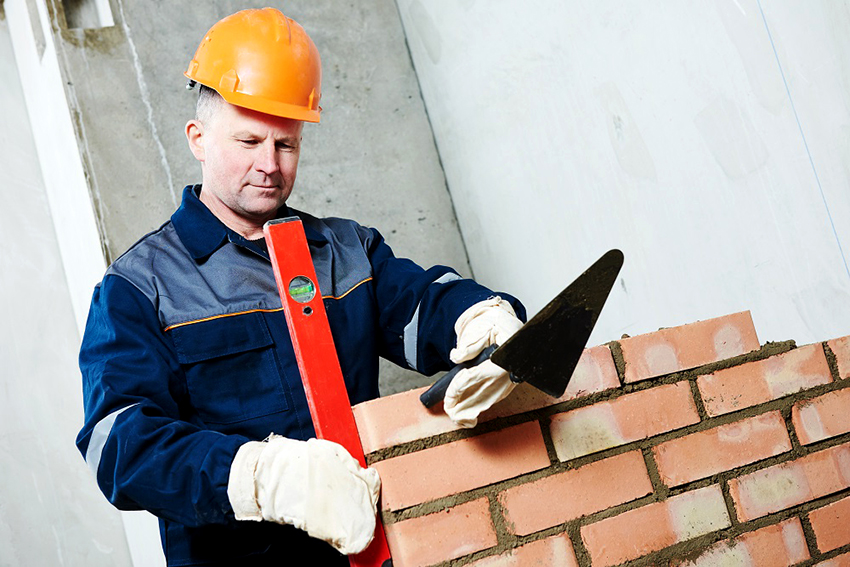
To build a barbecue oven for a summer residence, you will need tools for laying mortar, a construction plumb line in two dimensions (vertical and horizontal), a level, a rubber hammer, a grinder, and a saw for wet cutting bricks. You should also prepare the appropriate discs. A sieve (for sifting sand and clay), buckets for mixing the solution, nylon thread for ordering are useful as auxiliary tools.
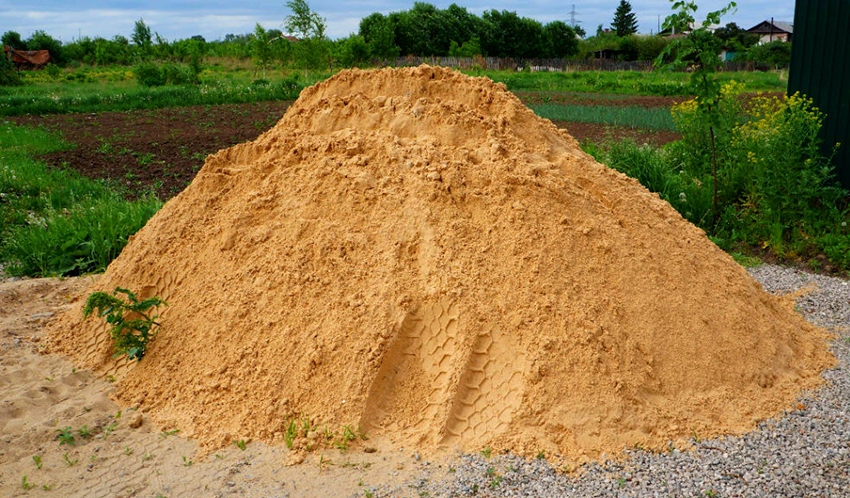
Of the materials, it is necessary to purchase red and fireclay bricks, ready-made masonry mixture or clay. For the foundation, you will need cement, gravel, river sand and reinforcement (for laying in the base of the structure). The number of materials is determined by the size of the future barbecue. Planks are required to build the formwork.
Useful advice! When buying materials, be sure to stock up to 15%. This is the amount that can be lost in the event of a marriage admitted during construction.
Depending on what the project of a brick barbecue oven implies, additional steel sheets, doors, dampers, grates, blowers, skewer mounts and other furnace casting may be needed.
Calculating the amount of materials for a brick barbecue with your own hands
When the foundation gets stronger, you can proceed directly to the laying. To avoid construction delays due to lack of materials, consumables calculations should be carefully performed. The first thing that will help in laying a brick barbecue is drawings of the future structure. When planning the size of the building, it is worth considering not only the possible free area, but also personal preferences. The oven must be suitable for your height. In addition, it is necessary that the work surface combines convenience and safety of use.
Next, you should take into account the dimensions of the brick: the length is 25 cm, the width is 12 cm and the height is 6.5 cm. The calculations must include the width of the mortar joint. It is quite natural that the number of bricks is determined by both the dimensions of the furnace and its functional features. In addition, the type of chimney and the height of the chimney must be taken into account.
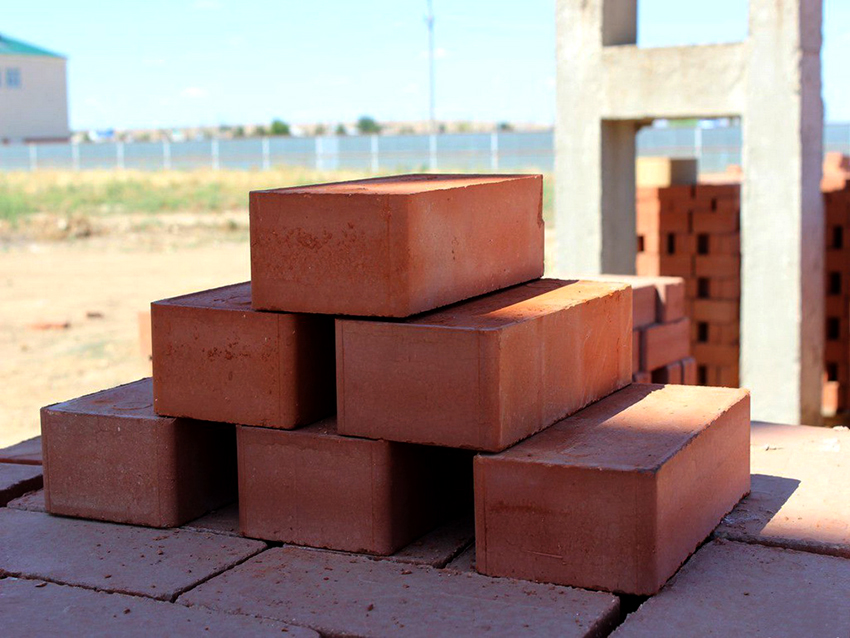
When calculating the number of bricks, it is necessary to take into account the thickness of the mortar joint
Preparing the base of a brick barbecue for a summer residence
The correct foundation is the basis for a balanced masonry. To prepare a place for the foundation, it is important to remove the fertile soil layer and, if necessary, deepen the excavation by approximately 20-25 cm. The area of the foundation should exceed the dimensions of the planned structure by 50 cm around the entire perimeter. The size of the site primarily depends on personal preferences: you need to decide whether there will be a gazebo next to it or whether the foundation is needed only for the oven itself.
The bottom of the base should be thoroughly leveled, and then covered with a layer of rubble 15 cm thick. At this stage, it is important to observe the symmetry of the base. It is imperative to tamp the surface with a vibrating plate or (in its absence) with a tamper - metal or wood.
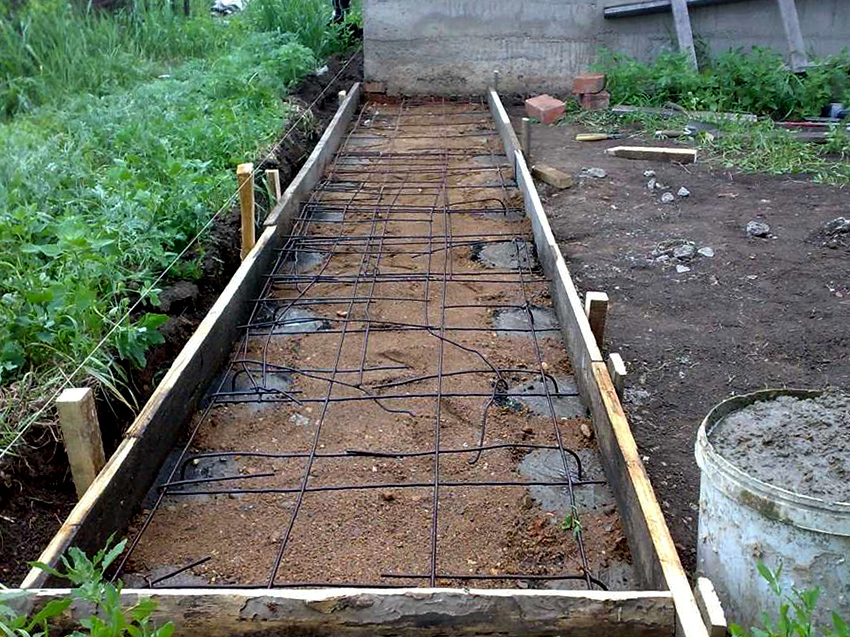
Further actions vary depending on the type of foundation chosen. If a paving slab or paving stone is chosen as the base, the coating is covered with fine sand. The slab foundation is recommended to be reinforced with a rod 10 mm thick. It is laid up and down with a step of 20 cm. The points of intersection of the rod should be fixed with plastic clamps or tied. In addition, the reinforcement can be made with a ready-made mesh and filled with concrete. Before pouring the solution, it is advisable to repeat the horizontal check of the bottom. The surface of the base site must be level: it must be flat in all directions.
You can continue building a brick barbecue oven with your own hands after 1-2 weeks (depending on the average daily air temperature). If the temperature has been above 20 ° C, one week will be sufficient. With an average daily temperature of 17 ° C, you will need to wait two weeks. Usually, the time interval is maintained only when the oven is laid independently. Builders tend to be speed-oriented and don't always meet these requirements.
Brick masonry grout for outdoor barbecue
The strength and durability of the entire structure is largely determined by the quality of the composition for pouring the foundation. For this type of buildings, it is recommended to use clay mortar. If there is no desire to purchase a ready-made mixture, you can make it yourself. The advantages of using a homemade solution are undeniable. Firstly, such a furnace is subject to repair work if necessary. Secondly, the cost of a homemade solution is much lower than the price of a ready-made mixture from a store.
To prepare a high-quality clay solution, you need fine river sand, water, oily clay, cement or table salt. There are no universal proportions in the preparation of clay-sand composition. Only experimentally can you choose the optimal consistency. This is primarily due to the fat content of the clay. The fatter the clay, the less it crumbles when it dries.
Useful advice! Raw brick has an optimal content of clay and sand, goes well in masonry with brick and serves as an ideal base for masonry mortar. Using this material will shorten the time required to calculate proportions and mix.
For further work, you will need two sieves with cells of 1.5 × 1.5 mm and 3 × 3 mm. The sand should be sieved through a fine sieve to separate it from impurities. This will create a thin layer of masonry mortar. To sift the clay, you must first soak it in water to the consistency of thin sour cream, and then strain the resulting mixture through a fine sieve. Add sand to this mass, mix the solution and again run the entire mixture through a sieve with 3 × 3 mm cells.
The sand should be added gradually - at the rate of 1 liter of sand per bucket of clay mixture. Using a smooth wooden plank, you can check the elasticity of the resulting solution. To do this, you need to dip it into the prepared mixture and look at the thickness and consistency of the adhered layer. A 2 mm layer will be optimal for masonry. The resulting solution should be soft and elastic to the touch, excluding lumps and clots.
To increase the strength of the brick barbecue oven mix, it is recommended to add 100-250 g of table salt per bucket of grout. Cement can be used as an alternative to salt. However, it must first be diluted with water to the consistency of thick sour cream and mixed with the mixture. For 1 bucket of mortar, you will need 0.75 liters of such a cement mass.
The approximate consumption of the mixture for 100 pieces of bricks is 20 liters (with a masonry joint width of 5 mm). The type of brick used and the thickness of the joint are important here. You need to be prepared for the fact that in some cases the consumption of the solution may increase up to 35 liters.
Barbecue ordering: a guarantee of reliable and durable masonry
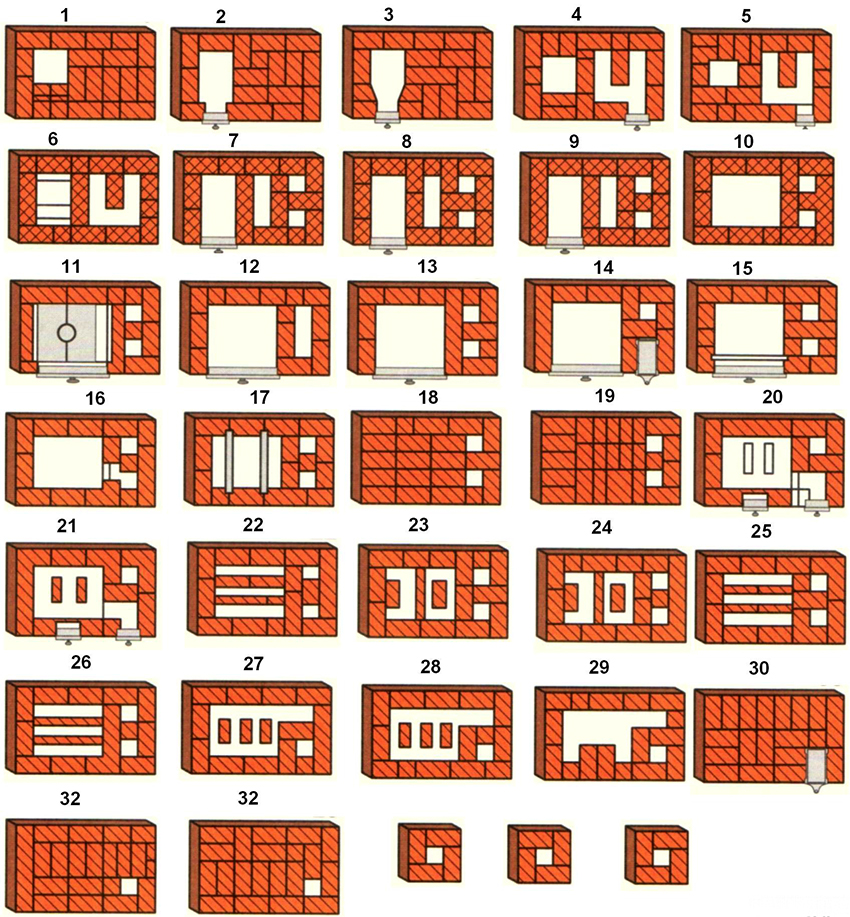
Professional builders use the term "ordering" in two ways that a beginner should be aware of. In the first case, the order is called a schematic representation of the future structure in rows. This scheme allows the beginner not to get lost when laying, and the master - to significantly save time when implementing projects of the same type. Diagrams, drawings and photos of the barbecue woman help to visualize the final result or make adjustments at the stage of construction work.
In the second variant of the use, the word "ordering" denotes a device that controls the height and horizontal position of each brick row. This device will provide the so-called architectural balance, extend the operational life of the building and act as a guarantor of safety when using an outdoor barbecue. In addition, it will help you calculate the required amount of material, eliminate unnecessary costs.
The ordering consists of two vertical slats on the sides of the wall.They are attached to the bottom rows (at least two rows). To avoid damaging the brickwork, it is recommended to use staples instead of bolts for fastening.
The control of the masonry is carried out using notches applied at intervals of 77 mm along the height of the lath. This figure is calculated as follows: the thickness of the joint (12 mm) is added to the brick height (65 mm). If the seam width differs from the specified one, the notch spacing will change proportionally to this indicator.
Important! Measurement accuracy plays a decisive role when making notches. If the interval on the slats does not coincide even by 1-2 mm, the horizontal structure of the structure will be violated, which will affect the quality of the brick barbecue.
A mooring is stretched between the notches of the opposite rails - a strong nylon thread or lace. The tension of the rope is extremely important: it should not sag, otherwise it will not be possible to control the horizontal position. If a level is used when laying the first tiers, then the mooring will perform its function. This principle of masonry control gives an advantage not only in quality, but also in the speed of work.
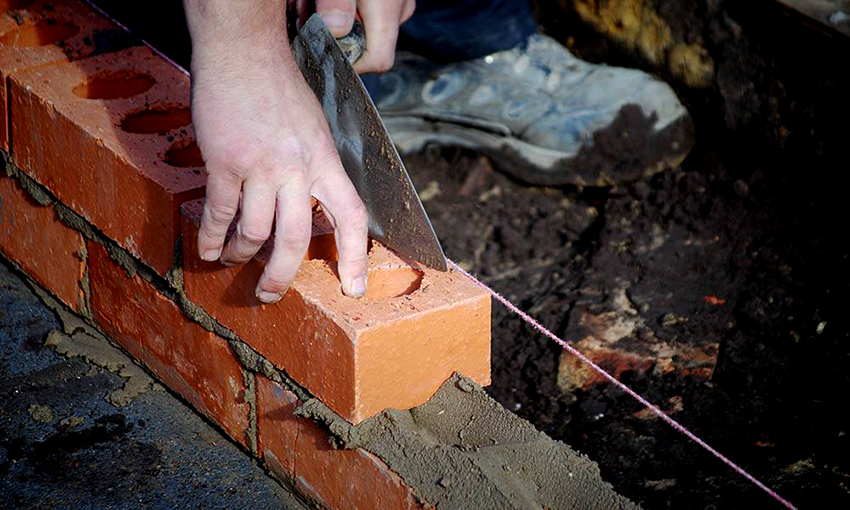
The second option of ordering is a device for controlling the height and horizontality of bricks during laying
For convenience, you can use the order of three or even four brick walls. Thanks to this principle, you can easily control the symmetry of the structure, the accuracy of the angles and the horizontalness of the masonry at the same time along the entire perimeter.
There are ready-made control devices on sale, but you can make the order yourself from scrap materials. It should only be taken into account that a home-made device is suitable only for one-time use and does not guarantee accuracy for subsequent use.
Forming the bottom and erecting the walls of a brick barbecue
After the foundation has finally hardened, you can start forming the so-called "leg". In this case, the laying is carried out in a checkerboard pattern. Usually, eight rows of bricks are laid out so that the height is 60 cm. Of course, these data are conditional and vary according to the barbecue drawing.
Next, we move on to creating a firebox and erecting a wall. The firebox can be made of reinforced concrete. Its approximate size is 80x80 cm. To carry out these works, formwork will be required. Be sure to wait until the structure is completely dry. In some versions, a barbecue firebox can be constructed of metal.
Related article:
Brick brazier: interesting design solutions and manufacturing technologies
Features and types of designs, photos, popular projects with drawings and a step-by-step description of manufacturing technology.
When erecting walls, brickwork is made according to the same checkerboard principle as when laying out the "leg". It should be noted that the front side remains empty. At this stage of construction, it is important to provide for the attachment points for the grate or skewers.
Useful advice! When laying the walls of the barbecue oven with your own hands, be sure to take a break from work for 1-2 days every 4-7 rows. This will allow the brick to dry out and the mortar to sink.
Optimal brick barbecue projects for a summer cottage
It is not always possible to resort to the services of specialists for the manufacture of a brick barbecue at a summer cottage: the price sometimes does not correspond to the volume of work. Many people like to equip their site on their own - without the help of outsiders. That is why this article offers the simplest diy barbecue oven laying schemes.
Diagram of an open barbecue grill made of bricks with your own hands
This design is the easiest to implement.When laying a brick barbecue, it is recommended to use a material that is not afraid of high temperatures and does not absorb moisture too much. An oven or solid ceramic (slightly cheaper) brick is best suited. Before laying out the first row, you should take care of waterproofing. For this purpose, roofing material or waterproofing material in two layers is suitable. You can repeat the procedure (only in one layer) after the first row of bricks.
In the grill of this design, the masonry is carried out by means of a clay-sand mixture with the addition of cement. It is very important to keep horizontal and adhere to the width of the grout joint For an open barbecue, it is 3-5 mm.
The layout of the masonry is quite clear, it looks like an inverted letter "W". This shape is observed up to the 6th row. Then the laying continues on half of the structure and, accordingly, has a U-shape.
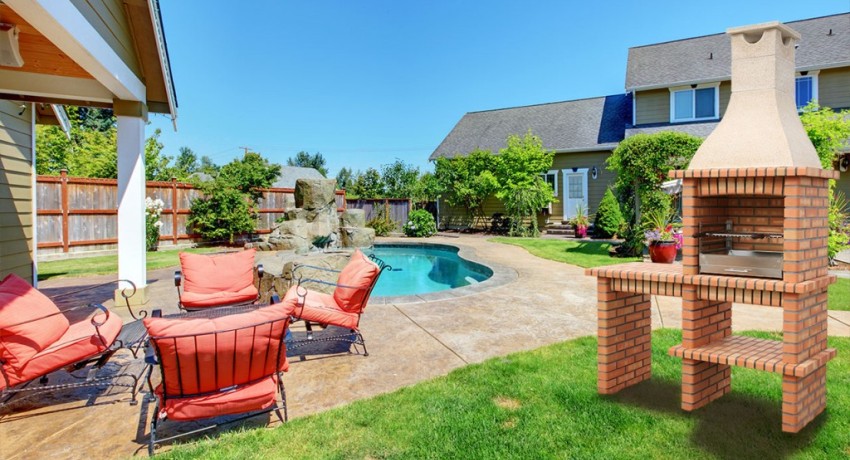
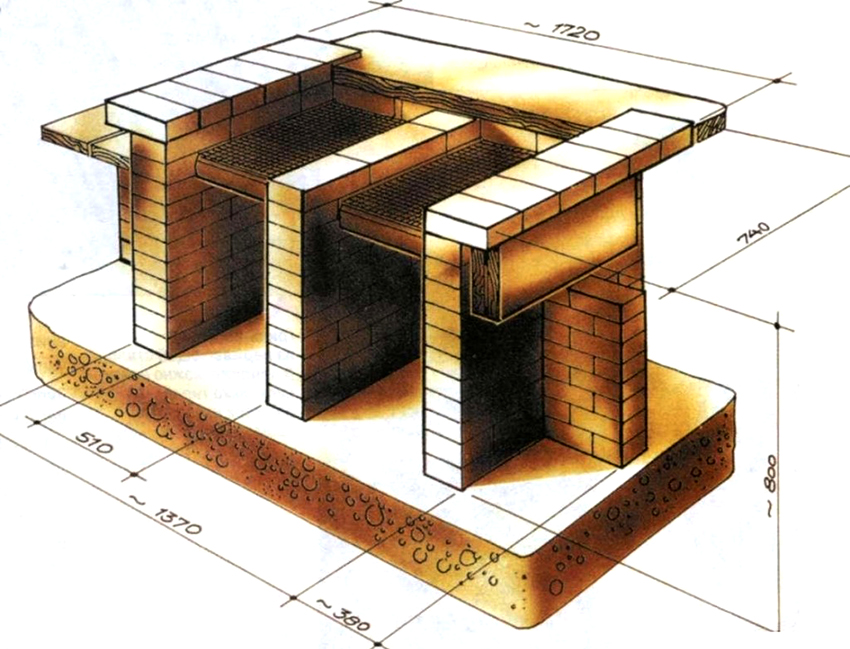
The first and subsequent odd rows start with a whole brick, and the second and next even ones start with half. Pay attention to the 6th and 10th layers: here you need to put the brick sideways and turn it across the main masonry. There are 13 rows in total. The length of such a barbecue will be 181 cm, width - 90 cm. You can visually familiarize yourself with how a barbecue grill of this type looks in the photo.
A simple brick BBQ set for beginners
Roughly, such a complex consists of 275 pieces. bricks. If desired, it can be somewhat simplified by reducing costs and making a chimney of sheet metal (and not of brick). This oven consists of 18 rows up to the chimney and 10 rows up to the barbecue brazier. We start, as in the previous version, with waterproofing. Up to the 6th row, we form a hole for the grate. Further, the laying is carried out according to the scheme. In the 8th and 23rd tiers, a 5 mm thick steel sheet is installed. In the 11th row, it is planned to install a square cast-iron plate 41 × 41 cm in size.
To visually represent the layout of the barbecue stove, we recommend using a schematic sketch. This will make it easier to navigate the ranks. Be sure to follow the rule: if the bottom brick is laid along, then the upper two rows must be laid longitudinally.
BBQ project with chimney and countertop
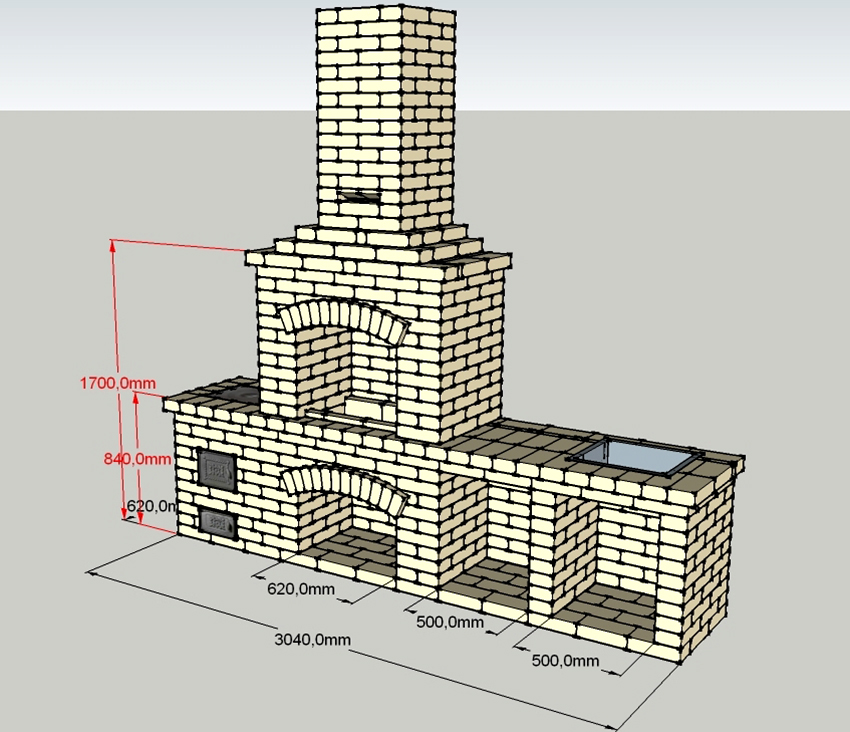
Such a furnace is a little more complicated in its design, but if there is a scheme, even a beginner can make it. Please note that the firebox in this version has a straight roof. Technically, it is much easier to execute than the vaulted version. The size of the barbecue is optimal for a summer cottage. The height of the structure is 217.5 cm, while the frying chamber is raised 90 cm.
So where to start? Since the brick absorbs moisture well, two layers of waterproofing should be spread on the prepared and dried foundation, and then proceed to the masonry process. It is important here to strictly adhere to the scheme and control the width of the connecting seam.
Useful advice! To control the width of the seam, you can use reinforcement, the diameter of which is equal to the required thickness. It should be applied to the edge of the brick, fill the area with mortar, and remove the excess with a trowel. After tapping, the reinforcement will not allow the brick to fall below the level. After completing this procedure, the rod is removed and placed on the next row.
The first row is laid out in solid. Up to the 5th layer, the masonry has a U-shape. For laying a continuous row of bricks (for example, the 6th and 7th rows), you can put three strips of metal 0.5 cm thick and 4 cm wide.One strip is laid on the edge of the structure, the rest - in the middle of each brick layer. From the 8th to the 10th row, the laying is performed in the form of an inverted letter "W".
It is worth noting that in the 12th tier, bricks are used, sawn along.The size of the 12th and 13th solid rows will be slightly larger than the others. Thus, the decorative belt of the outdoor barbecue oven is laid out.
Laying of subsequent layers is performed using fireclay bricks in a U-shape up to the 21st row. It is recommended to use the same composition of the solution. Next, the vault is laid out. After the 22nd layer, it begins to taper. From the 30th row, the vault passes into the chimney. The 30th and 31st layers are alternated until the required height is obtained. To narrow the structure, each next row should be laid out half the size of the previous one. The chimney, like the firebox, must be made of refractory bricks. Instead of a brick vault for smoke extraction, a metal box can be constructed. The barbecue woman is ready with her own hands.
You should know that the use of the complex for its intended purpose is possible only a few days after the end of construction. The solution should dry thoroughly. Otherwise, when starting a fire, the walls of the structure may crack.
This device can be endowed with additional functions by forming an auxiliary working surface. It will be convenient to place kitchen utensils, dishes, cut food, etc. here. To erect it, you need to dig a pit and pour the foundation parallel to the side wall. When the surface is dry, you can start laying bricks. You will need to form six rows. You can use a board, thick plywood, tile flooring, marble slab, etc. to create a countertop.
Brick barbecue: photos of the best solutions for a summer cottage
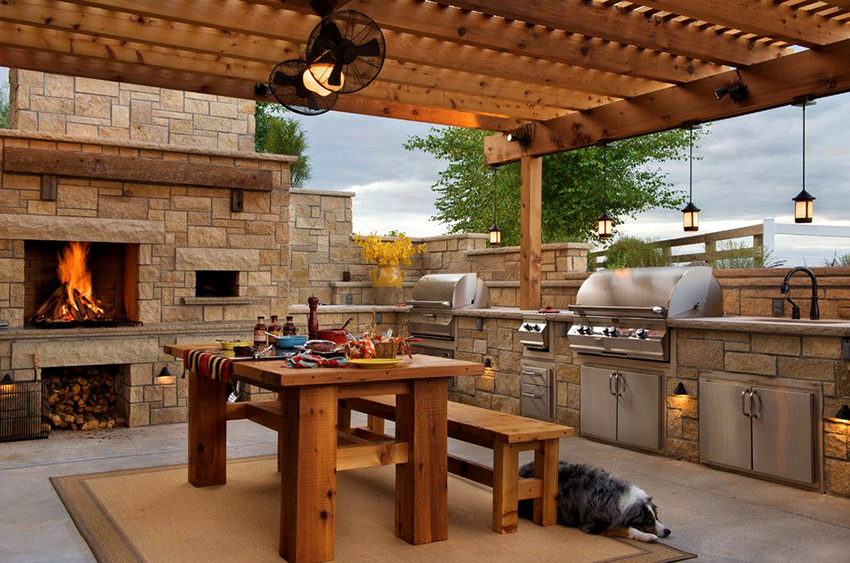
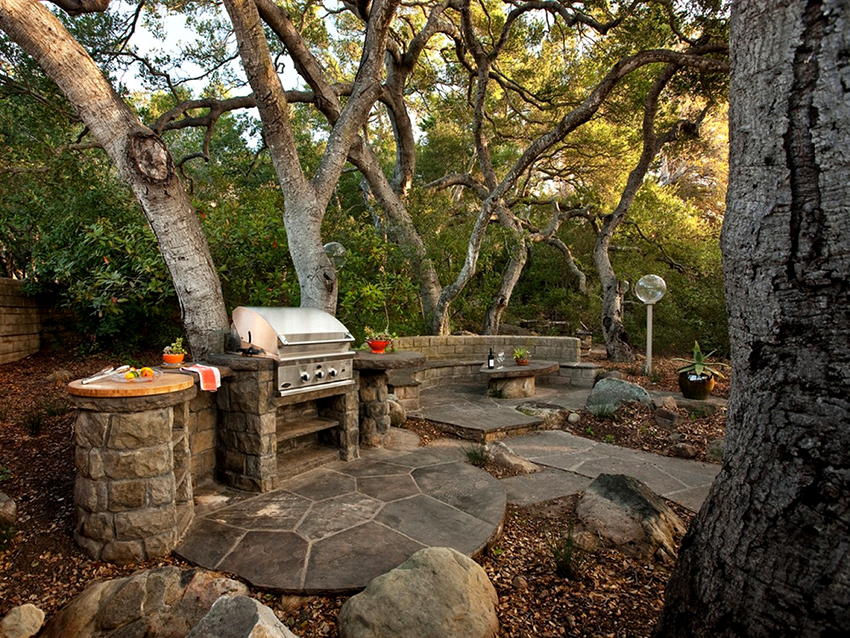
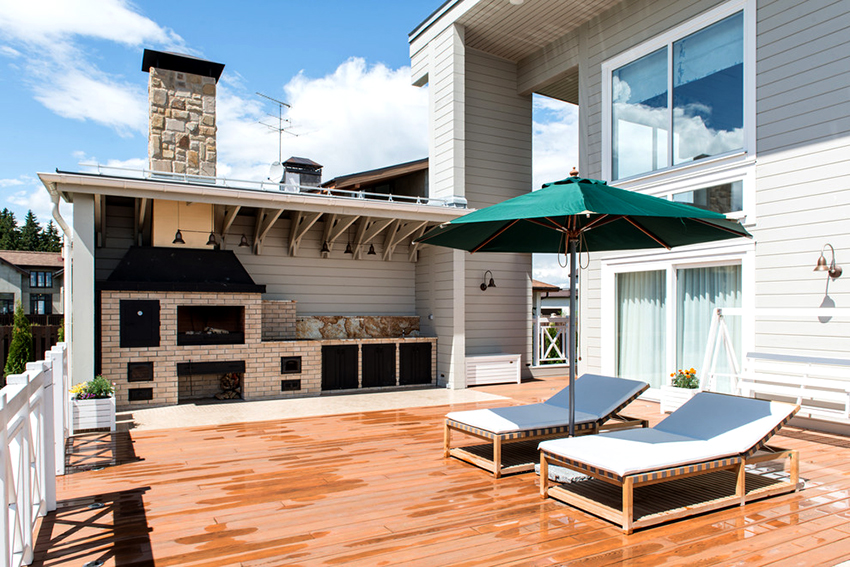
In numerous photos and diagrams, you can see various options for making a brick barbecue. The barbecues shown in the photo can be easily modified according to personal needs and characteristics of a particular site. You can modify the work surface, add decor to the design, or you can even come up with your own barbecue grill design based on the examples available. When building a brick barbecue, the drawings and photographs posted on the pages of this article will help you choose the right option and save time.
Now even a beginner will understand how to make a brick barbecue with his own hands. If you follow the above recommendations, the process of making a barbecue maker will take place without possible difficulties, additional material costs, and the end result will delight you and your loved ones for more than one year.
