Most people believe that wallpapering is an elementary process. Despite its apparent simplicity, this type of work requires a special approach, attention and patience. It is important not only to choose the materials and stick them correctly. Outwardly inconspicuous rough work is the cornerstone of success and an excellent result - this is the preparation of the walls for wallpapering. The process itself is laborious, but does not require special skills - just follow the instructions below.
Content [Hide]
- 1 Preparing the wall for wallpaper: why it is necessary to carry out preparatory work
- 2 Preparing walls for wallpapering: removing old coatings
- 3 How to properly prepare a wall for wallpapering in a new building
- 4 How to Prepare Old Walls for Wallpaper: Removing Old Paint with Sanding and Hair Dryer
- 5 Removing old wallpaper: preparing for gluing new ones
- 6 How to align walls for wallpaper: features and sequence of work
- 7 How to putty walls under wallpaper: video instructions and expert advice
- 8 How to align the walls in the apartment under the wallpaper: the use of drywall
- 9 How to plaster the walls in the apartment under the wallpaper: the choice of method and materials
- 10 Priming the walls under the wallpaper: the choice of solution and the rules for its application
- 11 What you need for wallpapering: the choice of materials and tools
- 12 How to cover walls in an apartment instead of wallpaper: modern alternatives
Preparing the wall for wallpaper: why it is necessary to carry out preparatory work
In order not to be disappointed already after a few months in the repair carried out, it is necessary to treat each stage of its implementation with special responsibility. So, in the process of decorating a room with wallpaper, the preparation of the walls is of particular importance. Neglecting this type of work can lead to unpleasant consequences in the form of distinct bulges on the walls, peeling and distorted wall coverings. This is at best, at worst - the wallpaper will simply fall off in one solid layer. Repairs will have to be carried out again.
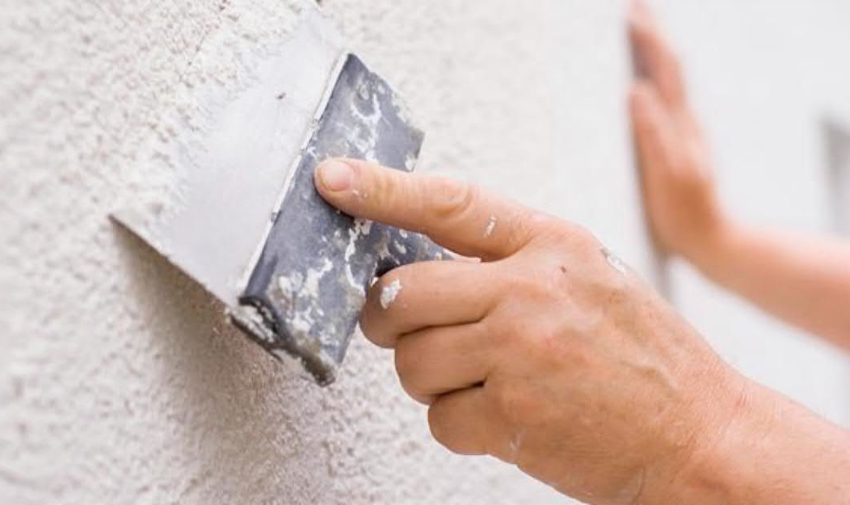
Wallpaper will not hide bumps and dents on the wall surface, all defects will be clearly visible when light hits
In order not to learn from our own mistakes, not to waste time, not to incur enormous financial costs and moral damage, it is better to use the advice of experts on how to properly prepare the wall for wallpapering.There are a number of possible undesirable consequences, in order to avoid which it is simply necessary to carry out preparatory work:
- Poor wallpaper gluing quality. Canvases will not adhere to porous surfaces.
- Uneven walls. Wallpaper will not hide bumps and dents on surfaces - they will be clearly visible when exposed to light. It is in the places of irregularities that the period of use of the wallpaper is significantly reduced - here scuffs and other defects quickly appear.
- The appearance of mold and mildew on the walls. Most often, this problem occurs in corner rooms and on walls that go outside. If there are cracks on the walls, the penetration of cold air will encourage the development of microorganisms on the wall.
- Deterioration of adhesion properties, manifested in unreliable adhesion of wallpaper to the surface. Such consequences arise as a result of poor cleaning of the surface from the old coating, dust and dirt.
Requirements for surfaces and stages of preparing walls for wallpapering
In order for the purchased wallpaper to please the eyes of the owners of the house for as long as possible, it is necessary to approach the preparation of the surface on which the gluing will be made with special responsibility.
Helpful advice! As a result of the preparatory work carried out, a perfectly flat and dry surface should be obtained. The easiest way to achieve the desired effect is to use gypsum plaster during the leveling process.
To achieve the most effective result, the walls must meet a number of requirements:
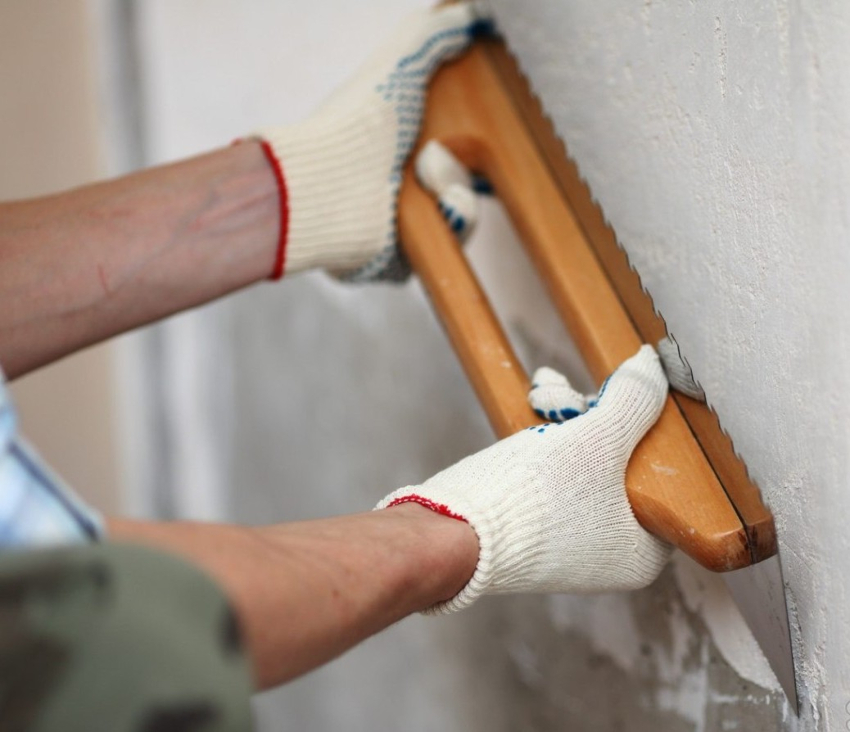
In order for the purchased wallpaper to please the eye of the owners of the house as long as possible, it is necessary to approach the surface preparation with special responsibility.
- They must have as flat a surface as possible. This requirement is most relevant if thin wallpapers are chosen that are not able to hide even the smallest irregularities.
- It is necessary that the walls are perfectly dry and thoroughly primed. Such requirements guarantee reliable adhesion between the surface and the adhesive, which will have a positive effect on the durability of the wallpaper.
- The surface must be clean and uniform, therefore it must be completely freed from the old coating. Old wallpaper can show up as unpleasant stains, and at any time can peel off along with the new coating. The walls must also be cleaned of old paint, since the wallpaper does not adhere well on such a surface, and paint residues can be visible through light canvases.
- There should be no even minimal foci of mold and mildew on the walls. Therefore, it is necessary to carry out the appropriate processing with special equipment.
Based on the listed requirements, the following stages of preparing the wall for wallpapering are distinguished step by step:
- cleaning from the old coating;
- alignment of walls and elimination of defects;
- priming the surface.
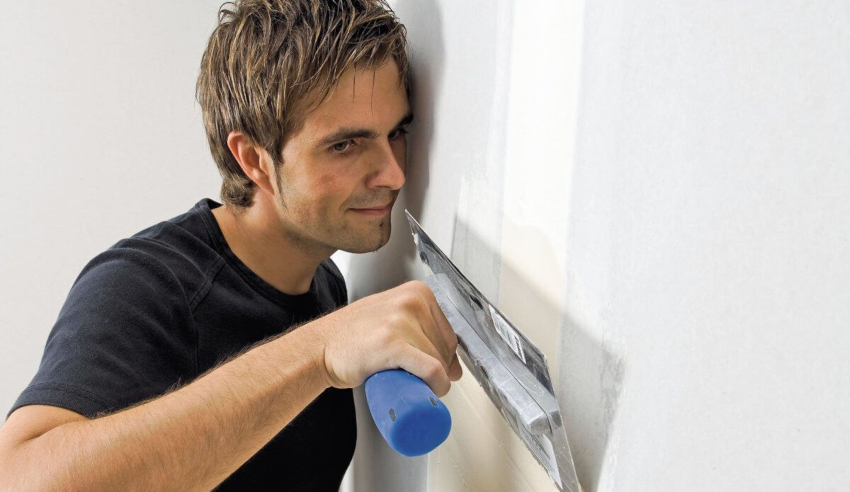
As a result of the preparatory work carried out, a perfectly flat and dry surface should be obtained.
Preparing walls for wallpapering: removing old coatings
For effective gluing of canvases, first of all, it is necessary to clean the surfaces of the old coating - this is the first and very important stage in preparing the walls for gluing wallpaper. First you need to figure out what volume of work you will have to face. After all, walls can have different coatings, in particular:
- surfaces covered with chalk or lime;
- walls in a new building without wallpaper;
- surfaces covered with wallpaper;
- painted walls.
In each of the above cases, when preparing the walls for gluing by cleaning the base, certain difficulties may arise. Therefore, first you need to figure out the amount of work, decide on the tools that will be needed in the process of cleaning the walls from old coatings. It is required to prepare personal protective equipment, because dust and dirt can enter the respiratory tract, and hands will be subject to mechanical damage.
It is important to take care of the protection of the floor covering (if it is not supposed to be completely replaced) from dust and dirt, as well as the safety of furniture that has remained in the room. It is best to use plastic wrap for this purpose, although plain newspapers will work as well.
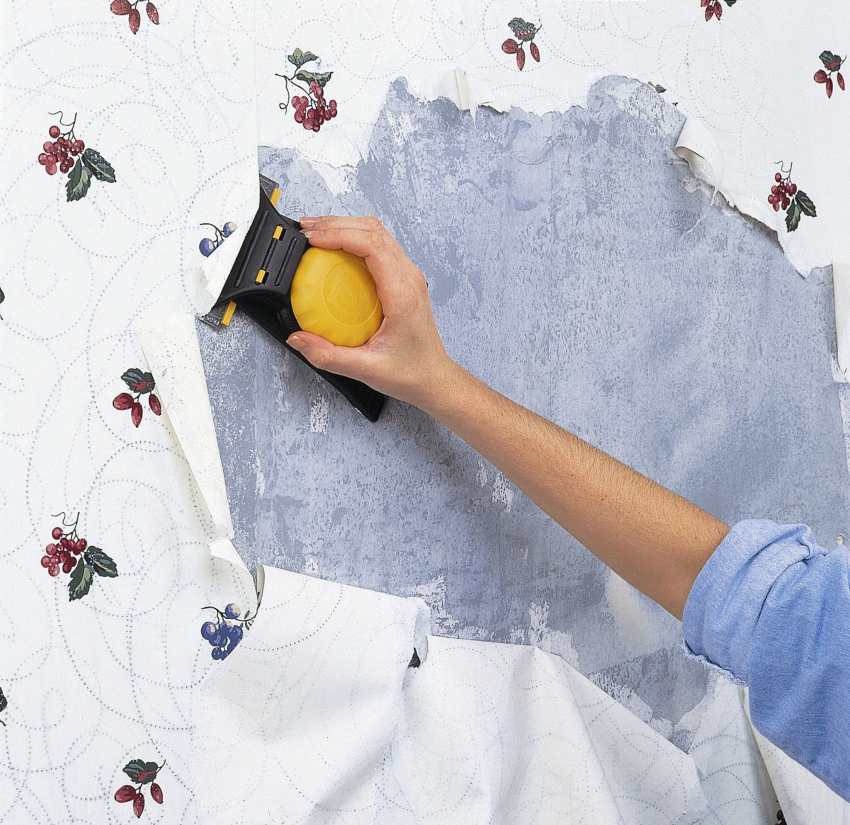
It is required to prepare personal protective equipment, because dust and dirt while removing old wallpaper can get into the respiratory tract and eyes
If we are talking about an old whitewash without the use of fixing components, then you can remove the old coating with a simple spatula, and then wash off the remaining traces and stains from the surface. A much larger amount of work is expected in case of the need to remove wallpaper and old paint from the walls.
Helpful advice! When removing the whitewash from the walls with a spatula, you must first thoroughly moisten the walls with water. This will prevent the spread of dust in the room, which will be much more difficult to get rid of when dry. In addition, it will re-settle on the walls.
How to properly prepare a wall for wallpapering in a new building
It would seem that walls in a newly commissioned house do not require special preparation. Indeed, there is no old coating on them, but nevertheless, in this case, you need to try to properly prepare the surfaces. It was in Soviet times that new buildings were rented out in a condition completely suitable for living. Most modern people strive to give their apartment individuality, to create a special interior in a certain style. Therefore, housing in a new house, as a rule, is rented out without design, often even without plumbing.
An apartment in a modern new building has a dusty concrete floor, cheap sockets and uneven walls, so you won't be able to quickly glue the wallpaper. Walls require some preparation, which consists of several stages:
- Spray is applied with a layer thickness of 3-9 mm. The solution should have the consistency of thick sour cream so that it can freely penetrate into all pores and fill in irregularities, adhering tightly to the wall. The density of the spray is very important, the reliability and evenness of the surface depends on it.
- Priming the walls. The layer of primer for secure fixation should not exceed 6 mm, therefore multiple coats are permissible. How to primer walls for wallpaper in a new building will be prompted in any hardware store, where a wide selection of primers is always available.
- Nakryvka is the final stage of preparation. This is the final thin layer of interior wall plaster, 2-4 mm thick. After its application, a thin and light film forms on the surface, which is then lightly rubbed off.
- Aligning the walls. How to level the walls under the wallpaper is an individual decision. You can use special nets or fine sandpaper.
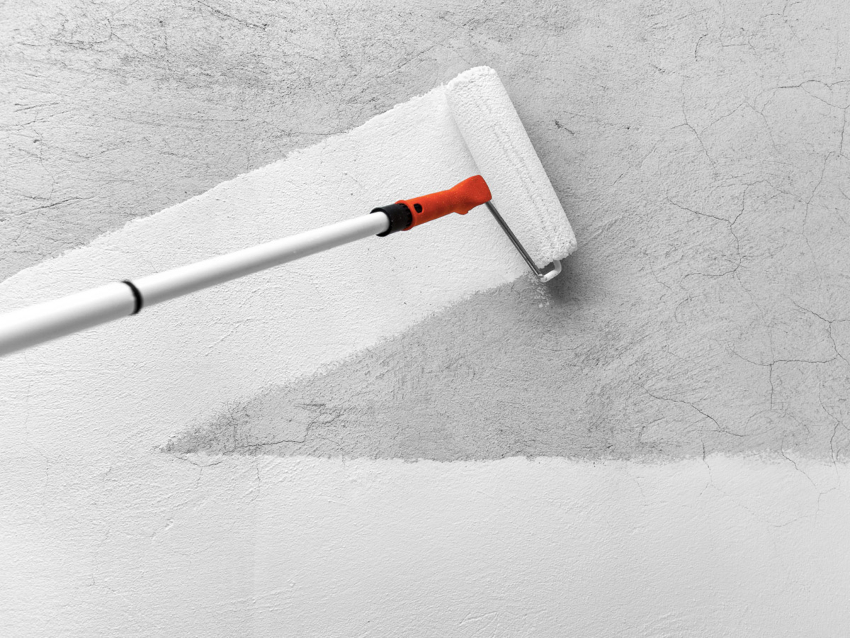
The layer of primer for secure fixation should not exceed 6 mm, therefore multiple coats are permissible
How to Prepare Old Walls for Wallpaper: Removing Old Paint with Sanding and Hair Dryer
On smooth painted walls, wallpaper fixed with even the strongest adhesive solution will not adhere well. In addition, old paint will be visible through the light canvases. In this case, the preparation of the walls for wallpaper is to remove layers of old paint from the surface. This work is troublesome and rather lengthy, assuming the correct approach and adherence to the sequence of actions.
Sometimes, in order to facilitate the process, people simply sand the surface with a serif or coat the paint with a layer of primer. In this case, experts do not guarantee a long service life of the wallpaper. They can come off at any time.
Another way to get rid of paint is to use a building hair dryer. The method is effective, but not harmless and costly, since the hair dryer itself is expensive.It takes time and patience to work, and the fumes from melting old paint are very harmful. The procedure itself involves heating the painted area with hot air until the old paint softens, which is removed from the wall with a spatula.
Helpful advice! Work involving the use of a construction hair dryer must be carried out in gloves, a respirator and special glasses that guarantee personal safety.
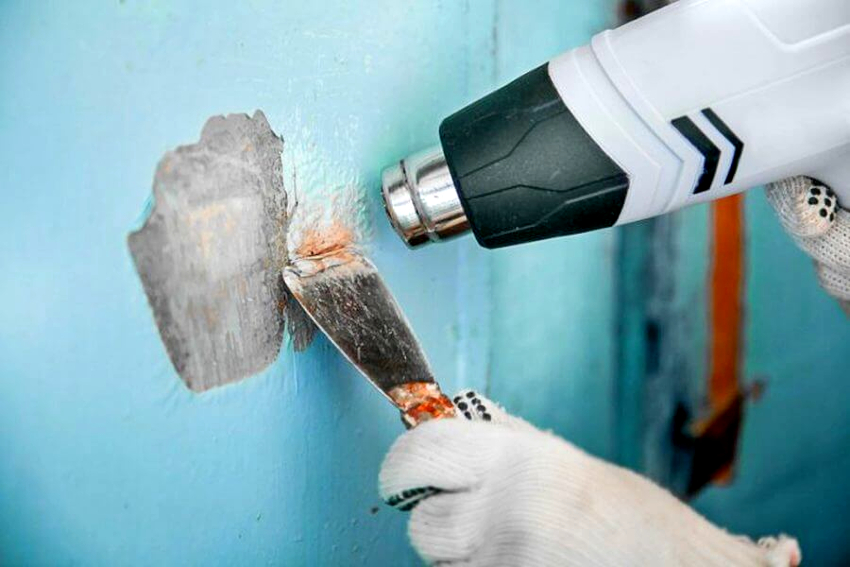
Work involving the use of a construction hair dryer must be carried out with gloves, a respirator and special glasses
In this case, it is important to ensure that the room is well ventilated in order to prevent harmful effects on human health from chemicals that can cause poisoning.
How to prepare painted walls for wallpapering: using a grinder and remover
Quite often, a grinder or grinder with a special metal brush is used to deal with old paint. It should be noted right away that this method, although effective, is very dusty. To organize work, you need to open the windows wide open, and the doors, on the contrary, need to be tightly closed. It is advisable to carefully seal all the cracks under the doors: it is recommended to put on old bedspreads in order to ensure the maximum tightness of the door leaf. The paint is removed by wiping with a grinder attachment. After carrying out these works, the wall under the wallpaper must be completely leveled.
The most effective way to remove old paint is to use a paint remover. In this case, it is also necessary to strictly observe precautions. You need to wear special gloves made of dense rubber, a respirator, and goggles. Work must be carried out in accordance with the manufacturer's instructions. Apply a wash with a brush or roller, hold for a few minutes and remove with a spatula. After removing the paint, the walls should be leveled with a putty.
In the event that the paint could not be removed by any of the listed methods, you can simply cover the wall with a special concrete-contact primer or use a glue for vinyl wallpaper, which has the greatest adhesion. Sanding the wall is necessary as a last resort, because only complete disposal of old paint can guarantee a good result.
Removing old wallpaper: preparing for gluing new ones
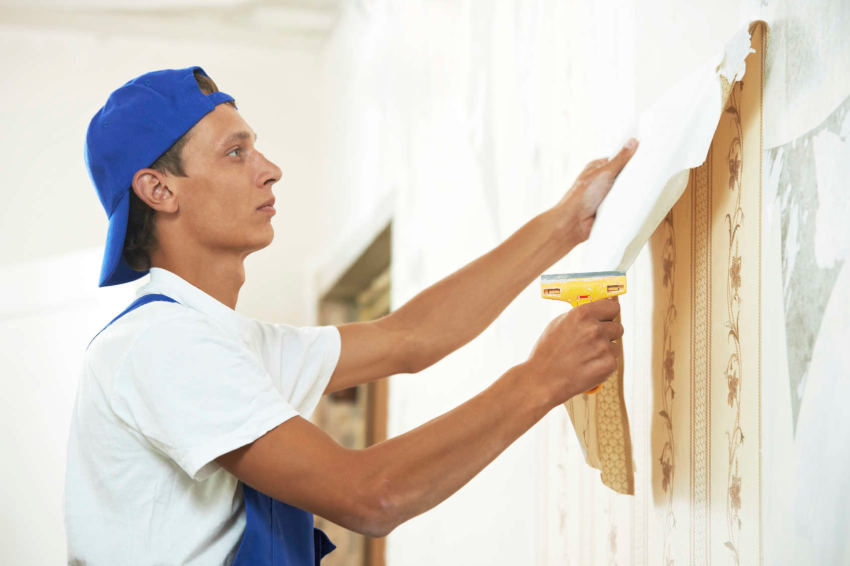
Most often, wall coverings are replaced in a room with previously pasted wallpaper. They definitely need to be removed. Many people mistakenly consider this procedure unnecessary and ineffective. However, applying wallpaper on top of each other can lead to the fact that all the work will have to be done anew, because the old coating, under the influence of moisture from the applied solution, can very quickly come off.
Related article:
Where to start gluing wallpaper in the room: tips and tricks
The procedure for organizing work, preparation of materials. Features of gluing different types of wallpaper on the ceiling and walls, in the hall, hallway and kitchen.
Before you prepare the walls for wallpapering, you need to determine the type of the previous coating. It can be both simple paper and thick vinyl, non-woven or liquid wallpaper. Each product requires special efforts and the use of special tools.
It is most easy to remove paper wallpaper, for this you need to prepare the following tools:
- small ordinary spatula;
- A spray bottle with water or a building roller and a bowl of water
- vinegar, fabric softener, or dishwashing liquid as an aid.
Helpful advice! In places where batteries and heating systems are located, the wallpaper is usually weak, so it is quite easy to remove it from the wall. In an apartment it is easy to do this in other places where the wallpaper is not securely fixed.
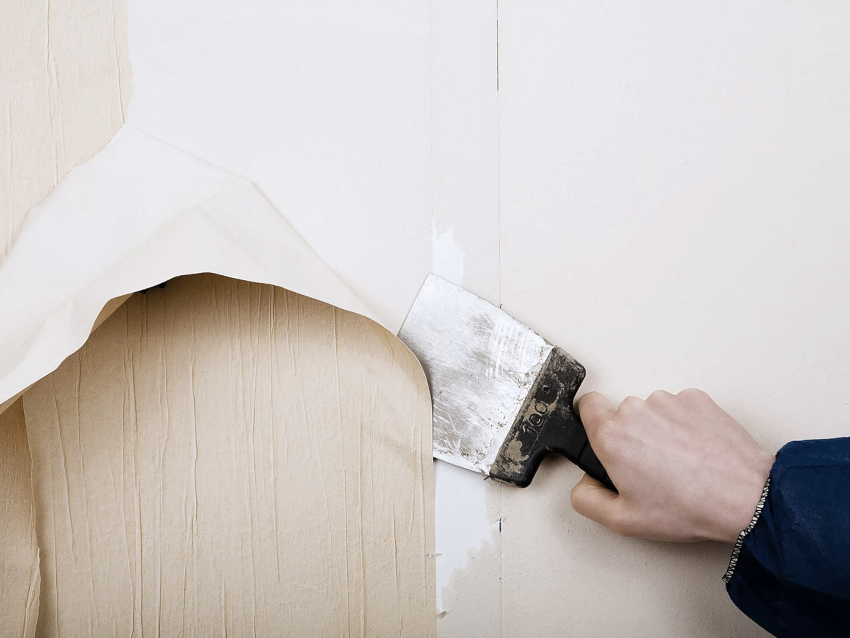
If it is impossible to remove the old paper wallpaper by a simple mechanical method, then they are removed with a spatula, after thoroughly wetting the surface with warm water, using a spray or roller. You can add vinegar, conditioner, or dish soap to the water to act as a solvent for the glue.
How to prepare a wall for wallpaper: useful tips for removing old coating
There are situations when the use of water or improvised aids does not work. Then the wallpaper can be removed with a knife and a wallpaper tiger - a special roller equipped with needles. In this case, the floor surface must be carefully covered with a dense plastic wrap, as dust and dirt cannot be avoided. Having processed the wall with a tiger, the old wallpaper is removed with a spatula, prying off the loose parts. In the corners of the room, at the junction of the wall with the floor and in other hard-to-reach places, it is better to use a narrow trowel, and on an open surface, a tool with a wide blade.
If this method turns out to be ineffective, then you can use special means for removing wallpaper, but their price is quite high. The liquid is applied to the walls using a roller or sponge. After 15-30 minutes, when the agent has a destructive effect on the glue layer, the wallpaper can be removed with a spatula.
Difficulties often arise if PVA glue was used to fix old wallpaper, since it is difficult to remove it even with the help of special solutions. Therefore, it will take a lot of effort, but sandpaper or a drill with a metal brush will help to facilitate the work, as well as household steam generator.
If non-woven wallpaper was used as a previous coating, preparing the walls for a new coating will require additional effort. For this purpose (for better penetration of the solution), cuts and scratches are made on a dense surface. Then the wallpaper is removed with a metal spatula. The soaking procedure will have to be repeated several times. Vinyl products are removed in a slightly different way: cuts are made on them and the top layer is removed, and the bottom one is similar to a paper covering.
How to align walls for wallpaper: features and sequence of work
After successfully removing the old coating from the walls, a thorough examination of the surfaces is carried out in order to identify cracks, places with bulges and pits that need to be eliminated. And also they are examined for the presence of fungus, rust or mold on the walls in the apartment. If they are found, then the affected areas must be carefully treated with disinfectant solutions. Typically, special components contain a primer for walls under the wallpaper.
Useful advice! If mold or mildew is found, the affected areas should be eliminated. Then it is necessary to carefully process these places and the area around them with special means. If this is not done, then very soon unsightly spots will appear on the new wall covering, which will not only violate the aesthetics of the room, but also bring significant harm to the health of the inhabitants of the house.
Subsequently, a comprehensive assessment of the readiness of the walls for pasting is made. If a small number of defects are detected, a simple puttying of the wall under the wallpaper is performed, for this you can use any modern mixture. The order of work is described in more detail below.
Putty is appropriate only if the walls are flat. You can check this by applying a building level in different places. If, on examination, it turns out that the walls are very crooked and have considerable irregularities, then more radical measures must be taken to eliminate these shortcomings. To do this, use the following options:
- leveling the walls with drywall;
- execution of wall plaster on lighthouses.
Which method is better to choose, needs to be decided on a case-by-case basis.
How to putty walls under wallpaper: video instructions and expert advice
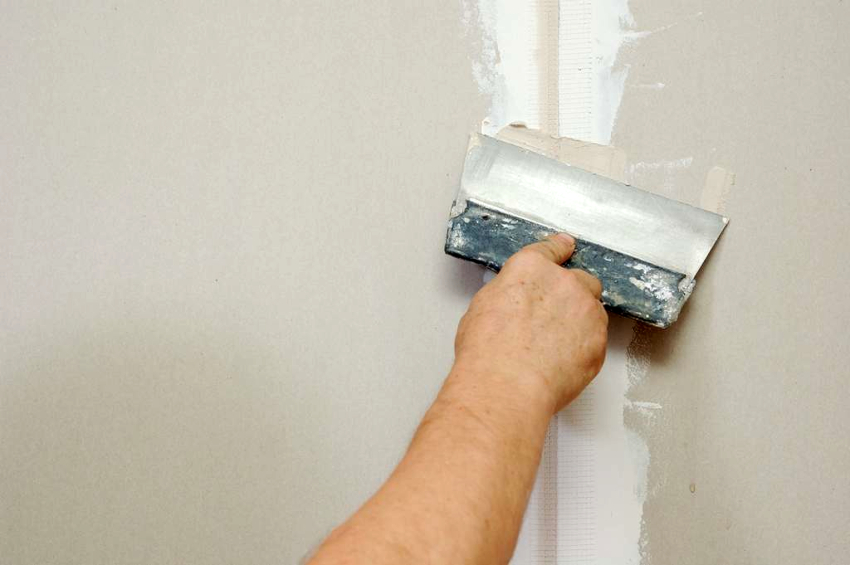
The result of a full-fledged putty is the most even surface. To achieve this effect, you need to choose the right tools and materials. These are spatulas of different sizes and putty - ready-made or dry mixture that is diluted with water. Before you putty the walls under the wallpaper, you should make sure that all fasteners are removed from the surfaces: hooks, screws, dowels and nails. Next, you will need to determine the amount of work to be done, on the basis of which the material is purchased.
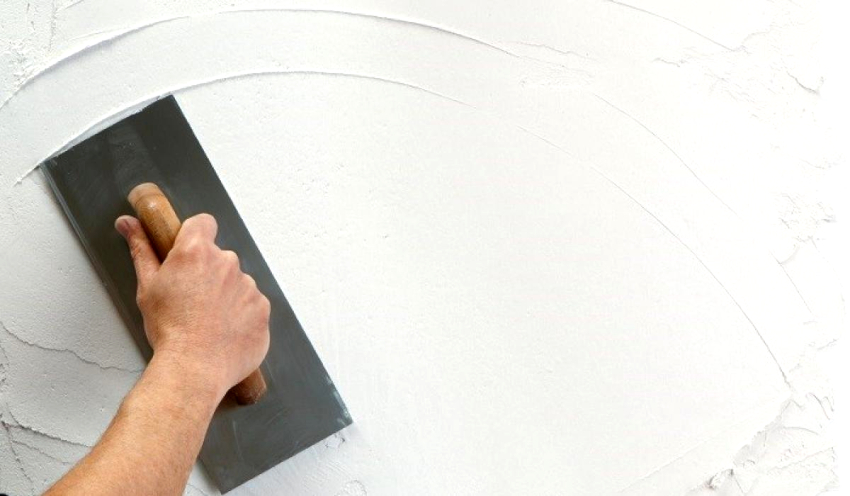
Before you putty the walls under the wallpaper, you should make sure that all fasteners are removed from the surfaces
If the damage is minor, then puttying can be performed only in areas with defects, simply by eliminating pits and chips. The best putty for walls under wallpaper in this case is a gypsum-based material. In order to save time and to correctly calculate the consistency, they often use a ready-made mixture in buckets. Particular attention should be paid to areas with exposed metal reinforcement to avoid rust stains on walls with new wallpaper.
This is considered the most economical option for preparing the walls for wallpapering in terms of time and money, but experts are skeptical about this approach and advise to completely putty the walls. Before you level the wall under the wallpaper with your own hands, it is recommended to watch special video tutorials that can be found on the net.
Full putty of walls under the wallpaper: video tutorials and step-by-step instructions
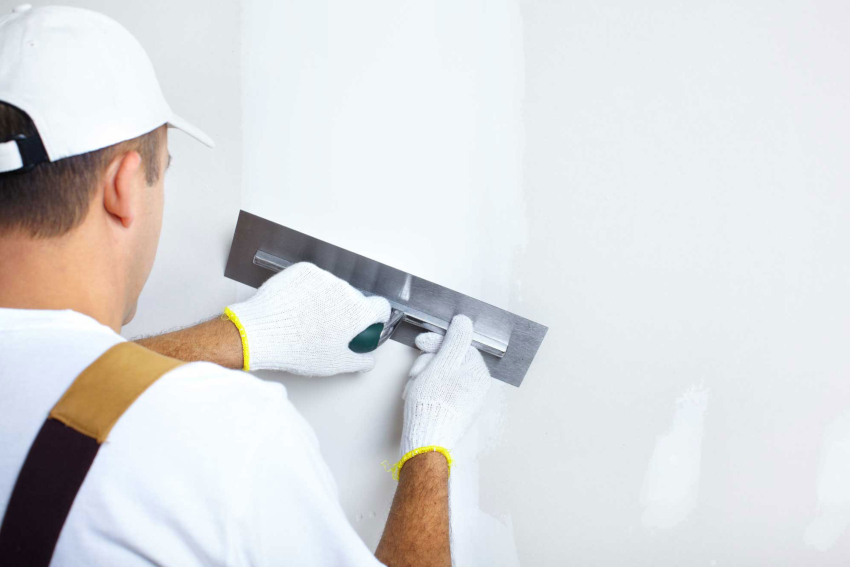
If the entire surface of the walls is subject to puttying, then it will not be possible to bypass the visible stripes from the spatula. To avoid tuberosity, you can apply two thin layers of putty composition. They are applied in this way: one in the vertical direction and the other horizontally.
Diagonal movements are an alternative method in this case. The smear is applied towards the previous one, it is applied as if "overlapping". To get a high-quality coating and facilitate the work, it is best to use the widest possible spatula, measuring at least 30 cm, and you need to hold it at an angle of 25-30 degrees from the wall surface.
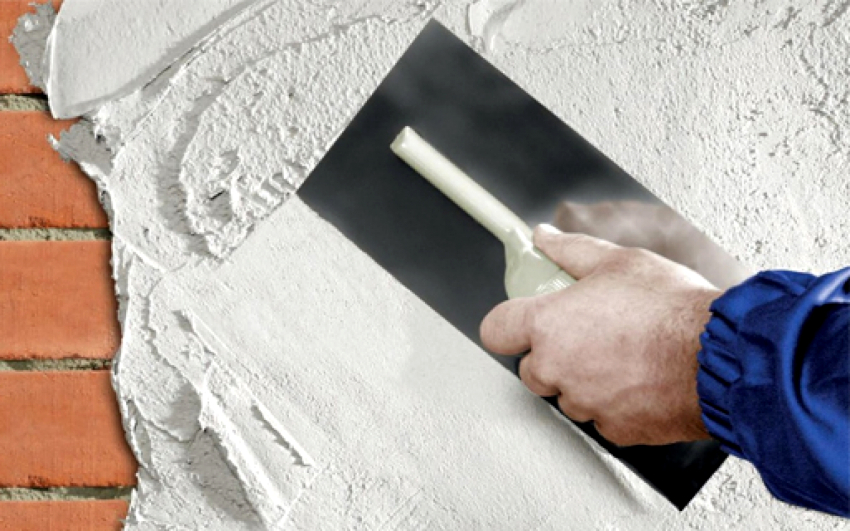
If the entire surface of the walls is subject to puttying, then it will not be possible to bypass the visible stripes from the spatula
Useful advice! You can check whether the putty is dry or not, you can use a simple method. Scotch tape is glued to the plastered wall, under which condensation immediately forms. Its complete disappearance will indicate that the putty has dried.
It is best to use an angled trowel in the corners, which will effectively apply the putty and avoid complications. Subject to strict adherence to the instructions, such wall decoration for wallpaper will be within the power of even a novice master. Video tutorials will help you to do everything right.
Usually two or three layers of putty are applied, with each subsequent layer being applied after the previous one has completely dried. The last layer of finishing putty is applied, the use of which will help smooth out even the smallest irregularities. The work algorithm is similar to the application of the starting putty. After the finishing layer has completely dried, grouting can begin. To do this, use a special mesh or sandpaper, followed by dust removal.
How to align the walls in the apartment under the wallpaper: the use of drywall
With the help of drywall sheets (gypsum plasterboard), you can level almost any wall. This is due to a number of advantages of this versatile material, among which stand out:
- relative strength;
- ease of cutting and use;
- flexibility of the material, implying its effective use.
Depending on the type of material, the use of drywall will help not only hide small irregularities on the wall, but also build a full-fledged partition in the room. Such work is within the power of anyone, even not the most experienced master - it is enough to choose the best option for installing the gypsum board and decide on the final form. There are only three main ways of attaching sheets:
- fixing drywall to the frame;
- fastening sheets directly to the wall;
- a combination of the two previous options. This method is used at the joints of walls and ceilings, as well as in the area where plasterboard walls and surfaces covered with plasterboard join.
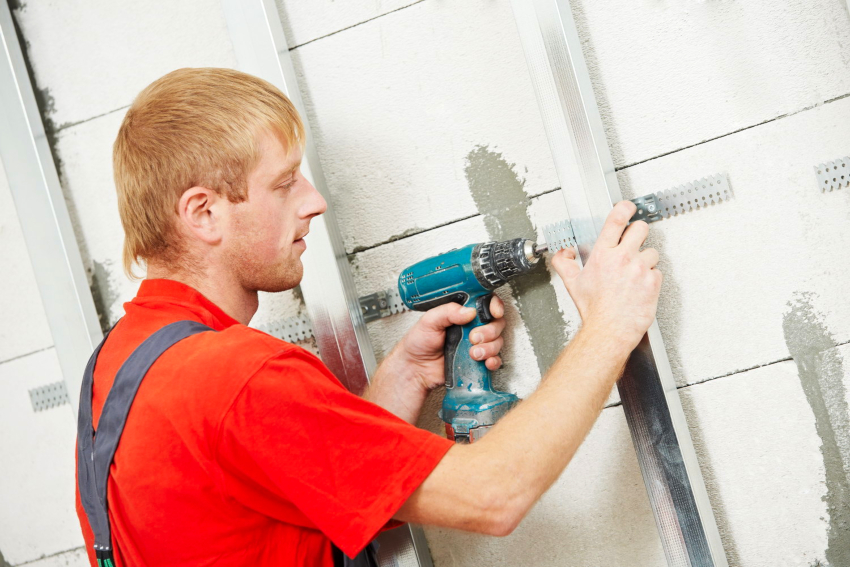
The wireframe method is the simplest and most affordable. For its implementation, a special profile for drywall is used. It is carried out using a level, connecting the frame parts at the bends. Next, the gypsum board is cut to the required size and, using screws, they are fixed to the frame. This method has a certain drawback, since as a result, the cladding is relatively thick, hiding the useful area of the rooms by a couple of square meters.
Before leveling the walls under the wallpaper, it is necessary to carry out preparatory work, which involves cleaning them from the old coating to the base. It is advisable to prime the wall and be sure to treat it with an antiseptic.
Warming and soundproofing of walls in the apartment under the wallpaper
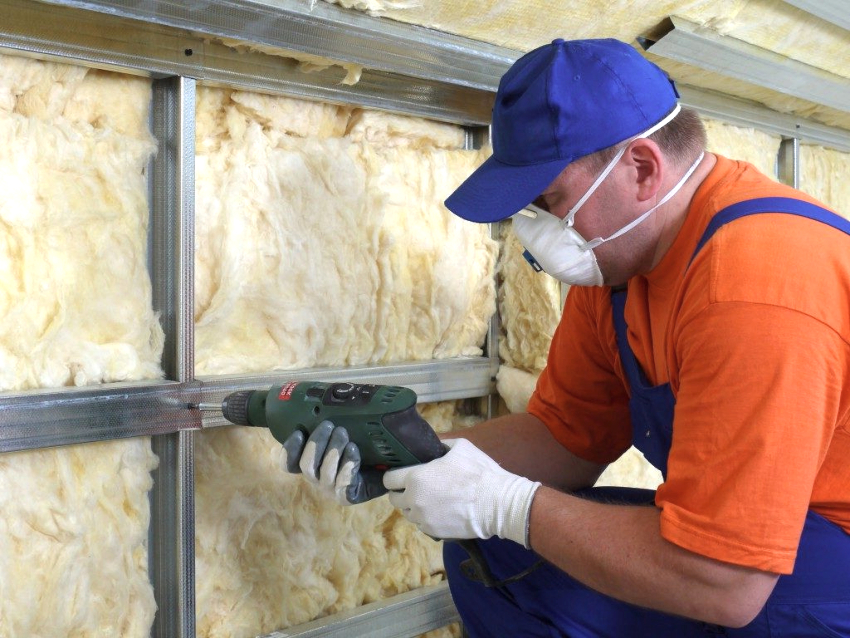
Drywall is used not only for leveling walls, but also for performing sound insulation, and also as a heater for walls under wallpaper. In this case, the option of gluing the sheets to the wall is most often used. This method is also effective for partial wall repairs or, if necessary, the construction of window slopes and arches. This is possible due to the easy transformation of the gypsum board using a perforator.
Important! Plasterboard sheets are a versatile material, as they can be used to level, insulate surfaces and soundproof the walls easily and quickly. GKL fit perfectly under the wallpaper, since it is easier to glue them on a flat surface, and on a gypsum base with cardboard, the canvases hold perfectly.
The wall is pre-cleaned and primed, then markings are made. Under the ceiling and above the floor, leave gaps of half a centimeter for better drying of the glue and drill holes for dowels. Screw the screws so that the caps are flush with the wall surface. As glue, special quick-drying mixtures are used, which are applied to the back wall of the sheet in longitudinal stripes and along its edges. After attaching the drywall to the wall with glue and screws, allow time for the glue to dry.
Before puttingty the drywall walls under the wallpaper, the seams between the plates are sealed with a special mesh, they are covered with a starting putty, creating a single flat surface. Only after that, the finishing putty is applied in a thin layer, but not necessarily along the entire wall, but where there were seams and holes from the screws. When using drywall, the result is a perfectly flat and smooth wall. The price of preparing the walls for wallpapering in this way will also pleasantly surprise.
How to plaster the walls in the apartment under the wallpaper: the choice of method and materials
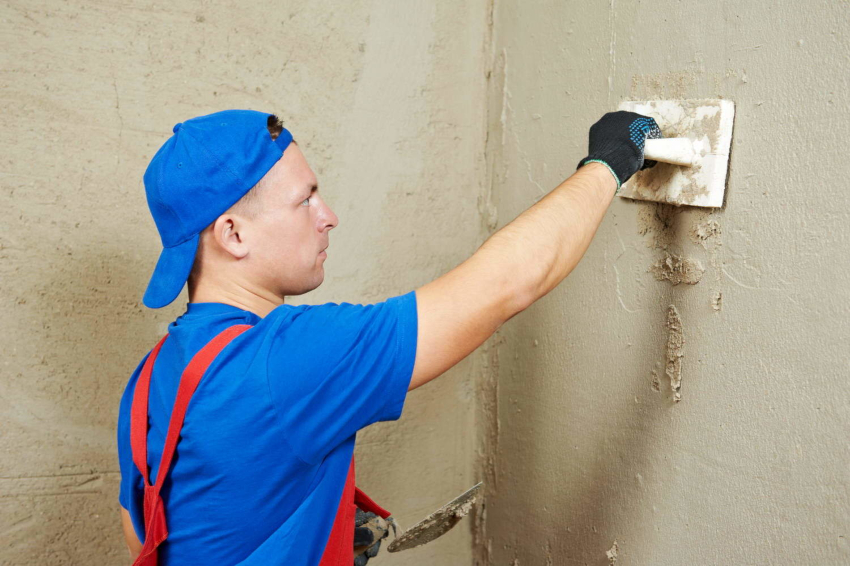
There are several ways to level the walls with plaster. The best result can be obtained when plastering the walls along the lighthouses. Careful preparation of the walls for plastering will be required, which implies the complete removal of the old layer to the very base. After a detailed inspection, deep depressions must be sealed with a layer of plaster, leveling them as much as possible with the main surface. In this case, the differences should not exceed 10 mm. The protrusions, on the contrary, need to be squeezed.
A laser level or a simple method involving the use of threads will help to detect defects.To do this, screws are screwed along the side edges at the top of the wall and the plumb lines are lowered, and between them a horizontal thread sliding up and down is pulled. Stretching it along the wall, mark sections of the wall with indentations and ledges.
After plastering the flaws, before plastering the walls under the wallpaper, the surface is cleaned with a broom and covered with a primer, which will protect the wall from excessive moisture absorption from the plaster solution and prevent mold and mildew. The type of primer is selected taking into account what material the main wall is made of. Sometimes a reinforcing mesh made of fiberglass or polyethylene is used for plastering, which is attached with a layer of mortar.
Useful advice! For plastering on beacons, special beacon profiles are used, which are installed from corners with a range less than the length of the rule by 10 cm.
How to plaster a wall on lighthouses: the procedure for organizing work
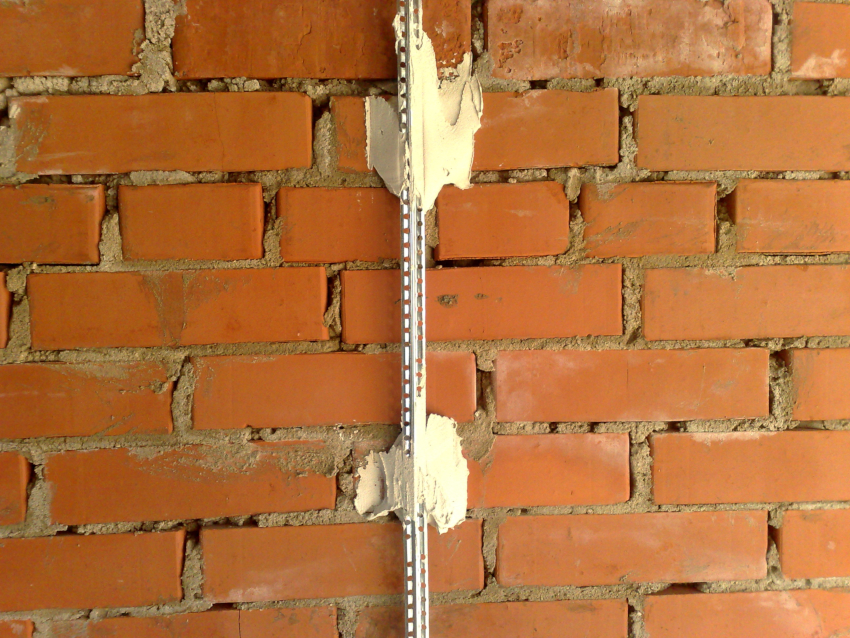
Plastering on lighthouses is carried out according to a certain technology. Before plastering the walls under the wallpaper, they expose the beacons themselves. You can get the correct level using screws screwed into the wall to the very head on the profile installation line. The plumb line is hooked onto the upper screw, and the rest are unscrewed until the caps are on a par with the plumb line.
All screws are installed along the installation lines of the profiles, and a right angle is drawn between the plane of the screws and the surface of the adjacent wall. Then the profiles themselves are fixed, and a little mortar is applied along the edges of the lines and evenly in the middle of the wall. The profile is applied in such a way that it lies on the base of the screw heads and goes a little deeper into the composition. After the solution has dried, you can start plastering.
In the event that the final layer exceeds 10 mm from the initial level, the plaster application process will have to be divided into two stages. First, a solution with a thickness of about 5 mm is applied to the wall. After it dries, proceed to the final plastering. The solution is applied a little more and leveled with a rule resting on the beacon profiles. The tool is conducted from the bottom up, shaking slightly in different directions, without tearing it off the beacons.
In the last turn, the corners are displayed between the wall and the floor, as well as the wall and ceiling. This is done during the drying process of the solution, when it has already set, but is still wet. The work uses a special trowel to form the inner corners. Only after the walls have completely dried are the beacons removed, and the remaining strips are rubbed with plaster mortar, focusing on the finished sections.
Priming the walls under the wallpaper: the choice of solution and the rules for its application
Priming is the final stage of preparing the walls for wallpapering. In the modern building materials market, there is an extensive range of different wall primers. Focusing on the features of application and operational properties, experts distinguish several types of them.
Acrylic primer is a versatile solution that is used to treat walls before wallpapering concrete walls, as well as surfaces made of brick, wood, fiberglass, fiberboard and chipboard. The acrylic-based solution does not have a strong odor and dries very quickly. Dries completely in less than 5 hours.
An alkyd primer is used for treating wooden surfaces. You can start gluing wallpaper on the walls only after the solution has completely dried, and this process can take from 10 to 15 hours.
Mineral primer is made on the basis of lime, gypsum or cement. It is covered with concrete or brick walls.The drying time of the solution can be a couple of hours or several days, which depends on its constituent components and on the surface to be treated.
The pigmented primer has special shades due to the use of various pigments such as red lead or zinc crown.
Useful advice! Particularly popular are primers with white pigment pigments, which give the entire wall the same tone. Such compositions are ideal for preparing walls for gluing non-woven wallpaper with a translucent coating, as well as for gluing thin and white wallpapers.
A deep penetration primer is used as an additional reinforcement of walls - most often loose and porous surfaces. The compound can penetrate into the base to a depth of 20 mm, strengthening it from the inside. It often contains special additives to prevent the growth of mold or mildew. The walls are treated with this solution before gluing the vinyl wallpaper on a non-woven base.
What you need for wallpapering: the choice of materials and tools
To organize the work on wallpapering, first of all, you should decide on the type of wallpaper, as well as prepare the necessary tools. As for the wallpaper, there are several types:
- paper;
- non-woven;
- vinyl;
- textured or fabric.
For each room, the appropriate type of canvases is selected, for example, silk-screen printing will look great in the hall, but not suitable for the kitchen. Vinyl, on the other hand, is a great option for a kitchen or hallway, but not in a living room or bedroom.
You can calculate the required number of wallpapers using a special table:
| Ceiling height, m | Room area, m² | ||||||||||
| 9 | 10 | 11 | 12 | 13 | 14 | 15 | 16 | 17 | 18 | 19 | |
| up to 2.2 | 4 | 4 | 4 | 5 | 5 | 6 | 6 | 7 | 7 | 7 | 8 |
| up to 2.4 | 4 | 4 | 5 | 5 | 6 | 6 | 7 | 7 | 7 | 8 | 9 |
| up to 2.7 | 4 | 5 | 5 | 6 | 6 | 7 | 8 | 8 | 8 | 9 | 10 |
| up to 2.8 | 4 | 5 | 5 | 6 | 7 | 7 | 8 | 8 | 9 | 10 | 11 |
| up to 3.0 | 5 | 5 | 6 | 7 | 7 | 8 | 8 | 9 | 10 | 11 | 12 |
For gluing wallpaper, you will also need a certain set of tools, consisting of items that are most often found in any home. You will have to buy just a few components. Below is a list of fixtures that will be required to glue non-woven, vinyl and other types of wallpaper:
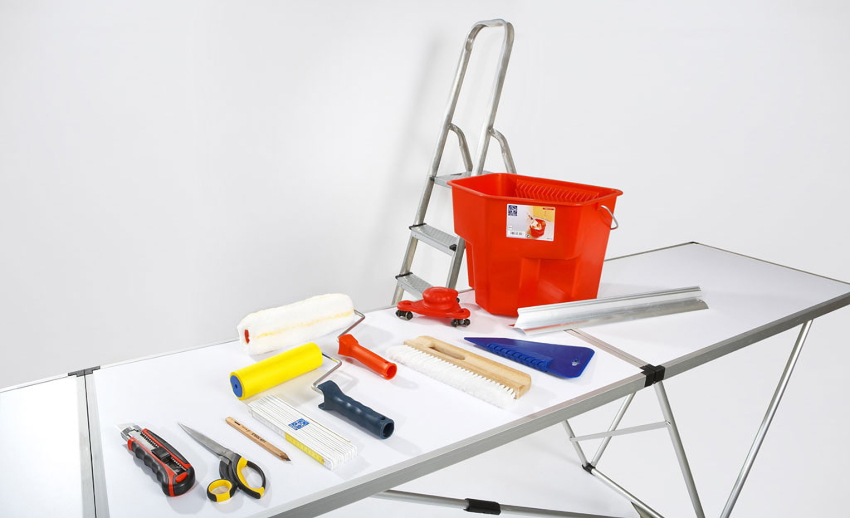
For gluing wallpaper, you need a certain set of tools, consisting of items that are most often found in any home
- painting spatula 35 cm wide;
- painting knife with break-off blades;
- roller for rolling wallpaper joints ("barrel");
- painting bath with a capacity of 280 ml or more, designed for even distribution of the glue along the roller;
- fluffy paint roller for applying wallpaper glue;
- a bucket for diluting glue or any volumetric container;
- plumb line with a thread;
- building level;
- a brush for applying glue;
- tape measure at least 3 m long;
- soft rags;
- scissors;
- clamping spatula;
- ladder;
- a pencil for marking.
How to cover walls in an apartment instead of wallpaper: modern alternatives
Covering walls with wallpaper for many years was considered the main and uncontested option for decorating a living space, but in modern construction, other, no less profitable and beautiful ways of decorating walls have appeared.
An alternative to ordinary paper or even vinyl wallpaper is wallpaper for painting or painting walls. The first option is wallpaper on a non-woven base with a textured pattern. They are usually used in their pure form for about two years, and then they can be coated with paint (completely in new colors).
Useful advice! An alternative to ordinary wallpaper in wall decoration can be liquid wallpaper, which in its qualities is more reminiscent of a plaster based on cellulose.
This coating is available in the form of a dry mixture, into which ordinary water is added and thoroughly mixed before use.The result is a doughy mass, which is applied to the walls with a special spatula.
Particularly popular is gradually gaining paint for interior work. There are several types of this material:
- Water-based. This is the most affordable paint in terms of price, but at the same time it is the most unstable, since it is washed off with water. Sometimes, instead of water, PVA glue or polymer latex may be present in the composition.
- Acrylic paint. It is based on resin, so it is durable, fast drying, and does not emit harmful fumes and has no smell.
- Alkyd. This is an ordinary enamel that has moisture-proof properties and is characterized by durability. The main disadvantages are toxicity and high cost.
- Oil paint in modern construction is mainly used for outdoor work, as it dries for a very long time. It can be used exclusively as a decoration.
- Silicone paint is an expensive material with a number of unique properties, among which are waterproofing and vapor permeability.
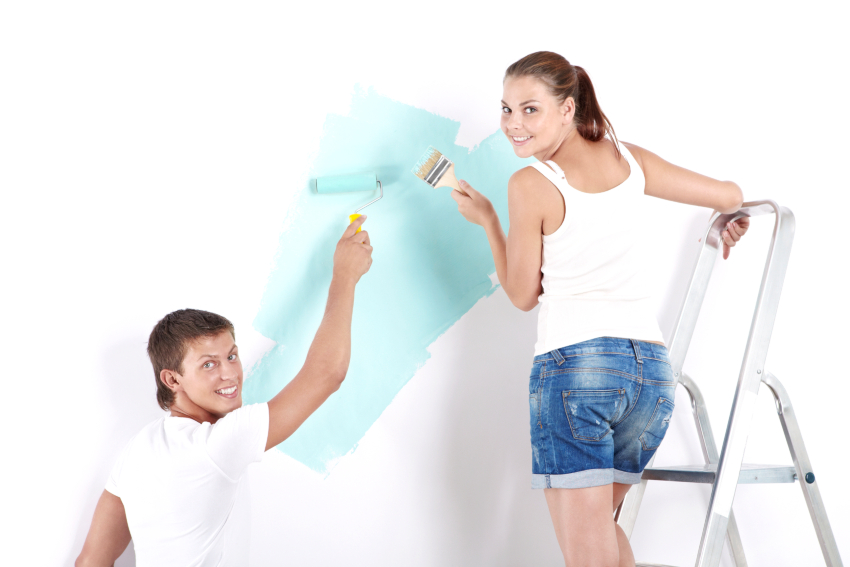
The most affordable water-based paint in terms of price, but at the same time it is the most unstable
How to prepare walls for DIY painting
Preparing walls for painting is as important a process as preparing walls for wallpapering. The final result and the service life of the finished finish depend on the quality of this work. Therefore, the opinion that it is enough to simply clean the walls for painting from dirt and dust is mistaken. The process of preparatory work itself consists of four stages, such as:
- Removal of old finishing material. The amount of work depends on the type of coating and the degree of its fixation on the wall.
- Priming the walls. Does not require special skills and experience. The main thing is to get a high-quality deep penetration primer, which is specially designed to be applied to walls before painting.
- Leveling the walls with a starting putty. For this purpose, the walls are usually putty, but in the presence of large irregularities, it may be necessary to carry out a complete plastering of the surface using a frame mesh. As a rule, drywall walls are not designed to be painted.
- Finishing layer of putty. The best option at this stage is to use satengypsum, which is made from finely ground stucco.
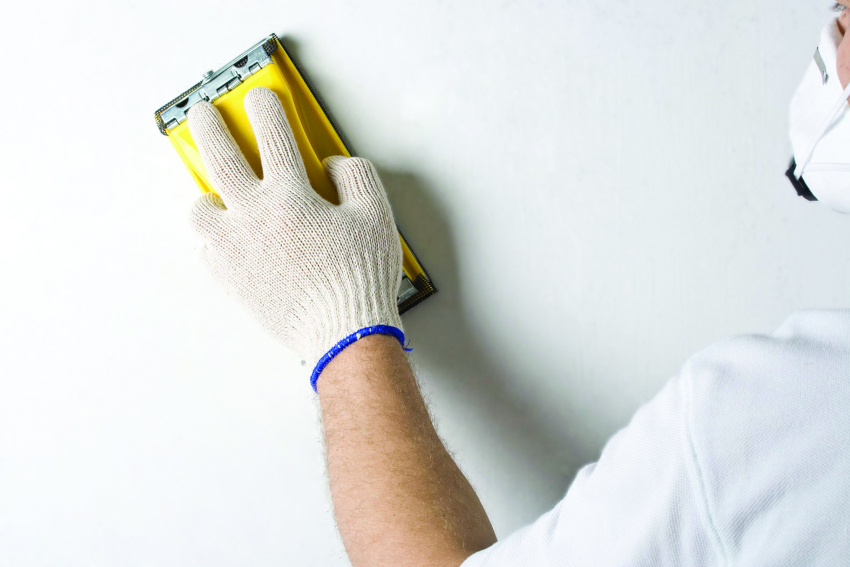
The opinion that it is enough to simply clean the walls for painting from dirt and dust is erroneous.
The totality of all materials and tools used in the process of performing all the types of work described above, as well as the cost of the services of the craftsmen and involved workers, will make up the total cost of preparing the walls for wallpaper or painting.
The quality and service life of the future decorative coating on the walls depends on strict adherence to the sequence and technology of work. The main thing in this process is responsibility. Therefore, if you have doubts about your own abilities, it is better to seek help from specialists.
