The article will focus on how to fix PVC panels to the wall and to the ceiling base: possible options for fixing the material on the surface, the main step-by-step technologies, the nuances of the correct use of the material and creating a design in rooms with the help of it will be studied in detail. Also, illustrative examples of the design of the bathroom, kitchen, balcony and other premises will be provided.
Content [Hide]
- 1 How to fix PVC panels to the wall and ceiling base: general information
- 2 Using PVC panels: how to fix plastic slats to the bathroom wall
- 3 How to glue PVC panels for the bathroom: recommendations
- 4 Photo of kitchen aprons made of PVC panels and installation technology in the spacer
- 5 Instructions for the installation of PVC panels on the walls over the lathing frame
- 6 Formation of suspended ceilings from PVC panels: photos of structures and technology
How to fix PVC panels to the wall and ceiling base: general information
Panels made of polyvinyl chloride are practical and durable. For this reason, they are widely used to decorate the surfaces of walls and ceilings in the house. Thanks to a wide variety of shapes, shades and textures, an interior based on this material can be stylish and beautiful.
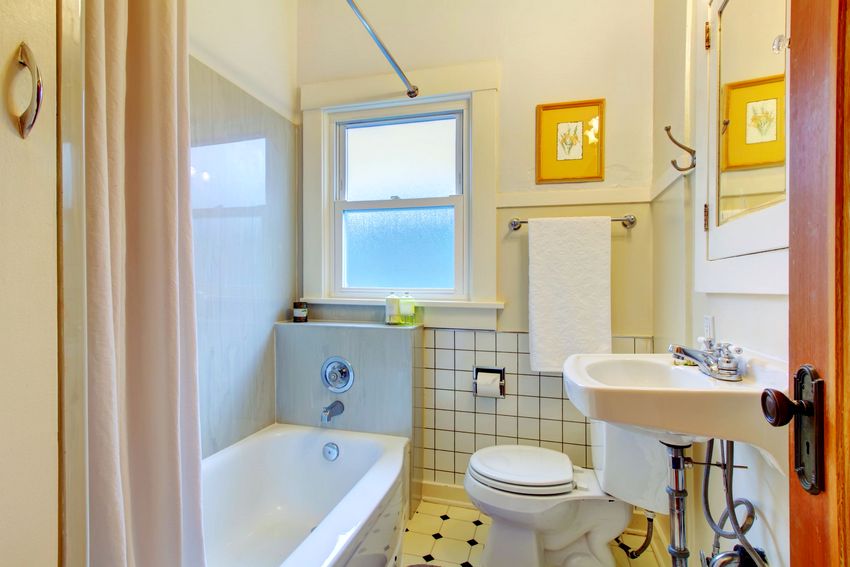
Useful advice! Use PVC panels for bathroom renovation. This material is hygienic and absolutely not afraid of water, so it can be used in those rooms where other finishes are not suitable. On the Internet, there are not only photos of bathroom finishing with PVC panels, but also design options using this material in the kitchen, in the toilet, on the balcony or loggia, in the sauna.
Material advantages:
- resistance to moisture;
- convenient installation system that even a beginner can handle;
- long terms of operational service;
- fire safety;
- resistance to mold, fungi and other microorganisms;
- hygiene;
- ease of care and cleaning;
- affordable cost.
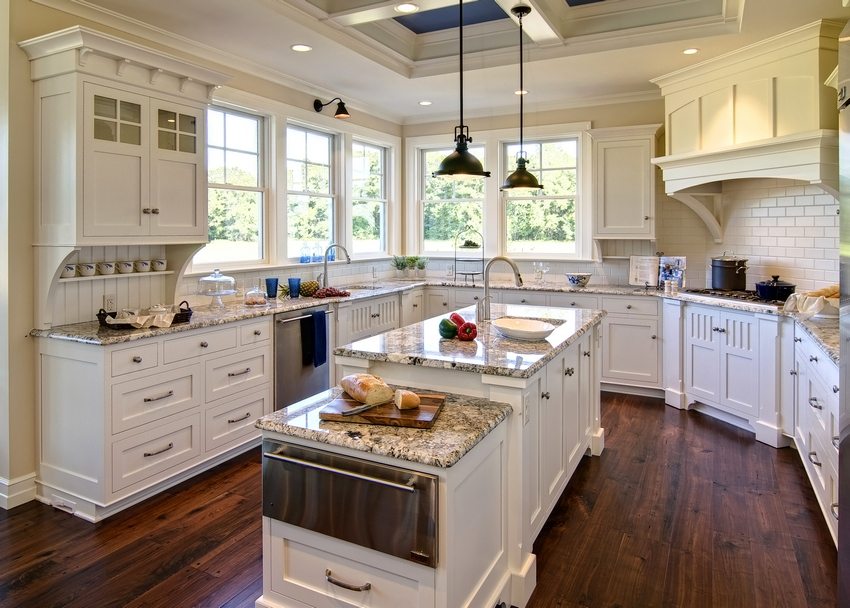
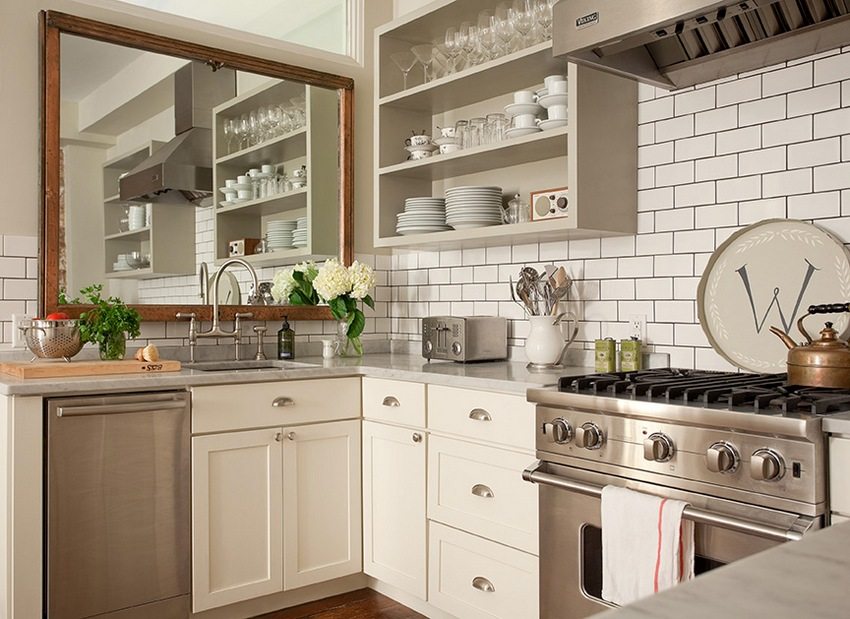
On the network, you can stumble upon a photo of PVC panels in the kitchen, instead of tiles, this material looks no less beautiful, while its cost is much lower than that of tiles.
The disadvantages of PVC panels include a low level of impact strength. Therefore, you should carefully control the process of transporting material from the point of purchase to the work area. When installing PVC wall panels with your own hands, you should also be careful not to damage them.
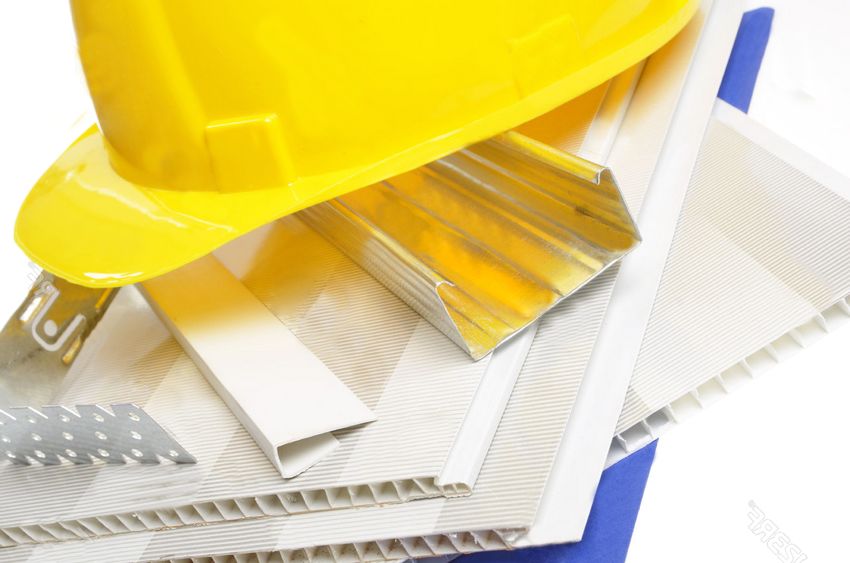
Before you start installing PVC panels in a bathroom or in any other room, you should prepare the tools and materials necessary for finishing work. They should always be at hand.
To repair a room with PVC panels, you will need:
- tape measure and pencil (for marking);
- hacksaws with fine teeth (for cutting material);
- building level;
- square;
- PVC panels;
- plastic profile for PVC panels or slats;
- a set of fixing elements (self-tapping screws, dowel-nails, clamps);
- puncher and screwdriver;
- antiseptic solution and sealant;
- ceiling skirting boards.
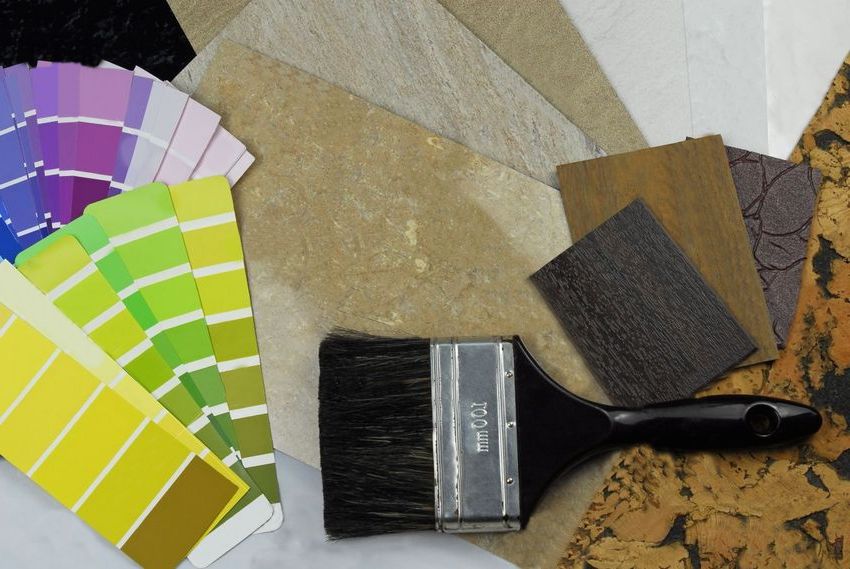
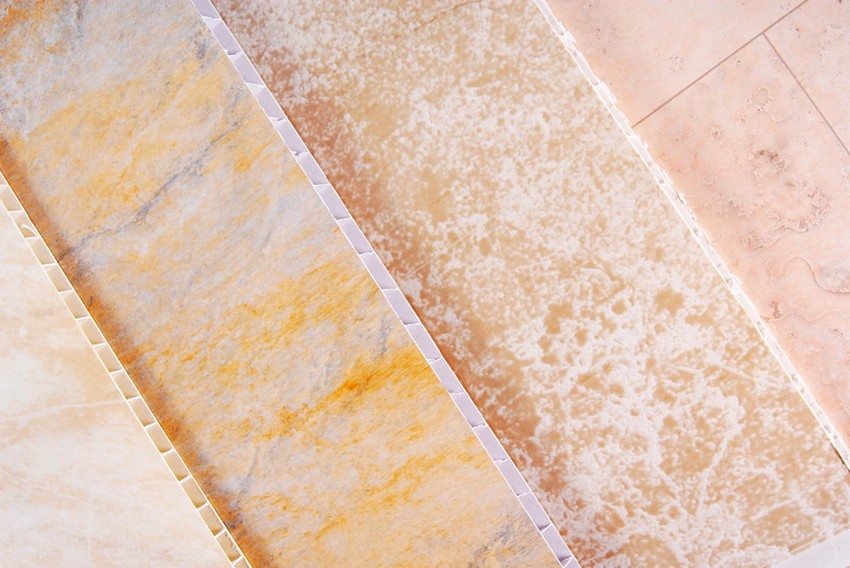
At the same stage, the selection and purchase of material is carried out. There are panels on the market with different types of coatings, which can be glossy or matte. In addition, manufacturers use various technologies for applying patterns and designs.
Strength characteristics depend on the thickness of the panel walls, as well as on the number of stiffeners that are located inside.
Useful advice! To test the material for strength, gently press on the plastic surface with your finger. If the panel is bent, it means that it has a low strength and short service life.
Features of the choice of material for wall cladding with PVC panels
PVC panels from different manufacturers have different characteristics. Be sure to pay attention to the quality of the material.
To purchase a quality panel, avoid purchasing material if:
- the stiffeners are damaged or deformed;
- the lines of the drawing on the front side of the panel are not clear, there are blurring or the edge line is blurred;
- lamellas differ from each other in shade;
- the surface is covered with scratches;
- the dimensional parameters of the lamellas do not match (in this case, the technology of attaching PVC panels to the ceiling or wall may not only be complicated, but also impossible, since the elements will not be tightly fixed).
Characteristics of the average European and Chinese panels (comparison table):
| Criterion | European lamella | Chinese lamella |
| Front side thickness, mm | 2 | 1,5 |
| Number of stiffeners, pcs. | 29 | 20 |
| External characteristics of stiffeners | smooth, do not have deformations | smooth, there are small deformation changes |
| Lamella weight, kg / m² | 2 | 1,7 |
| External characteristics of the lamella | Smooth coating, stiffening ribs do not protrude | Smooth coating, voids between the stiffeners are visible, there are small deformation changes |
| The quality of the raw material base | From light pressing, the lamella bends a little and again returns to its original state, the presence of chalk in the composition is minimal | From a slight pressure on the surface with a finger, the lamella undergoes deformation changes, which indicates a high content of chalk in the composition |
How to fix a PVC panel to the ceiling and wall: preliminary calculations
Before fixing the PVC panel, it is necessary to make preliminary calculations of the material for wall decoration.
Useful advice! Be sure to calculate the amount of material. This will allow you to avoid overpayments or additional purchases of panels if they are not enough. By performing preliminary calculations, you save both time and money.
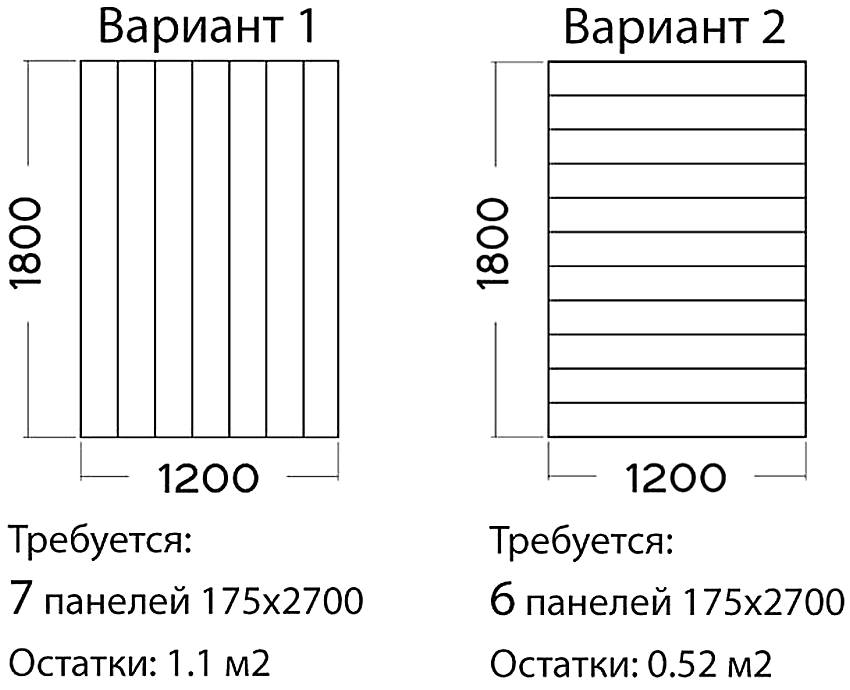
When installing PVC wall panels, lamellas can be positioned horizontally and vertically. It depends on your desire.The calculation of the material for vertical installation is carried out as follows:
- The room is measured (the length of the room around the perimeter).
- The width of the window and door openings is subtracted from the obtained value.
- The remainder is divided by the width of one lamella.
As a result, you get the required number of panels for interior decoration. Be sure to add a few more additional lamellas in case you accidentally damage one of the elements during installation.
For horizontal finishing, a slightly different calculation scheme is used:
- The total area of the room is measured.
- The area of window and door openings is subtracted.
- The resulting value is divided by the area of one lamella.
In this case, at least 10% of the panels in reserve must be added to the received quantity. This moment is due to the fact that with horizontal finishing of the ceiling with PVC panels, as well as when working with walls, the master is faced with the need to cut the material. The result is more construction waste.
Calculation of consumables for lathing under PVC panels
If it is planned to install PVC wall panels with your own hands on top of the crate base, additional calculations of the amount of consumables for this structure should be performed. As a building material for the lathing, metal profile elements or timber slats can be used.
First you need to measure the height of the walls in the room. Then divide this indicator by the step of placing the battens in the crate. The result of these calculations must be multiplied by the perimeter of the room. You will receive the length of the profiles or laths in linear meters.
Note! As a rule, wooden or metal elements are spaced 50 cm apart.
To calculate, measure the height of the corners in the room and multiply this indicator by their number. As a result, you will get the total footage of corner-type profile elements. The perimeter of the door and window openings in the room is added to this value.
Using PVC panels: how to fix plastic slats to the bathroom wall
Numerous photos of PVC panels in the bathroom, which can be found while browsing sites and magazines for home renovation, indicate that this type of material is quite popular among consumers.
Decorating a bathroom with PVC panels with your own hands can be done in three different ways:
- using an adhesive composition;
- using self-tapping screws;
- using kleimers.
The use of an adhesive will be effective if you have to deal with perfectly flat and smooth surfaces.
Types of adhesive for PVC panels in the bathroom:
- specialized adhesive for polyvinyl chloride lamellas;
- universal composition "Moment-montage";
- liquid Nails.
The installation of lamellas with glue greatly simplifies and reduces the cost of repair work in the bathroom, since the need for the construction of a lathing structure is completely eliminated.
The glue method of fixing also has disadvantages. In case of damage to the finish, the damaged lamella cannot be replaced with another one. Moreover, subsequent repairs will be complicated by the procedure for dismantling the old coating, which is difficult to remove from the wall.
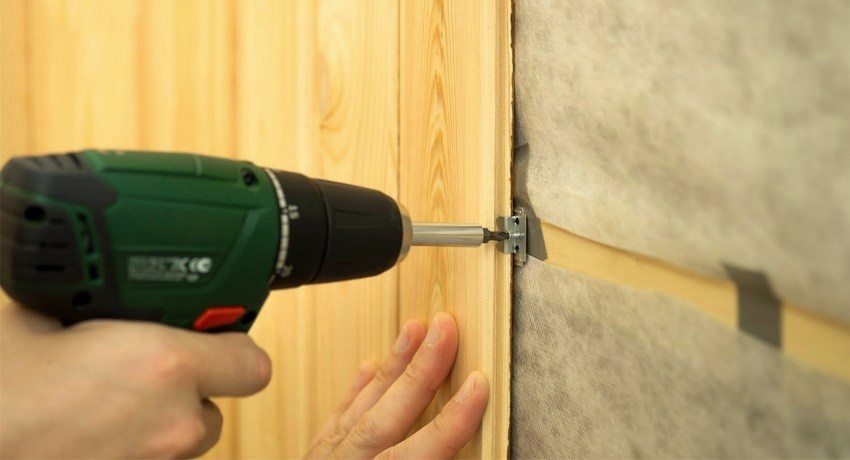
Fixing with self-tapping screws is more convenient and reliable. For work, you will definitely need an auxiliary tool in the form of a screwdriver. Otherwise, the repair will be significantly delayed.
Note! Before fixing the PVC panel in the bathroom with self-tapping screws, there is no need to level the surface.
The disadvantages of this method include the need for the construction of a frame base in the form of a crate made of wood. This entails additional costs of time and money.
Cleamers provide fast and reliable fixing of lamellas to the wall surface. In this case, the lathing structure must be metal.
Finishing a bathroom with PVC panels: interesting ideas, photos
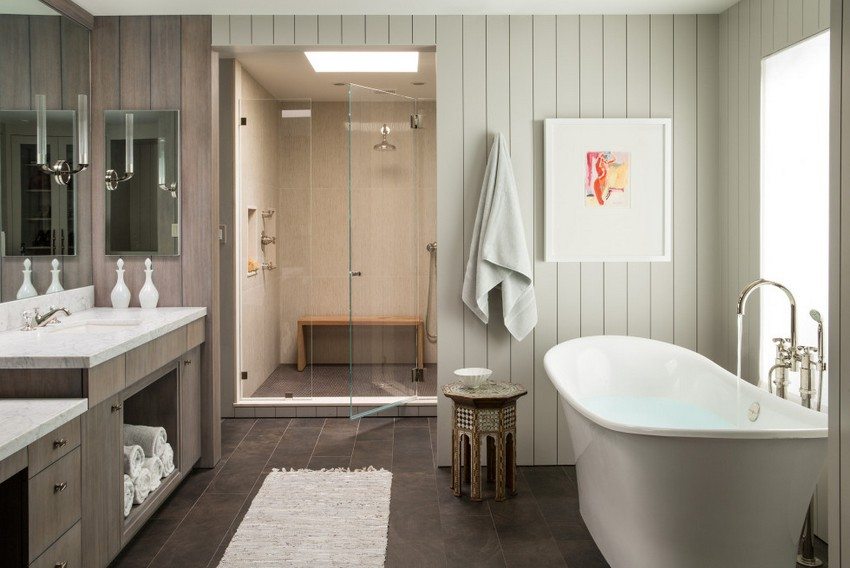
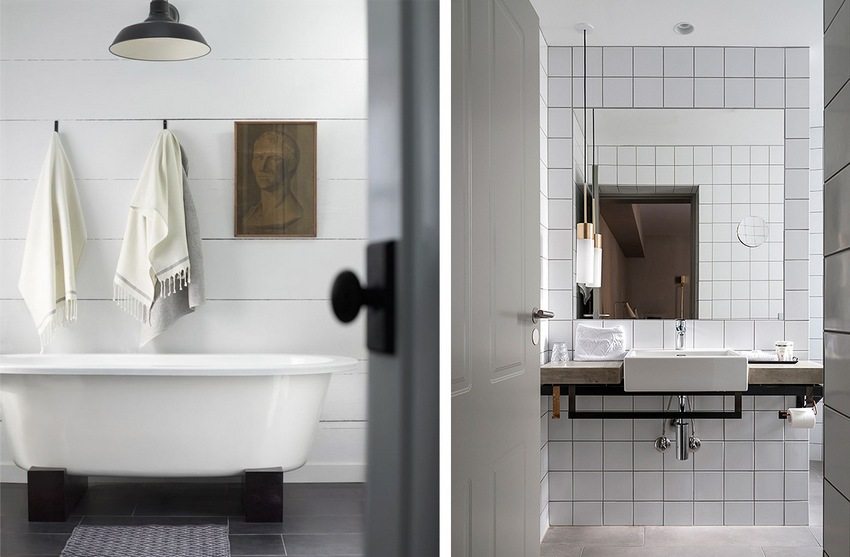
Plastic finishing opens up ample opportunities in terms of bathroom design - photos of PVC panels in the design of this room look stylish and effective. A variety of colors and external characteristics of the material allows you to equip the room in different styles.
Eco-friendly interiors are very popular today. Of course, plastic does not belong to the category of environmentally friendly and natural materials, but in the photo of the bathroom, PVC panels with a wood texture create an excellent imitation of the ethno style. The installation of pvc panels in the bathroom on the walls is ideally combined with the ceiling decoration made with slats.
In the photo of bathrooms, PVC panels imitating a tiled covering look so natural that they are practically indistinguishable from real tiles. In this case, you achieve significant savings in terms of purchasing costs, since plastic lamellas are much cheaper than ceramic tiles. When repairing a bathroom with pvc panels for tiles, you have the opportunity to decorate a room in a neoclassical style, adding friezes, columns, borders to it, or make a classic finish.
Useful advice! Not recommended for bathroom decoration, as well as for toilet decoration, PVC panels combine with finishing materials from an expensive segment. The neighborhood of polyvinyl chloride with marble looks not only tasteless, but at the same time the presentability of natural stone is completely lost.
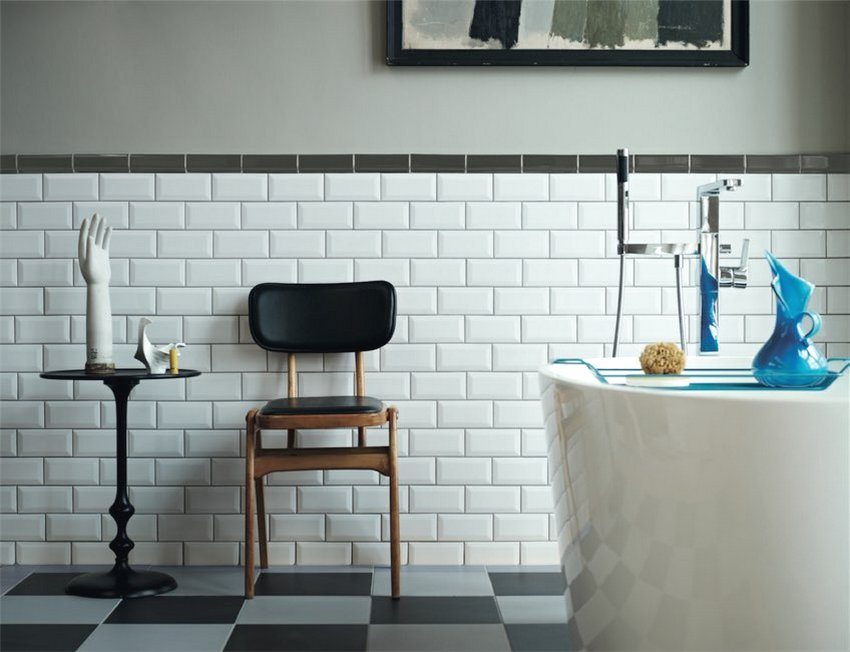
In the photo of finishing toilets with PVC panels, a light color scheme looks very beneficial. Thanks to this, additional volume can be added to a small bathroom. Modern design options for bathrooms include the use of products with photo printing or the installation of mosaics.
How to glue PVC panels for the bathroom: recommendations
For the finishing of bathrooms, it is recommended to use plastic slats with a mild textured surface. The fact is that volumetric textures can be an excellent basis for the formation of mold and fungal spores. If you buy material with large embossed depressions on the surface, it will be difficult to maintain the finish afterwards.
There are also advantages in how PVC panels are attached to the walls in the bathroom:
- saving money - average prices for panels with standard dimensional parameters are in the range of 200-300 rubles / piece. The range of the market value of the material covers prices from 100 to 500 rubles / piece. This indicator depends on the quality of products and design;
- hygiene and safety - the surface of the lamellas does not absorb unpleasant odors, it is easy to clean with a sponge and soap solution;
- high level of resistance to moisture. For this reason, the material is suitable for rooms with high humidity levels. This property allows you to finish the loggia with PVC panels, as well as the balcony, corridor and even the kitchen;
- simplicity of the installation system - for this it is enough to have the skills of using a construction stapler and a screwdriver;
- practicality - communication systems are not visible in the photo of bathroom trim with PVC panels. The material is used for lining communication boxes, where all pipes, valves and other elements are placed.
Note! Plastic panels have excellent performance characteristics: low flammability, thermal and sound insulation.
How to glue PVC panels on walls without the use of lathing
Before gluing the decorative PVC panel to the wall surface, it is necessary to prepare the base. This technology requires a thorough cleaning of the walls, followed by their leveling. Mistakes in the choice of glue are also unacceptable.
Surface preparation involves:
- complete removal of the old coating;
- elimination of cracks;
- leveling the surface.
The size of the differences is allowed within 5 mm. If the pits and bumps are deeper, the plastic will come off or deform over time. Grease, dust, dirt may be present on the surface of the walls. These particles prevent the adhesive from adhering normally. Therefore, it is advisable to wash off the whitewash from the surface of the walls, cleanse the fat with an effective detergent and apply a primer.
List of universal adhesives:
- Emficol 34012A;
- Clayberite 636;
- Moment Crystal.
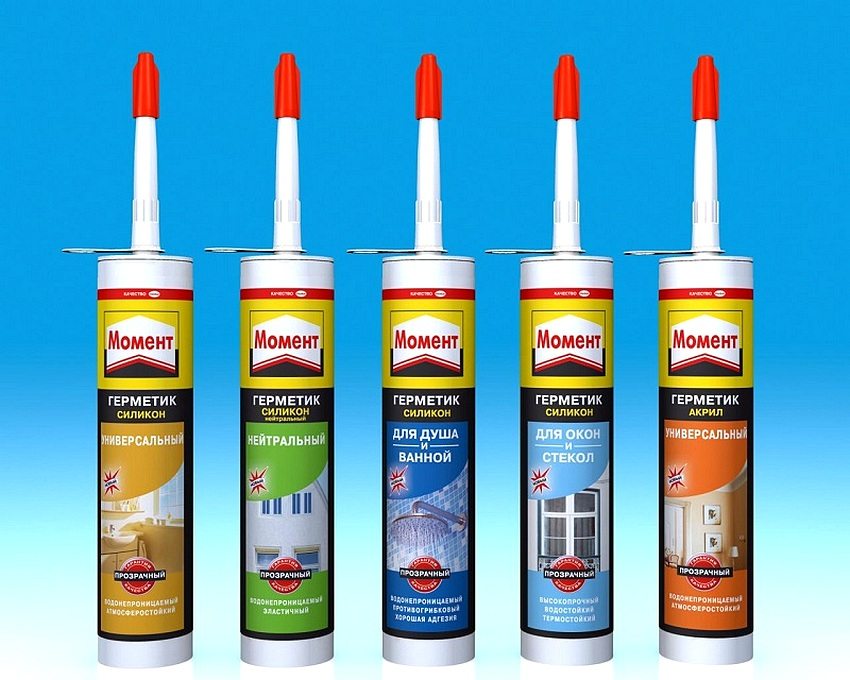
These compounds can be used for DIY installation of PVC panels, but experts recommend using specialized glue for plastic.
Signs of a quality composition:
- transparency after drying and the formation of a film layer;
- resistance to sudden temperature changes, moisture and frost (for this reason, photos of balconies with PVC panels are so often found on the Internet);
- fast setting;
- reliable and long-lasting fixation.
Note! It is strictly forbidden to use hot melt glue to fix plastic.
You can use a non-expanding polyurethane foam sealant or liquid nails. These materials are flexible and firmly fix the panels to the wall.
Decorative PVC mosaic panels: how to glue, video instruction
In order to learn how to glue a PVC mosaic sheet panel, use the step-by-step instructions that are applicable to ordinary lamellas.
Step-by-step implementation of the procedure:
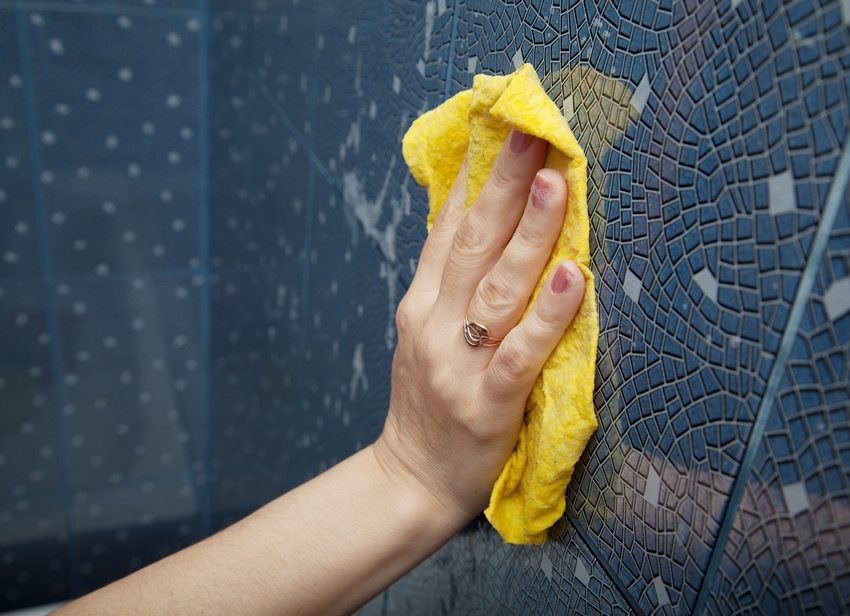
- Cleaning the back of the panel with a damp cloth.
- Drying of the panel (before gluing the PVC mosaic panels, the surface of the material must be completely dry - only then can the glue be applied).
- Applying the adhesive to the back side using the dotted method in increments of 25-35 cm.
- Installing the panel to the wall.
If you use liquid nails in your work, the panel will need to be tapped lightly and then torn off the surface again. For better adhesion, the adhesive requires 5-7 minutes of airing. Then you need to re-fix the lamella in place.
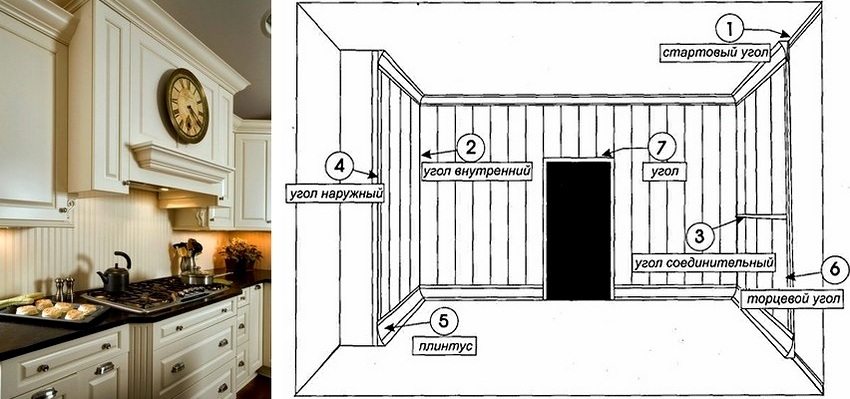
The frameless method does not require the formation of external and internal corners for PVC panels. Such a procedure in this case will be inappropriate. The usual cladding with the help of plastic corners, which do not have grooves for mounting lamellas, is enough. Transparent silicone can be used to secure the corners. The size of such elements varies from 2 cm to 5 cm.
Useful advice! To carry out the installation of trim around the sockets, you must first cut the holes for them in the appropriate place on the panel. Be sure to turn off the electricity during the work.
Use the video material below for a more detailed study of the procedure for installing PVC wall panels with your own hands.
Lastly, the floor and ceiling skirting boards for PVC panels are fixed. Use self-tapping screws for this. The joint areas between the lamellas must be filled with silicone sealant or polyurethane foam.
Photo of kitchen aprons made of PVC panels and installation technology in the spacer
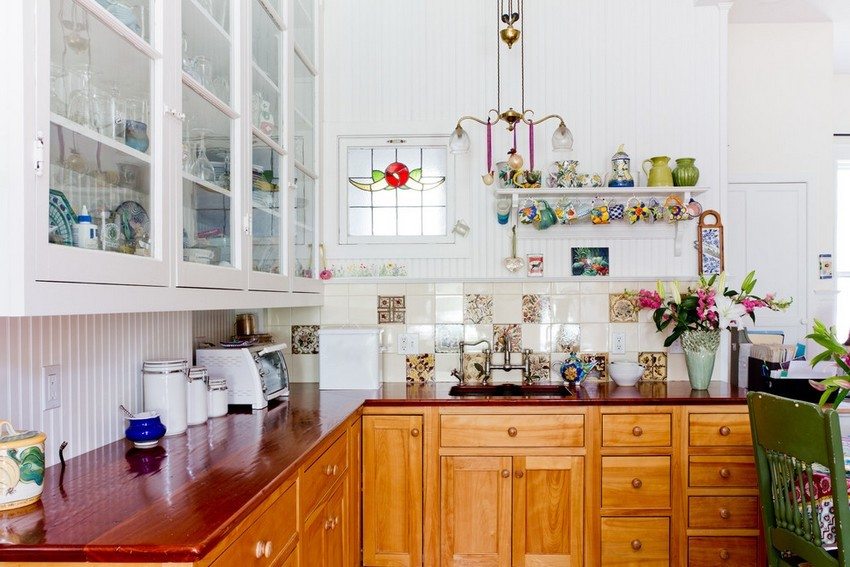
Most often, expanded clay or tile is used to decorate kitchens. However, installing these materials requires special knowledge and skills, so more and more often you can find in the photo finishing the kitchen with PVC panels. Due to the special design of the lamellas, the wall assembly in the apron area is carried out with minimal gaps.
The technology of fixing the lamellas to the spacer does not imply the use of fasteners, adhesive composition or lathing structure. This method is used exclusively in small kitchens, where the work area can be covered with a single sheet panel.
- Place the panel with its lower edge on the worktop and cut the material taking into account the dimensions of the apron.
- Install the lamella in the apron area so that the upper edge of the material goes under the wall cabinet and is firmly pressed against it. To improve retention, you can use hidden brackets.
- The lower end is secured with a plinth. This part is fixed to the table top and it is better if it is massive and durable.
Note! The advantage of this technology is that the lamella can be easily removed if necessary to repair the premises. The material is not damaged and can be reused.
Instructions for the installation of PVC panels on the walls over the lathing frame
Before sheathing the wall with PVC panels, the surface should be cleaned. There is no need for serious leveling, but if it is planned to finish a bathroom, kitchen or other wet room, it is recommended to waterproof the walls and cover with an antiseptic.
To form the lathing structure, 2x2 cm blocks of wood can be used.They are much cheaper than metal elements. However, it is not recommended to use wooden lathing for rooms with high humidity levels. Before using the wood, it must be thoroughly dried so that the moisture content of the material reaches the permissible norm - 12-15%. Remember to pretreat the bars with an antiseptic.
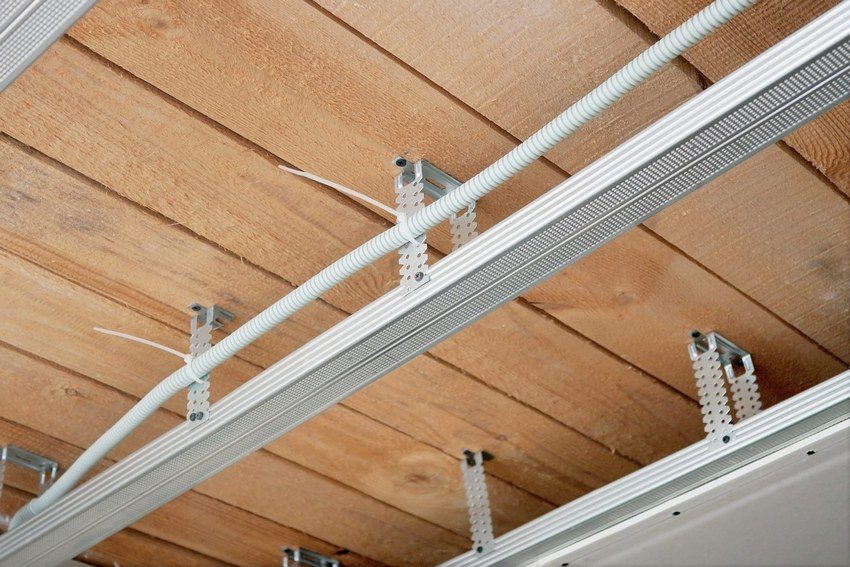
To equip the metal frame, you will need a UD profile element (contour part) and CD (guides).
Regardless of whether you are making ceilings from PVC panels with your own hands or sheathing the walls, the construction of the lathing structure should begin with marking. If you are working with walls, you first need to determine the lower level, taking into account the further installation of the skirting board. As a guide, you need to take the most protruding point of the wall. It is she who will determine the indent of the crate.
Useful advice! For wooden lathing, another 2-3 mm should be added to the resulting indentation, since the wood is subject to deformation changes under the influence of temperature and moisture.
After that, the line of the top level (with a reference to the ceiling) and side levels is determined. To control the upper and lower zones, it is recommended to use a building level, for side elements - a plumb line.
How to fix a PVC wall panel: working with the frame and cladding
The fixing of the lathing elements is carried out using straight hangers. The screws are positioned in increments of 20-25 cm (wooden frame) or 15-25 cm (metal frame).Installation of bars or metal profiles is carried out first along the edge, then inside the structure. This will ensure a secure hold of the trim around the edges.
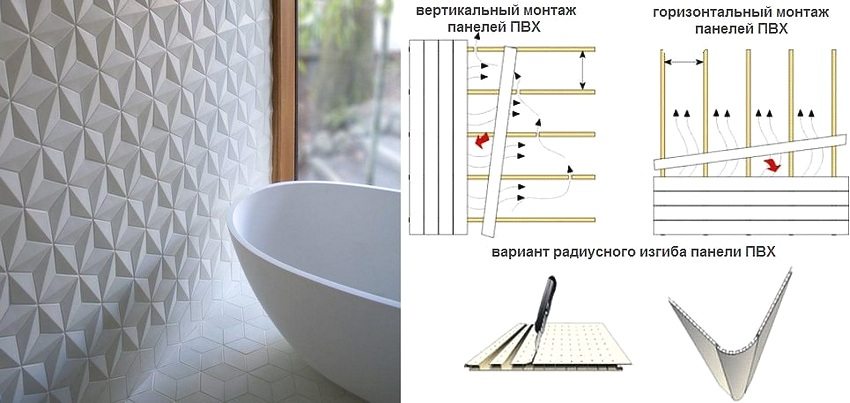
When installing internal profiles, it is worth considering the type of panel mounting you have chosen - horizontal or vertical. The lamellas will subsequently have to be fastened perpendicular to the guides fixed with screws.
Panel mounting scheme on the crate:
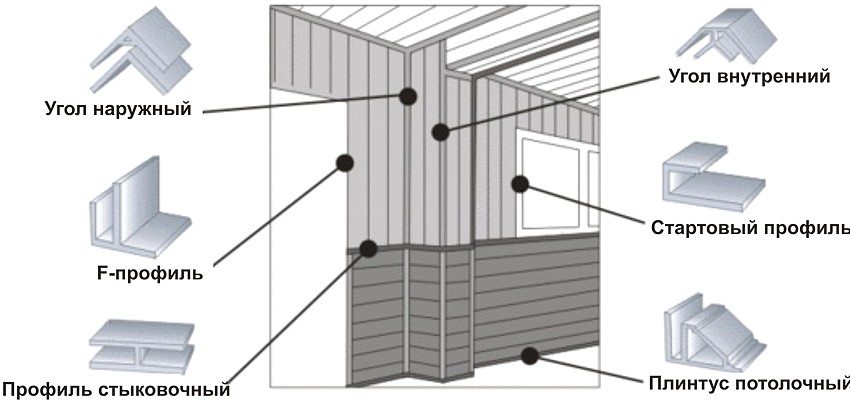
- Installation of external and internal moldings.
- Installation of the first panel and fixation with a cleamer (the spike of the lamella should enter the profile).
- Mounting the second panel into the groove of the previously installed lamella and fixing in the same way.
- Installation of material to the end of the wall.
- Cut the last panel, taking into account that the finishing material should be installed all the way to the corner area. In this case, a gap of 2-3 mm should form between the spike of the last element and the groove of the previous lamella. The cut side should be placed in the profile and the finishing piece inserted into place.
Use a video review of this procedure for a more detailed consideration of the installation of PVC wall panels with your own hands.
Note! If you want to hide moldings, the fixation of the first panel must be carried out strictly in the corner zone, and the installation of all subsequent elements must be carried out closely. On one of the corner elements, you need to remove the spike so that a groove appears at the end. Hook brackets will be pushed here, which are installed on the second profile element. The next lamella in the corner area will fit into the starting profile.
Formation of suspended ceilings from PVC panels: photos of structures and technology
The moisture-resistant properties of PVC panels are also useful for arranging suspended ceilings.
This material is used for arranging the ceiling in various rooms:
- kitchen;
- restroom;
- shower, sauna or bath;
- hallway;
- balcony or loggia.
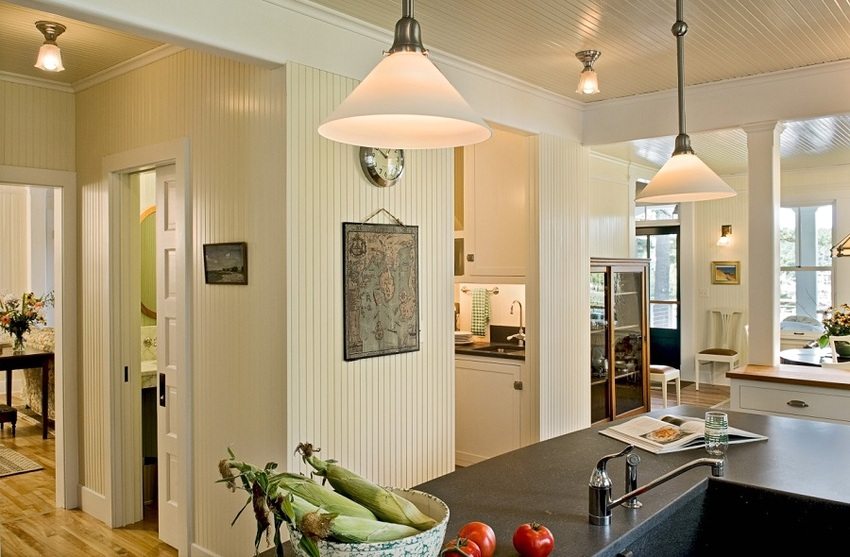
In most cases, in the photo of ceilings made of PVC panels in the kitchen, you can see a material that imitates a lining 10 cm wide.This finish allows you to easily install point-type fixtures in the structure of a suspended ceiling.
Other design options for lamellas can be used for decoration:
- imitating wood or natural marble stone;
- matte or glossy;
- plain or covered with ornaments;
- decorated with a seal or thermal film.
Before making suspended ceilings from PVC panels, the calculation of materials is mandatory. The calculation scheme in this case is very simple, since there are no window and door openings on the ceilings. Material stock - 15% of the required amount.
Creating a ceiling from PVC panels with your own hands: videos and recommendations
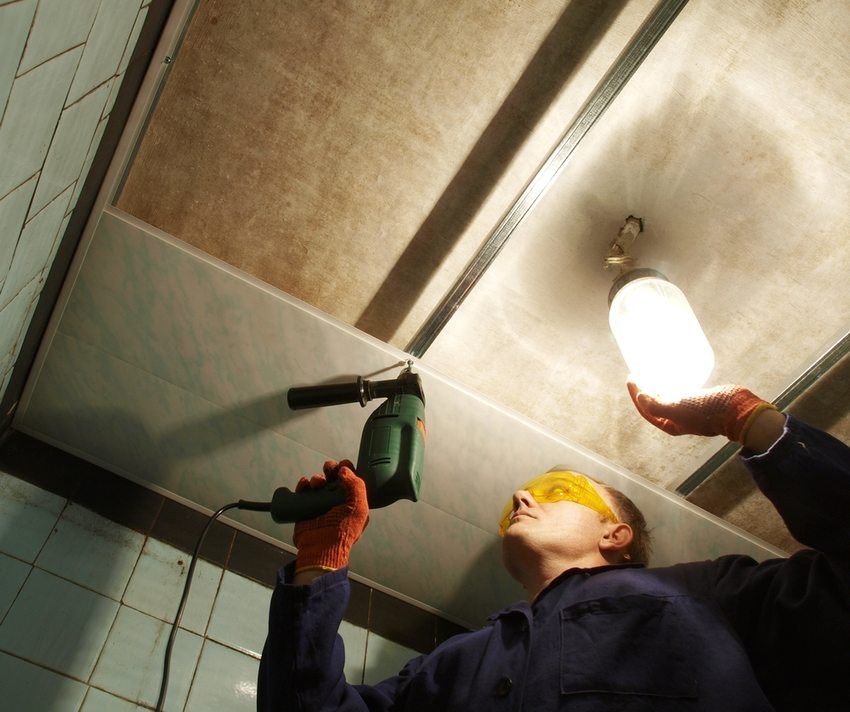
The creation of suspended ceilings is carried out in stages. First, you need to calculate the parameters of the crate, take into account the features of the lighting system, since the recessed spot-type luminaires need accurate calculations and have a special installation system.
Note! For work, you will definitely need ladder and the help of another person.
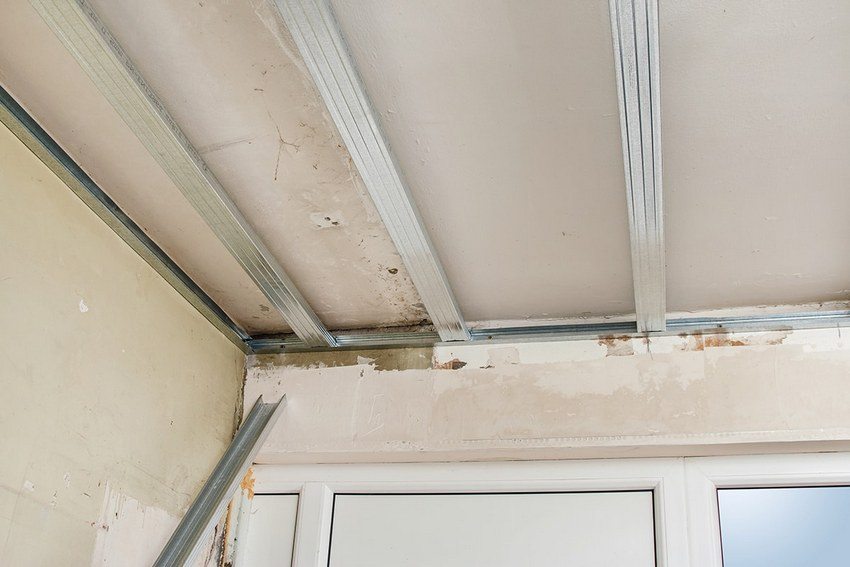
Construction of a batten structure:
- Using the building level, mark the points along the perimeter of the room along which the installation of the profile elements of the frame base will be carried out. The profiles must be fixed strictly horizontally. It is necessary to achieve the most dense placement against the wall.
- Using self-tapping screws, you need to fix the profile elements with transverse placement. They will hold the entire structure.
- A profile that forms the letter L should be located along the perimeter. Further, all work is carried out to install and mask the lighting system.
Use a video review for installing PVC panels with your own hands, reflecting all the features of the technology for creating suspended ceiling structures.
It should be remembered that the video of installing PVC panels with your own hands in combination with a lighting system does not always reflect all the nuances of this technology. It is recommended that you read additional resources on this topic, as working with electricity requires serious knowledge and can be unsafe. If you do not have the necessary amount of knowledge and experience, entrust the installation to professionals to avoid accidents, calculation errors and unnecessary costs.
