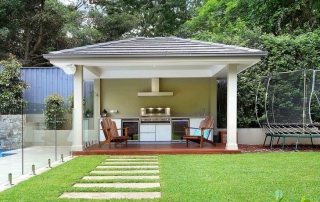
Each owner of a summer cottage sooner or later wonders how to increase the productivity of the garden and optimize financial and physical costs. As a rule, it is after this that they begin to consider the available greenhouses with their own hands: the best projects and the features of their implementation. This article will consider successful greenhouse designs, materials for construction and coating, as well as a detailed description of the construction process.
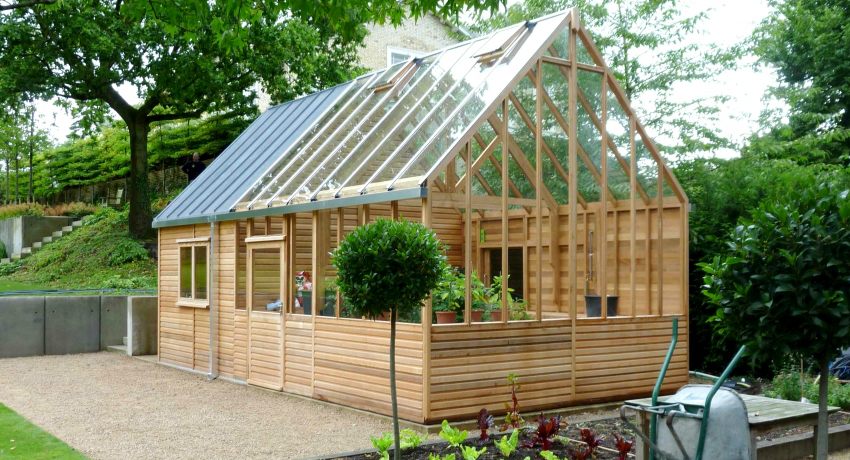
Using construction schemes and high-quality materials, you can build a reliable greenhouse with your own hands
Content [Hide]
- 1 DIY greenhouses: the best projects from various materials
- 2 How to choose a place to install a greenhouse: tips and tricks
- 3 Wooden greenhouses and greenhouses with their own hands: photos, instructions and material features
- 4 Do-it-yourself foundation options for a greenhouse and a greenhouse for a summer residence
- 5 Assembling the frame of the greenhouse, greenhouse with your own hands
- 6 The most comfortable greenhouses with your own hands. Photo of models made of polycarbonate and plastic pipes
- 7 Greenhouse "Do it yourself" from window frames: how to equip a place for growing seedlings
- 8 Do-it-yourself greenhouse under a film of galvanized steel profile
- 9 How to care for the structure and how to prepare a greenhouse for planting
- 10 The most convenient greenhouse with your own hands: video instructions for making
DIY greenhouses: the best projects from various materials
Before you start building a greenhouse, you need to decide on several fundamental aspects that will determine the size, type and location of the structure. First of all, you should think about what you plan to grow in it. For example, a greenhouse for tomatoes should correspond in height to the growth of adult plants, while growing only seedlings does not require a large structure.
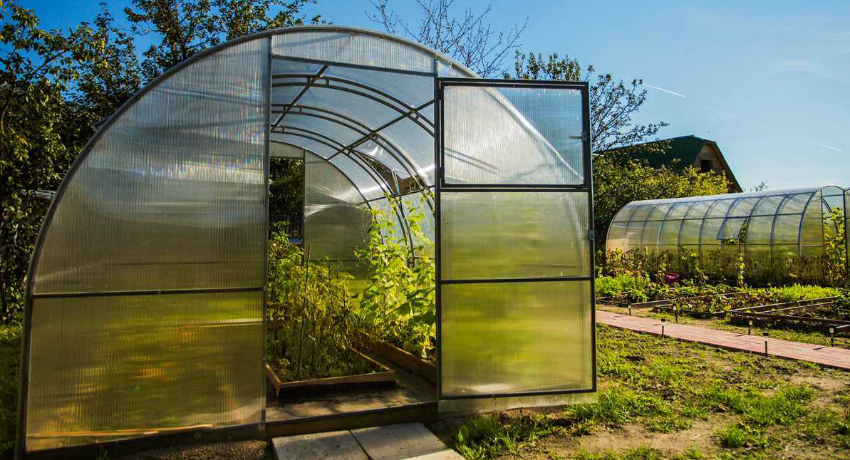
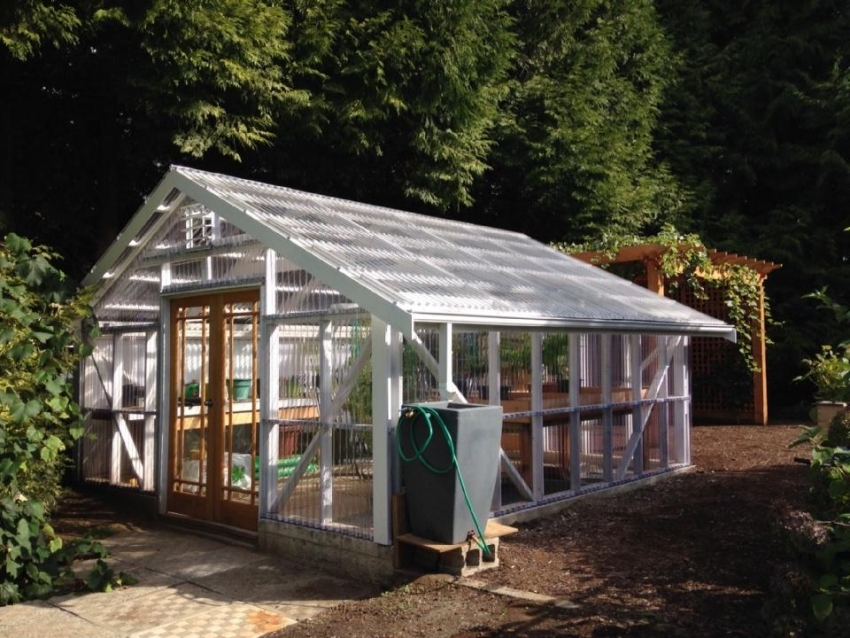
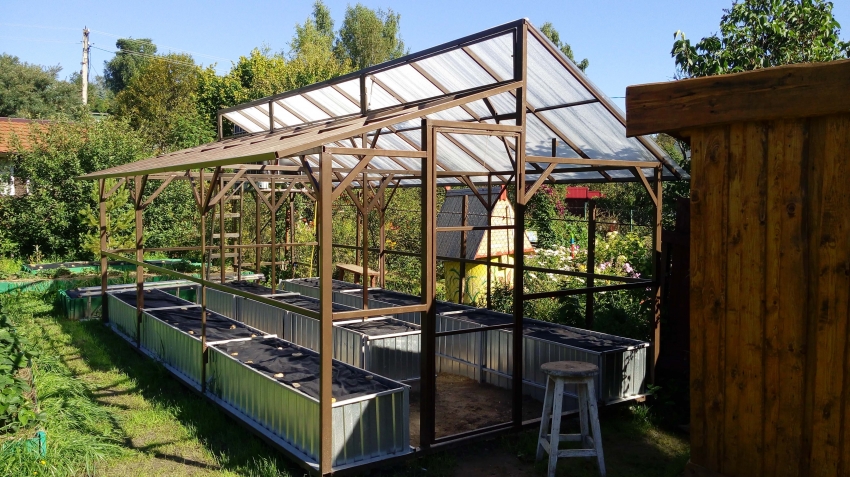
A greenhouse made of polycarbonate and steel profiles - a budget and reliable construction option for a summer cottage
Another important point is the material from which the construction will be carried out. The most popular option, which is used in most cases, is wood. But today, wood has given way to lighter and more affordable modern materials, for example, plastic pipes and covering material. But this does not mean that the wooden frames were completely abandoned. Wooden and metal greenhouses can still be found quite often.
As for covering material, then a recently appeared novelty - polycarbonate - gained popularity here.Indeed, according to its characteristics and light transmittance, it is in no way inferior to glass, and at the same time it has less weight and is much easier to install.
Depending on the shape of the roof, structures are arched, single-pitch and gable. Despite the fact that of these three types, gable ones are the most difficult to build, they are the most popular, as they allow you to create the best conditions for plants, providing maximum lighting.
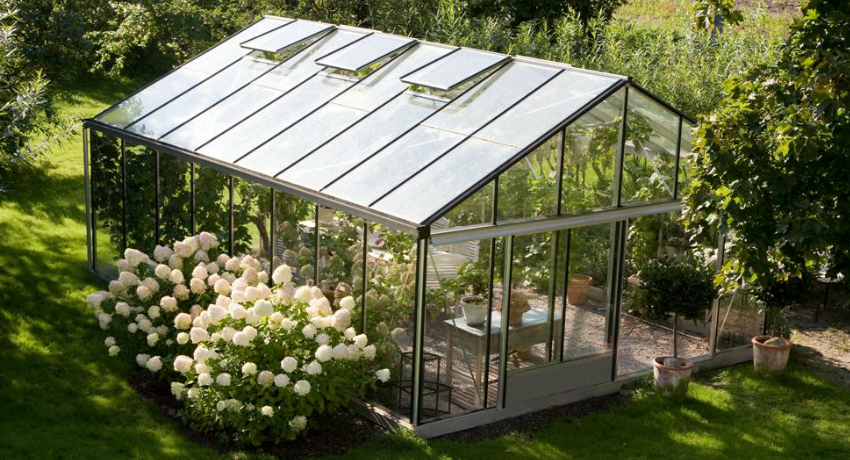
Large glass greenhouses are difficult to relocate if necessary, so prior to construction, special attention should be paid to site selection
How to choose a place to install a greenhouse: tips and tricks
Choosing the right location is another task to be solved by the site owners before starting construction. It is at this stage that it becomes noticeable what is the difference between a greenhouse and a greenhouse. First of all, they differ significantly in size, as well as in the capital of the building. More information about how a greenhouse differs from a greenhouse can be found on specialized sites and forums.
Before you finally decide on the territory that you plan to allocate for construction, you need to answer yourself a few questions:
- at what time of the year, and for how long it is planned to use the structure. An option is possible when only seedlings are grown in a greenhouse or greenhouse, and the grown plants are transplanted. If the structure is used year-round, it is necessary to provide for artificial heating and irrigation systems;
- illumination of the selected area. It is very important that the plants planted in the greenhouse receive enough sunlight. Therefore, it is highly discouraged to install the structure in a shaded area, under large trees or near non-solar walls of buildings;
- it is very important to pay attention to the issue of humidity - a high level of groundwater is extremely undesirable, which can provoke stagnation of water in the root system of plants, and as a result, the beginning of the decay process. In addition, places where rain or melt water can accumulate is considered an unfavorable area for the installation of greenhouses and greenhouses.
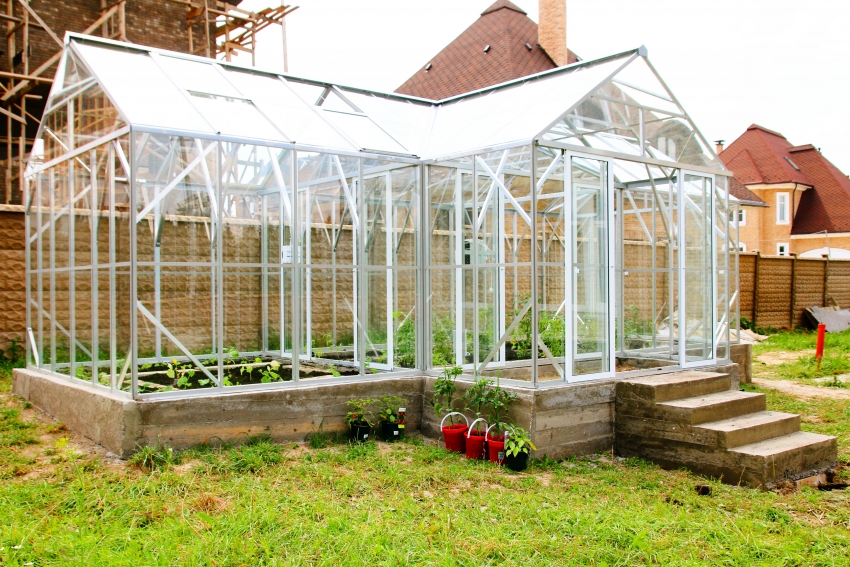
The location for the greenhouse should not be chosen near trees and shaded areas to provide adequate lighting for plants
Helpful advice! It is also worth positioning the greenhouse taking into account the cardinal points. This approach greatly facilitates the care of plants and has a positive effect on the development of almost all crops. For greenhouses that are operated in spring, the location from north to south is favorable, and for year-round ones - from east to west.
In what places the greenhouse should not be located, and how to think over a convenient approach to it
Another simple explanation for the fact that a greenhouse or greenhouse must be installed on level ground is the peculiarities of the movement of warm and cold air. Everyone knows that the molecules of warm air have less weight, and therefore rush upward. As a result, cold air is concentrated in the lowlands. It is very easy to identify such places in the spring - they remain covered with snow for the longest time, and later dry out. Greenhouse installation in these places is not recommended.
If your site does not have a suitable flat area, it can be done by artificially leveling the selected area. This must be done, since by placing the greenhouse on the slope, you run the risk that over time it will begin to slide lower and lower.
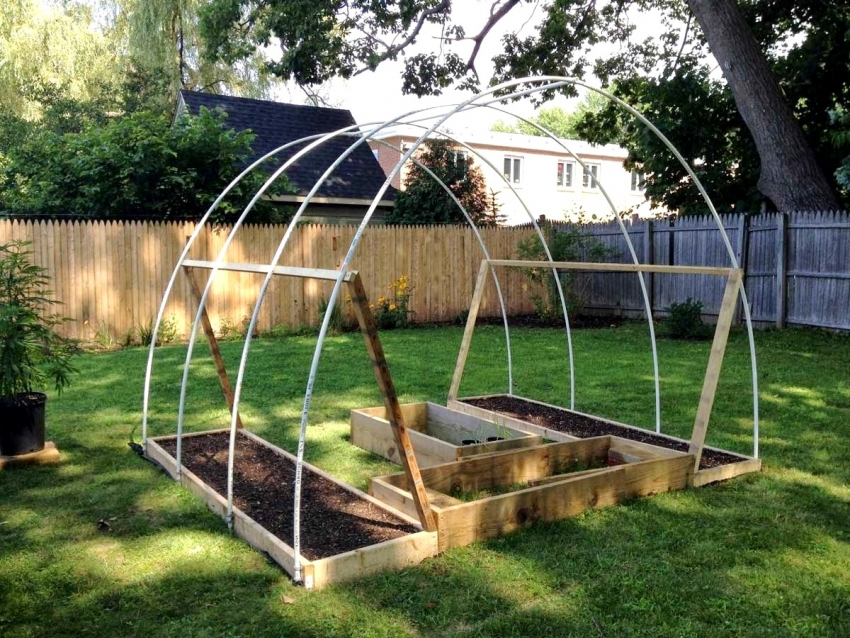
Small greenhouses made of PVC pipes are very convenient because they do not take up much space and can be moved, depending on the season and weather.
Another criterion that needs to be included in the process of choosing a place for installing a structure is the degree of soil looseness. If the soil is loose, this can lead to partial subsidence of the frame, violation of its integrity, and over time, the greenhouse can collapse.
Owners rarely think about a convenient approach to a greenhouse even at the planning and design stage of the structure. This is a very important point, which in the future will help you save energy on caring for plants and the structure itself. It is best if a wide and spacious path leads to the greenhouse, along which it is convenient to drive a cart with fertilizers or seedlings. In addition, it is desirable that the shed with the necessary tools for work is not too far away.
Helpful advice! Some trees can influence the development of plants in the greenhouse. For example, linden promotes the growth of harmful microorganisms such as molds. Therefore, it is not worth placing a greenhouse next to it.
As for the appearance of greenhouses installed on the site, there are practically no restrictions. As a rule, the owners, who pay due attention to the design of their site, try to choose the most aesthetic option.
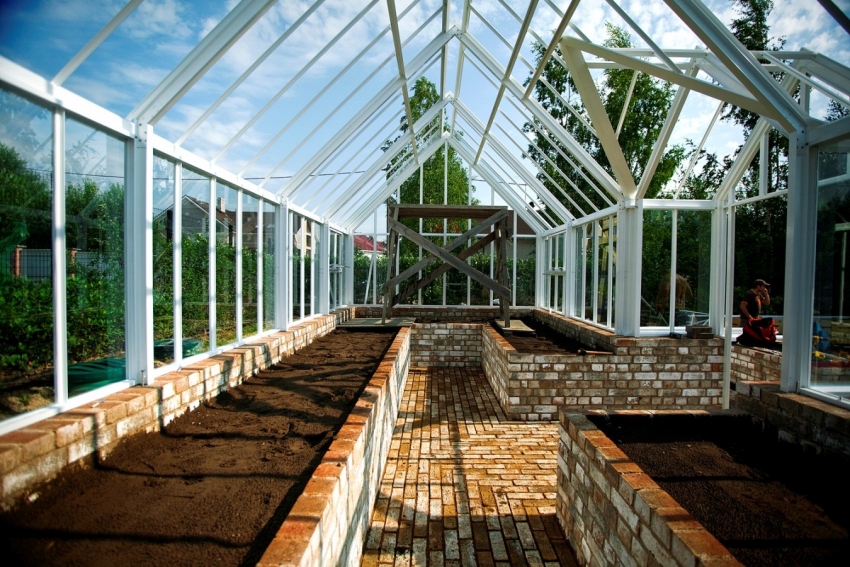
Large greenhouses require a durable strip foundation
In addition, the symmetrical arrangement of all buildings, fences and paths will help to give the site a neat appearance. But the most important thing is that at the same time, the greenhouse is located correctly and does not close the windows of the house, does not block the passage, etc.
Wooden greenhouses and greenhouses with their own hands: photos, instructions and material features
Wood is one of the most affordable and popular materials used for various construction purposes. Of course, it cannot be denied that it is wood that is more susceptible to the influence of external factors than all other materials, however, this does not stop many owners of summer cottages who want to build a greenhouse with their own hands.
In order to extend the life of the building, it is recommended to use hardwood, as well as be sure to use various antiseptics and means of protection from parasites, mold and decay.
Softwoods are acceptable for temporary structures. In this case, pine, alder, spruce, aspen or linden are suitable. For more reliable and permanent structures, it is better to use other deciduous trees or swamp cypress, larch.
In the process of building a greenhouse, the frame of which is made of wood, it is very important to prepare a reliable foundation, which will become a solid foundation for the structure.
Do-it-yourself foundation options for a greenhouse and a greenhouse for a summer residence
Depending on the design features, you can make one or another version of the foundation that will be suitable for this type of structure:
- a foundation made of railway sleepers or timber. To do this, you need to prepare a trench in which sleepers or timber are laid. All these elements are connected with metal staples. Then, a ready-made greenhouse frame is installed on top;
- for places where there is often windy weather, it is preferable to mount a columnar foundation. Due to the presence of a concrete base, such a structure can withstand severe wind loads, and even hurricanes. For this purpose, pipes with a diameter of more than 20 cm will be required. They are dug in to a depth of 90 to 120 cm so that they do not freeze during the cold season;
- block foundation is another solution to the issue of installing a base for a greenhouse or greenhouse. In this case, sand and gravel are first poured into a prepared trench, and then concrete blocks are placed. All this is poured with cement mortar and then a frame of beams is attached on top;
- the strip foundation is practically not used for greenhouses, since it is designed for more serious loads. In a not too deep trench there is a concrete pad 30-50 cm thick.The main advantage of this option is its extremely long service life, which allows you to change designs by installing them on the same base.
Assembling the frame of the greenhouse, greenhouse with your own hands
Having figured out what is the difference between a greenhouse and a greenhouse, and having established the type of foundation suitable for you, you can proceed directly to the construction of the frame itself. As mentioned earlier, there are several options that you can implement yourself, for example, an arched or gable structure. It all depends on your preferences, as well as the features of the area where the installation will be carried out.
Most often, in summer cottages, you can find rectangular greenhouses or greenhouses with a gable roof. Making wooden greenhouses with your own hands is quite simple, and their use will be quite comfortable if you think over all the nuances.
Usually as covering material use a film for a greenhouse. You can buy it very inexpensively, however, most likely it will have to be changed every season. But if you figure out how to fix the film on the greenhouse correctly, the process of replacing it will take place very quickly and without any difficulty. Polycarbonate sheets can be considered as a more durable alternative.
Helpful advice!The price per meter of film for a greenhouse can start from 2 rubles and increase depending on the quality and strength of the material. In order for the coating to serve more than one season without requiring repairs and additional costs, it is better to choose the best quality polyethylene.
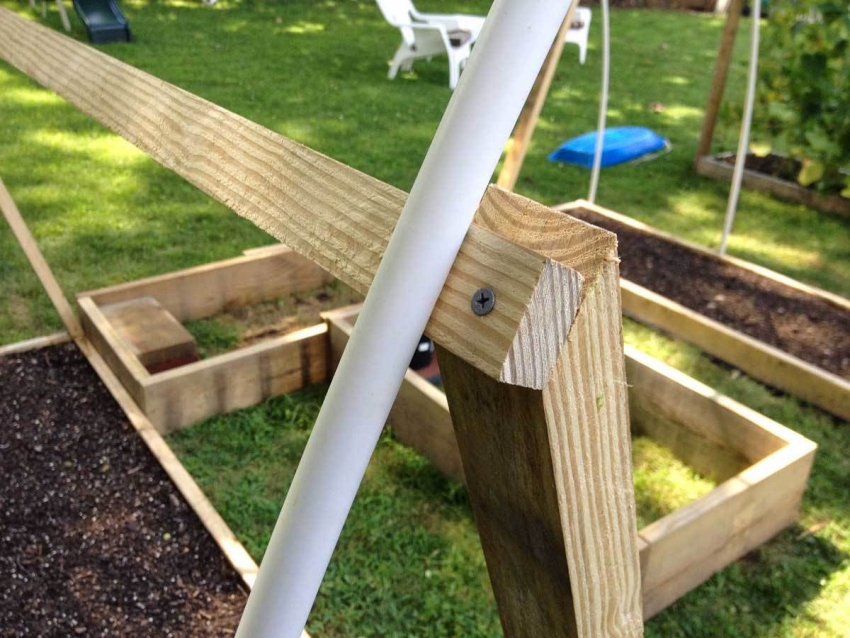
In order to hold together the wooden parts of the greenhouse, it is better to use self-tapping screws rather than nails.
The easiest way to start assembling the frame is to assemble individual sections of the greenhouse on the ground, which will be located parallel to the front and rear walls of the structure.
Helpful advice! The number of sections directly determines the length of the structure, as well as its strength and stability. With more elements, the structure will become more reliable and the coating will sag less.
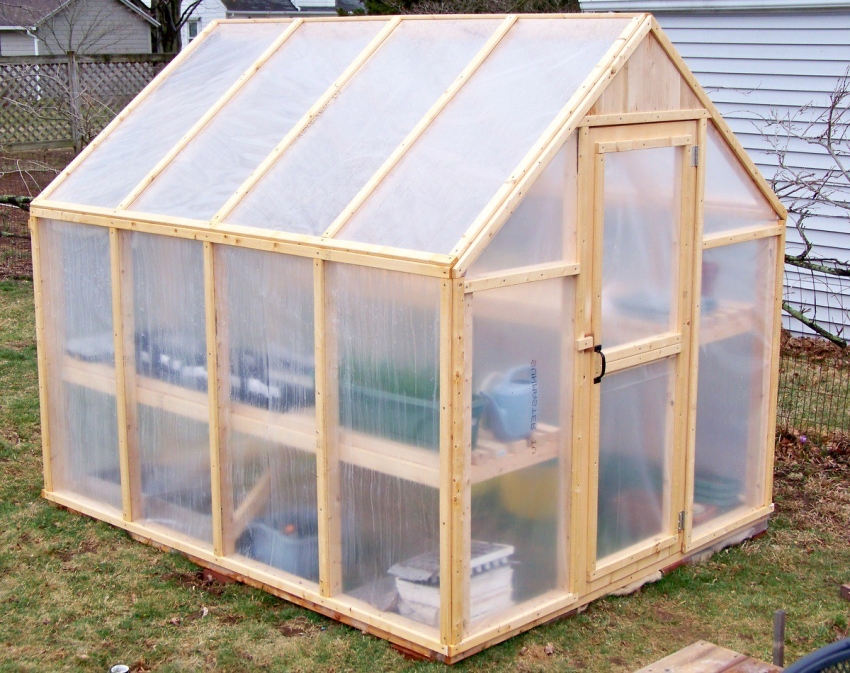
DIY wooden greenhouse: photos and installation instructions
As an example, consider how to build a standard greenhouse made of wood with your own hands, a photo of which can often be found on forums and specialized sites. Such a building with a gable roof is suitable for both planting tomato seedlings in a greenhouse, and for growing other crops. A door will be located on one of the end parts of the structure to provide access to the plants and allow the most comfortable care for them.
Related article:
DIY greenhouse made of polypropylene pipes: all the subtleties of construction
Features of each stage of construction. How to choose and fix the covering material. The advantages of PVC pipe structures.
Installation always begins with anchoring a support beam, which is attached to the foundation and is usually slightly thicker than the rest of the timber used for the frame itself. In this case, all elements are necessarily treated with a protective antiseptic.
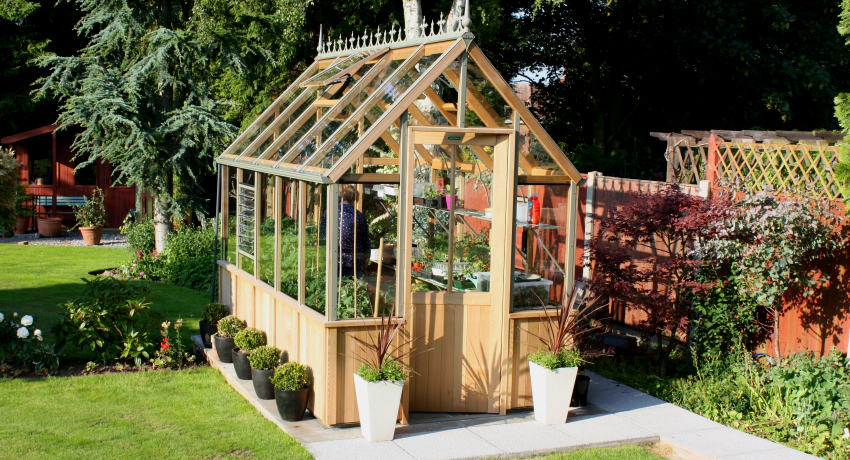
In order for a wooden greenhouse with a gable roof to serve for a long time, care should be taken to install ebb tides to remove atmospheric precipitation
All fasteners must be reliable, so you can use reinforcement, anchor or metal bolts for this purpose. Another important aspect is the integrity of the timber, which is used as a base. It must be solid, without cracks and traces of decay, since the stability of the structure depends on this.
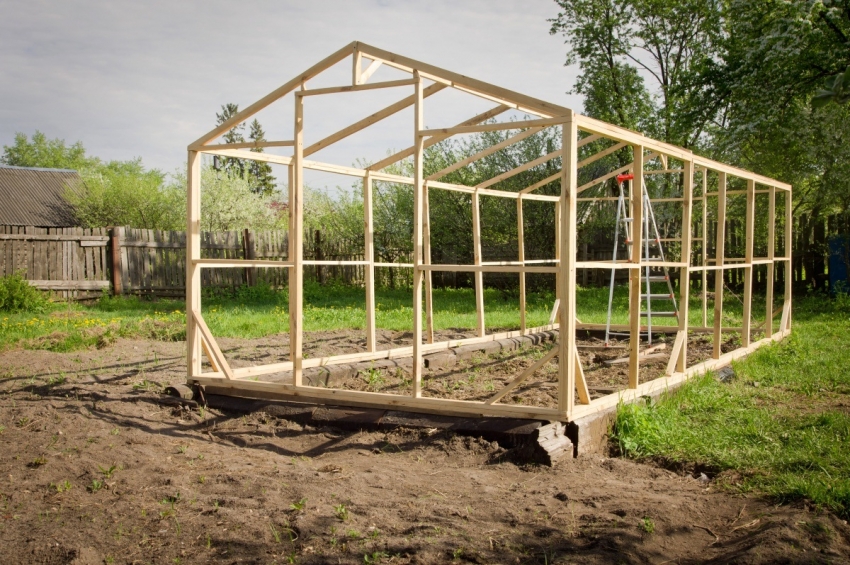
The construction of a greenhouse made of wood with your own hands is carried out according to the drawing you have chosen.But, in general, the scheme of work looks like this: it is necessary to assemble two side and two end walls, which are then fastened together with self-tapping screws, corners, metal profiles or clamps.
When the "box" is ready, you can proceed to installing the rafters. Their number depends on your preferences, however, it is worthwhile to understand that the more there are, the easier it will be to fix the covering material and the stronger the structure will be in general.
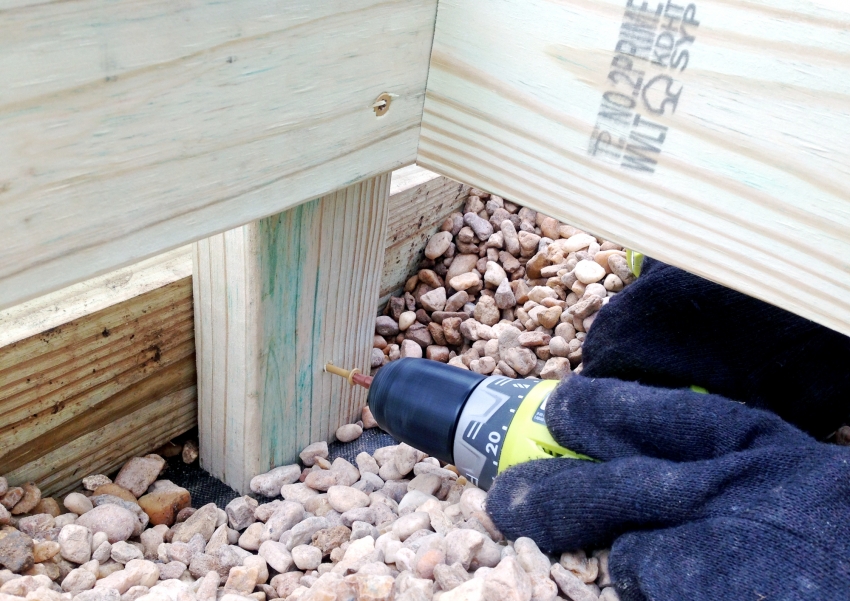
For the construction of a greenhouse, it is worth using only a solid timber to ensure the durability of the building
When all the rafters are fixed, you can proceed to the installation of the roof ridge, which is attached to the upper groove of the rafters. At the same stage, it is worth fixing the wind boards, for which the side slots of the rafters are provided. You can see more details on how exactly to do this in the drawing or diagram. All these elements must be made of solid material.
The final stage of construction can be called the installation of a doorway, as well as a window, which is provided for ventilation. After that, it remains only to cover the frame with a covering material, and you can begin operation.
Helpful advice!One of the most effective ways to protect against rodents is to lay a small mesh netting under the greenhouse. This must be done before installing the frame.
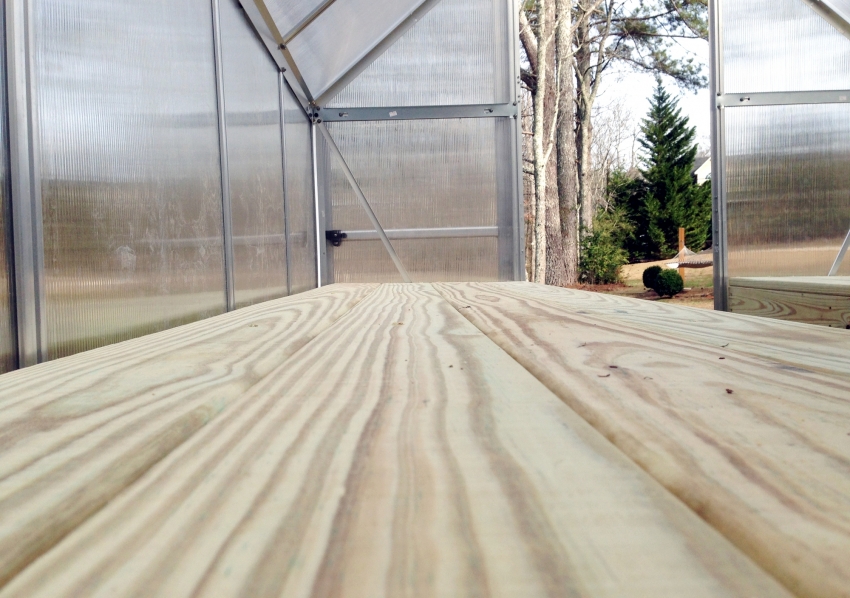
For convenience, in the greenhouse, you can build wide shelves made of wood, which will be convenient for growing seedlings
The most comfortable greenhouses with your own hands. Photo of models made of polycarbonate and plastic pipes
One of the modern and inexpensive options for building a greenhouse is the use of plastic pipes. Depending on the manufacturing technology, they are divided into polypropylene, metal-plastic and PVC.
The latter option is slightly cheaper than all the others. But metal-plastic, although the most expensive, are able to provide a much higher level of strength. Therefore, in this case, you should be guided by your preferences and financial capabilities. As an example, you can see a photo of greenhouses in the country with your own hands.
The main advantages of a plastic greenhouse frame over a wooden one are ease of installation and the ability to give the structure absolutely any shape. As in the case of a wooden one, you need to start construction by choosing a place and preparing a site. Having decided on the purpose and size of the greenhouse, you can proceed to the diagram drawing and purchase the appropriate amount of the necessary materials.
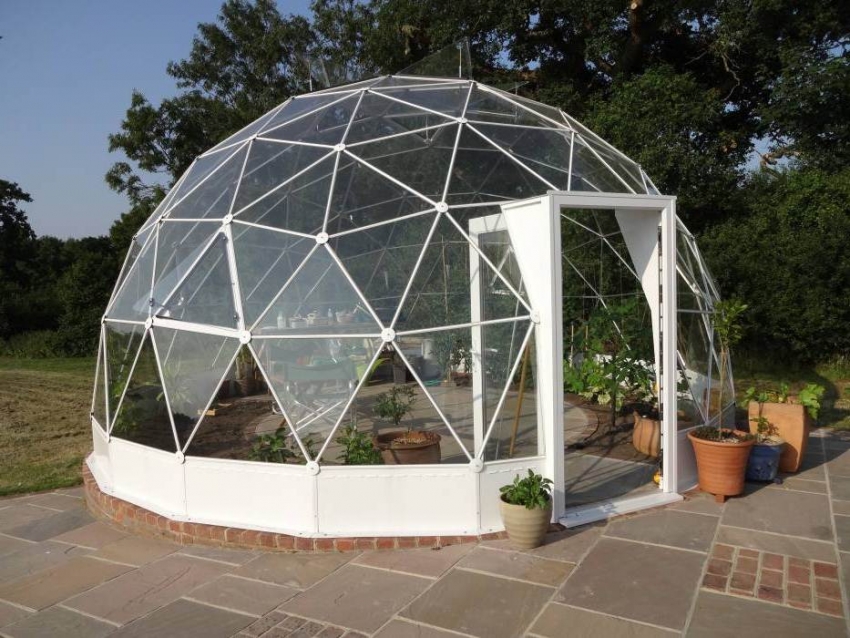
Despite the complexity of the design, a geodetic greenhouse can be built with your own hands using accurate calculations and special pipe fittings
Often, structures made of plastic pipes are made temporary, since they can be easily dismantled and reassembled several times. The type of foundation that needs to be laid depends on whether the greenhouse is stationary or collapsible. In the first case, it is better to use tape or columnar. For a temporary structure, you can not make a foundation at all, but simply dig in metal pins and strengthen the site with boards.
Using the pins, the base is done as follows:
- Strong metal pins are driven into the ground. They should protrude about 30 cm above the ground.
- One end of the pipe is put on the pin.
- The pipe is bent in such a way that the second edge can also be put on the pin, which is dug in parallel to the first.
How to economically build a greenhouse with your own hands from plastic pipes
Everyone can make a simple greenhouse with their own hands without much financial investment and effort. To do this, you just need to purchase all the necessary materials, according to the selected drawing and follow a fairly simple algorithm:
- After the base arcs are installed, it is necessary to fasten them together.To do this, you need to use a pipe, the length of which will correspond to the length of the entire greenhouse.
- A long pipe (or two short ones, fastened together) is located in the center of the arcs standing on the base, and is fixed as tightly as possible with clamps or ropes. On this, the assembly of the frame can be considered certified.
- The best coating is polycarbonate or plastic wrap. In the first case, the thickness of the polycarbonate should be at least 4 mm, and the size of the sheet can be any, since this material can be easily cut and adjusted to the size of the greenhouse. In the second case, the film is cut into strips and attached to the arcs using double-sided tape, stationery binders or special pipe fasteners.
- Fastening polycarbonate or film must be overlapped. To connect the sheets, you can use self-tapping screws with wide caps or thermal washers. The main thing is to pay due attention to the sealing of the joints. For this, you can use a special tape.
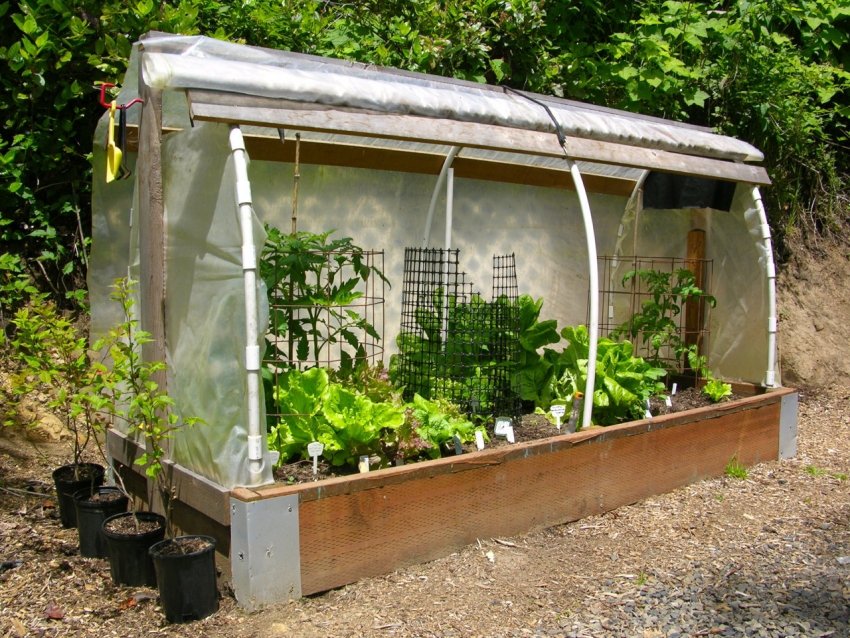
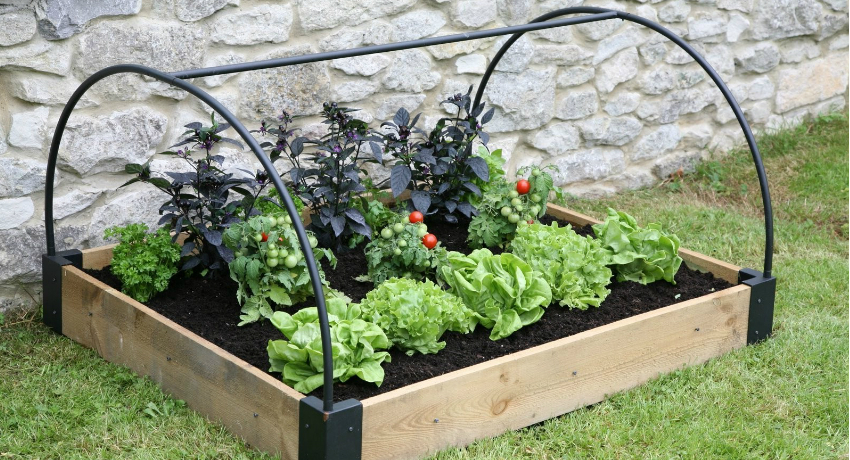
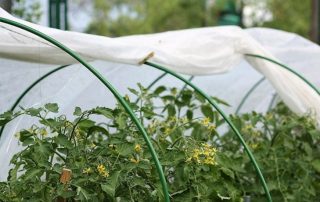
Small greenhouses from arcs for greenery, you can do it yourself from scrap materials
Greenhouse from a covering material: which is better, polycarbonate or film
The technical and operational characteristics of polycarbonate have allowed it to take a leading position among the materials that are used to create greenhouses and greenhouses. It is simple enough to cut and fasten it, and at the same time it is resistant to external factors. In addition, it has excellent light transmittance, providing plants with the necessary amount of sunlight.
It is worth considering that this durable and reliable material costs much more than the usual and affordable plastic film, which is still widely used to cover greenhouses.
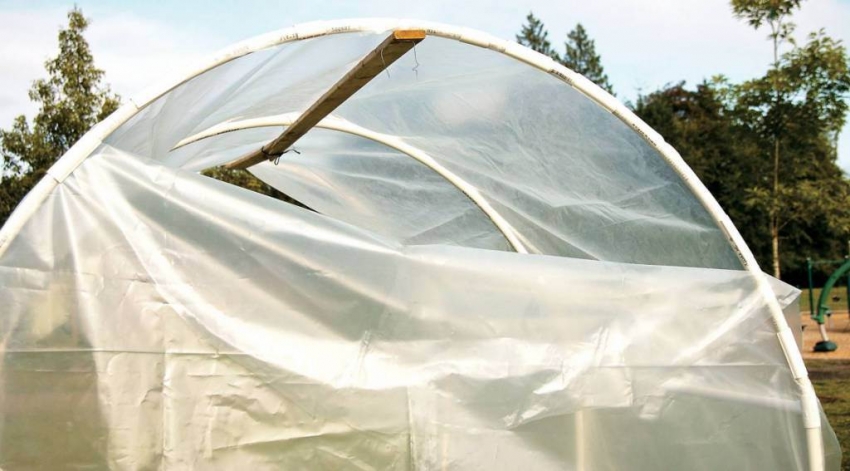
Everyone can figure out how to cover a greenhouse with foil. The main thing is to fix it on the frame as securely as possible and fix it at the bottom, sprinkling the edges with earth and putting heavy boards or bricks. When deciding which film to choose for a greenhouse, first of all, one should be guided by its strength. But in any case, most likely, it will not last more than one season. The price of a film for a greenhouse is affordable, so you can replace it without much work and investment.
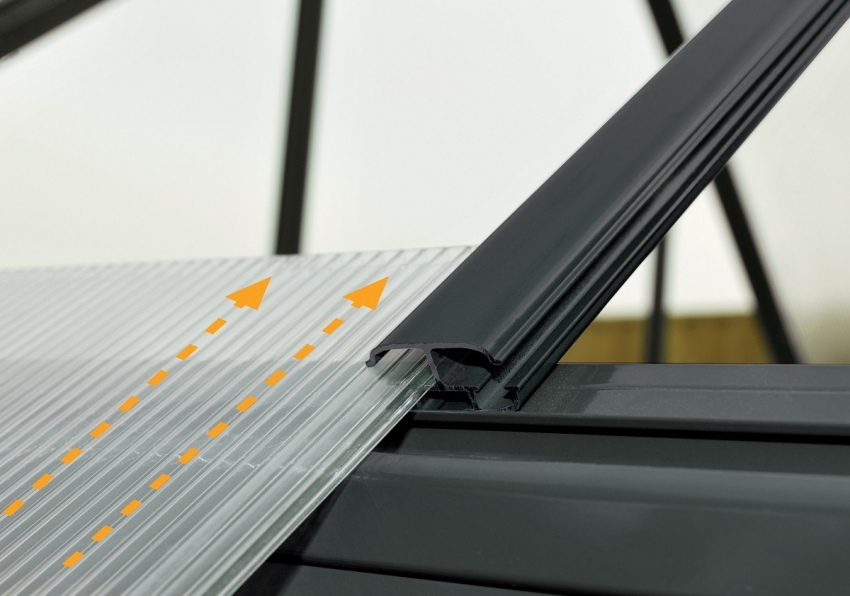
As for the peculiarities of fixing polycarbonate, here it is worth noting the presence of several different methods. So, in addition to ordinary self-tapping screws, you can use aluminum staples or special plastic earrings.
Another option is to use profiles for this purpose. In this case, you need to drill holes in advance, which will allow you to attach the cover to the metal frame.
Helpful advice! The use of thermal washers in the process of attaching polycarbonate is a mandatory measure, since this is what allows the material to maintain its integrity and prevents condensation.
Greenhouse "Do it yourself" from window frames: how to equip a place for growing seedlings
In garden plots, you can often find small greenhouses assembled from old window frames. Of course, for growing tall and large crops, such a design is hardly suitable, but as a self-made greenhouse for seedlings, it is more than useful.
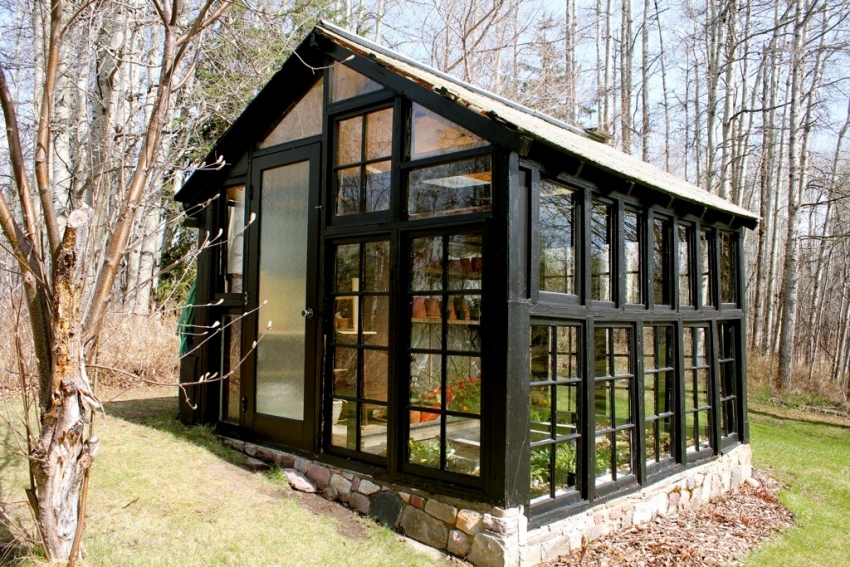
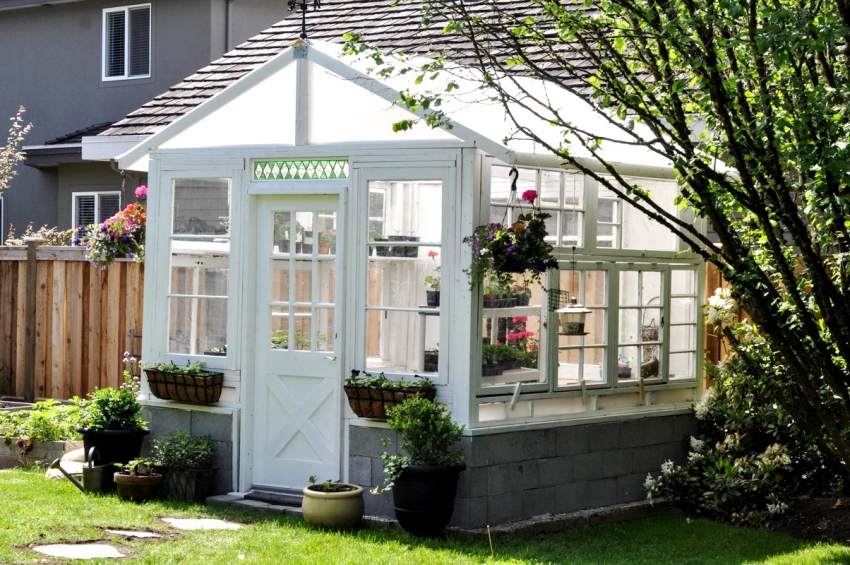
Old glazed window frames can be used to build a reliable greenhouse for growing seedlings and other plants
The main advantage of this option is financial savings. All you need are old window frames. If they have glass, then you can leave them and use them instead of the standard coating. If the frames are empty, then after installation, they can be covered with plastic wrap or cut sheets of polycarbonate can be inserted.
Even for such a small and light greenhouse, it is necessary to prepare the foundation in advance.For this purpose, a wooden frame from boards or timber is mounted. A 50x50 mm beam or a 40 mm thick board is best suited for this purpose.
The frame will consist of uprights, as well as the upper and lower straps, which are made from the same boards. The uprights, however, must be installed at such a distance from each other that the window frame can enter between them.
A timber is best suited for the roof, since it is more durable and minimizes the risk of the greenhouse being destroyed under the weight of snow in winter. Also, it is the gable structures that are more durable, which is also worth considering.
As for the fastening of the frames themselves to the supports, this can be done with the help of nails and screws. It must be fixed on all four sides, both from the outside and from the inside. All remaining gaps must be sealed with polyurethane foam.
Like the walls of the greenhouse, the roof is best covered with polycarbonate or covered with foil. This will provide the plants with the maximum amount of light.
Helpful advice! It is best to start the installation of the coating from the roof, gradually moving downward. Otherwise, you risk damaging the already coated areas by hitting them in the process.
Do-it-yourself greenhouse under a film of galvanized steel profile
Profile is another material that has recently become actively used for the construction of greenhouses and greenhouses. The main advantage of this method is the ability to give the structure absolutely any shape and size, without being limited by any standard dimensions.
Helpful advice! In order to build a beautiful and reliable greenhouse with your own hands from a profile, videos, calculations and step-by-step photo instructions offered on the Internet can do you well. Do not neglect the advice of experts, as well as the recommendations of users who have already had to work with such buildings before.
For work, you will need the following tools: a measuring tape, a building level and a plumb line, scissors designed for working with metal and a screwdriver.
The installation of the frame begins with fixing the guide profile, which is attached to the foundation with self-tapping screws. One upper beam should connect all the sections to each other, which should be at such a distance that the structure is sufficiently rigid. Typically, the pitch is one third and one fourth of the length of the polycarbonate sheet.
By the same principle, you can make a galvanized greenhouse under the film. You just need to think in advance how to fix the film on the greenhouse. Otherwise, the technology does not differ from that used for wooden structures and greenhouses made of plastic pipes.
Very often, a galvanized profile is used for a greenhouse for tomatoes. It is quite simple to build it with your own hands, and at the same time, the structure has the proper strength. Moreover, every summer resident, interested in the question of how to grow tomatoes in a greenhouse, will surely face the fact that the temperature in a tomato greenhouse should not drop too low. Therefore, it may be worth thinking about a heating system even at the design and construction stage.
How to care for the structure and how to prepare a greenhouse for planting
Regardless of whether you prefer a greenhouse under a film or a more fundamental design, using polycarbonate, a number of procedures must be carried out before planting plants. First of all, this concerns the preparation of the soil and beds in the greenhouse with your own hands.Photos and diagrams of how to correctly arrange everything inside clearly demonstrate that having calculated everything in advance, you can ensure the convenience and ease of working with plants.
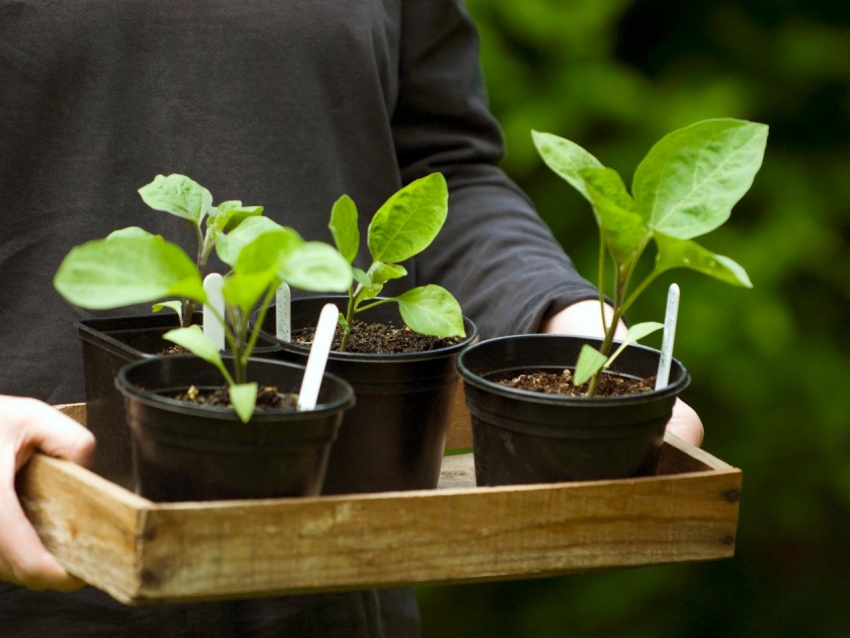
In order for the greenhouse to be comfortable, you should take care of the presence of entrance doors, shelves and vents for ventilation.
Asking the question of how to treat the greenhouse in the spring before planting, it is worthwhile to study in detail all possible methods in order to protect the plants and the building. First of all, it should be a high-quality antiseptic agent that will destroy all dangerous microorganisms living in the soil.
Considering the question of which is better, a greenhouse or a greenhouse, it is also worth considering that the first option is often installed on open ground, and from year to year the structure can be moved to a new place. And the greenhouse is a stationary structure, and it will not be possible to move it without effort.
Another important point is how to make beds in a greenhouse. Here you need to build on what kind of crop you plan to grow. For example, if you start building a greenhouse for peppers with your own hands, then the width of the beds should be at least 80 cm. In this case, the paths should be thought out in such a way as to provide free access to each plant.
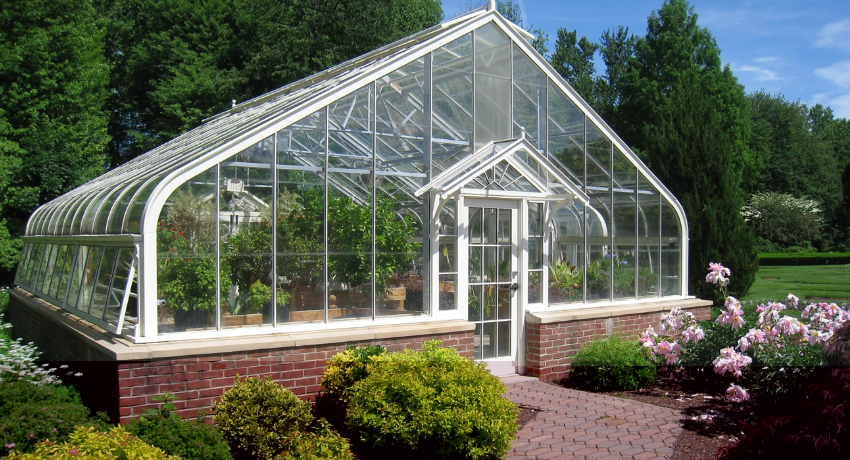
Complex structures made of glass and profiles can be built independently, but they require certain knowledge in the construction of the foundation and supporting structures
The most convenient greenhouse with your own hands: video instructions for making
After reviewing the video, a greenhouse with your own hands will no longer seem like an impossible task to you. Following simple recommendations, you can easily make your own hands a greenhouse from a covering material that will meet all your needs, and is perfect for the effective cultivation of vegetable crops.
