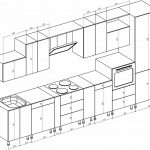
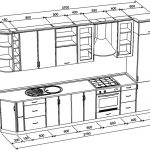
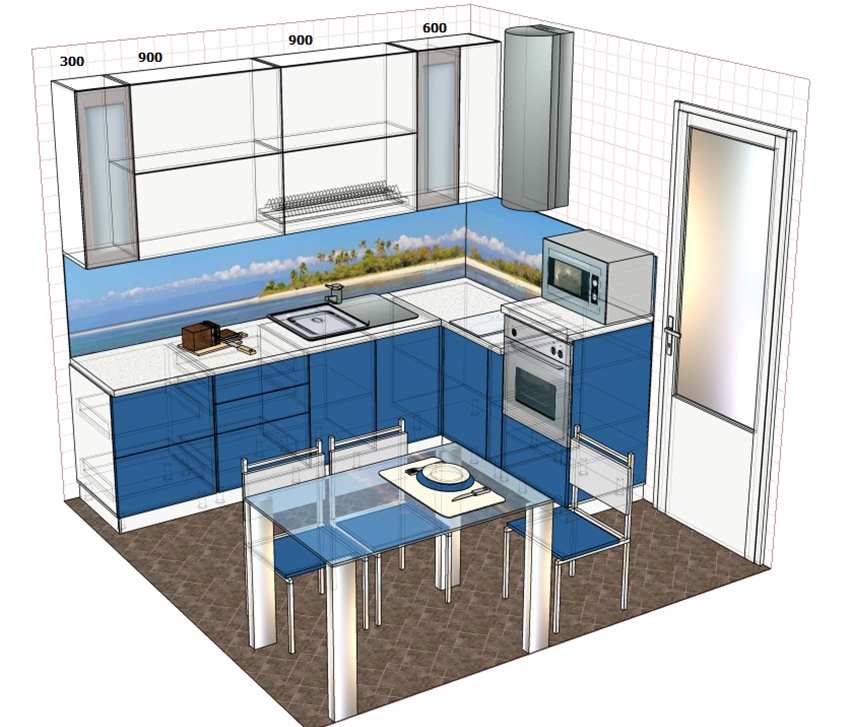
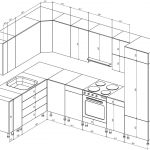
Before starting the renovation of the premises, you should consider many of the nuances. Visualization of the space and a well-thought-out layout design will help not only determine the required amount of materials, but also roughly calculate the cost of repairs. When creating a kitchen project, you need to think over the correct arrangement of furniture and equipment, the placement of necessary items. To develop a plan, you do not need to contact a designer - you can do it yourself.
Content [Hide]
- 1 Why is it recommended to create a drawing of the kitchen in advance
- 2 What you need in order to complete a kitchen sketch
- 3 Features of creating a kitchen drawing: what to apply to it and what scale to use
- 4 How to create a kitchen sketch based on the furniture arrangement
- 5 Kitchen project: how to properly dispose of space
- 6 The main types of kitchen space layouts: the choice of option depending on the area
- 7 Features of creating a design project for a kitchen combined with a living room and dining room
- 8 How to complete a summer kitchen project in the country: photos of successful options
Why is it recommended to create a drawing of the kitchen in advance
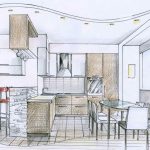
Even with the help of an elementary kitchen layout project, drawn on paper or graph paper, you can visually get an idea of the future situation in the room. At the same time, it is not advised to start work immediately after drawing up the project, it should be postponed and after a few days return to the plan again. Over time, it will become clear whether such a project is suitable or not, and, most likely, you will want to add or remove something to it. The plan will make it possible to think over the likely combination of the kitchen and the room (or balcony), which will significantly expand the boundaries of the room.
Helpful advice! Making a kitchen project from scratch is quite a difficult task, but often in order to get the result, you need to get to work. Usually, after the first applied details, creative thought begins to work, which develops quickly and helps to complete the layout.
A finished kitchen project will make it possible to solve a large number of problems that arise in the process of planning a room renovation. With its help, you can rationally place pieces of furniture and household appliances, which will allow you to competently use the usable area of the room.
Thanks to preliminary planning, you can immediately determine how much furniture will fit in a room so that there is enough space for free movement and comfortable cooking. Also, the number of household appliances is thought out in advance, which fits comfortably into the dimensions of the kitchen.This step will save you from buying unnecessary or unsuitable household appliances.
The picture of the kitchen design must necessarily contain the location of the communications. This will make it clear how to distribute the work space, taking into account the outlet of water and gas pipes. This will help you properly plan the placement of household appliances. At the same time, it is not necessary to focus on the sockets, because during the repair phase they can be placed anywhere you need it.
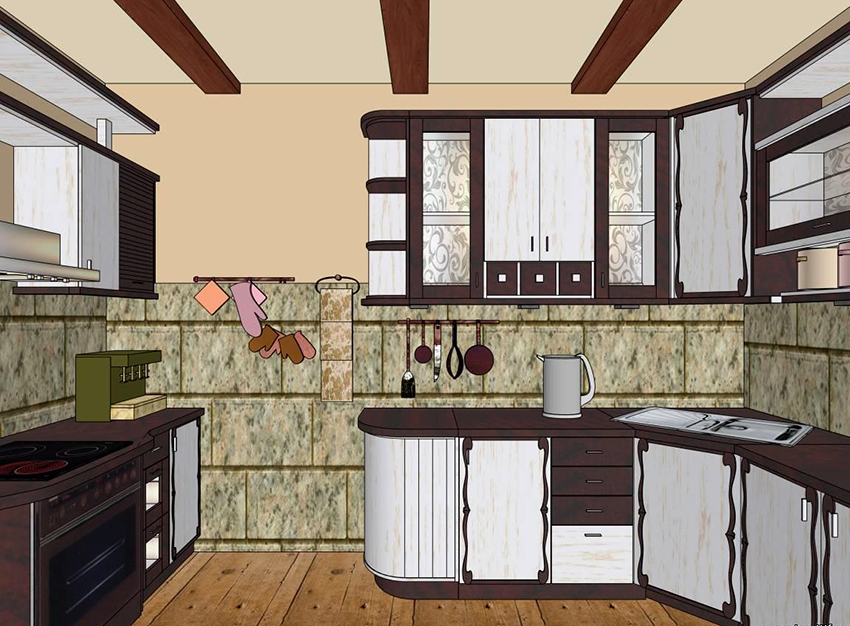
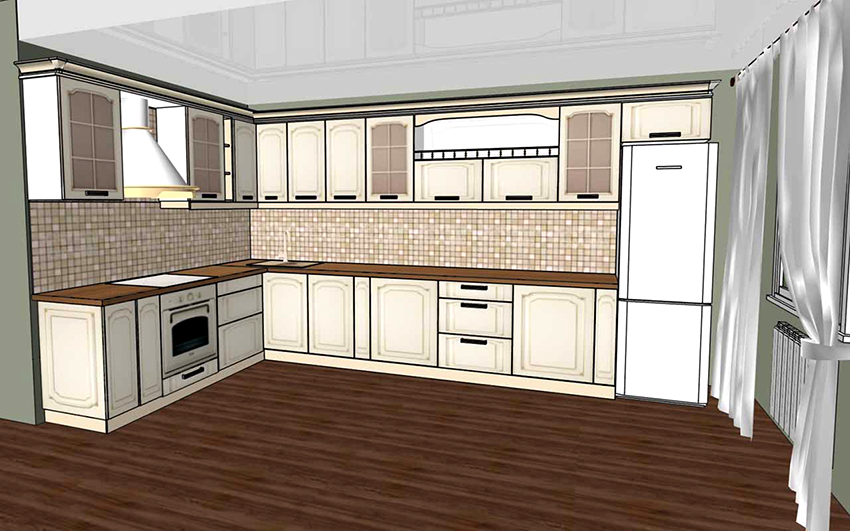
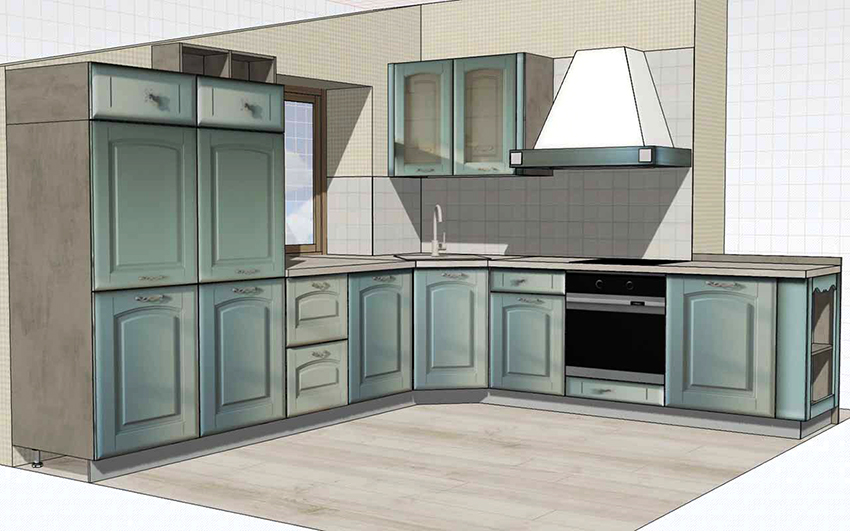
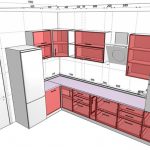
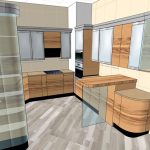
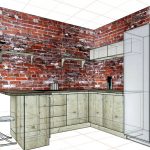
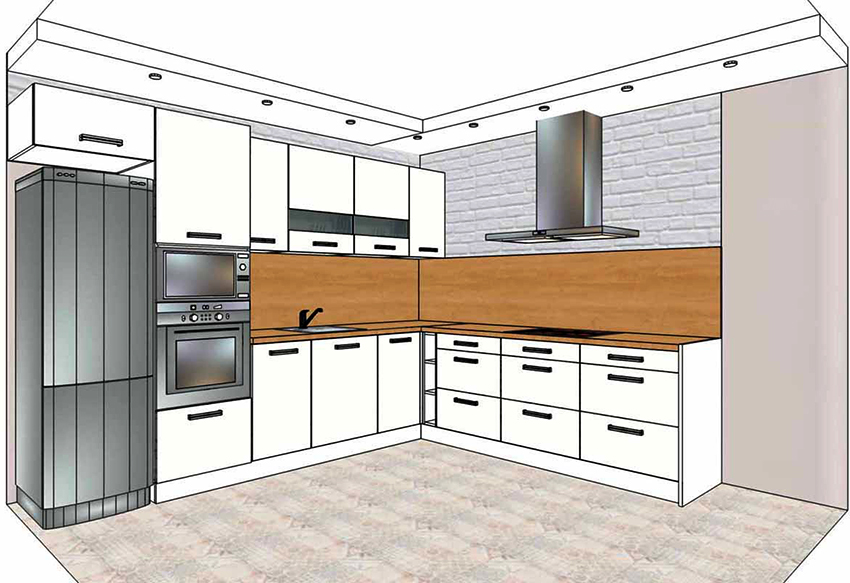
If you do not just draw a kitchen project on a sheet of paper, but create a full-fledged 3D design, then, in addition to calculating the required sizes of a kitchen set, appliances and other furniture, you can decide in advance on the color of walls and furniture and even with the placement of the decor elements you like. The finished 3D visualization will allow you to admire the picture of the finished kitchen and decide whether you need to leave your ideas unchanged or you need to make some adjustments.
On the Internet, including on large furniture sites, there are design programs with which you can create a free kitchen design project. Often this requires just registering on the site. The most popular is PRO100, which has a free trial version.
If it was decided to make a kitchen project on their own, then a person receives the following advantages:
- the kitchen set fits perfectly into the parameters of the room, since the size and configuration of the room were taken into account;
- the entire area of the room is correctly used;
- an individual kitchen design is obtained, one of a kind;
- money is saved on the cost of furniture (in the event that it was decided to independently assemble the kitchen set).
What you need in order to complete a kitchen sketch
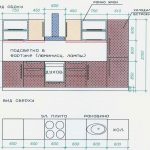
If the goal of the work is not only to create a general interior concept, but also to develop a detailed plan of the kitchen space with an indication of furniture and household appliances (taking into account their individual parameters), you will have to create a kitchen project in several different versions. It is necessary to show a top view, side view, perform a scan of the walls, which show the location and the required number of sockets, as well as lighting items.
Before making a kitchen design and creating a project, you need to carefully perform a detailed measurement of the kitchen area. You need to understand that this action is carried out after repair for finishing, since if the transfer and alignment of the walls is required, this will significantly change the configuration of the space and affect other parameters.
At the planning stage, the walls and floor should be level, the kitchen should not contain anything superfluous, including construction waste. Only in an empty room can all angles and distances be correctly measured. To measure a room, you need to have a pencil, a sheet in a cage or graph paper, an eraser, a tape measure or a building rangefinder on hand. To obtain detailed information about a room, follow these steps:
- measure the width and length of the walls;
- find out the height of the ceiling;
- make measurements of window openings and doors;
- determine the parameters of protrusions or niches.
In addition, you need to carefully measure objects that cannot be moved, these include gas meters, a radiator, a ventilation outlet, a gas boiler. In addition to the dimensions, you need to know the distance from these objects to the key lines. Usually this is the floor or one of the corners of the room - more often the outer corner is taken, located near the door. If a kitchen design with an angular layout is being created, then, in addition to standard measurements, the perpendicularity of the walls is additionally measured.
When measuring the wall, it is recommended to beat off intermediate points. One point is usually located at the level of the future worktop, the standard height of which is 800-850 mm. In some cases, depending on the height of the person, this parameter is changed. The second point is beaten off at the level of human growth, where the installation of wall cabinets will be planned. It is important to place these points in different places on the walls and connect them with a level to avoid curvature. All the resulting elements are advised to first be applied manually on paper, even if you plan to carry out the project on a computer.
Helpful advice! Room designers often use millimeters as units of measurement, so it is better to carry out all calculations in these units at once.
Features of creating a kitchen drawing: what to apply to it and what scale to use
After carrying out all measurements, you should start creating a drawing. To do this, you need to transfer the obtained indicators to paper or to a special program, choosing the most successful scale. It should be borne in mind that too large a scale is inconvenient to use due to the large size of the picture, and if too small a scale is chosen, then the picture will be inconvenient to read. Civil engineers recommend a 1:10 or 1:20 ratio as the best option.
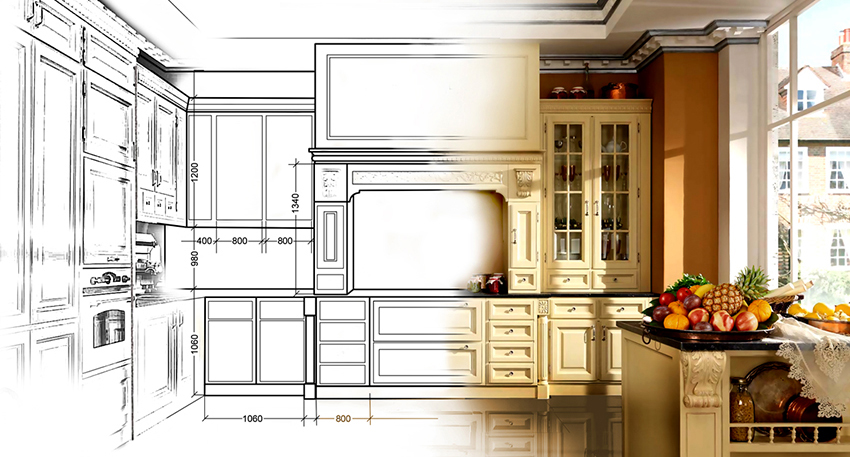
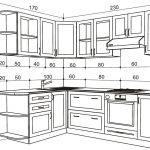
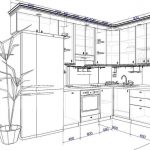
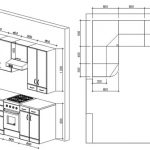
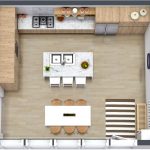
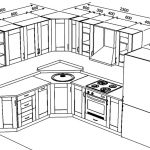
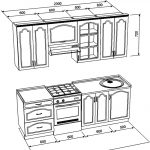
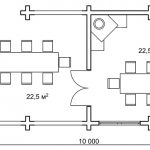
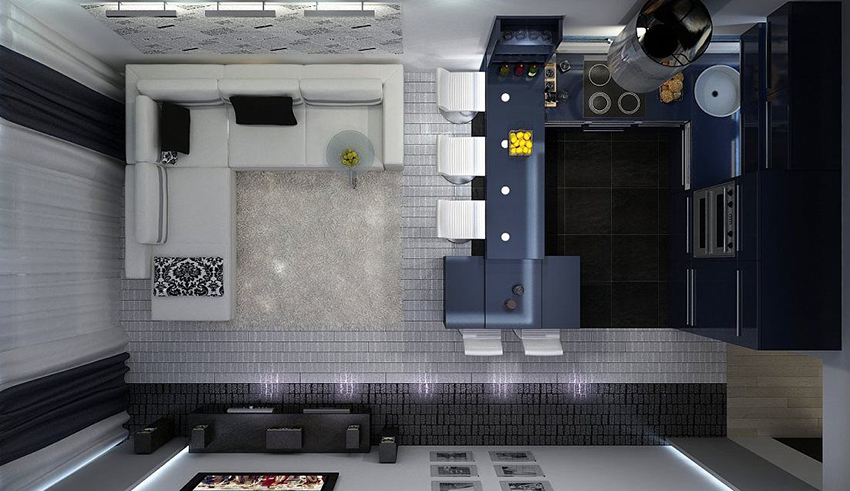
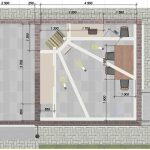
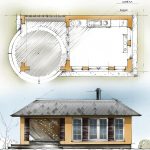
If the scale-coordinate marking is done correctly, then creating a kitchen project with dimensions will be quite simple. When developing this sketch, all measurements are transferred to paper - the result is a plan of the kitchen space, showing a top view. In the drawing, it is imperative to note the location of door and window openings, as well as protruding objects.
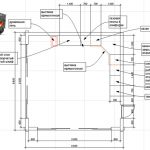
Here they draw and mark with the help of signs the outlets of water pipes, a ventilation hole, and a heating system. It is important to correctly depict the indentation from objects to walls. After transferring the information to the plan-drawing, you need to additionally enter the kitchen and once again check the drawn sketch and the room, check that not a single object is lost. Additionally, it does not hurt to at least visually check the plotted distances.
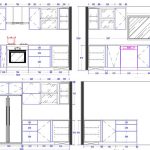
The second stage of creating a kitchen sketch: wall unfolding
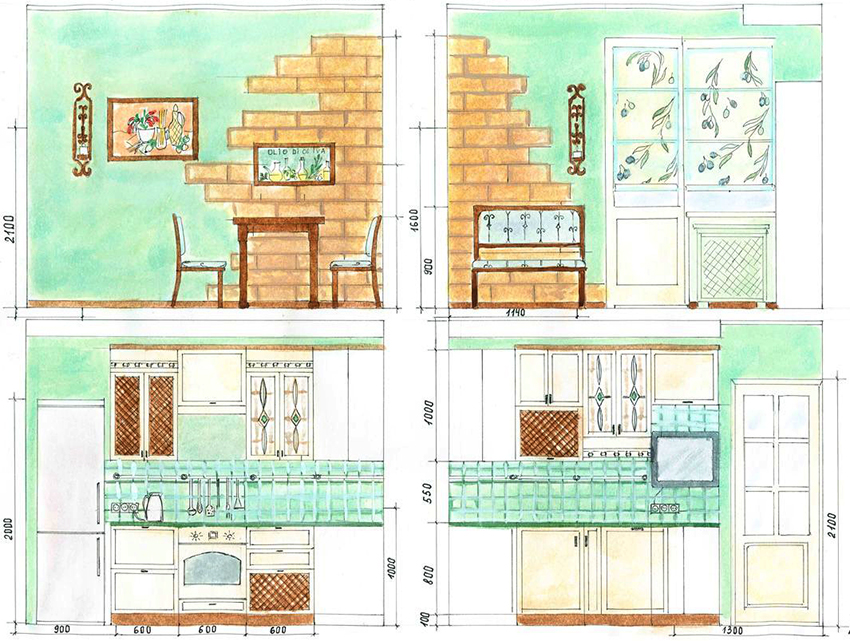
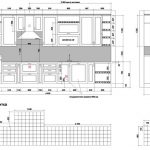
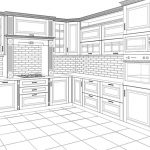
To make the kitchen project in a house or apartment the most informative, in the second sketch it is recommended to show the unfolding of the walls to visualize the side view of the kitchen. A side scan of the walls is needed in order to depict the surfaces of the walls on a scale, on which it will then be convenient to draw a drawing of the kitchen set and apply the location of the dining group. The unfolding is considered the most convenient tool, using which, it is easy to indicate the placement and positioning of shelves, kitchen cabinets and cabinets, as well as the location of household and lighting fixtures.
Interior designers use special programs such as Archicad and Revit to create a floor plan. Of course, if you approach the creation of a design professionally, then you will need to study all the nuances of the programs. However, to create an elementary kitchen project, it is enough to watch a video containing simple instructions for working with the programs.
Important! When creating your own drawing, it is recommended to preview photos of kitchen projects with dimensions that best meet the required characteristics.
In addition to using programs, you can do the planning manually using a pencil and graph paper. To do this, you need to draw a rectangle on the sheet, its height (in scale ratio) should be equal to the height of the wall, and the length is equal to the size of the wall that has the greatest value in the interior.Having chosen the desired distance from the floor and corner, you need to draw window and door openings, draw a battery and other objects that cannot be moved. The unfolding must be done for each wall separately. The main thing is to draw a general plan of the kitchen, where each wall is marked with a certain letter.
Related article:
Kitchen interiors: how to make a kitchen not only comfortable, but also attractive
Various styles of interiors, features of planning and selection of furniture sets. Photos of kitchens.
How to create a kitchen sketch based on the furniture arrangement
Before making the kitchen yourself, you need to think over the general concept of the room. To do this, you need to decide which equipment will be mandatory in the kitchen, how the main elements of the working triangle are located: refrigerator, hob and sink. In advance, you need to determine the area for installing the dining group, which should not intersect with the workplace, as well as the shape of the kitchen unit and the placement of cabinets.
Important! Hanging cabinets need to be hung on a sturdier load-bearing wall. The installation option is selected depending on the type of material from which the building is built.
After a few sketches have been drawn showing the kitchen from different angles, you need to fill the space with virtual pieces of furniture. Before proceeding with the application of furniture to the diagram, it is recommended to first make copies of the drawings, so that in case of an error you do not have to re-draw the room.
Designers recommend starting to think over a sketch from the moment of arranging large furniture and large household appliances. To create a three-dimensional image without using a computer, layouts are made of cardboard or other durable material at a certain scale. You can make scale models using the standard sizes of kitchen furniture:
- the internal depth of wall cabinets is usually not planned to be more than 350 mm, more often it is 300 mm;
- internal depth of cabinets standing on the floor - 460-500 mm;
- countertop depth - 600 mm;
- cabinet under the sink - at least 550 mm, depending on the features of the kitchen configuration.
It is not difficult to depict household appliances, but you should decide in advance on the models and view their parameters on the pages of online stores. If you do not need to save space, then it is better to choose equipment of standard sizes, and not shortened or narrow models. It is necessary to place layouts with an eye to the outputs of the necessary communications, because the further the sink is located from the drain, and the gas stove from the gas pipe, the more time it will take to grow or transfer communications.
After drawing all the items on the drawing, it will become clear which dimensions of the kitchen table are suitable for installation, and the convenience of the configuration of the working triangle is assessed and the free area is calculated, which is formed after the installation of everything necessary. If, considering the plan, it becomes clear that too little space is left for unhindered movement, then at this stage it is necessary to decide which items can be discarded.
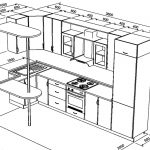
After it is clear where and what items to place, it is required to attach prepared paper layouts to the drawing and circle them with a thin pencil. Measurements of key distances are converted to scale and also applied to paper. The result of all this work is a ready-made kitchen scheme that was developed independently. Below you can see the finished projects of kitchens 5 × 5 m with furniture and appliances placed.
Kitchen project: how to properly dispose of space
In order not to miss anything when creating a preliminary project, it is necessary to divide the kitchen space into main sections in advance. This includes a work area, storage space for food and kitchen utensils, and a corner for setting up a dining group.The main requirement when creating any plan is that you should not place large furniture or appliances near the window, so as not to impede the free penetration of natural light.
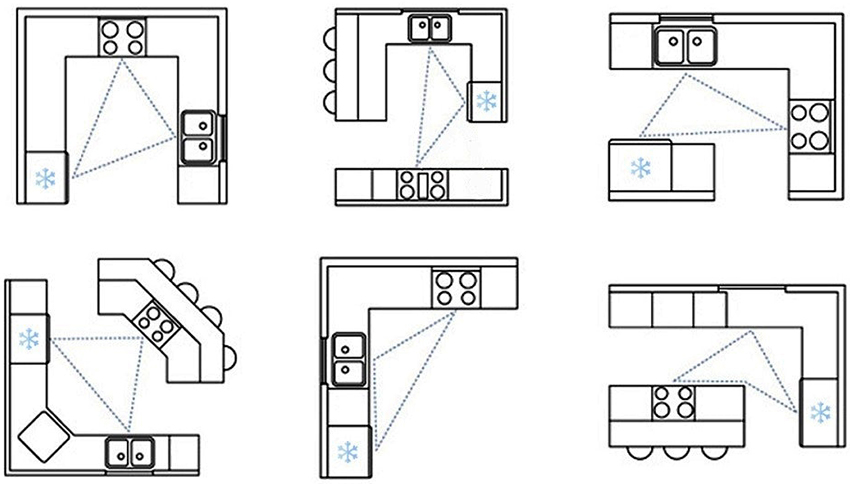
Whichever kitchen layout option is chosen, the main task is to organize a convenient and functional working triangle, at the tops of which a refrigerator, sink, stove or hob are placed. Be sure to leave a little work surface between the main items so that there is space for laying out food. It is not recommended that the longest side of the triangle exceed 2.5 meters, otherwise the time allotted for cooking will be wasted.
Useful advice! If less than 90-120 mm remains for free movement in the kitchen, the project should be revised and changed, because in such a kitchen it will not only be inconvenient to move, but it will also be difficult to open the cabinet doors and refrigerator, as well as to pull out the drawers.
It is also important to understand the correct placement of basic household appliances. For example, if we are talking about a very small kitchen project 2 × 2 m, it is impossible to create a working triangle in accordance with the rules. In the case of a limited space, it is absolutely impossible to place the hob close to the sink. It is better that the sink stands next to the refrigerator and is separated by at least a minimal countertop from the cooking area.
The main types of kitchen space layouts: the choice of option depending on the area
Before you start planning the arrangement of kitchen furniture, you need to study the configuration features and dimensions of the room, taking into account all niches and irregularities. The basis of any layout is the creation of a comfortable working area in which everything you need is at hand. If you properly organize the cooking area, then this process will take much less time. Depending on the location of the kitchen group, there are several options for the layout of the kitchen, described below.
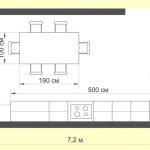
Linear layout. It is considered a suitable option when developing a kitchen design of 10 m² or less. In this case, all the necessary kitchen furniture is placed along one of the walls, while the opposite wall is used to install the kitchen table so that there is enough space for free passage. The disadvantage of this option is the impossibility of organizing a convenient working triangle. Below is a series of photos of kitchen projects 9 sq. m.
Parallel. Suitable for organizing narrow kitchens, where furniture is conveniently placed along opposite walls in two rows. Here, the sink and stove are placed on one wall, and the refrigerator on the other. The result of this organization of the room is a regular working triangle. Such projects are especially suitable for kitchens in Khrushchev, for which a small total area of the apartment is characteristic.
U-shaped layout. The ideal solution for organizing medium-sized rooms - from 8 to 15 m². Studying photos of kitchen projects 12 sq. m, you can see that the furniture is installed around three walls, while the fourth remains free. This produces a triangle with one elongated side.
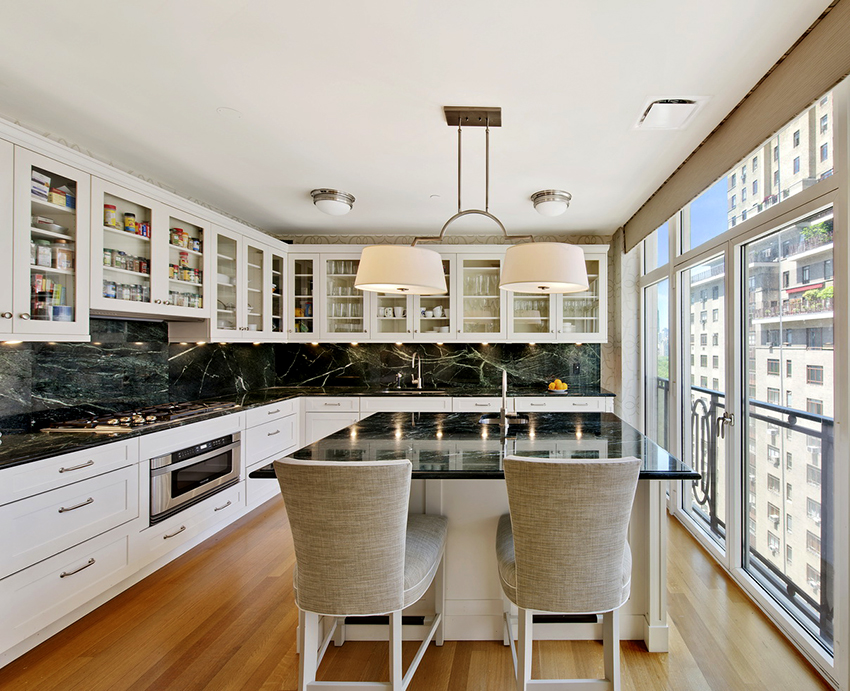
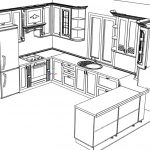
L-shaped. It is relevant to use in spacious kitchens with an area of 12-15 m², which differ in rectangular or square shape. In this case, two functional zones of the working triangle are located near one wall, and the third is placed on a perpendicular wall. Most photos of corner kitchen projects show that a dining group is placed in an unused corner, often with a corner sofa.
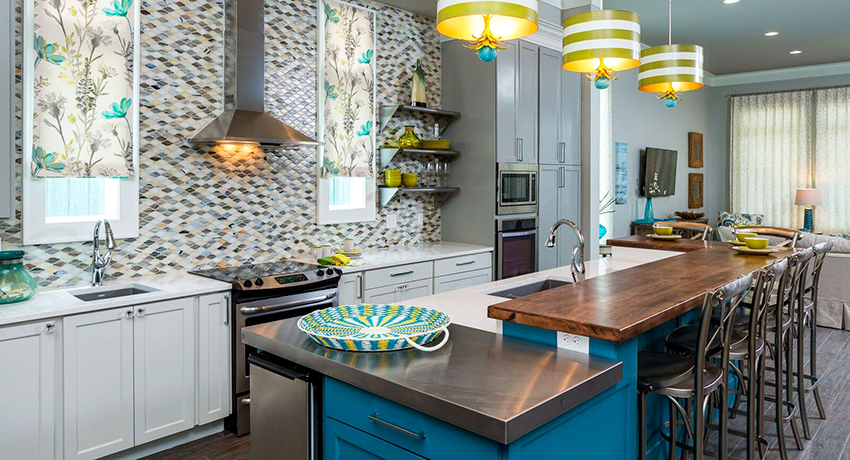
Island. Suitable for organizing kitchen design with a size of 15 m².Two work areas are placed on the main wall, and the third is taken out to the island - more often there is either a sink or a hob. The island is often used as a small dining table for quick bites.
Important! The type of layout is influenced not only by the size of the room, but also by the configuration features. Therefore, before deciding on the layout, you need to decide how functional it will be in a particular kitchen.
Features of creating a design project for a kitchen combined with a living room and dining room
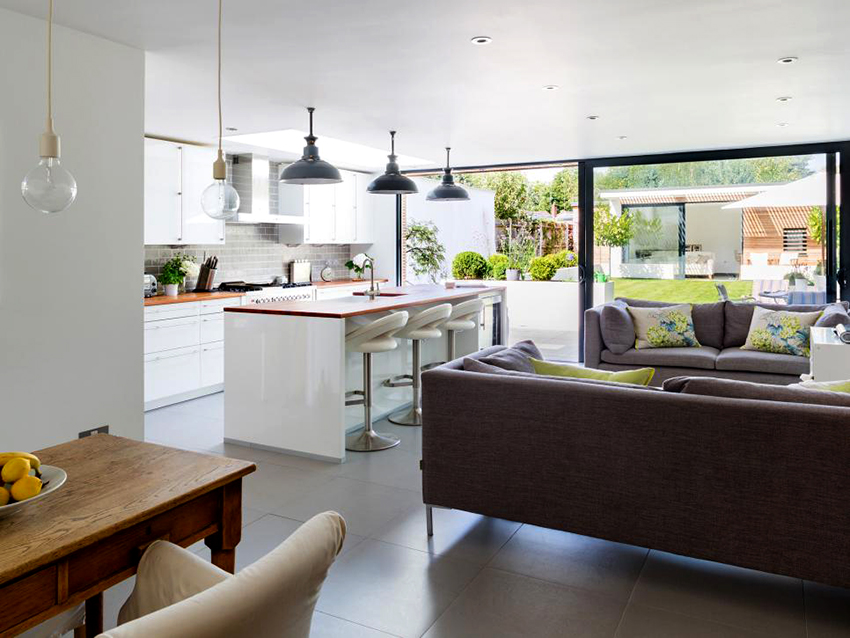
By creating a kitchen-living room design in the interior of an apartment, you can use more space to accommodate the necessary furniture and equipment. As a result of combining the rooms, a vast room is formed, which will be enough to receive a large number of guests. To create a kitchen-dining room project, you should not only prepare for significant financial and labor costs, but you will also need to visit some instances, document the redevelopment and protect yourself from problems that may arise in the future.
Before combining a kitchen and a living room in one room, you need to take into account the fact that you will have to abandon the centralized gas supply in favor of electricity, because according to the norms there should be no gas installations in the living room. It is also forbidden to take out pipes that are responsible for water supply and sanitation into the living room.
To avoid these problems, many designers advise to go for the trick and not demolish the entire wall that divides the spaces. The best option is to demolish part of the wall, where sliding doors are then installed. This step will avoid some documentary problems, and will also make it possible to make the kitchen a completely isolated room. On the Internet, you can see a good selection of photos of kitchens and living rooms together.
How to zone rooms: photo of the interiors of the kitchen-living room 20 sq. m
In a combined space, it is important to perform competent zoning, which can be done not only with the help of a sliding door, but also through the use of different flooring or surface colors. An interesting option for delimiting space is considered taking the kitchen to the podium, which is located slightly above the living room level. The disadvantage of this option is the inconvenience in cleaning, as well as the likelihood of injury about a kind of step.
If we are talking about organizing a private house, then in this case, personal space can be disposed of at will. More often in a private house, the living room, kitchen and dining room are not separated by solid walls, but false walls or shelving are used for zoning. According to the rules for arranging rooms, the first is the kitchen, then the living room and dining room. If we are talking about arranging a trapezoidal space, then the rooms are located at an angle on each side of the kitchen.
Useful advice! If you look at the photos of the interiors of the kitchen-living room in a private house, then you can pay attention that a beautiful fireplace installed in the living room area is an indispensable attribute of the premises. It will help create a cozy atmosphere in the room.
When combining rooms, you need to familiarize yourself with some of the disadvantages of this project option. The main problem is the noise of household appliances. A refrigerator, dishwasher, blender and meat grinder are considered to be the loudest appliances that can interfere with communication in the living room area. Another problem is the need to constantly maintain order in the kitchen, because it is, in fact, part of the living room. You also need to take into account that if you buy a not too powerful hood, then all the smells from the kitchen will instantly get into the living room area.
How to complete a summer kitchen project in the country: photos of successful options
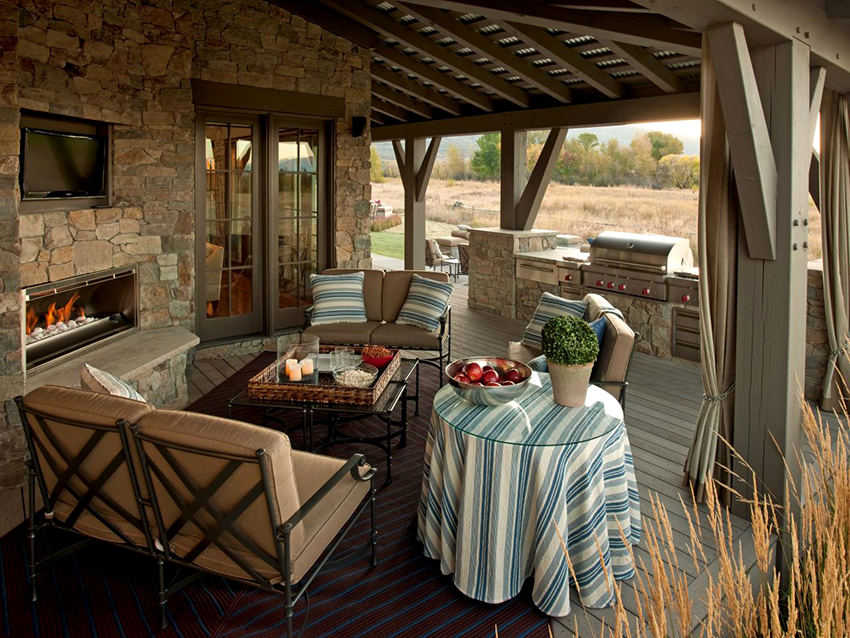
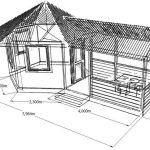
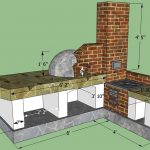
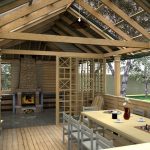
Arranging a summer kitchen in a country house or in a private house will save the house from excess vapors and high temperatures emanating from the stove, which is especially important when it is hot outside. The main thing is that cooking outdoors in summer is much more pleasant. In addition, when developing a summer kitchen project, you can think about installing a barbecue, barbecue or fireplace, which will help diversify the list of dishes.
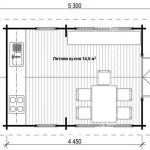
The construction plan depends on the purpose of the future premises, so you need to decide in advance how it will be used, whether you need to cook in the kitchen during the cold season. The size is determined depending on whether you plan to just cook in the kitchen or you need to install a dining group here.
The issue of placing the kitchen is also considered important: will it be located in a separate house or will it be a continuation of the main room. The determining factor is the maximum budget that is planned to be allocated for the construction and equipment of the kitchen. Before developing a project for a summer kitchen in the country, you additionally need to solve a number of such issues:
- what type of premises should be: open or closed;
- what kind of stove is planned: gas or electric;
- whether it is necessary to additionally install a brazier and a fireplace;
- how to organize the supply and removal of communications.
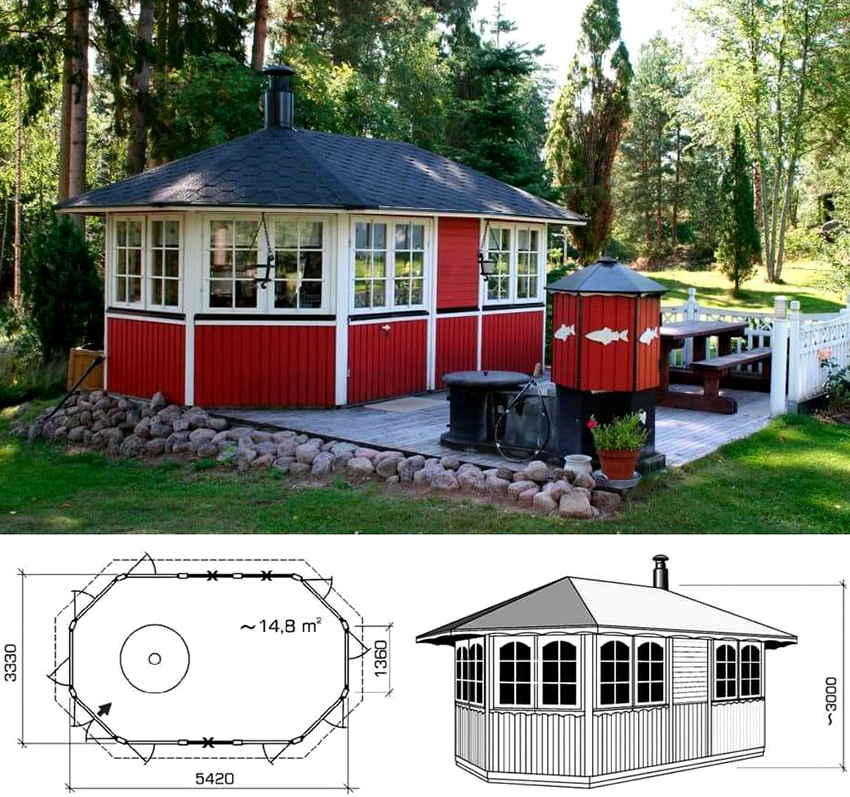
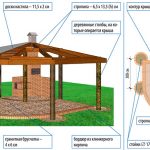
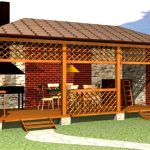
The most common option is considered an open summer kitchen, which consists of several walls and a canopy. Outwardly, such a kitchen looks more like a gazebo. The main advantages of the project are considered the short time required for the construction of the structure, as well as the small budget that will be needed for the construction. There is also a downside: it will be uncomfortable to cook in an open kitchen if it is cold or windy outside. You cannot leave ready-made food here either, and in the cold season, all kitchen utensils will have to be moved into the house. Other popular options for summer kitchen projects:
- Open kitchen on the veranda. Requires a solid foundation and walls, the roof is often a continuation of the roof of the house. Glazing is used on the walls.
- Open kitchen annex. Usually connected to the main house using a utility room or bath. The extension is considered an extension of the porch and looks like a terrace with all the necessary kitchen appliances installed.
- Open kitchen gazebo. It is considered an excellent option if you want to complement the kitchen with barbecue. In this case, you need to lay the foundation, solid walls and a solid roof.
- Closed kitchen. Most often this is a full-fledged small house located near the main building. You need to approach the creation of a project competently, because construction is practically no different from the construction of a solid house.
Creating an independent kitchen project only at first glance seems like an impossible task, especially if there was no design experience in the past. If you make a little effort and familiarize yourself with some of the rules, you will be able to create a unique project in which all ideas and intentions will be embodied.
