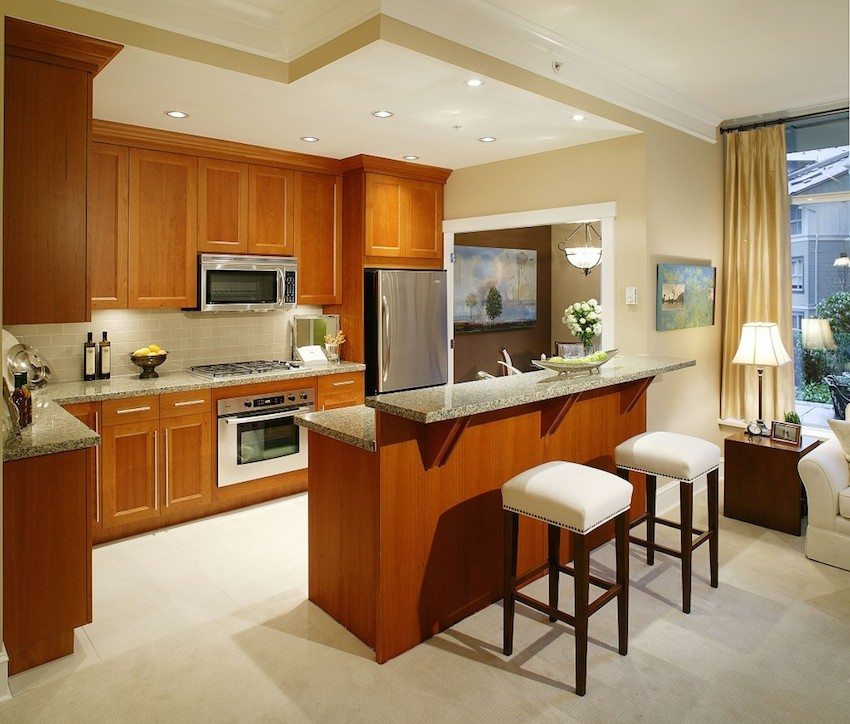
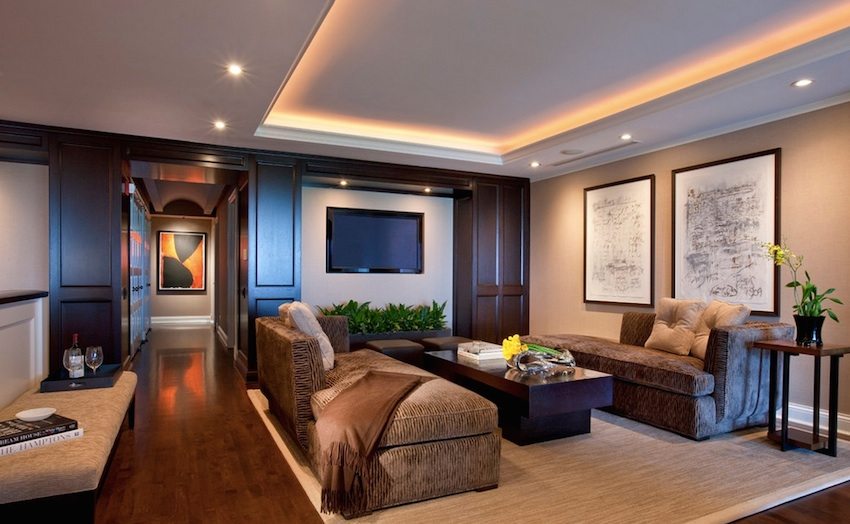
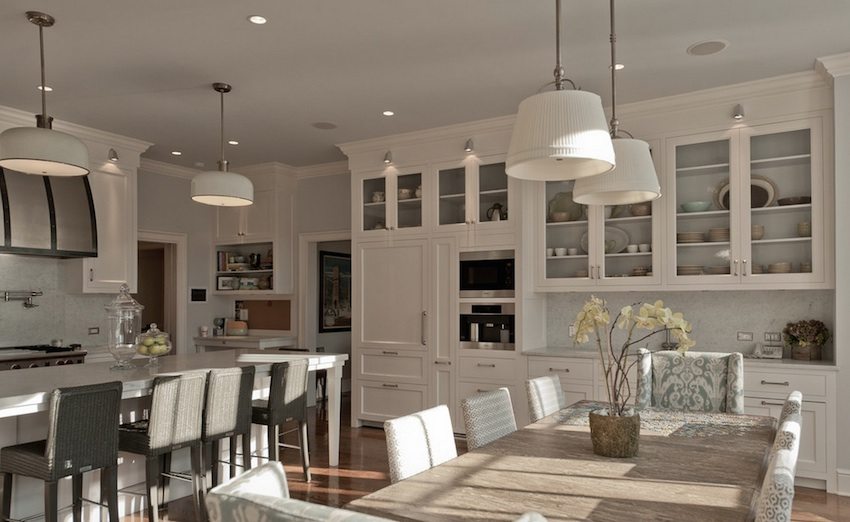
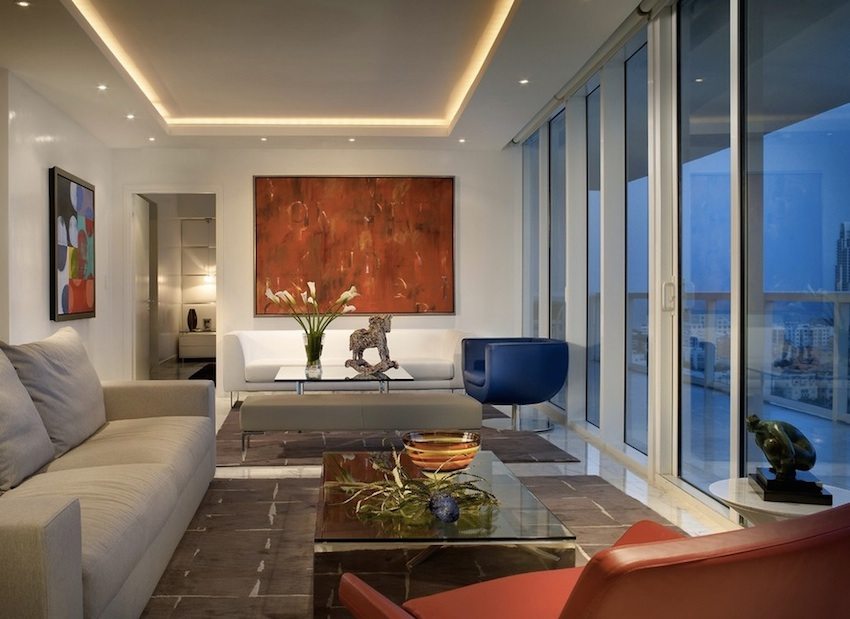
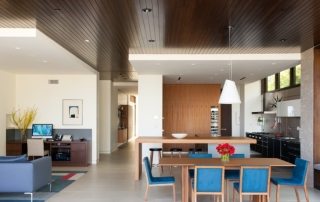
Plasterboard as a unique material used for the construction of ceilings has changed the approach to lighting in such rooms. This is due not only to technical requirements, but also to the peculiarities of modern design, in which lighting becomes its complementary part. If previously one light source was chosen, now the spotlights for plasterboard ceilings are located around the entire perimeter of the room. There are many clear positives in such a system.
Benefits of spotlights
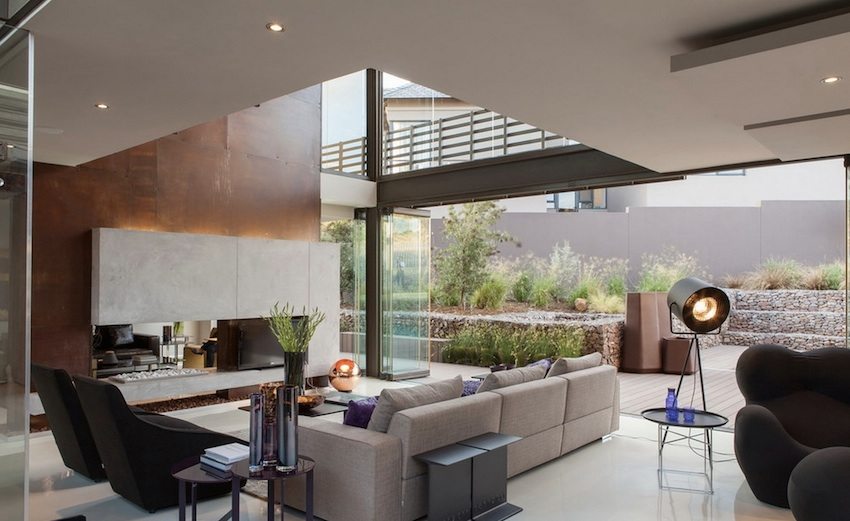
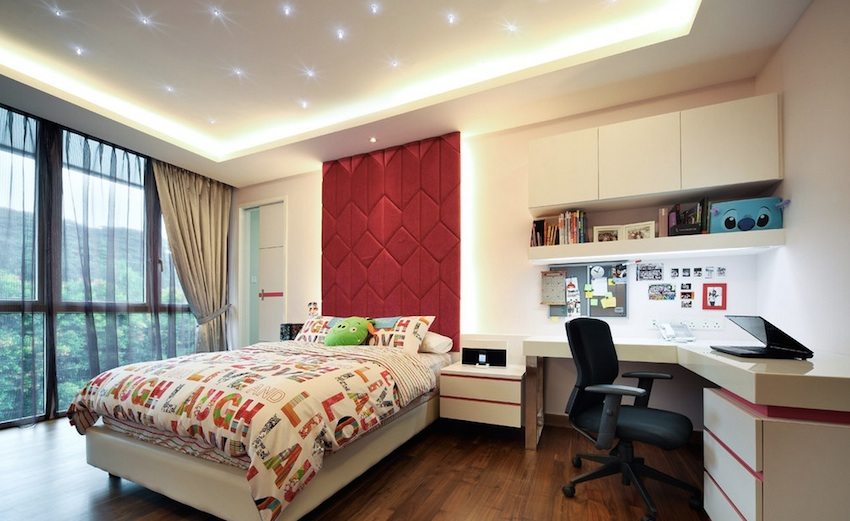
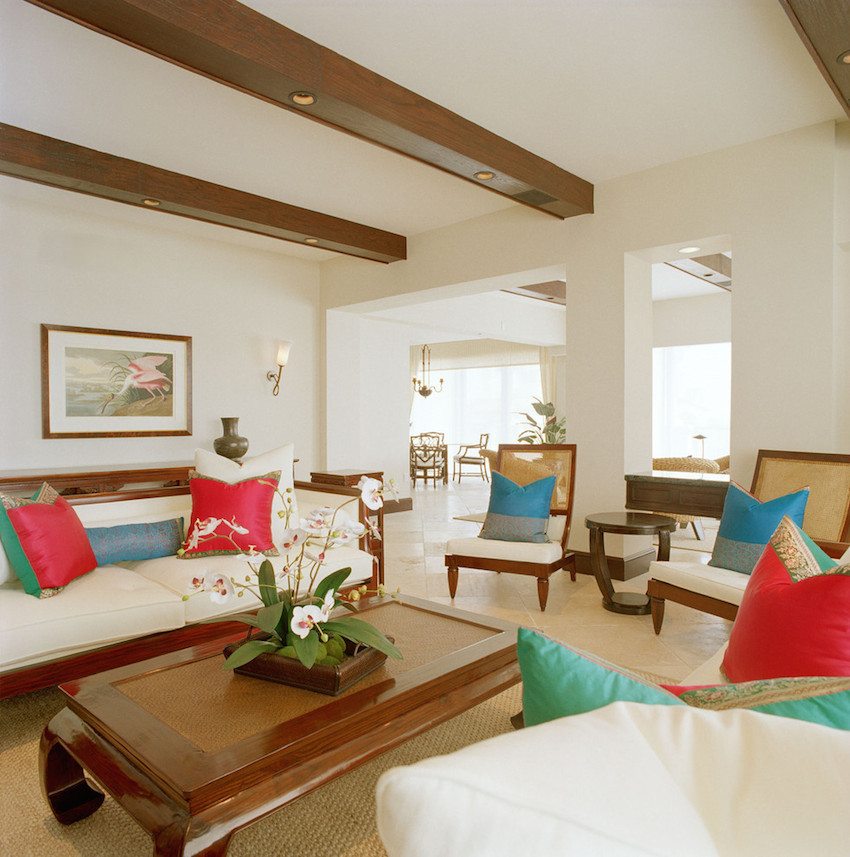
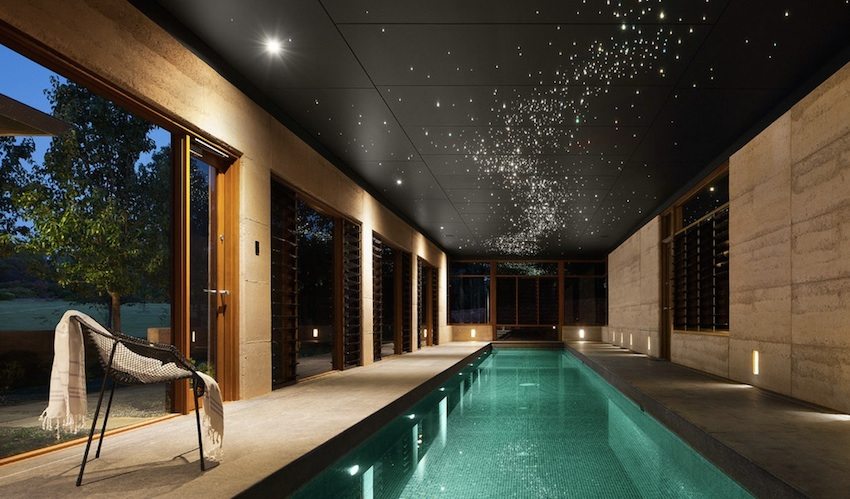
Freedom of choice of luminaires and installation options. The range of lighting devices that are offered on the modern market allows you to use pendant, surface-mounted or recessed luminaires. The installation of point light sources allows you to flexibly choose options for expanding the space, as well as use various methods of decorating rooms using illumination means. A creative, conventionally unlimited approach, judging by the photo of illuminated plasterboard ceilings, makes the room unique and inimitable.
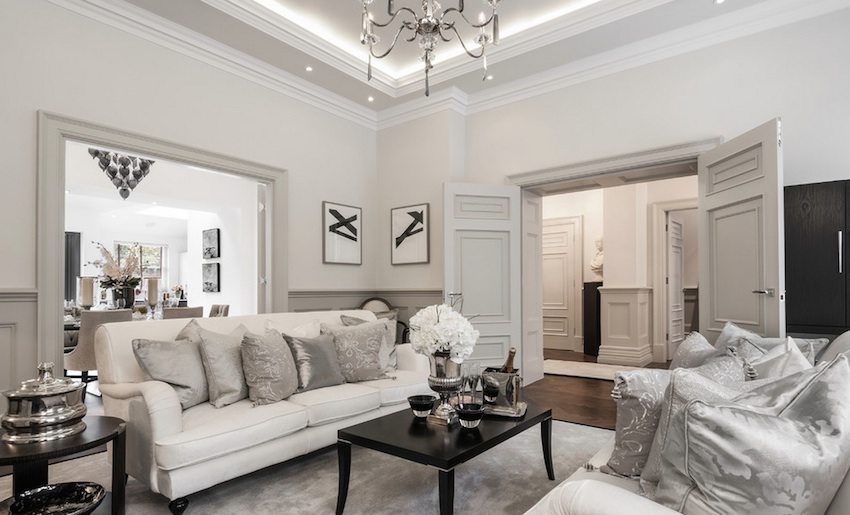
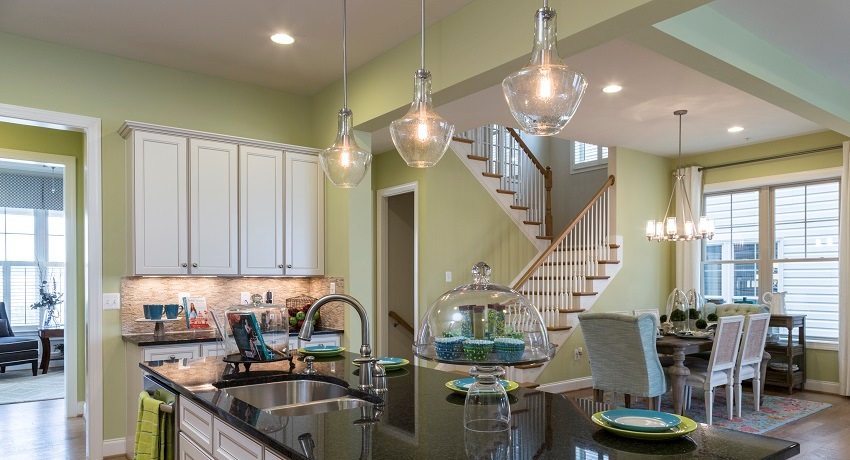
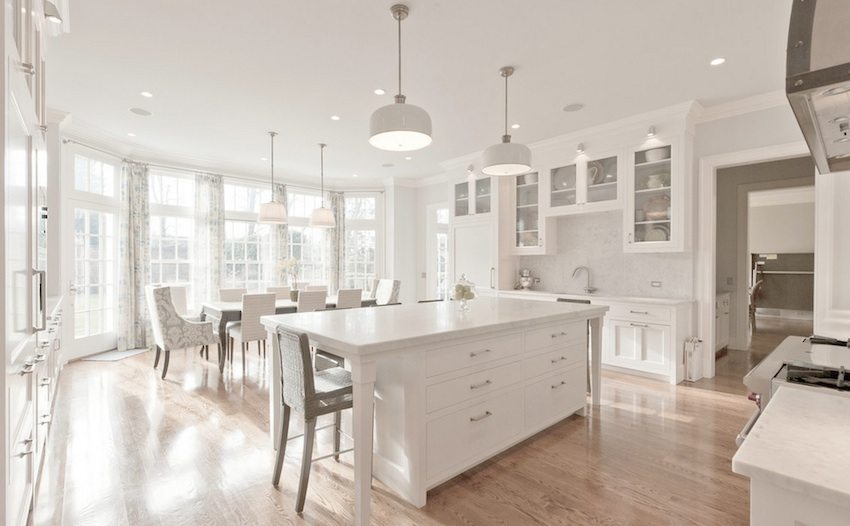
Combination chandeliers and spotlights
Benefit from use. Despite the fact that there are several light sources installed, they all have low power, which together gives more savings than one or two powerful light bulbs. With the correct distribution of light beams, it will be used in an even, rational and efficient way.
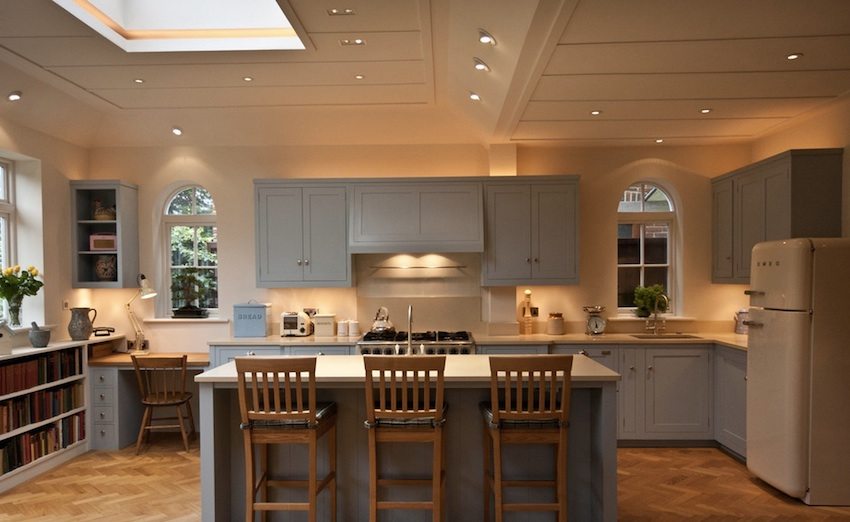
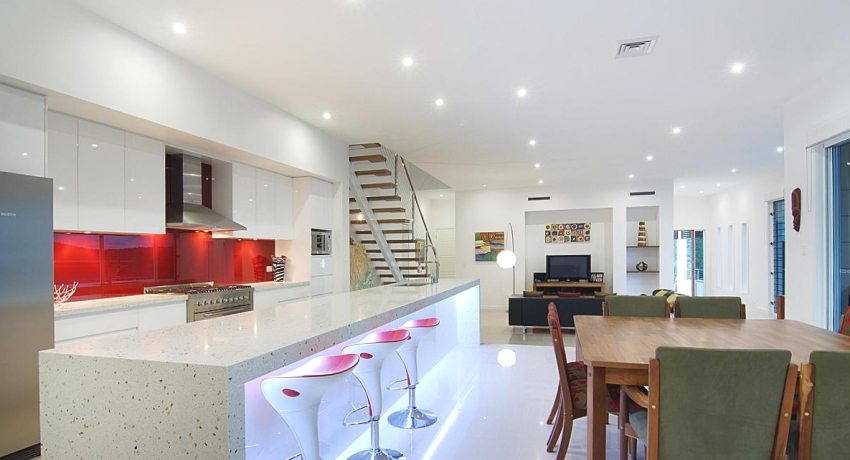
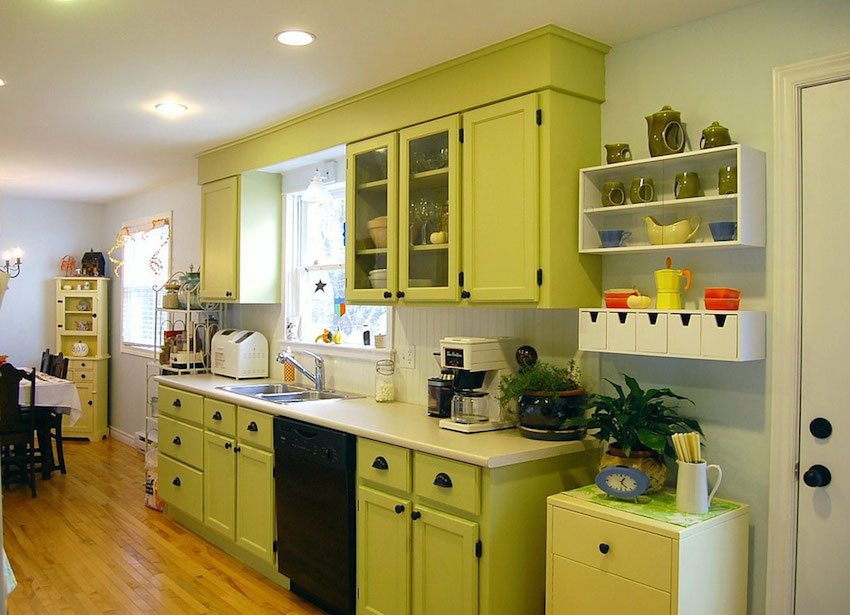
LED lamps on the ceiling in the kitchen
Spotlights for plasterboard ceilings: types
Modern production of electrical products offers several types of lighting fixtures, from which you can choose options for creating a lighting system, different in style and content. This list contains the following devices:
- hanging chandeliers;
- overhead lamps;
- fluorescent lamps;
- rotary or stationary point;
- strip LEDs.
A chandelier, as a traditional element of lighting systems, does not always fit into the exhibition plasterboard ceiling... This is mainly because the level of such a ceiling is visually lowered. Therefore, a chandelier using the example of a photo of plasterboard ceilings with lighting can be used in rooms where there is enough space for it. And also in rooms where the combined method of placing lighting devices is used.
The chandelier can be attached in two ways: to pre-prepared special profiles, or to the base of the ceiling. It is not recommended to attach any kind of luminaire to a plasterboard base. But if the placement of the chandelier is not fundamentally important, it is better to use any other type of lamps. The ceiling will look harmonious and modern.
Related article:
|
Photo of a plasterboard ceiling backlit with spotlights
These are very neat and compact products. There are certain rules for installing such luminaires in order to get the most out of their use. This indicator depends on the height of the ceilings and is determined by the distance between the devices. But the distance between them should not exceed one meter, if there are no other types of lighting devices in the room.
How to choose lamps for chandeliers and spotlights for plasterboard ceilings
There are no restrictions on the lamps that can be used for ceilings. They usually depend on the size of the luminaire. These can be conventional incandescent, halogen type or LED... For plasterboard ceilings it is recommended to use halogen.
They are durable and economical, do not emit much heat. But to use them, you need to connect a transformer device. This is because the mains voltage is 220 V, and the halogen bulb is designed for 12. There are also 220-volt halogens, but their service life is shorter.
Remember! Wiring and light bulbs must be provided with fire protection.
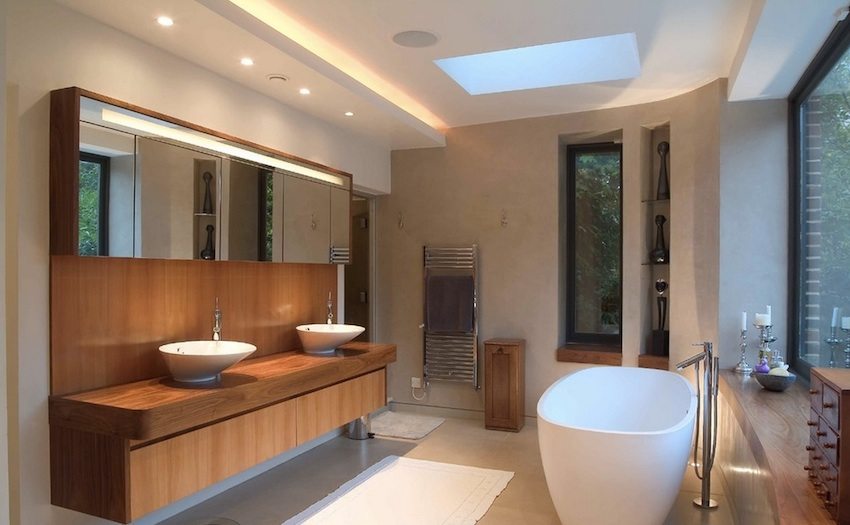
Spotlights are an excellent source of additional bathroom lighting
Luminaire protection
When choosing a device and its location, you should pay attention to the protection from external influences. Dust and moisture pose a direct threat to luminaires. On the marking of devices, you can determine the degree of their protection by the first two numbers. One of them indicates the maximum size of the elements that can penetrate into the device, the other indicates the degree of protection from moisture.
Dust protection system
This indicator can mean that the luminaire is protected from the ingress of particles with a maximum size of 50; 12; 2.5; 1 mm. These indicators are numbered from 1 to 4, respectively. Codes 5 and 6 contain information that the device is protected from dust ingress in part or completely. If the marking of the luminaire starts from zero, it means that there is no dust protection in it.
Moisture protection
In the product marking, the number 1 means that the luminaire is protected from drops falling in the vertical direction, 2 - at an angle of 15 °, 3 - at an angle of 60 °, 4 - from splashes falling on the luminaire in any direction, 5 - the luminaire is protected from a jet , 6 - strong jet, 7 - short-term immersion, 8 - long-term immersion, 0 - no moisture protection.
Preparatory activities
Before installing the luminaires on plasterboard ceilings, markings must be carried out.This takes into account the number of tiers, if the structure is multi-level, as well as the distance from the walls to the place where the frame fasteners will be installed. The location of the profile and lamps should not coincide.
Attention! Electrical installation is done before installing drywall.
Distribution wiring
The cable is attached to the structural members, but not tightly. At the place where the lamp will be placed, a 15 cm loop is formed. The wire is guided in a specific sequence from the first to the last element of the chain. After the electrical installation activities are completed, you can start sheathing the ceiling with plasterboard sheets, as well as finishing.
Important! The wiring must be completely uniform: aluminum or copper only. Failure to do so may result in fire cables.
There is another option for cable routing. It means connecting each luminaire autonomously. To ensure safety, each wire is placed in a special corrugated pipe made of non-combustible material. In order for the holes in the drywall to coincide with the fixing points of the fixtures, you need to know the exact diameter of the device. It is indicated on the product packaging. It will be more convenient and neat if you make a hole using special crown bits on a drill.
Conclusion
Arranging lighting on plasterboard floors is not a complicated process. You can handle it yourself, but it is important to remember two rules. First, it is necessary to maintain an interval of no more than 1 m between the lamps. Second: you need to use the average wattage of the bulbs to avoid overheating of the ceiling and system.
