After the tiles in the bathroom are glued, you need to bring all the work to its logical conclusion. By removing the alignment crosses from the joints between the tiles, you can grout the tiles in the bathroom with your own hands. This does not require any special skills. It is only necessary to arm yourself with certain knowledge.
Content [Hide]
Mixes for grouting tiles in the bathroom
Filling the gaps between the tiles with grouting mixtures not only gives a complete, holistic look to the entire surface, but also has a purely unitary function. The grout prevents dirt from penetrating under the tiles and prevents mold. Therefore, the correct choice of the mixture affects not only the appearance, but also the sanitary and hygienic parameters of the room.
Related article:
What is the best adhesive for tiles? Varieties of adhesives. Adhesive selection criteria, material consumption calculation, tile fixing rules and surface preparation.
Before you do the grouting of the tiles in the bathroom with your own hands, you need to choose the right mixture. Regardless of the manufacturer, all mixtures are usually divided into 5 groups:
- on a cement-sand base. Consists of white cement with the addition of fine-grained sand. This type of mixture is used in dry and warm rooms. It is clear that they are not suitable for grouting tiles in the bathroom;
- cement with the addition of polymers. They consist of cement and sand, but some polymer is added to them. This makes the mixtures water-repellent, which makes them suitable for use in damp environments such as a bathroom;
- grouting using cement and epoxy resins... This type of mixture is not afraid of moisture. They can be used for both interior and exterior finishing works. Thanks to the attached epoxy resins strength, such mixtures can be used even when grouting joints in pools;
- pure epoxy grout;
- polymer-based grouting. This is the most expensive option. Processing of joints with polymer grouting is carried out directly during installation tiles... Most often, this option is used when gluing porcelain stoneware. Seams treated with such a grout are polished, giving a monolithic look to the entire surface.
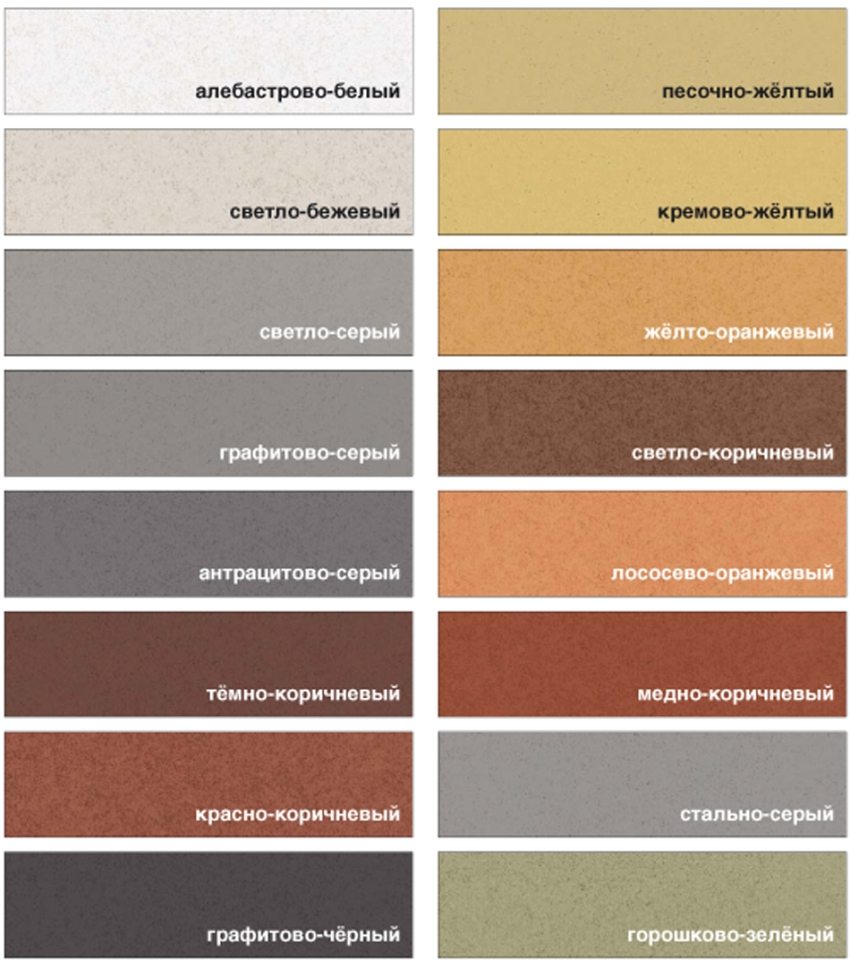
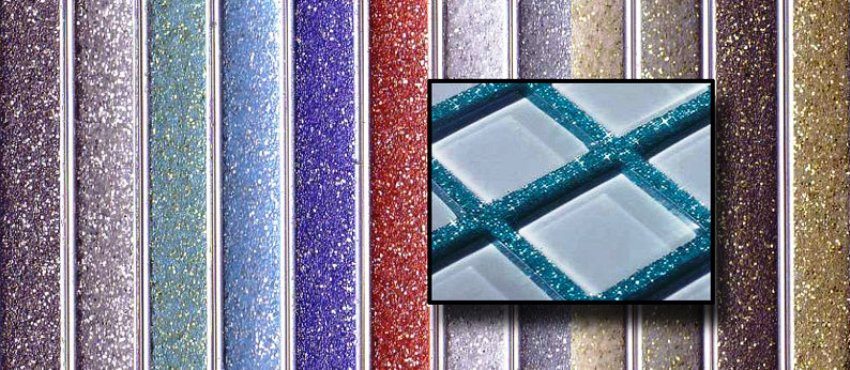
Any of the listed groups of mixtures allows the use of coloring additives. Dyes can be of absolutely any color. When choosing a mixture for grouting tiles in the bathroom, it is worth paying attention to that it is suitable for wet rooms. In addition, mixtures are often designed for a specific joint width.All information with the characteristics of a particular material is on the packaging, so be sure to read it before purchasing.
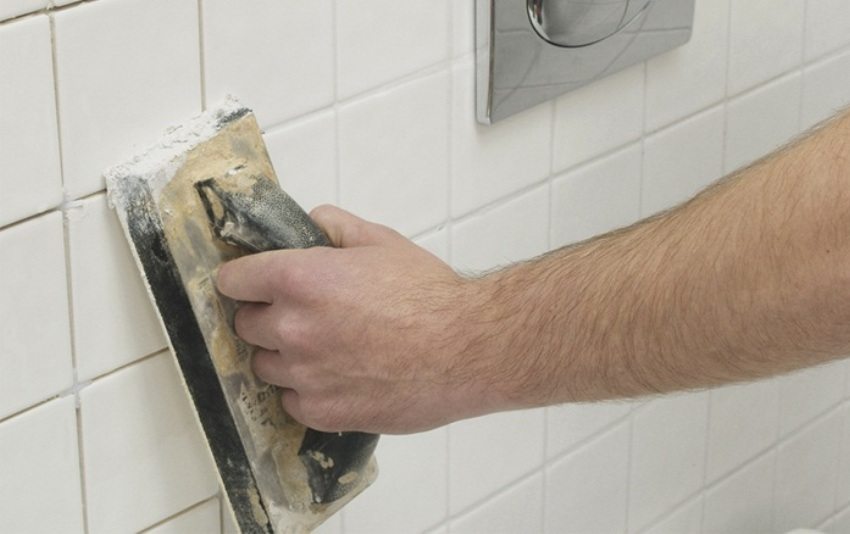
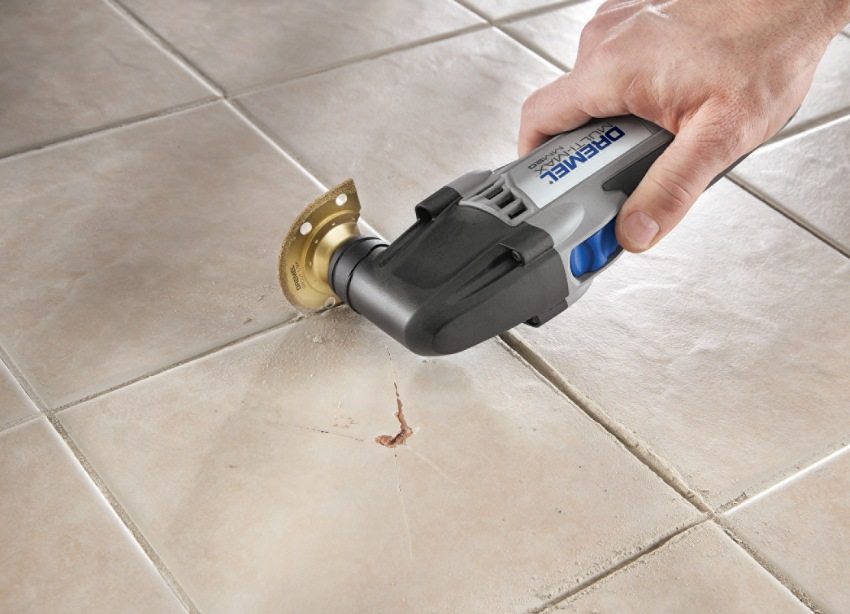
Ceramic grout bathroom tiles using a half-wheel
Helpful advice! When choosing a grout for a bathroom, you need to keep in mind its antifungal properties. A mixture that does not have them is not suitable for use in the bathroom.
How to grout tiles in the bathroom with your own hands
Everything construction and repair activities begin with surface preparation and equipment. To grout tiles in the bathroom with your own hands, you will need the following tools:
- A bucket or similar convenient container in which the mixture will be mixed.
- Pure water.
- Rubber and steel flat trowel.
- A special gun that simplifies the process of applying the mixture to the seams.
- A sponge or clean rag.
Tools should not leave scratches or other marks on the tiles. Before starting the main work, you need to prepare the surface. To do this, remove excess glue and dirt from the seams, wipe the entire surface with a damp cloth, so that the seams are wet.
Helpful advice! According to the instructions, work on grouting should be carried out no earlier than 24 hours after the end of laying the tiles. Experienced builders recommend doing this after 7 days. In this case, the seams will definitely not be affected by shrinkage resulting from the drying of the adhesive.
Diluting bathroom tile grout is a demanding process. To do this, dry powder from the bag is poured into a container and diluted with water according to the instructions printed on the package. Then, manually or with a mixer, the mixture is mixed until a homogeneous composition appears.
When this is done, you need to wait 5 minutes and stir the mixture again. It is now usable. Ready-made mixtures must also be mixed. If a colored grout is needed, then the required amount of dye is added to the mixture before mixing.
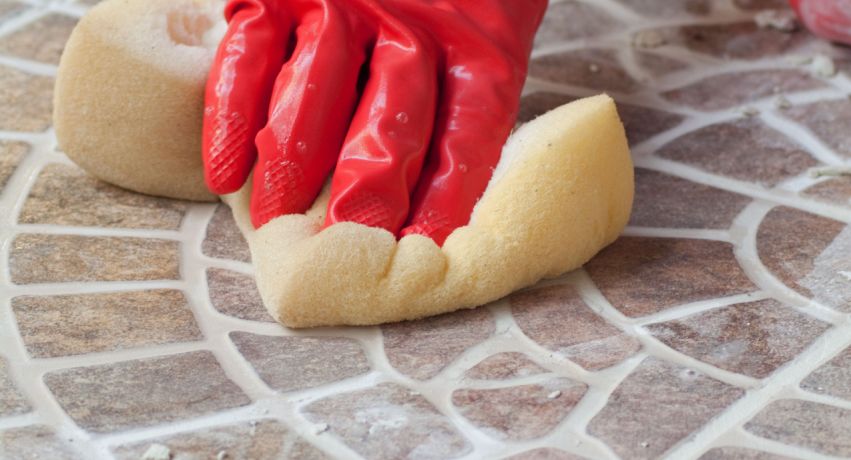
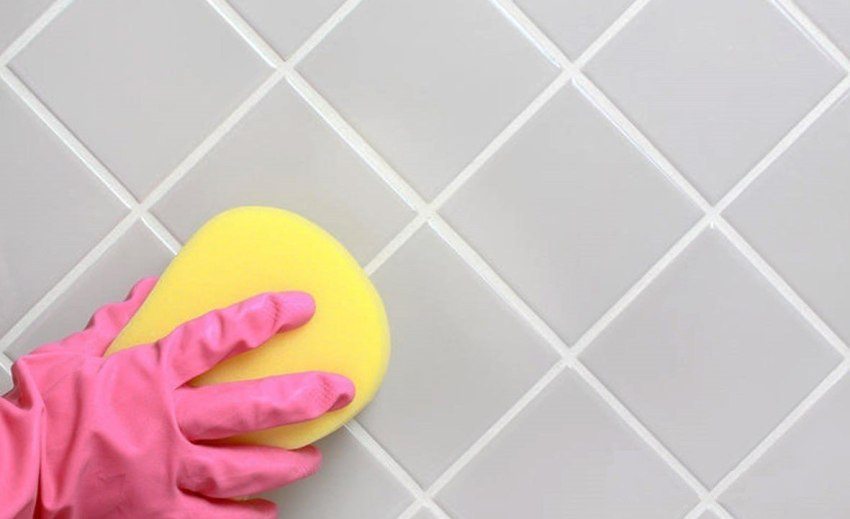
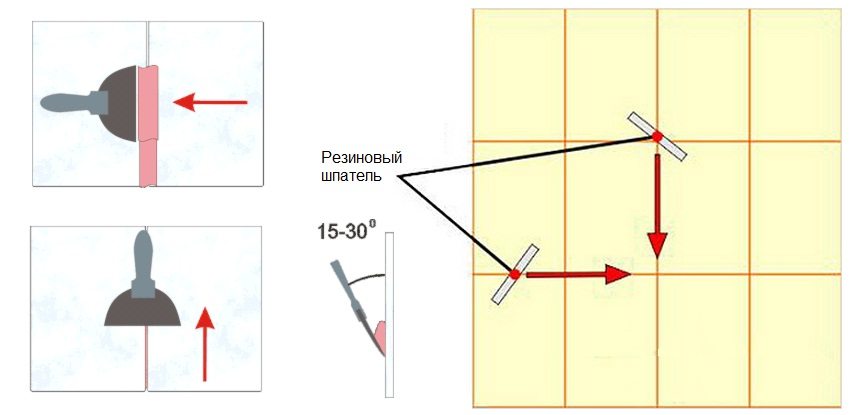
Grouting is done using a steel spatula or a pistol, which is more convenient. Then, with a rubber spatula, level the mixture flush with the plane of the tile surface. When filling the joints, care must be taken not to leave gaps. After grouting all joints, you need to wait until the whole mixture sets. After that, with a soft and completely squeezed sponge, it is necessary to make circular movements over the surface, smoothing the seams.
Do not move the sponge along the seams, as this can lead to washing out of the grout. If defects are found at this stage, then they need to be eliminated by adding a solution to the problem areas. Having finished this work, you need to wait for drying again. After that, with a dry and clean rag, the entire surface is polished, bringing it to an integral and finished look.
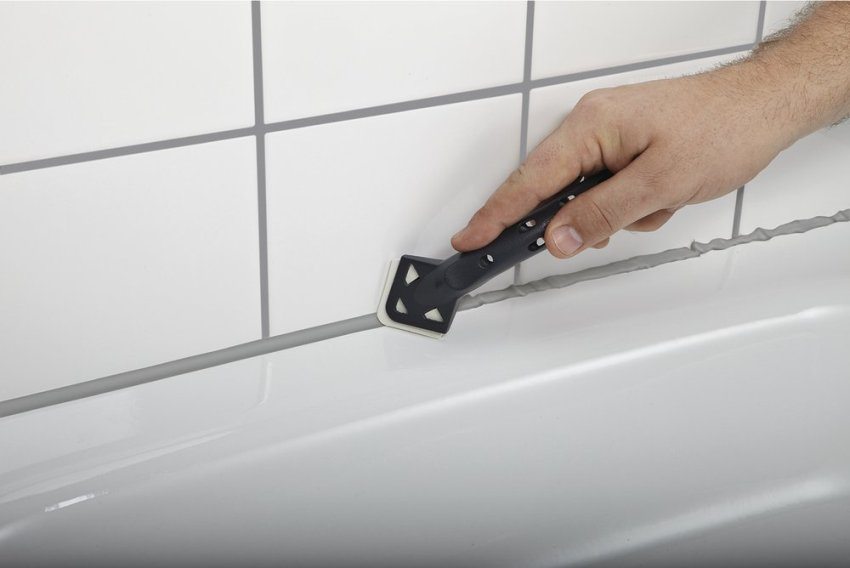
Helpful advice! The bathroom has plumbing fixtures that create cracks in contact with the tiles. They must be sealed with sealant, plastic skirting boards, self-adhesive tapes or a ceramic corner.
Although it is very easy to understand in words how grouting of tiles in a bathroom is done, a video of this process can tell a lot about some of the nuances.
How video instructions can help when grouting tiles in the bathroom
Before starting work, you need to thoroughly study this process. Best of all, video instructions will help in this matter, which are filmed and laid out for free access by a large number of people. You can find videos that explain and show in stages the entire process of production of work. Moreover, they are removed for any type of grouting mixtures.
