Dismantling of old floors can be performed not only during major repairs in an apartment or house, but also in case of loss of aesthetic and operational qualities of the coating. There are some useful guidelines that can help you perform spot or local repairs on the coating in the shortest possible time. All of them are detailed in this article.
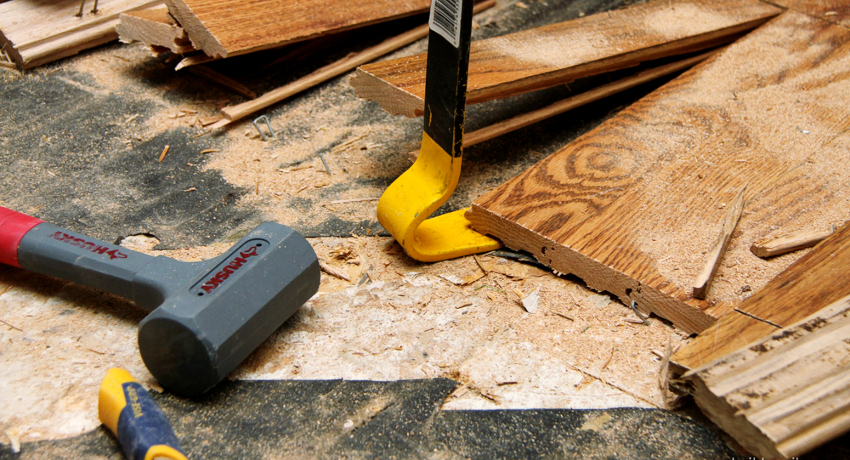
Over time, the wooden floor begins to emit an unpleasant creak, loses its attractive appearance, therefore it requires replacement
Content [Hide]
- 1 Reasons for dismantling the old wooden floor in the apartment
- 2 Options for dismantling a wooden floor in a house
- 3 Methods for repairing floors in an apartment: a detailed description
- 4 How to make a floor in an apartment without dismantling the wooden covering
- 5 The sequence of dismantling the wooden floor in the house
- 6 Dismantling old floors made of different materials
- 7 Carrying out a thorough survey of the base when replacing a wooden floor
- 8 Complete replacement of the floor in the apartment: dismantling the old concrete screed
Reasons for dismantling the old wooden floor in the apartment
A wooden floor has a long service life, which can be more than 50 years. However, over time, such a coating begins to emit an unpleasant creak and loses its attractive appearance. From constant exposure to moisture in an insufficiently heated room, fungus can form. In this case, the floor needs to be dismantled.
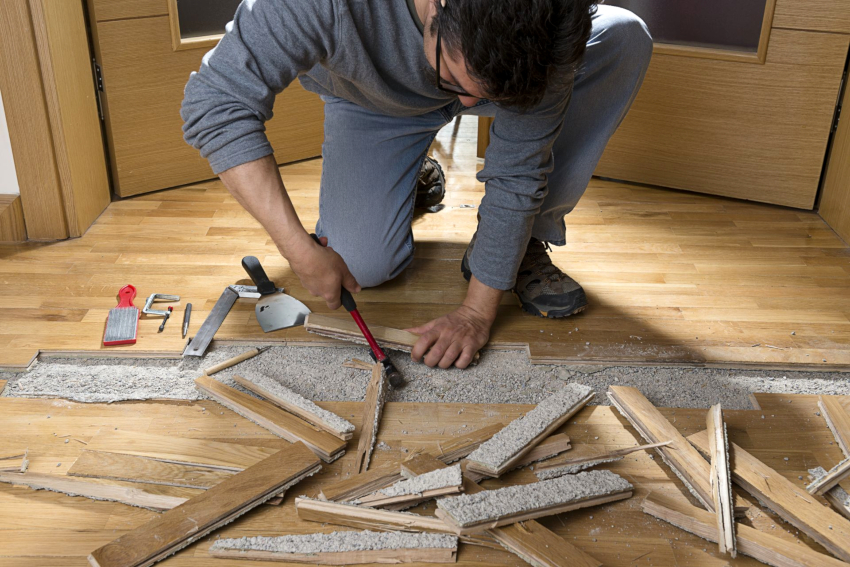
When laying laminate or parquet, you need to have an even base, the old coating does not provide this, therefore it is dismantled
When laying laminate, parquet or other material, it is necessary to create certain conditions, the main of which is the organization of an even base. The old coating will not cope with this task, so it is overhauled or screed on the wooden floor.
The reasons for dismantling a wooden floor can be very different, of which the following can be distinguished:
- arrangement of new flooring;
- loss of attractive appearance and high wear and tear of the wooden flooring;
- a high level of humidity in the room, which requires the implementation of measures to combat mold;
- mechanical damage or decay of wooden floor boards;
- unpleasant creak and dips in some places that occur while moving on the surface;
- deformation changes in the floor surface;
- destruction of wooden boards by insects;
- the use of low-quality materials and making mistakes when laying the flooring.
Helpful advice! If there is not enough budget to completely replace the floor covering, you can repair the "playing" floorboards.
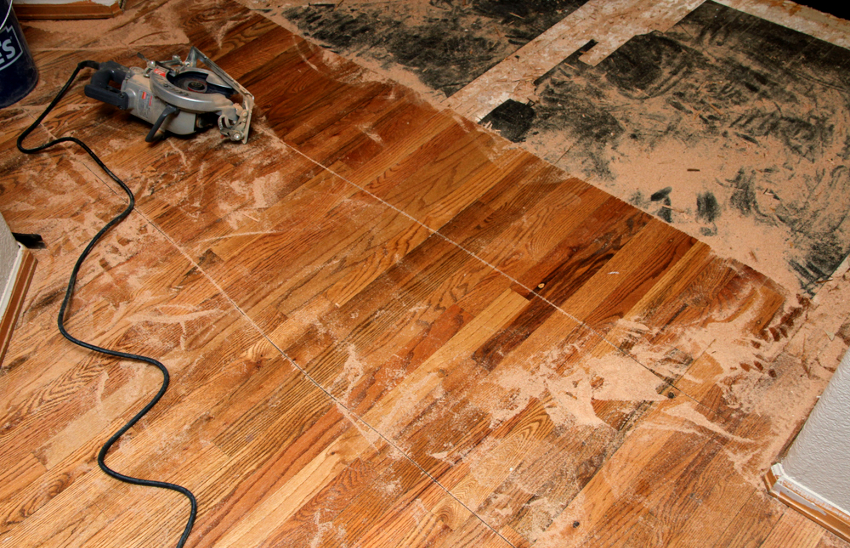
If there is no need to keep the old coating in its entirety, for the convenience of dismantling it can be cut
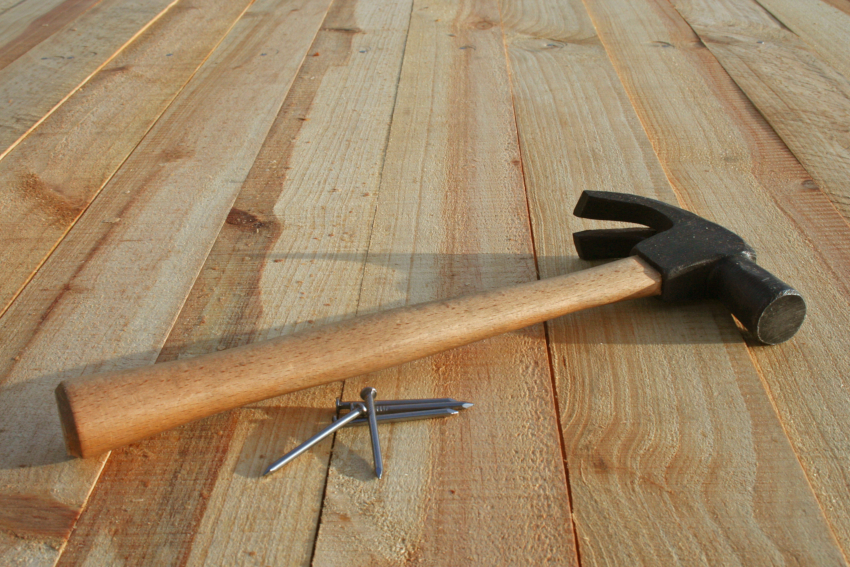
You can determine the process of decay of wooden boards by tapping on the floor with a hammer in different places.If the sound is dull, the element is damaged and needs to be replaced. Complete dismantling of the floor is performed when such a sound is emitted anywhere on the floor when hit with a hammer.
Options for dismantling a wooden floor in a house
Do-it-yourself wooden floors can be dismantled in two ways, depending on the expected final result.
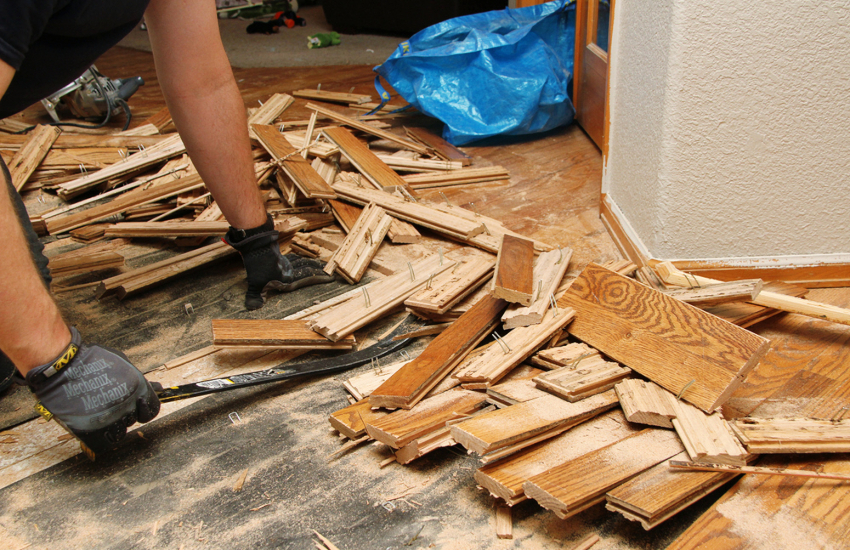
The first option involves quick dismantling without preserving the integrity of the coating elements. This method is used if the floor is completely unsuitable. This method should also be used when fixing wooden elements with glue or long nails. It will not be possible to carefully remove the boards with such fixation.
The second option involves dismantling the boards while maintaining their integrity. This method is used when planning the re-installation of floors in an apartment, as well as, if necessary, eliminate mistakes made when laying the covering. When performing work according to the second method, it is recommended to number all the boards. This is necessary to facilitate the re-installation of the coating, since the boards will easily fit together. This option is also used in case of floor deflection. To eliminate this drawback, it is enough to add a few lags under the boards, ensuring the step between them is no more than 50 cm.
The work begins at the end of the room near the doorway: the boards are pryed with a pry bar. This technique will allow the most convenient and quick removal of the garbage that appears. The process of removing the floor from the board is done carefully, without the use of brute force. It should be remembered that utilities can pass under the floors. Unused ventilation shafts can be found in older houses, which are recommended to be cleaned and put into operation.
Helpful advice! For ease of disposal, it is better to saw unsuitable boards and not break them, which can lead to splinters.
Methods for repairing floors in an apartment: a detailed description
Plank flooring in an apartment can last at least 30 years. For the first floors, this period is reduced by at least 10 years. The most common option for floor repair on logs in an apartment is rejection and replacement of individual floorboards. It is advisable to use such a spot repair if the number of unusable boards is no more than 15% of their total number.
This process is performed if there are no signs of insect or fungus infestation on the floor, there are traces of condensation, and the lag system is in a satisfactory state. This method allows you to perform floor insulation without dismantling the old floor.
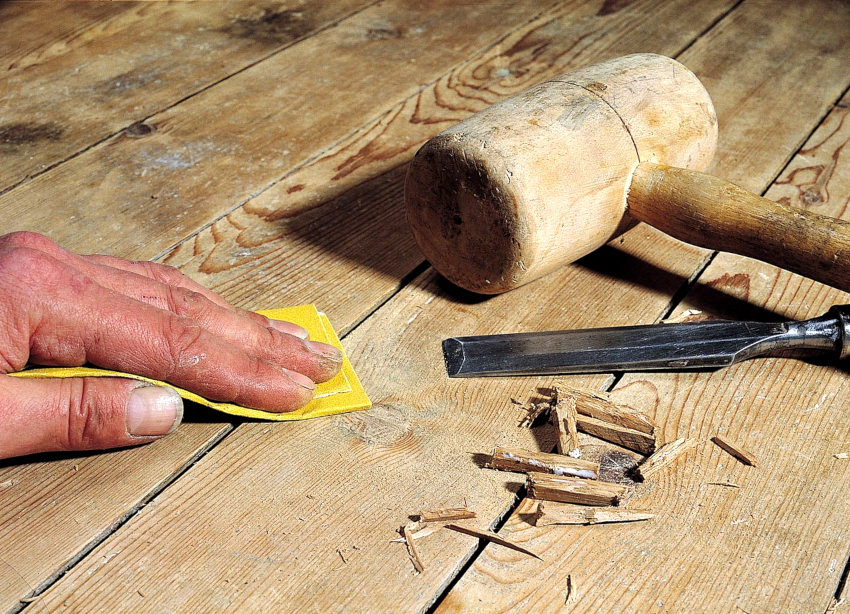
If there is not enough budget for a complete replacement of the floor covering, repair of "playing" floorboards
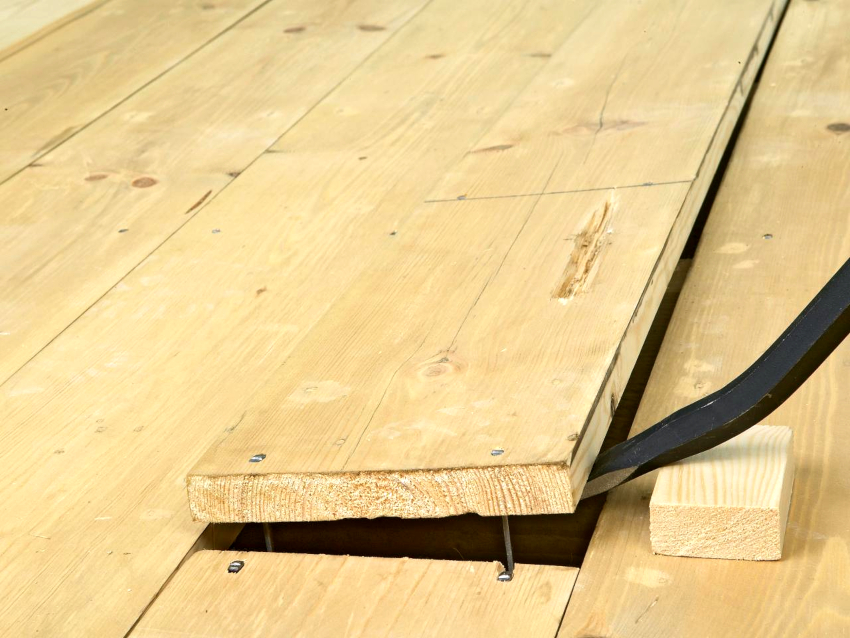
The process begins with rejecting the boards to be replaced. Side seams are cut between them. The floorboard is then freed from the nails and removed.
Helpful advice! Through the hole formed, the state of the lag system is inspected and the need for its repair is determined.
Next, a patch prepared in advance and treated with an antiseptic should be laid on the wooden floor with a gap of 1 mm, which is necessary to avoid the appearance of a squeak of the coating after the formation of humidity in the room. In grooved boards, the lower edge of the groove lock is pre-cut. The tabs are fixed with 60-70 mm nails, which are hammered in obliquely.
How to make a floor in an apartment without dismantling the wooden covering
If there are loose or bent floorboards in the floor covering, their repair is carried out by hammering in new places with nails at an angle of 60-70 degrees. However, such repairs will last for 2-3 years. After some time, under the influence of a constant moderate load, the heads of the nails will rise.They will have to be driven back.
The reason for the bending of the board in the central part can be the destruction of the lagged beams under the floorboards. In this case, the repair of the wooden floor in the Khrushchev is carried out by using support pins. For this, the line of passage of the lagged beam under the floorboard is determined. Next, a hole with a diameter of 20 mm is made, which should not coincide with this line.
To ensure good leveling of the board, the swinging board should be relieved. A wooden pin is driven into the hole, the tip of which should reach the concrete floor. Thanks to this repair, the floorboard gains additional support that can withstand any furniture.
In case of severe floor subsidence, it is necessary to remove the boards and restore the lag system. To do this, you can replace some elements with new ones or sew on the side surfaces of additional boards. At this stage, you can perform additional insulation of the old wooden floor without dismantling the lagged beams. The material fits into the space between the elements.
In the event that sewn lagged beams are found that rest on brick posts, the entire system is disassembled and rebuilt again with laying bricks on a masonry mortar.
How to make a floor in an apartment without dismantling the wooden base
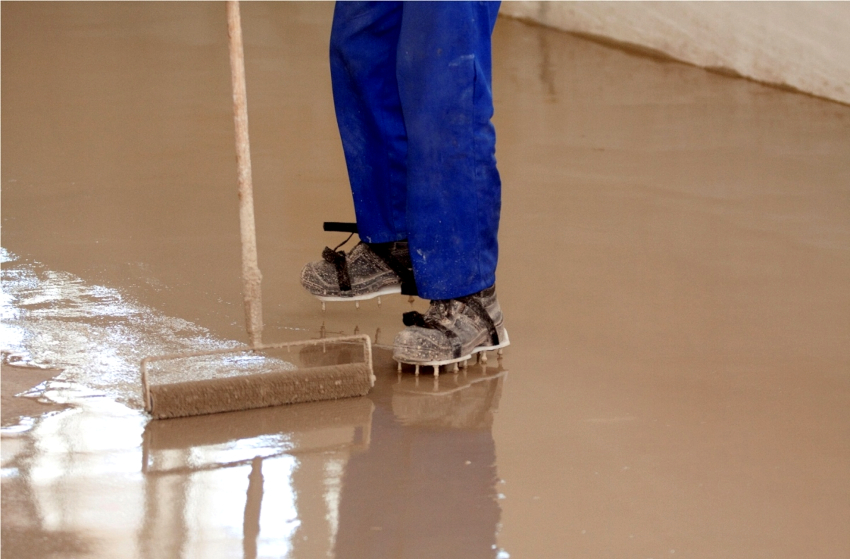
You can extend the life of a wooden floor with a concrete screed. The surface will become firm and level, it will be possible to lay any floor covering on it. The screed is performed according to a specific technology, taking into account the characteristics of the wood base. The pouring process is carried out according to the principle of an incoherent screed, which excludes the possibility of deformations.
For good interaction between concrete and wood, the wooden surface should be primed and covered with a durable waterproofing film. To eliminate the likelihood of screed subsidence or fracture in weak spots, plasticizers should be added to the masonry mixture, which give the mortar good fluidity, plasticity, strength and water resistance.
Important! It is not allowed to install a concrete screed on a wooden floor without creating a layer of waterproofing coating.
The technology of pouring a self-leveling floor on a wooden base begins with surface preparation, which consists in finding weak points that should be eliminated. All existing cracks are sealed with sealant or polyurethane foam. Then a primer is applied to the surface in two or three layers. At the next stage, the zero level is marked, the thickness of the screed is determined.
Further measures are related to the arrangement of waterproofing. It is necessary to attach a damper tape to the wall, the width of which should be 1 cm greater than the height of the screed. Next, a waterproofing film is laid with an overlap of 8-10 cm and with a 15 cm approach to the walls. At this stage, you can insulate the old wooden floor with penoplex without dismantling.
Important! Laying the film must be done with utmost care to avoid even the slightest damage to the structure of the material.
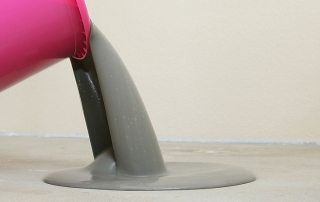
The first layer of concrete is poured from above without beacons. Next, a reinforcing mesh is laid, beacons are installed, after which a second layer of the mixture is applied. Instead of a reinforcing mesh, fiber fibers can be used, which are added to the finished solution. The material helps to strengthen concrete in all directions, eliminating the possibility of delamination and cracking.
The sequence of dismantling the wooden floor in the house
Before removing the old floor, you must completely empty the room and clear the floor of debris. Next, you should prepare the necessary tools: a hammer with a nail puller, a pry bar, a screwdriver, a hatchet, a jigsaw, a shovel, a hacksaw, pliers, a sledgehammer, a chisel, and a screwdriver. It is imperative to purchase personal protective equipment for the respiratory and eye organs. It is recommended to carry out work with gloves to eliminate the risk of splinters.
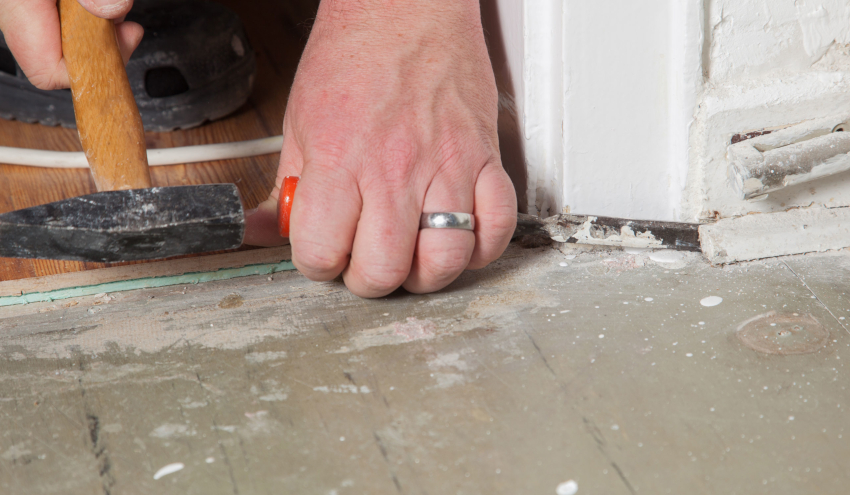
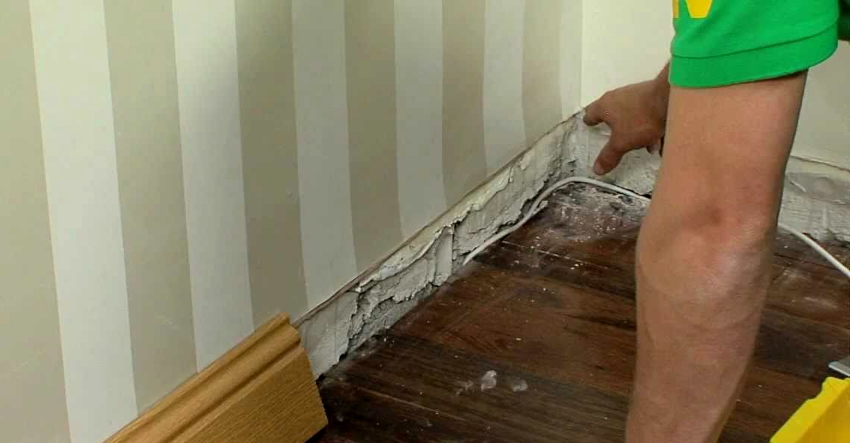
Dismantling the old floor, which costs an average of 280 rubles / m², begins with the removal of the baseboards located along the perimeter of the room along the walls. In order not to damage this element, it is dismantled from the end, from the location of the last nail, which is pushed in with a crowbar. In the same way, the plinth is detached at each attachment point. The price of dismantling old floors does not include the cost of skirting board removal services.
Helpful advice! For additional protection of the plinth from dents, a piece of plywood, boards or a chip should be placed under the working tool.
To remove the plastic skirting board, you must remove the protective strip, unscrew the fasteners and separate the product from the wall.
Next, the process of dismantling the wooden floor in a private house or apartment is carried out directly. Along one of the floorboards, which is closely adjacent to the wall, sawing is carried out along its central part using a jigsaw, a circular saw or a conventional saw. A crowbar is inserted into this hole to pry off one of the halves of the board, which is subsequently removed. Then the second part of the sawn board is removed.
For other boards, cut with a jigsaw in a direction perpendicular to the removed floorboard, dividing the elements into sections 30-60 cm long. This process is carried out if the boards do not need to be kept intact. After removing one element, they proceed to dismantle the next.
Helpful advice! If the crowbar cannot enter the sawn hole between the board and the base, it must be hammered in with a hammer.
If the boards need to be preserved, each element should be lifted evenly from one edge to the other. The final stage of dismantling work is a thorough cleaning of debris to the ground.
Related article:
Can laminate flooring be laid on laminate flooring: how to renew an old floor covering
Various methods of reconstruction of the old coating: painting, varnishing. Algorithms for carrying out basic and preparatory work.
If you plan to replace the lag, the first step is to remove the insulating material that is between the elements. Further, all parts of the system are broken with an ax or crowbar and thrown away.
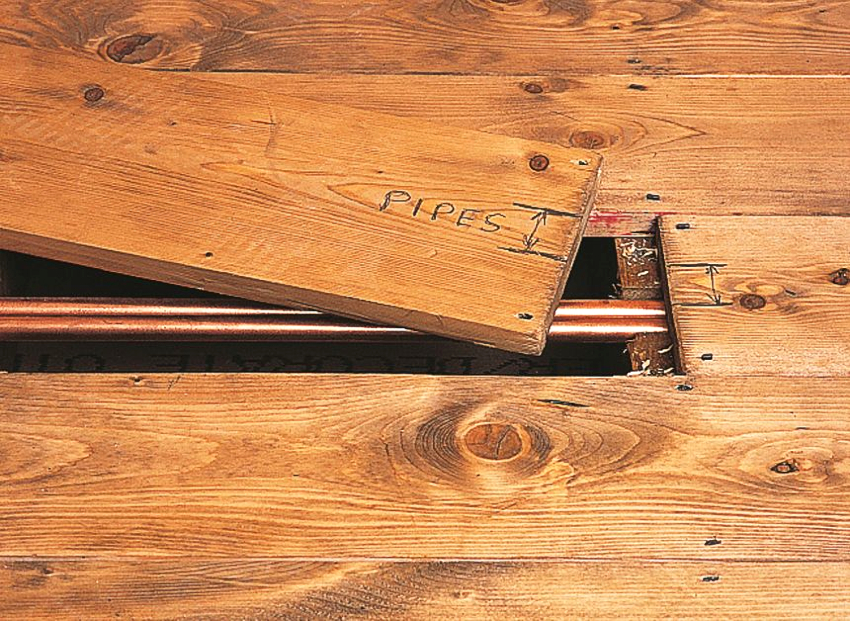
The process of dismantling the floor from the board is performed carefully, it should be remembered that engineering communications can pass under the floors
Important! If there was glass wool under the floor, remove it only with gloves.
Dismantling old floors made of different materials
In the case of laying roll material on the floor, to dismantle it, it is necessary to pry off the cover from one side and roll it neatly into a roll. If the material has been placed on a concrete base without glue, it will be easy to remove. Otherwise, the coating will come off along with the layers of the exfoliated screed. Such material will have to be removed fragmentarily. In an apartment, the cost of replacing a floor made of rolled materials is from 80 rubles / m².
There are times when a high-quality glued coating exfoliates during dismantling. Dry layers of material remain on the screed, which must be removed with a spatula or scraper, preheating these places with a construction hairdryer. You can also moisten the old adhesive with a floor cleaner.
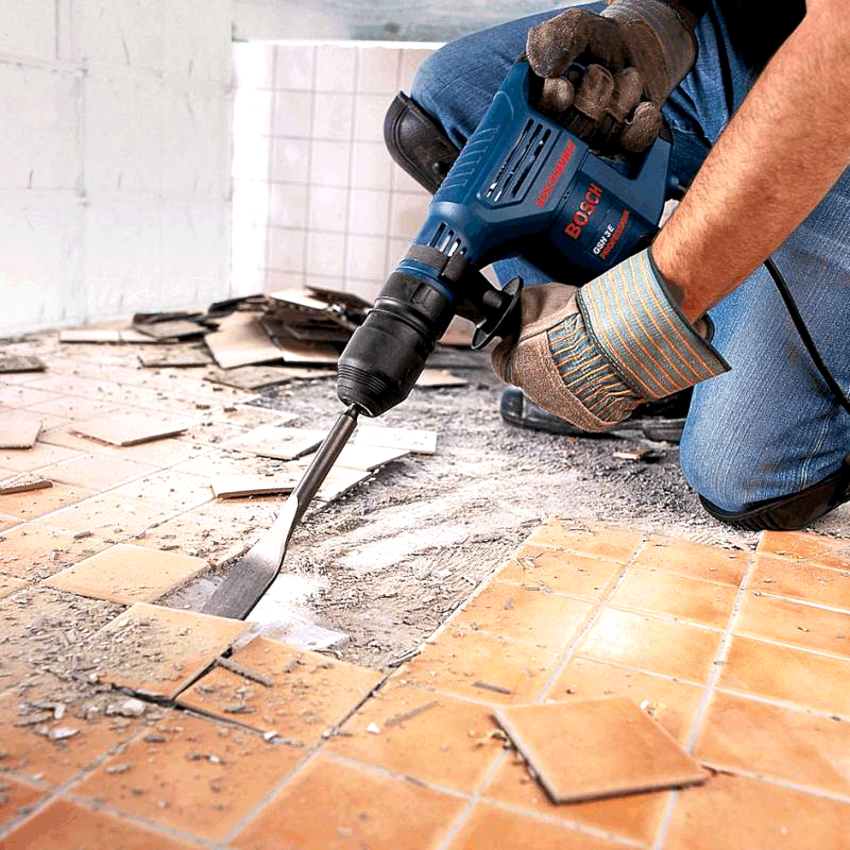
Removing the parquet is more time consuming, especially if the material was attached with organic glue or bitumen mastic. The parquet is dismantled with a chisel, a scraper with preheating of the elements with a construction hairdryer. To dismantle old tiles from the floor, the price of which starts from 150 rubles / m², you should use a perforator with a blade-chisel attachment, which switches to chiseling mode. If such a tool is not available, work is done by using a hammer and chisel.
Carrying out a thorough survey of the base when replacing a wooden floor
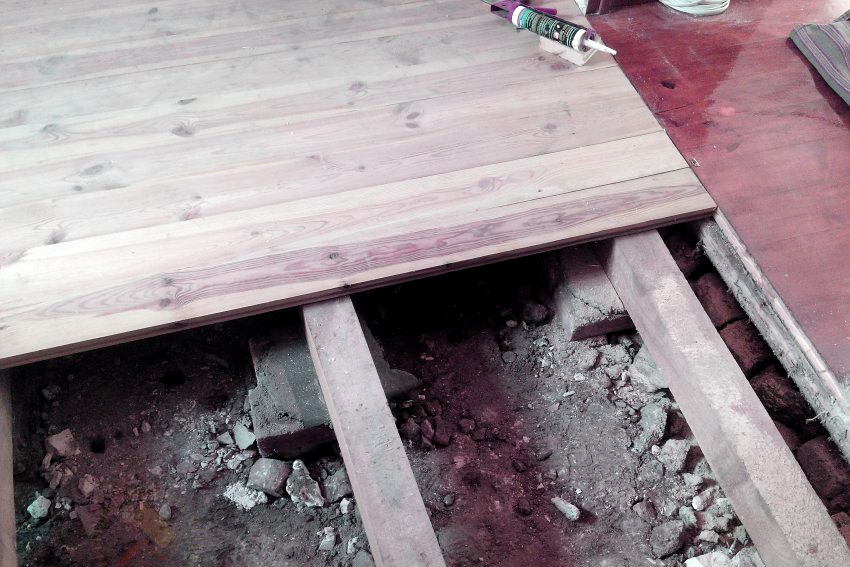
If the device is installed in the apartment of the floor on the logs on which it is planned to install a new plank floor, the system should be carefully checked for the absence of deformed, damaged or fungal elements. All lags are checked under load. The element should not bend, dangle and creak. In case of any flaws, the linings are renewed.
Helpful advice! It is recommended to treat all elements of the lag system with an antiseptic to protect them from biological decomposition.
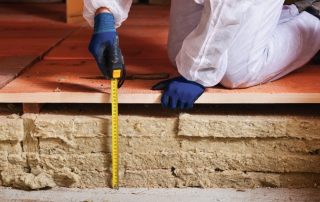
If the lag system is in good condition and does not cause concern, it will be enough to carry out a general garbage collection in the inter lag spaces and mount a new coating. The cavity between the logs can be filled with thermal insulation material, which will act as a sound insulator.
In most cases, the lags are quite worn out and need to be replaced. Disassembly of products must be done carefully and carefully, since the elements are securely attached to the concrete base. As a result, you can get the destruction of the base pillow, the restoration of which will require additional financial costs and labor resources.
Before changing floors, it is recommended to carefully inspect the concrete screed that is located under the final flooring. The base is tapped in some places in order to detect delamination, which must be removed to a healthy layer. In addition, the surface is checked for loose spots. They can be formed as a result of a violation of the technology of pouring a concrete layer that has not gained sufficient strength or has undergone erosion under the influence of moisture. Such areas should be cleaned.
If the surface contains large gaps, the process of destructuring the base may continue. These areas need to be expanded in depth and in breadth by 10-15 mm for further repairs.
After eliminating all defects and sealing the cracks, a thorough cleaning of small debris is performed.
Complete replacement of the floor in the apartment: dismantling the old concrete screed
If a large number of defects and flaws are found on the concrete base, it is more expedient to perform a new screed, the service life of which will be much longer than that of a partially corrected one. A major overhaul is also required in the event of mold or mildew.
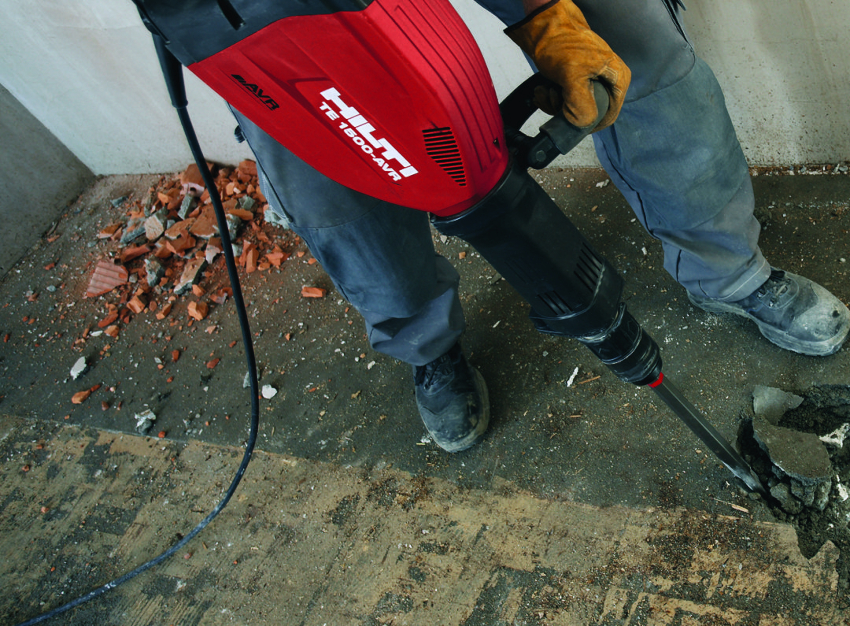
Before starting the dismantling of the old screed, you should turn off all possible communications that may pass under the base
Another reason for a complete do-it-yourself floor replacement in an apartment may be the need to create an additional insulating and noise-insulating layer if the height of the ceiling and dimensions of the doorways do not allow raising the level of coverage. A new screed is performed in the case of arranging a wooden floor on logs instead of a thin coating.
There are several options for eliminating the old screed, and the choice of method depends on the material and thickness of the floor. If the base is less than 3 cm thick, it can be removed using a chisel and small sledgehammer.
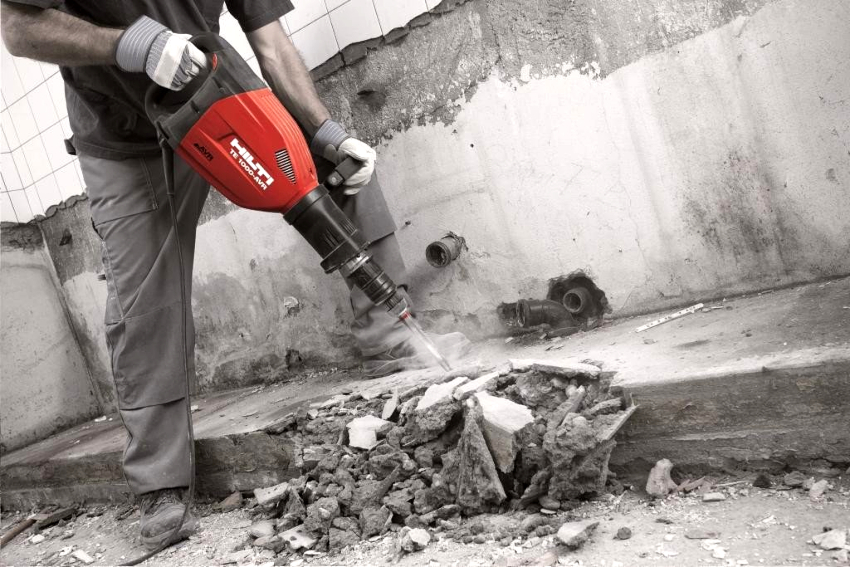
If the thickness of the floor screed in the apartment exceeds 3 cm, as well as in the case of its reinforcement with a steel mesh, the dismantling of the base is carried out using special units. For these purposes, a pneumatic jackhammer, a high-power perforator with a blade or lance-shaped attachment, a circular saw with a diamond disc designed for working on iron and stone are suitable.
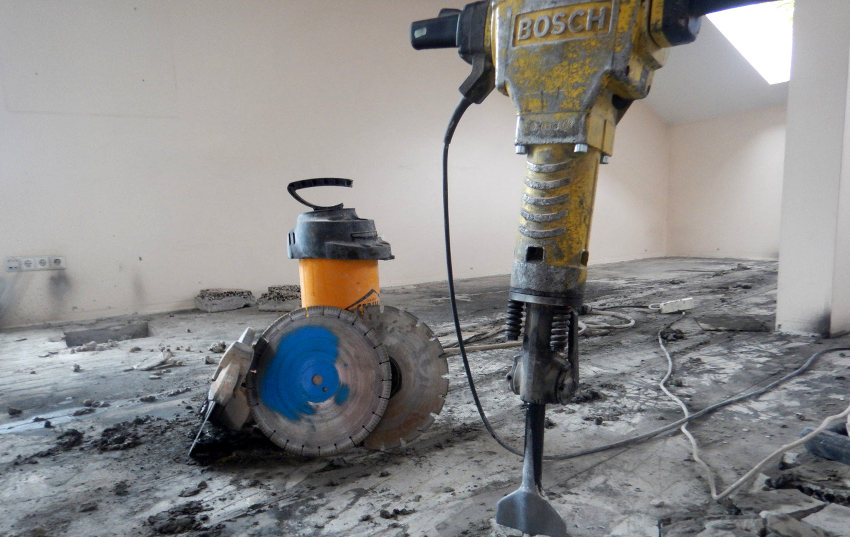
If the thickness of the floor screed in the apartment exceeds 3 cm, the dismantling of the base is carried out with the assistance of special units
Before starting work, you should worry about the availability of personal protective equipment. Here you will need vibration-insulating gloves for working with a perforator or a jackhammer, protective gloves for cleaning debris, a helmet with separate or integrated headphones, respirators, construction shoes with a steel toe.
Helpful advice! Before starting the dismantling of the old screed, all possible communications that can pass under the base should be turned off.
First, a small area of the covering is opened to assess the actual base thickness and the quality of the mesh. This is necessary to determine the scope and duration of work. The coating must be removed from the far corner, moving along the wall towards the exit. Further, the process is carried out in stripes - parallel to the wall.
Important! When carrying out work, care should be taken not to damage the floor instead of the screed.
Chipped pieces should be periodically put into garbage bags and taken out so that they do not clutter up the room.
Dismantling the old floor is a simple but time-consuming procedure, which depends on the size of the room and the complexity of the coating. Observing some recommendations, the work can be done independently, which will significantly save financial resources during the repair.
