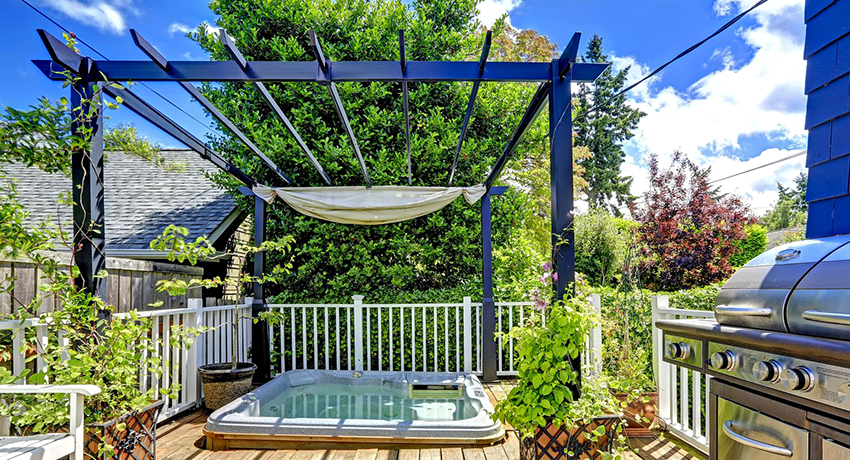
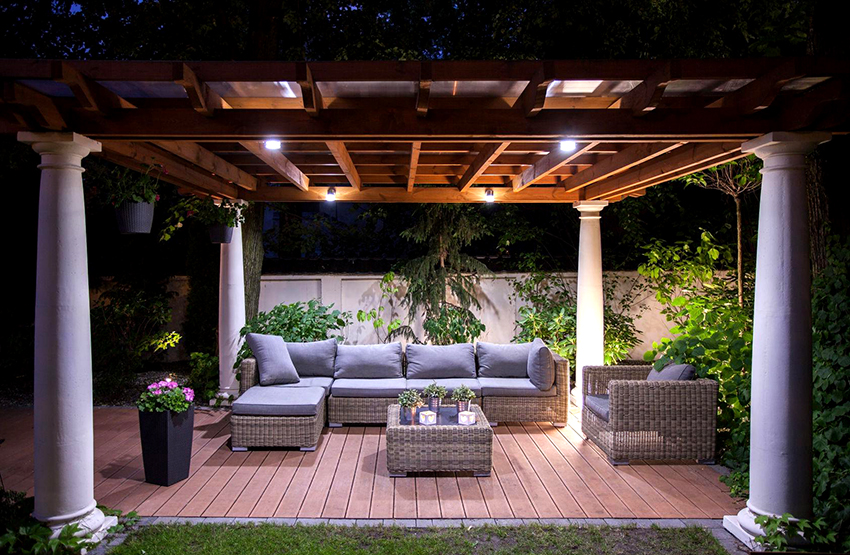
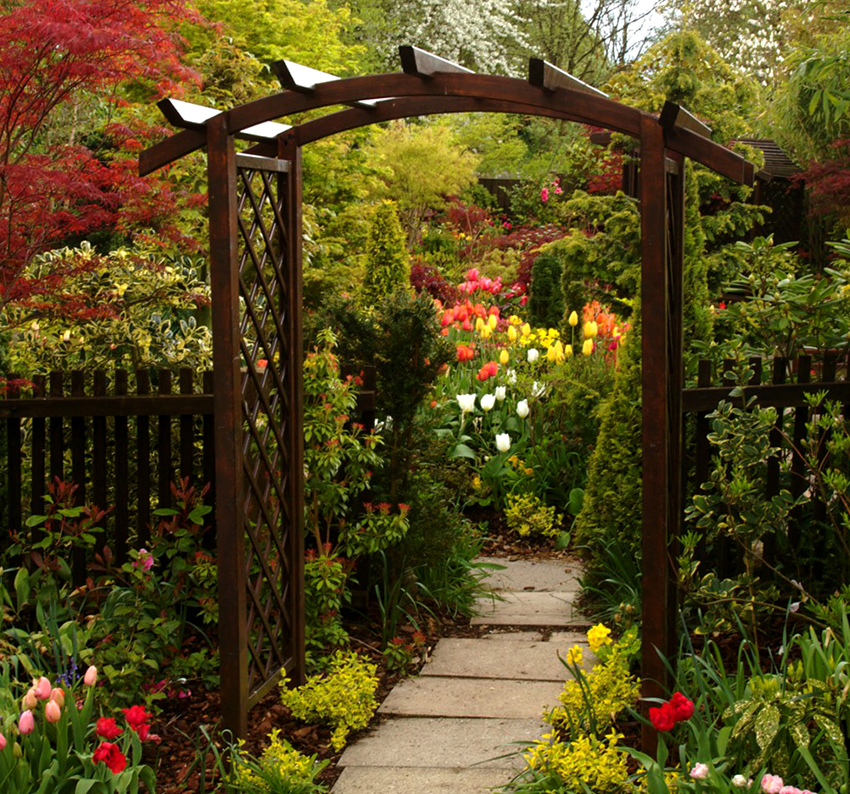
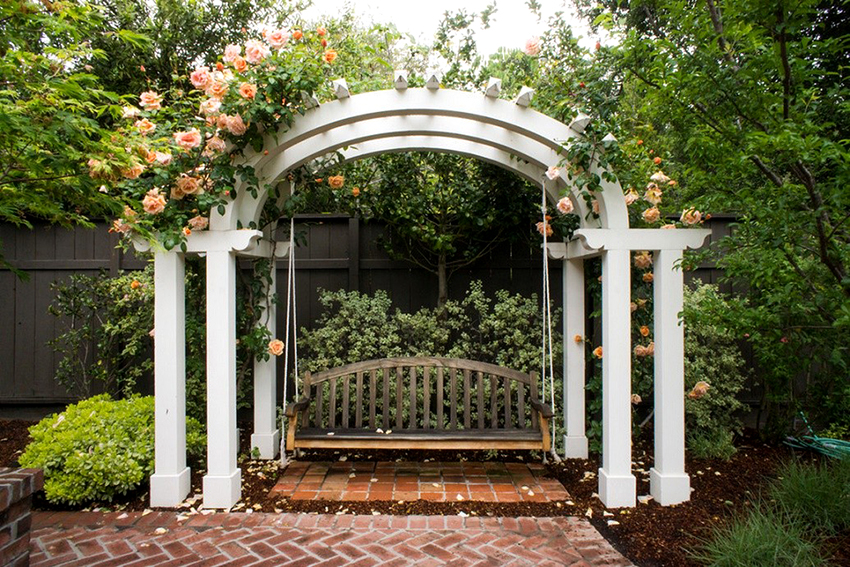
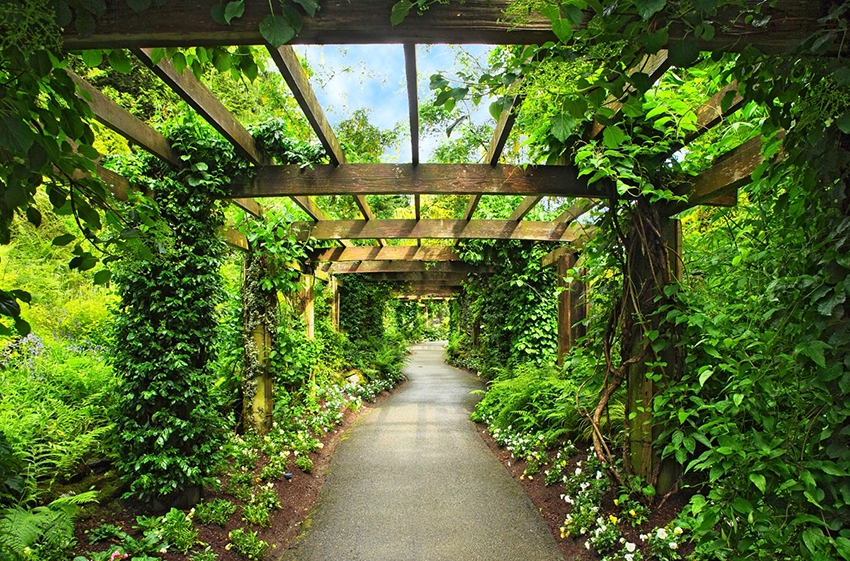
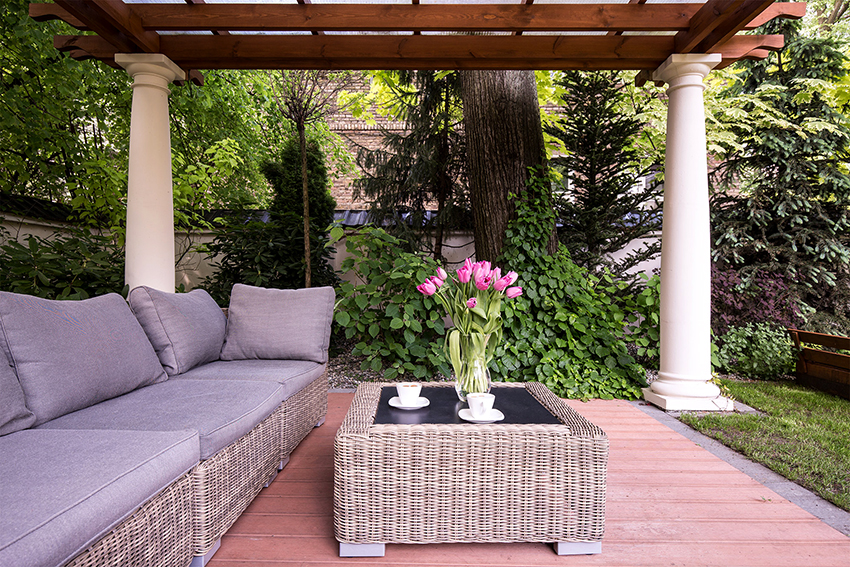
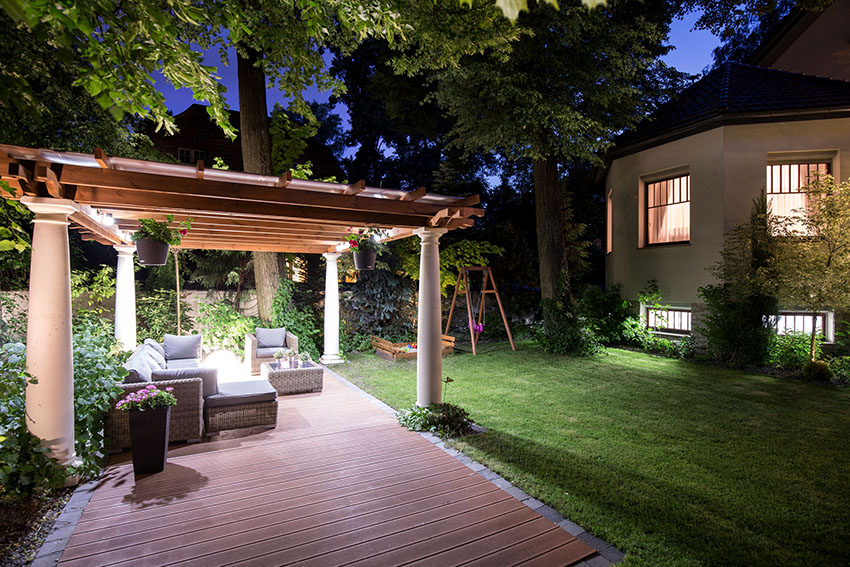
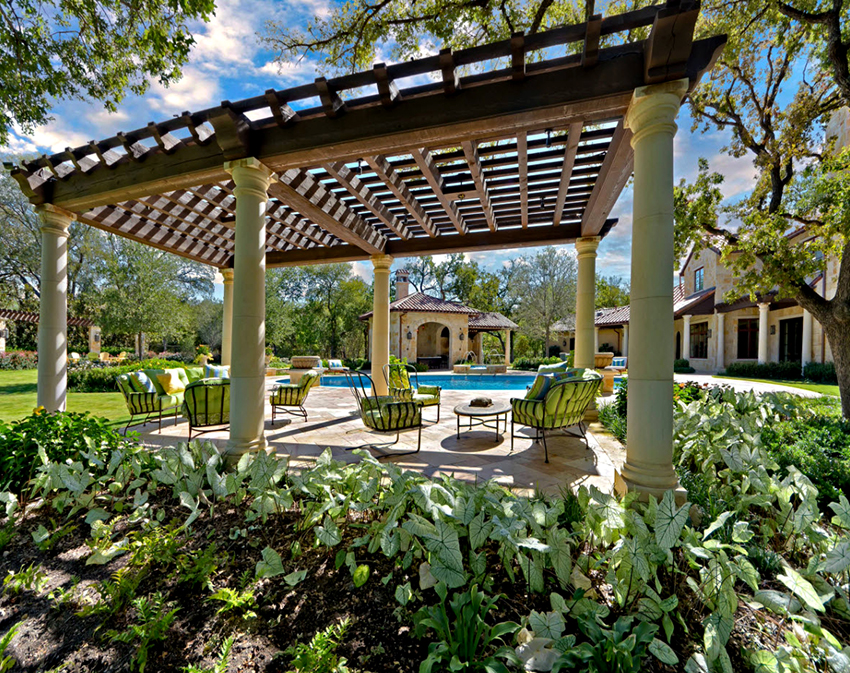
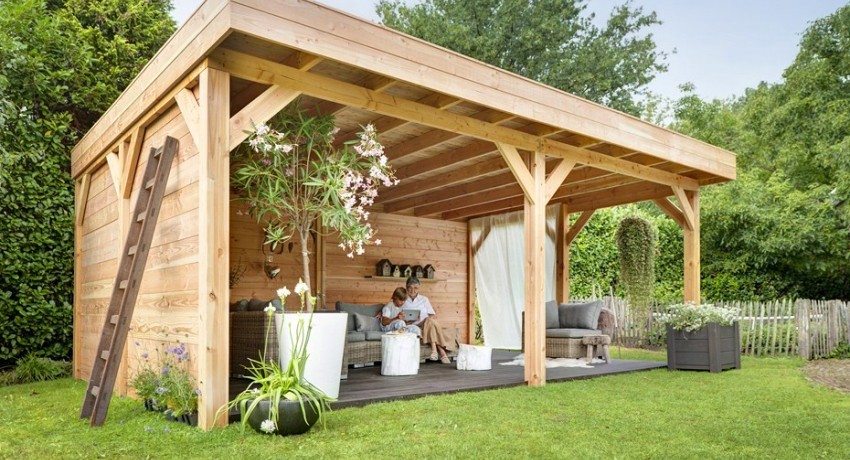
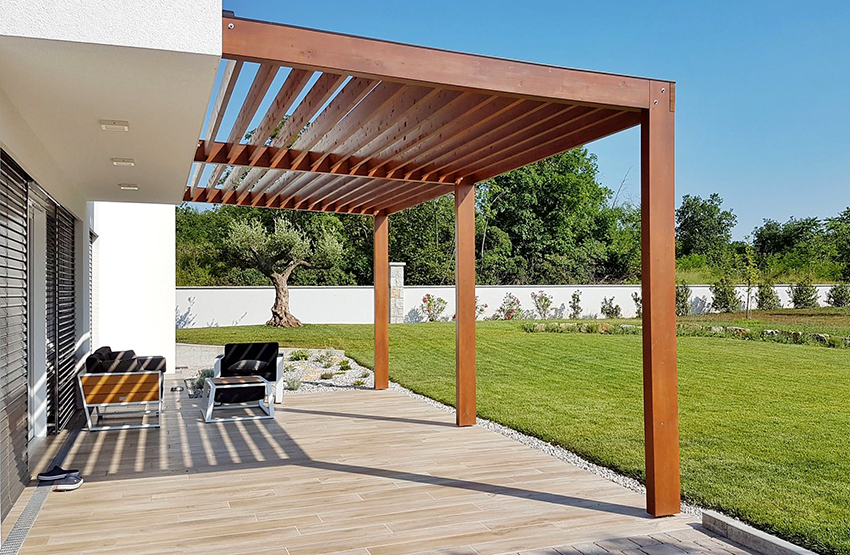
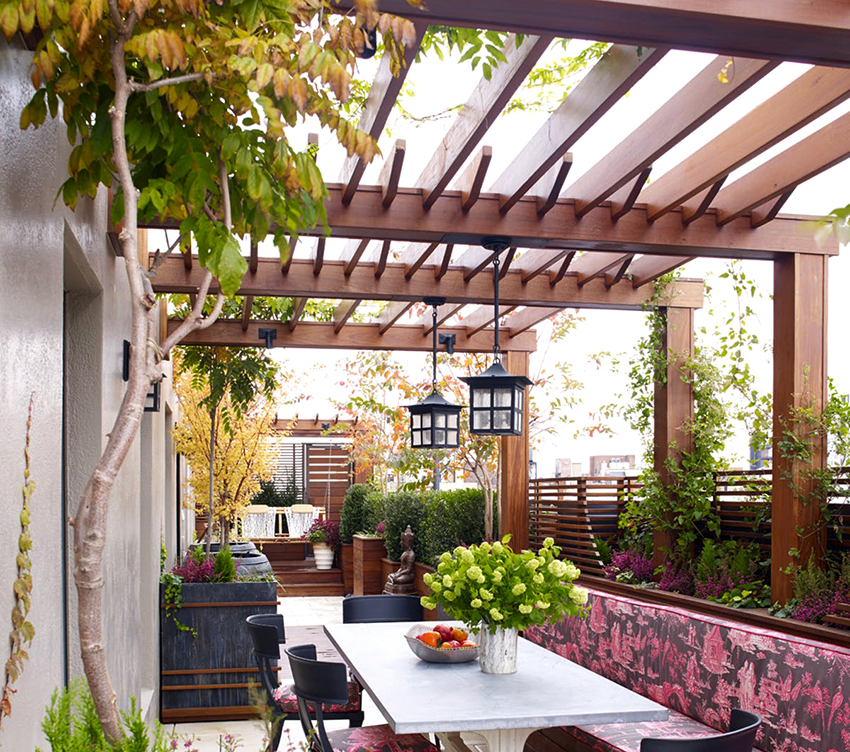
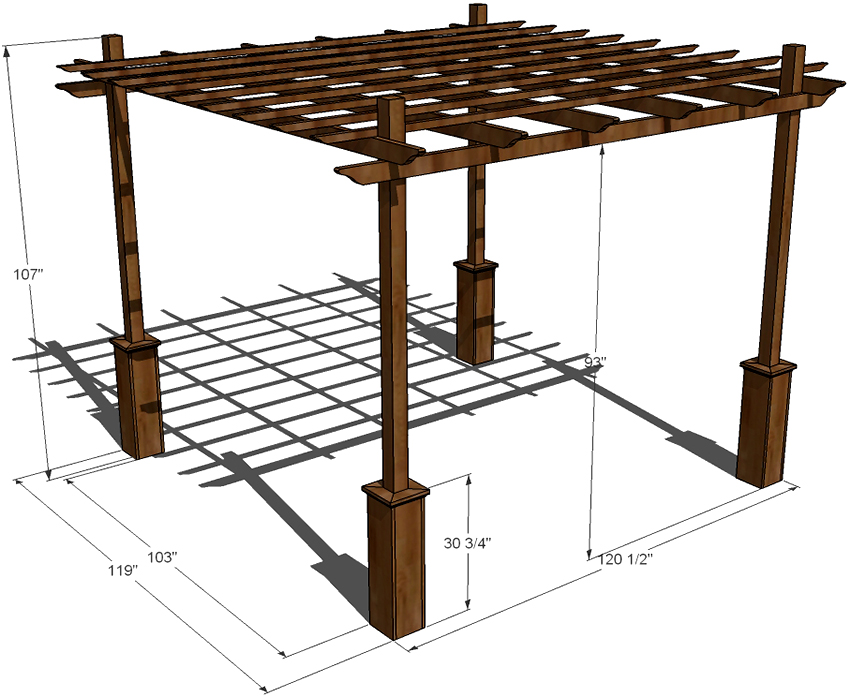
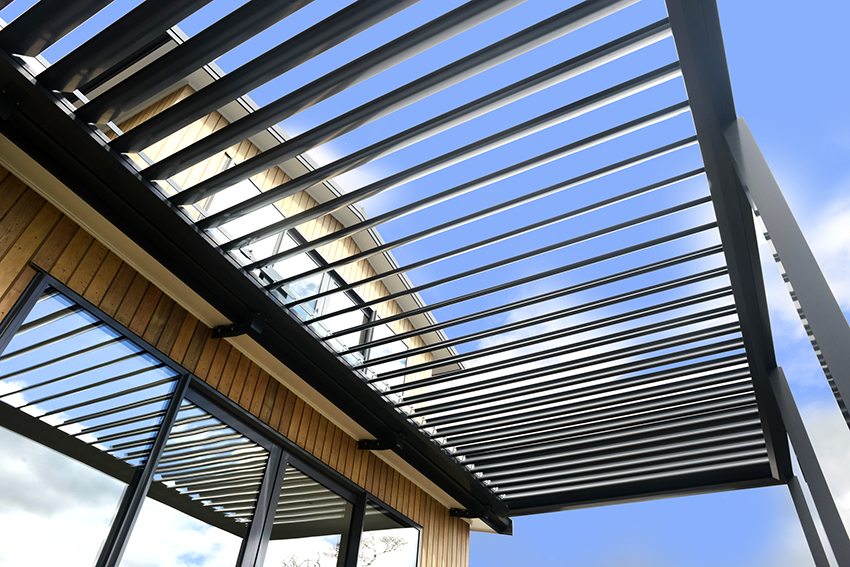
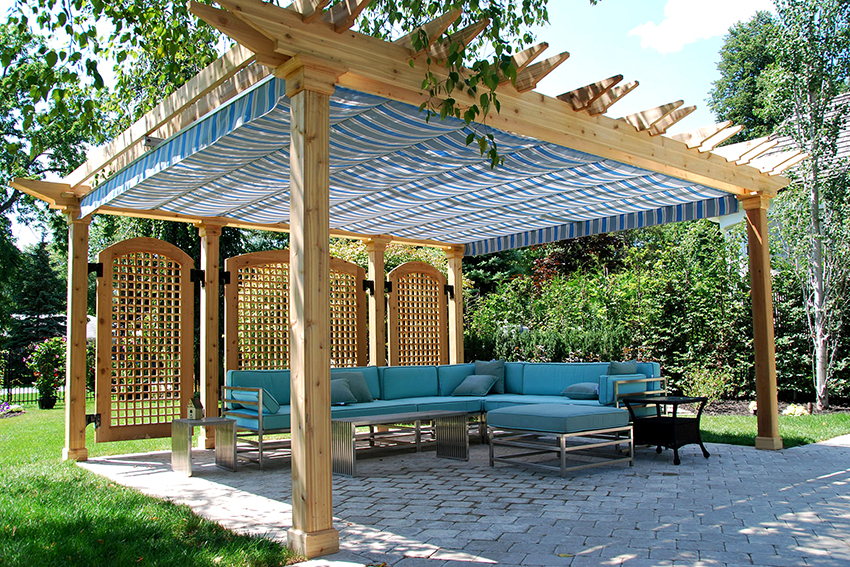
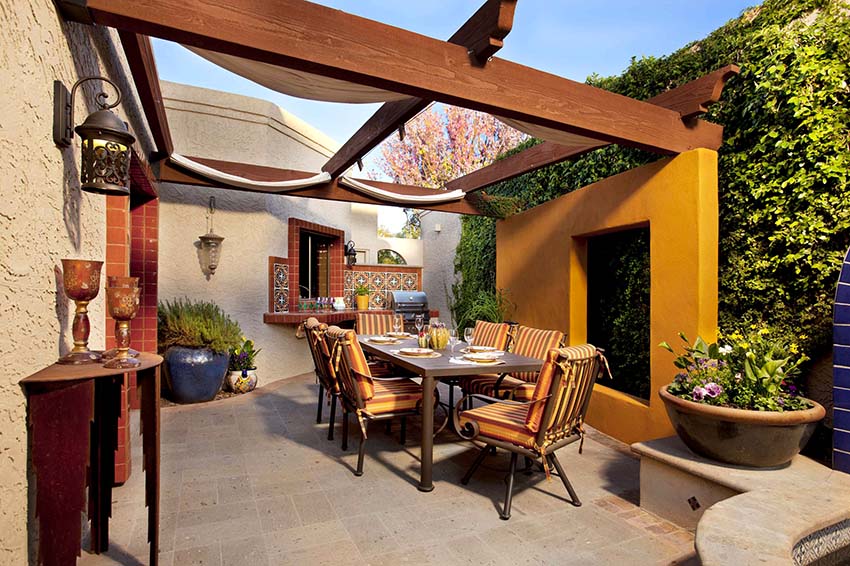
The word "pergola" has a dual Latin-Italian origin, hence several meanings: canopy, guide, extension. It is believed that this is an arched connection. But often there are structures with a flat top floor. In any case, this structure is designed to support plants, protect them from the sun and bring aesthetic pleasure to humans. And a pergola with your own hands will also give you the opportunity to enjoy the creation of beauty.
Content [Hide]
- 1 The purpose of these buildings in suburban and household plots
- 2 Possible types of created garden structures
- 3 How to make a pergola with your own hands: preparation and sequence of actions
- 4 DIY pergola: step by step instructions, photo
- 4.1 Purchase of materials: quality assessment, compliance with application conditions
- 4.2 Tool preparation: required types, requirements for its condition
- 4.3 The sequence of assembling a wooden pergola
- 4.4 Methods for connecting elements of metal structures
- 4.5 Diy pergola: arrangement of a recreation area
The purpose of these buildings in suburban and household plots
The history of the creation of pergolas goes back to ancient times. Most of the sources indicate the Roman origin of the structure. The abundance of grapes in this climatic zone required vertical supports for the vine. At first, they were just wooden posts with crossbeams. Then they began to use structures with stone basic elements. Later, there were metal arches for grapes. At the same time, the simplest versions were also used - thick ropes between trees.
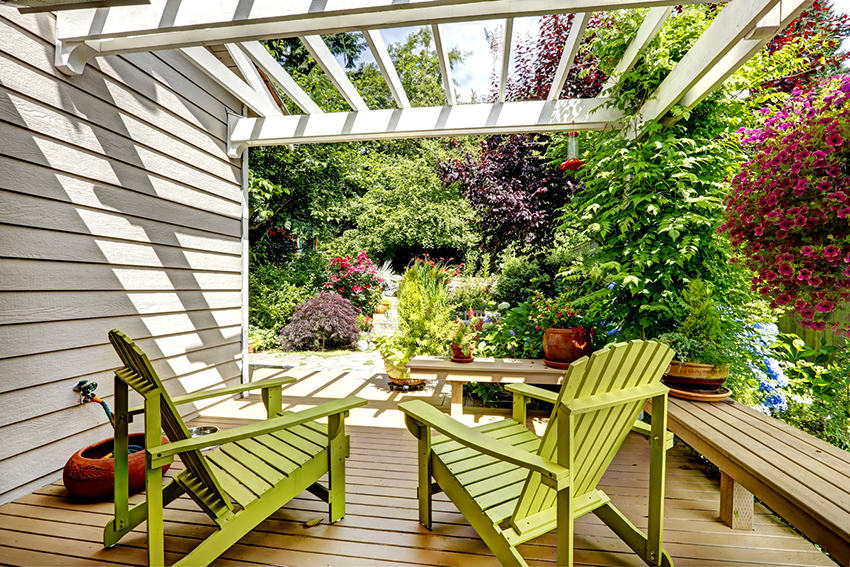
Pergolas can perform the function of a fence, as well as zone the space
The purpose of pergolas has remained virtually unchanged for many decades. They are erected if necessary to create conditions for climbing plants for development. Ceilingless structures can function as barriers of individual areas from the winds or divide the backyard area into zones. It is possible to create a green corridor between individual buildings located on the land.
Almost from the moment of their appearance, pergolas are decorative structures, therefore they are often used as recreation areas. In such cases, they are supplemented garden furniture... The main purpose of pergolas can be considered:
- maintaining climbing plants;
- barrage from winds and sunlight;
- creating transitions between sites and buildings;
- shading of alleys;
- site zoning;
- creation of landscape design;
- design of outdoor recreation areas.
Possible types of created garden structures
Pergolas are large and small, they can be free-standing, attached to a building, adjacent to two objects and forming a kind of corridor. According to the shape and the presence of the upper overlap, the structures can be divided into the following types:
- pergolas without overlap - trellis;
- pergolas with arched roofs;
- pergolas with flat top floor.
Trellis pergolas used as screens
The shapes of these decorative buildings can be very diverse: more often rectangular, square, triangular, sometimes zigzag, round, can have several levels. If the purpose of this structure is only to create conditions for the growth of climbing plants, then the trellis is the most suitable type. This is a convenient option for annual vines. The lattice fabric is made of non-thick bars, slats, pipes, which are attached to more durable vertical supports.
Such lightweight designs are used, for example, for annual plants: morning glory and sweet pea. Flowers reach 2.5–3 meters per season, develop well in the vertical direction, decorate and shade the site. Sometimes collapsible structures are made for such plants, which are dismantled for the winter period and brought into the storage room, and displayed in the spring.
Often this type of pergola is used for clematis. The flower is perennial, the maximum length of the shoots is three meters on average. It turns out not only comfortable support, but also a beautiful blooming "wall". It is not difficult to make a pergola for clematis with your own hands. This plant has abundant flowering.
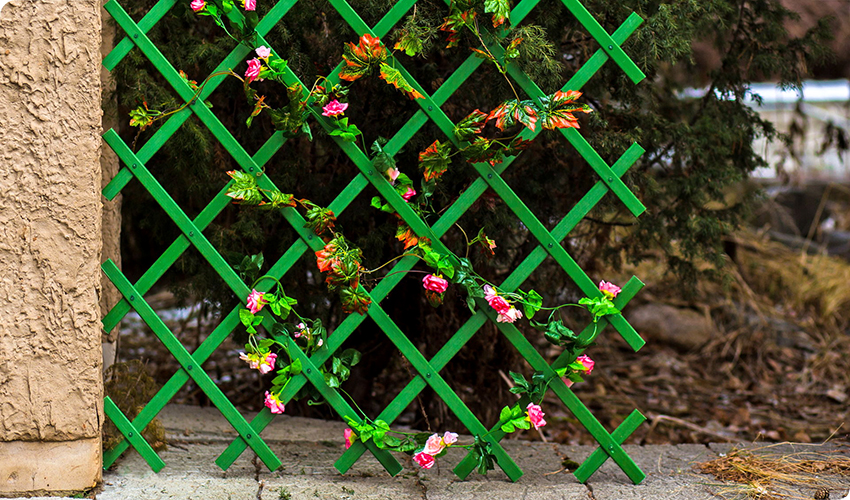
If the structure is needed exclusively to support the plants, then you can install a trellis pergola
It is advisable to make the cells at least 25 cm in order to provide sufficient ventilation. Photos of pergolas for clematis with their own hands demonstrate a variety of designs, among which there is certainly an opportunity to choose the appropriate option.
Pergolas for various types of curly flowers
Pergolas for roses are widely used. More often these are structures with overlapping and rather powerful supports. This plant has many shoots, greenery, flowers. It is better to make the crate cells small, no more than 25 cm, so that the rose trails along the outside. This is of particular importance if the pergola is overlapped, especially if it will be used as a recreation area.
Helpful advice! When making a pergola for a climbing rose with your own hands, you should correctly choose the thickness and shape of the crate. This plant does not have tenacious tendrils, therefore, the shoots must be fixed so that they are not torn off by the wind and they do not fall.
The difficulty in choosing a suitable design is that it is necessary to observe a combination of decorativeness and functionality. Do-it-yourself photos of pergolas for roses will help you make the right choice, allowing you to realize your desire and get the expected result.
Pergolas for grapes: optimal shape and strength of the material
Cultural grapes, which are quite often found on personal plots, in addition to being able to use their vine for shading and decoration, also bear fruit. The best pergola for grapes is the arch. This shape lengthens the structure, giving more room for shoot development.
The support for the grapes is usually made of metal, since the vine with the fruits is quite heavy. Wooden supports and metal lathing are successfully combined.
Cultivated grapes need care - proper pruning. Sometimes part of the shoot is removed, which violates the integrity of the green cover. If you want to be in an area completely covered with greenery, it is better to use wild grapes, which will tightly cover even the top floor. In the photo of arches for grapes with their own hands, various options for designs, combinations of materials, methods of laying vines are presented.
Helpful advice! When planning to make an arch for grapes with your own hands, you need to choose a durable material that will not require constant maintenance. Removing the vine is difficult and possible only at a time of the year when weather conditions do not allow painting or applying other means of protection to the material.
How to make a pergola with your own hands: preparation and sequence of actions
The success of any project depends on the level of training. Before starting to act, it is imperative to think over each step, assess the potential, calculate the forces and means.
Necessity and content of the design phase
It is necessary to start the construction of even the most simple object with a project, otherwise unaccounted details, mismatch of sizes or mismatch of materials will be discovered during the work. In order to understand exactly how to make a pergola, it is necessary to investigate the installation site, choose a shape, calculate dimensions, decide on materials and even future plants (if they do not grow already).
Based on calculations and other data, you will need to make a drawing of the pergola. It can be done manually or using Autodesk AutoCAD computer programs, Ascon Compass. Having in front of you a schematic image of the future structure, it will be much easier to carry out the construction process.
Conditions to be considered when choosing a location
Choosing a location is one of the most important tasks when building a pergola. Starting from the free territory, it is necessary to take into account what the general perception of the landscape will be after construction, whether the soil in which it is planned to plant the plants is suitable, whether there is enough sunlight. In addition, you should consider whether a pergola will not be built, for example, a canopy for grapes, which is traditionally large, to the detriment of other plants on the site. When choosing a place for a construction, the following factors should be considered:
- Determine the priority goal: supporting plants or creating a resting place.
- Location in relation to sunlight: if sunlight is blocked most of the day by the main house building, the development of plants will be difficult.
- Integrity in the overall design of the site. A building in an inappropriate place (among the raging greenery, in an unreasonably and significantly remote area) will rather interfere than complement or decorate the site.
Other characteristics largely depend on the choice of location. On a small area, you should not place a grape pergola. If there is a lot of space, then the small format will be lost. For pergolas located next to a pool or pond, you must carefully choose the material, because it will constantly be exposed to moisture. The proposed photos of pergolas with their own hands in the country house clearly demonstrate the location options: buildings adjacent to the house, canopies, free-standing arches in the back of the garden, pergolas-gazebos on the lawn.
Choosing the optimal shape of the building in accordance with the style
Surely a certain landscape style has already developed on the site, which must be followed when choosing the shape of the pergola. It is the compliance with the existing design features that determines the shape and additional design details. Basic landscape styles:
- classic (regular);
- landscape;
- country;
- modern;
- high tech.
When starting to make a wooden pergola with your own hands for a classic landscape, it is better to give preference to square or rectangular shapes. The arches used should be as geometric as possible, with a minimum of thread. Simplicity, symmetry and openness of space are the features of this style.
Related article:
Gazebo: simple and beautiful, photos of the original pavilions
Photo of light structures from different materials. Polycarbonate gazebos. How to properly arrange and decorate the gazebo. Review of prices for turnkey gazebos.
If you choose a landscape style (following nature), you should not make a pergola with bulky supports. Light arches, canopies, free-standing metal structures, as much as possible entwined with plants, are perfect. Wooden buildings of natural shades, not burdened with massive timber, will also organically fit in. Self-made supports for climbing plants, the photos of which are presented in the article, demonstrate the permissibility of creative solutions even in such a naturally harmonious style.
Country style (rustic) implies the absence of geometric norms, certain rules, the presence of carved and curly elements. It is appropriate to use wood as the main material. The lathing made of round wood of natural shapes will organically fit in, without observing straight lines. The do-it-yourself grape arches shown in the photo demonstrate the options for the execution of fences in this style.
Helpful advice! If a country-style direction is chosen for decorating a personal plot, you should avoid details made of polymers, as they look unnatural and alien in compositions of this design.
The Art Nouveau style requires the absence of strict laws and regulations, the combination of various materials, forms, and involves the creation of a pergola room. This is a structure with an arched or flat ceiling over the pool, a combination of heavy stone and thin slats, but always in free space.
The high-tech style has firmly won its right to exist. Everything should be done straight, without pretentious lines, simple and convenient. Compliance with this style is provided most of all by the supports. They are made from concrete, metal, plastic, imitating natural materials. The floors are flat, the structures are quite high.
Dimensions of pergolas: keeping the proportions in accordance with the location
When determining the size of the pergola, you need to focus on one of two indicators:
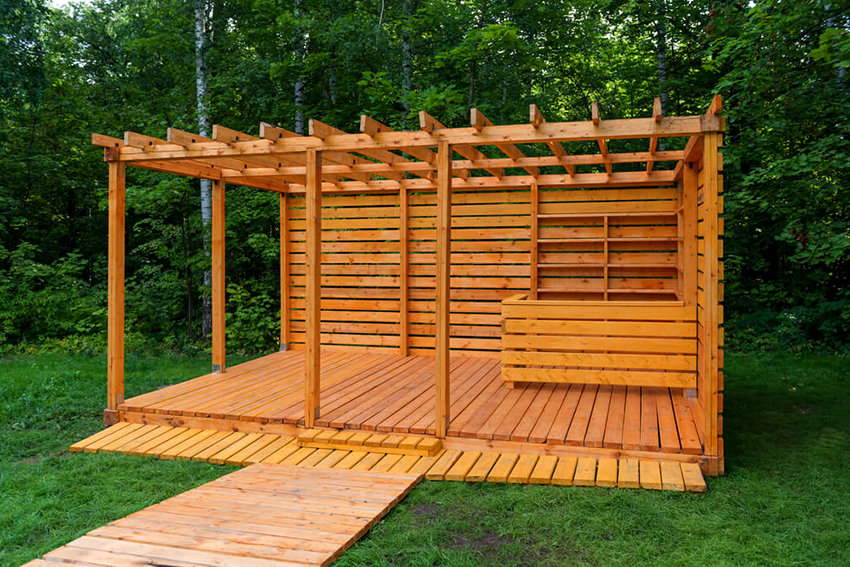
When calculating the size of the pergola, you need to take into account the proportions of the house and landscape space
- The pergola will adjoin or be close to housing construction - the compliance with the size of the house is taken into account.
- The pergola is planned to be placed deep in the garden, and it will become part of the garden composition - it is necessary to match the proportions of the landscape space.
However, the actual and technical conditions should be taken into account:
- special purpose;
- free area dimensions;
- the size of the area intended for shading;
- Sufficient height or width to separate or hide certain areas.
It should be borne in mind that size affects not only the perception of the structure as part of the landscape composition, but also the choice of material. Stone pillars are inappropriate to use with a small overall size of the site. Low-rise options with shallow wooden crate will create a box-like feel. Narrow arches with thick metal or wooden supports, designed to shade the alley, will perform the main function, but it will be uncomfortable to move under them.
Helpful advice! The ratio of the overall dimensions of the pergola and the thickness of the material used is extremely important for the harmonious perception of the structure.
These do-it-yourself photos of pergolas give an idea of the optimal proportions of the crate cells, the materials used, the total height and area of the building.
DIY pergola: step by step instructions, photo
Faced with a choice: buy an arch for grapes or make it yourself - you need to get acquainted with the content of the step-by-step instructions of the pergola with your own hands. Perhaps the steps necessary to create a structure with your own hands will seem simple, there will be an opportunity to save money and bring your own most unexpected ideas to life. The most commonly used material is wood. So, the stage of preparing a drawing of a wooden pergola with your own hands has been passed, we proceed to direct implementation.
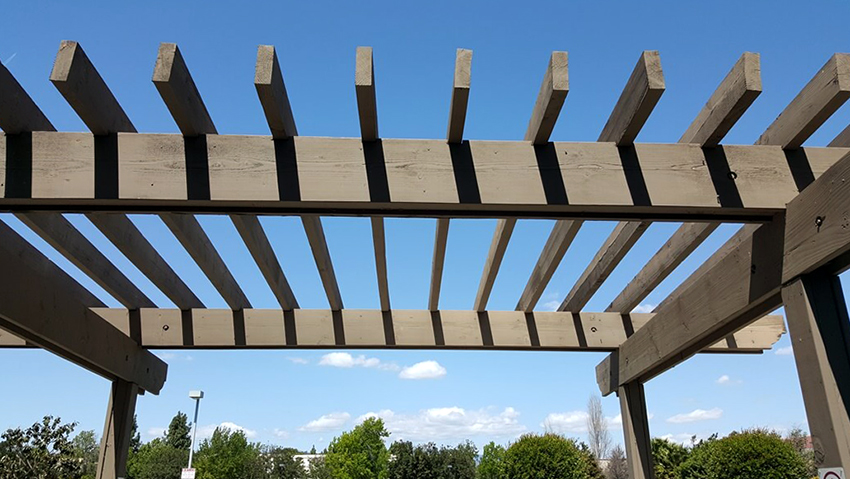
To make a beautiful and high-quality pergola, you need to study in detail the instructions for making
Purchase of materials: quality assessment, compliance with application conditions
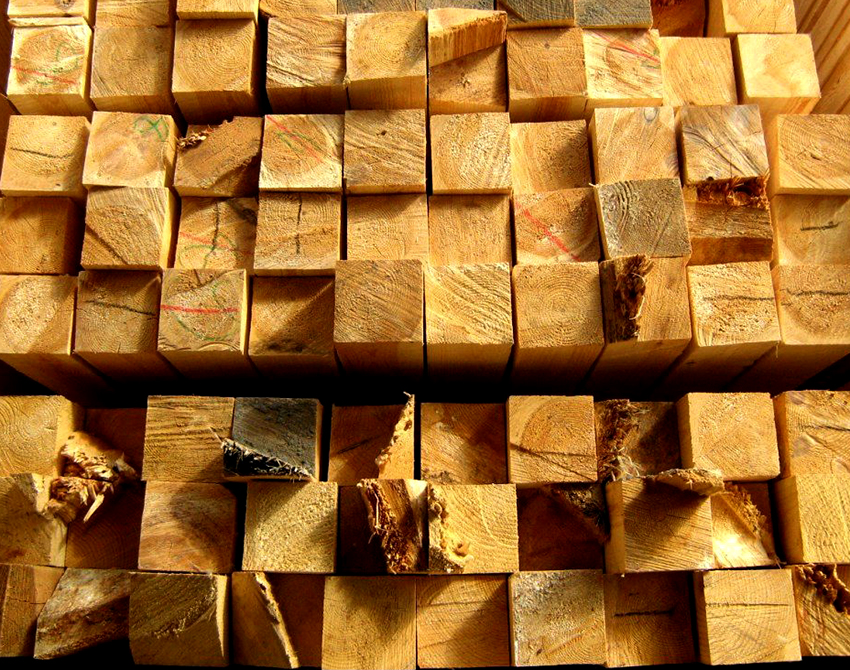
We procure the material according to the sketch. If possible, it is better not to limit yourself in funds. It is recommended to choose hardwood: oak, alder. It is more hardy, and this is important, since the pergola is erected in an open area and will be exposed to the sun and precipitation. A cheaper option is pine. It is less durable, but with proper care it will last a long time. It is much easier to work with such wood than with hardwood blanks.
The modern tendency to preserve naturalness (the presence of cracks, knots on wood products) in this case is not entirely acceptable, since during processing the varnish or other coating may not sufficiently penetrate into the cracks, and this will accelerate the aging of the material.
To make a pergola from wood with your own hands, you need dried wood, otherwise it will crack, warp, and the structure can lead. There are two ways to determine the moisture content of wood at home: visually and by weighing.
The first method is elementary simple: if even the smallest drops appear during sawing - the tree is wet, you cannot work with it. The second method is troublesome, but reliable. A piece of wood must be weighed and placed in the oven, kept at a temperature of 100 ° C for 1 hour and weighed again. If the weight has decreased, then the tree is wet. You need to repeat the actions until the weight before and after drying remains unchanged.
Helpful advice! When determining the degree of humidity, a piece of wood must be cut out from the middle of the workpiece, since the extreme parts may be drier and will not give an objective result.
Prepared wood materials need to be processed. This process has the following goals:
- impregnation to prevent aging - cracking;
- preservation of aesthetics;
- antiseptic action;
- fire prevention.
There are often processing tools that perform several of these functions simultaneously. It is better to process wood in blanks, since after installation, individual parts at the joints will be inaccessible.
Tool preparation: required types, requirements for its condition
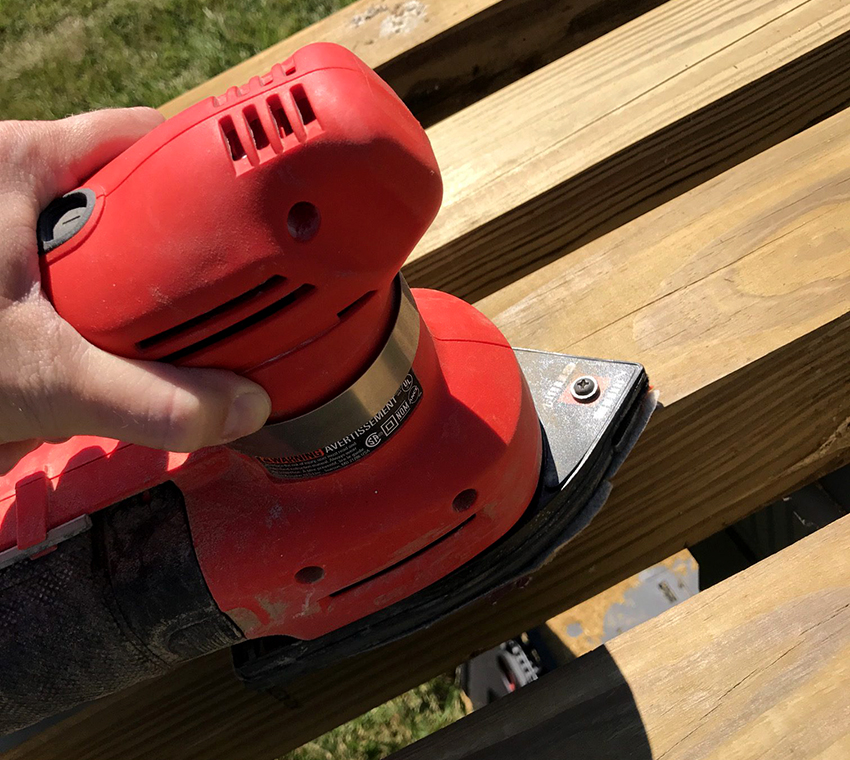
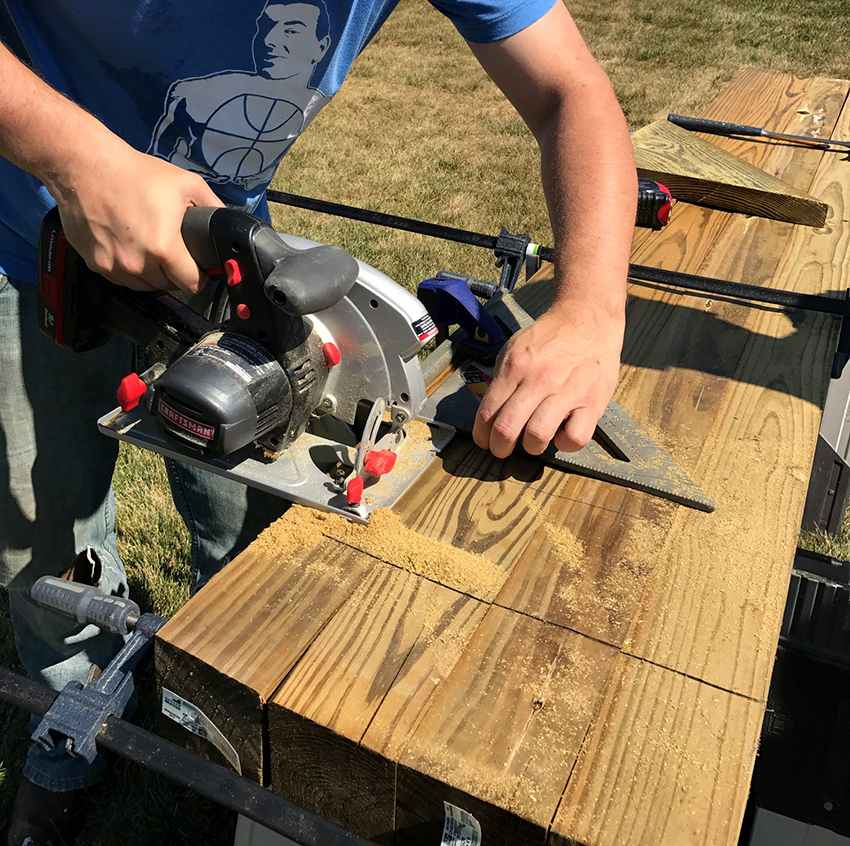
The presence of the necessary tool is a prerequisite for the successful manufacture of a pergola from wood with your own hands, step by step. As practice shows, even processed wood needs to be brought to an ideal state. This stage of preparation will ensure accuracy during construction and aesthetics of the appearance of the finished building. If you plan to use unprepared material, you will need the following tools:
- machine for longitudinal and transverse sawing;
- sanding machine;
- jigsaw;
- cutters for wood;
- screwdriver.
To create one pergola, it will be difficult to buy such a tool from a financial point of view, and it will be irrational. You can resort to renting - many will offer to use woodworking equipment gathering dust on their shelves for a moderate fee. It is worth taking care that the tool is serviceable and well sharpened.
Helpful advice! When making a pergola for climbing plants with your own hands, it is recommended to use a power tool. The process will take less time, the quality of the cuts and connections will be much better.
If treated wood is used, hand tools can be used, but they must be perfectly sharpened. For the safe and comfortable use of any type of tool, a workbench is required. If there is none, it is not difficult to make it using second-rate wood or pallet boards. It is convenient not only to handle wooden blanks on the workbench, but also to store the measuring tool (ruler, tape measure, levels, etc.).
The sequence of assembling a wooden pergola
How to make a pergola with your own hands? Step-by-step instructions will help you determine the sequence of actions and mark the basic rules for their implementation.
Step 1 - marking the site. It is performed using a tape measure, the points-corners are marked with pegs.
Step 2 - installing the supports. By using a hand drill, deepenings are made by at least 50 cm with a support height of 2 m. Construction crushed stone is poured onto the bottom (layer thickness - 5 cm). Then a wooden support is exposed, in which the edge is treated with bitumen and wrapped with a waterproofing cloth, this edge is lowered into the ground. The support must be centered. Spacers made of large stone, broken brick and other similar materials are laid in the free spaces. Then the space is filled with concrete or covered with earth and sand. It is necessary to set the upper level of the supports by adjusting the thickness of the crushed stone layer before laying the spacers.
Helpful advice! The alignment of the supports must be done extremely carefully, since any discrepancy in size will lead to a distortion, the impossibility of further installation without eliminating the problem.
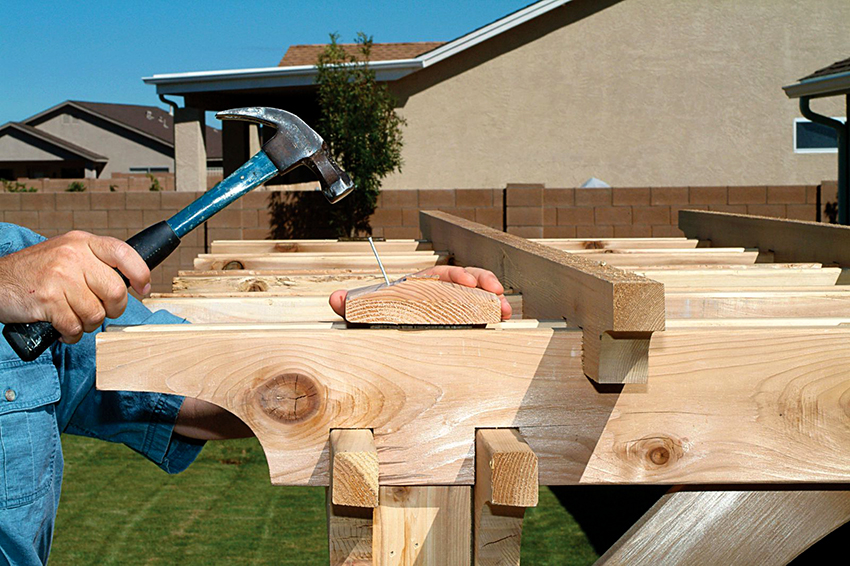
Step 3 - anchoring the top horizontal beams. It is better if a sample is made in the upper part of the supports for the beams - this is an additional check of the accuracy of the installation of the supports and giving the structure visual accuracy and lightness. The rest of the parts are attached to the beams connecting the supports: arches or flat transverse boards, crate, decorative elements. It is better to connect wooden elements not with nails, but with self-tapping screws. This does not require physical effort and will make it possible, if necessary, to disassemble the structure without damage.
Step 4 - coating. Even if the protective or decorative coating is fully made during the preparation of the wood, it should be renewed at the end of the installation, since with the most careful installation and fixing in certain places it will still be damaged.
To imagine how to build a wooden pergola with your own hands, you need to prepare all the calculations and materials, tools and fasteners. Then the process will be clear and will not cause problems. Do-it-yourself sketches with photos of wooden pergolas will help visualize the information above.
Methods for connecting elements of metal structures
Metal pergolas differ from wooden ones in that they are more durable. The choice of material must be approached responsibly: it must have anti-corrosion properties. For metal pergolas use:
- round and shaped pipes of various diameters;
- smooth and embossed reinforcement;
- rods;
- corner.
The choice depends on the load that the support will experience. The smaller the diameter of the material, the lighter and sleeker the structure looks. If an arched model is planned, you will need a pipe bending device. The main type of connection of metal pergolas is welding. In the absence of your own unit, you can rent an inverter welding machine that does not need high voltage. It is quite functional at home and has a moderate rent: the average price is 300-400 rubles per day.
Diy pergola: arrangement of a recreation area
Even if the main purpose of creating a pergola was to support climbing plants, then leaving the interior part non-functional is not worth it. With an area of 3-4 m² and a height of 1.5-2 m, you can place a swing or a bench - you get a cozy shaded corner where you can read in solitude or just relax.
If it was originally planned to use the pergola as a recreation area, then it is necessary to think over the furniture option. It is possible to combine a metal frame with wooden garden furniture if it is decorated with forged details and does not have a bulky appearance. If the area is small, it is better to use benches, benches, and not separate chairs, this will significantly increase the number of seats.
Wide sofas should be in proportion to the size of the pergola, otherwise they will be visually squeezed in. If upholstered furniture is planned, it must be borne in mind that it must be washed. Common polyurethane and PVC emit an unpleasant odor when heated. Bamboo furniture is suitable for open conditions, but it is expensive, so not everyone has the opportunity to buy it.
An excellent option for arranging a pergola for grapes made of wood with your own hands can be rattan furniture. It can be large-sized, medium-sized, some models have rather compact parameters. The furniture is not heavy, it is easy to care for it, it is not difficult to rearrange and bring it in if necessary.
Best of all shades the inner area of the pergola with a canopy of grapes. It has large leaves and a long vine. Over time, this perennial plant completely covers the pergola, which is clearly demonstrated by photos of arches for grapes, which have become an excellent recreation area and decoration of the local area.
Helpful advice! When equipping a pergola as a resting place, you should not fill it with flowerpots, statues, souvenirs, etc. Contact with nature is a feature of staying in such a zone.
A pergola can decorate and make attractive any, even the most unsightly natural corner adjacent to a residential building. A self-made pergola for grapes, clematis, roses, various lianas will not only become a decorative addition to the personal plot, but also fill your stay here with positive emotions.
