Any artisan man can make a heated water floor with his own hands, the video of the installation of which can be seen in our article. To do this, you will need to carefully study the installation procedure and listen to useful advice. Materials and tools for this are available in any building supermarket.
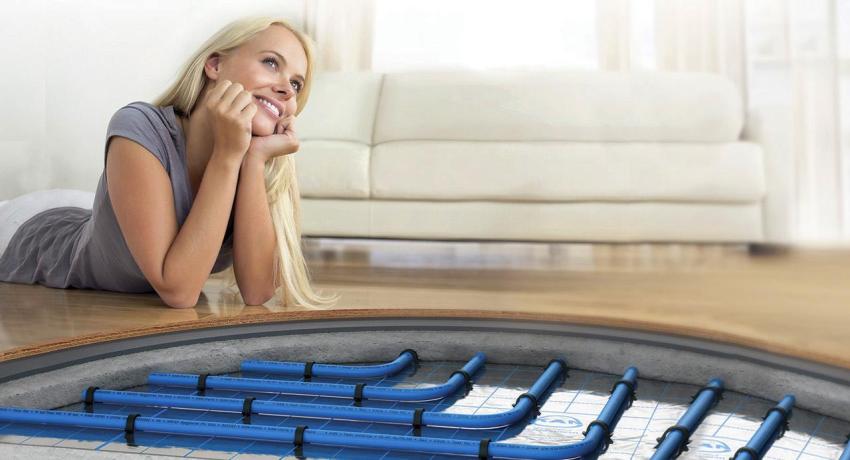
Water heated floor - an efficient way to heat your home
Content [Hide]
Do-it-yourself water heated floor, video and installation features
There are several options for a warm floor:
- Hot water with pipes placed under a concrete screed.
- Electric from heating cable.
- Electric infrared.
The most economical of them is the first option. Its disadvantage is some complexity of installation in comparison with other types. However, if you make some effort, you can do everything efficiently and accurately. Let's consider the whole technology step by step.
Preparing the base for underfloor heating
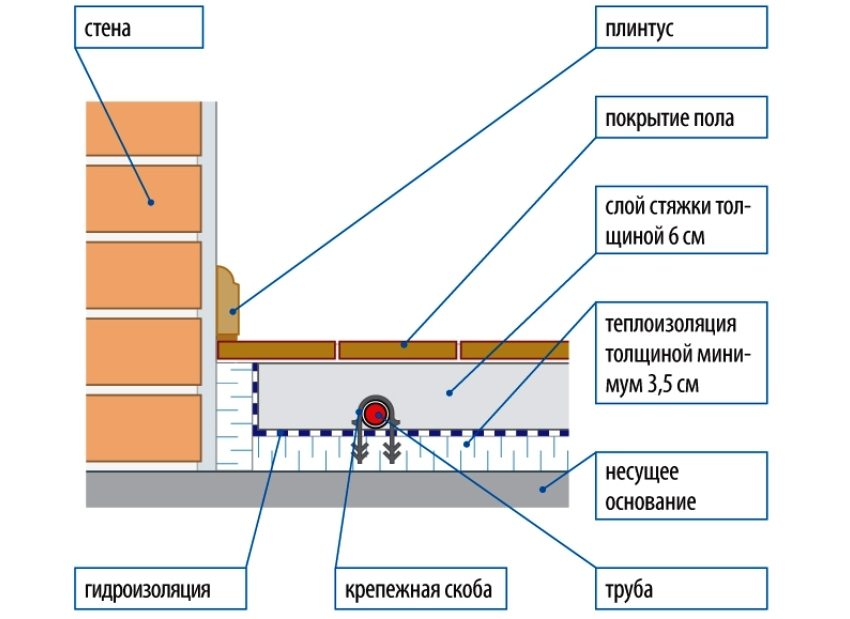
Consider the installation of a water-heated floor system with your own hands, the video will illustrate the nuances not specified in this article. Take concrete floor slabs as a base. The wooden floor is completely dismantled and all debris is removed from it. Irregularities, gouges and bumps on the slabs are filled and leveled. Places of passage of engineering networks through the slabs are covered with cement mortar.
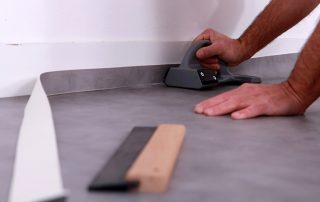
When the surface is dry, then a vacuum cleaner removes all debris and dust. Arrange waterproofing from film materials. In this case, the edges of the film should be applied to the walls up to the height of the planned topcoat.
DIY installation of a warm water floor (video 1)
Insulation of the floor base
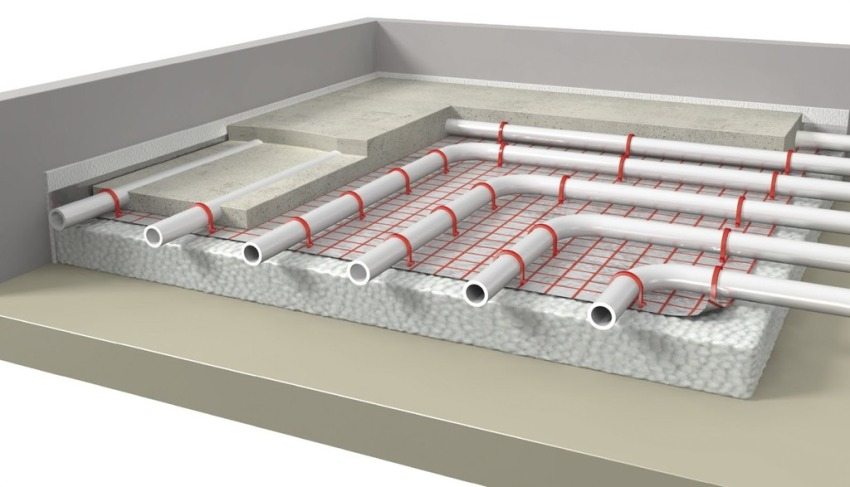
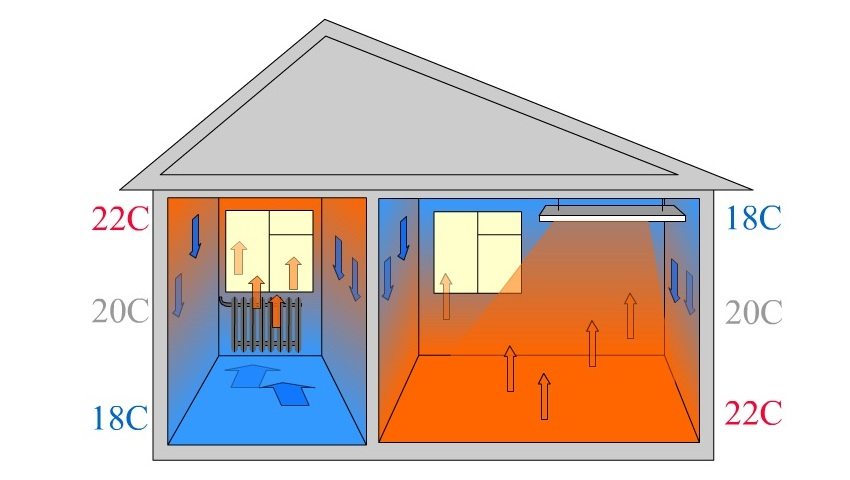
Since we want to create a system that is able to effectively heat our room from below, it is necessary to arrange it so that the thermal energy spreads in a directed direction, that is, upward. This can be done in one way, by blocking the possibility of energy escape in the opposite direction. For these purposes, you can use any insulation. It will not allow heat to escape in the wrong direction.
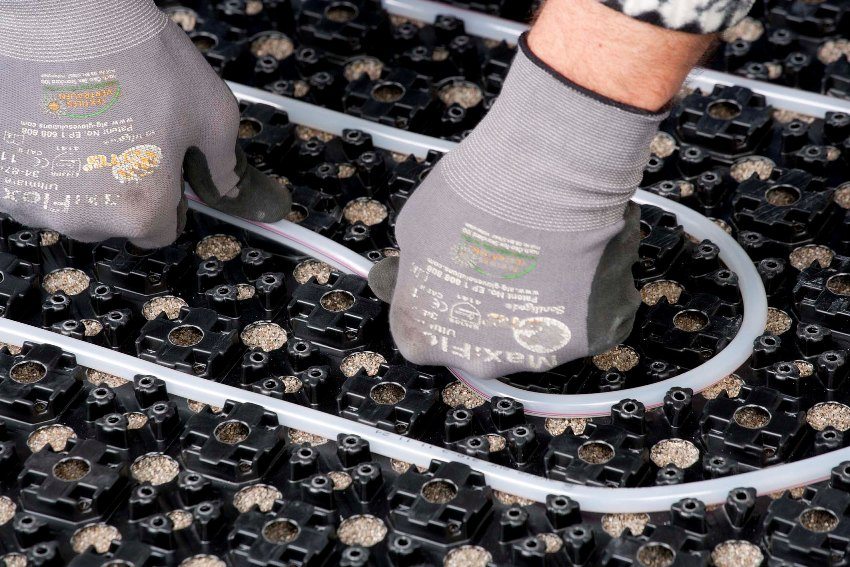
Styrofoam, expanded polystyrene foam, mineral wool insulation are often used. In addition, there is a large selection of underfloor heating mats, which are produced specifically for this purpose. They have grooves for laying the pipe and do not require great installation skills.By choosing such mats, we will greatly facilitate the work of twisting and fixing the pipe.
If we settled on a budget option and decided to do with conventional heaters, then they need to be laid over the entire surface of the floor. It is better to use rigid polystyrene foam boards. Their installation is much more convenient than soft insulation. The joints between the sheets are glued with adhesive tape. On top of the slabs, it is worth laying another layer of waterproofing, as this measure will eliminate any moisture penetration to the floor slabs.
Do not forget that we have a water floor, and any pipe breakthrough can cause a flood for our neighbors. Further, along the entire perimeter of the room, we glue a damper tape on the walls along the cut edge of the insulation, which will take over the energy of the concrete screed expanding when it dries.
Helpful advice! In the foam boards used for insulation during the installation of underfloor heating, grooves can be cut for laying pipes. This must be done carefully. In this case, the foam must be at least 8 cm thick. This will allow the pipes to sink well. Such a measure will make it possible to make the screed thinner.
Pipe laying
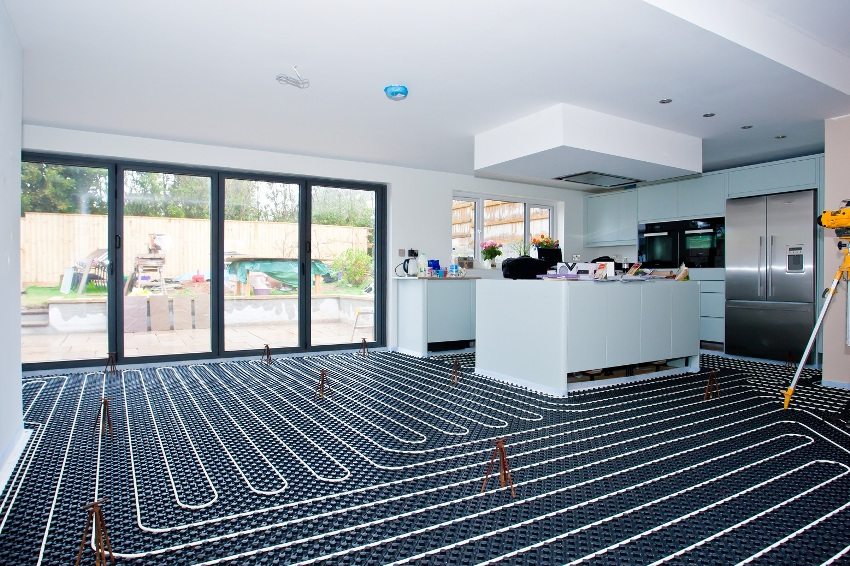
On top of the mats for a warm water floor, pipes made of cross-linked polyethylene or metal-plastic with a diameter of 10 to 20 mm are laid. They are laid out in a spiral or snake in a special way. The closer the pipe turns to each other, the more heat energy will be accounted for per square meter of the floor. It is recommended that this distance be no more than 30 cm.
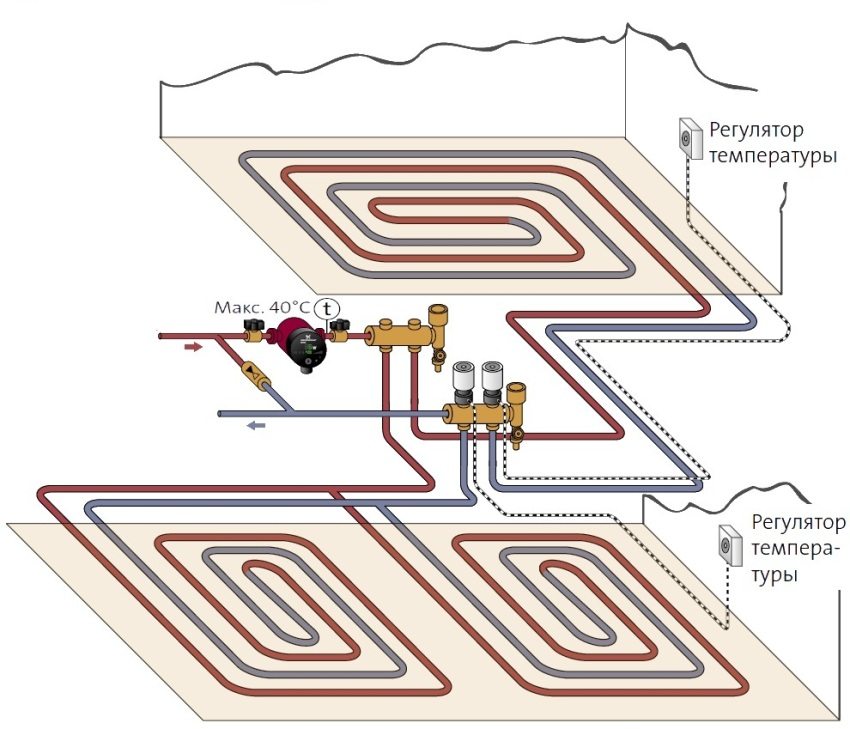
Example of arrangement warm floor under the tiles with three heating circuits
Pipes are attached to insulation special clips that can be purchased. Otherwise, you can come up with staples made of stiff wire, which are stuck into the insulation and press the pipe with them. If you have purchased a special insulation that has grooves for the pipe, then there will be no problems at all.
Related article:
How to choose polypropylene pipes for heating. Product specifications, internals, reinforcement options, markings, diameters and manufacturers.
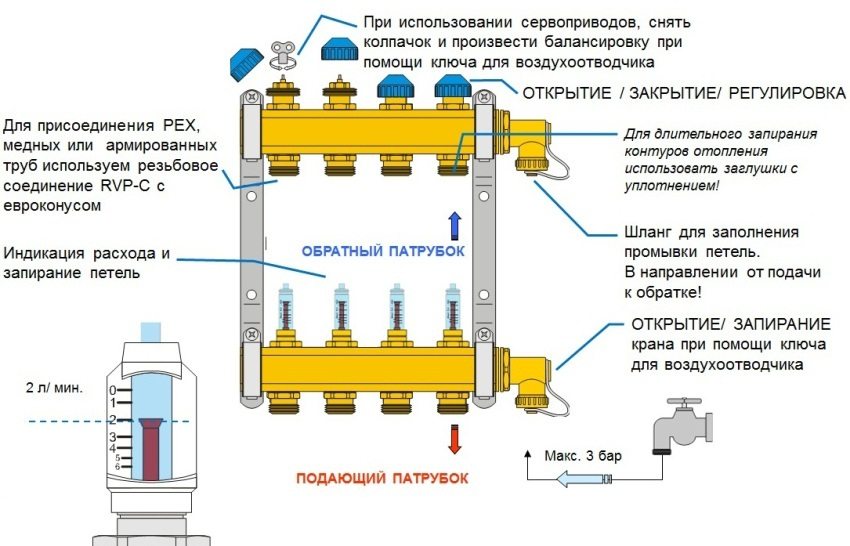
Both ends of the laid pipe are taken out in the place where the collector for the warm water floor will be located. This device allows you to distribute the coolant flow through the pipes with great efficiency. It mixes already cooled water with hot water, which makes heating the entire floor surface evenly.
With the help of a collector, the warm floor is connected to the main heating system or a separate entrance to the boiler is made. When the system is assembled, it is necessary to run water into it and create maximum pressure. Such a pressure test will help identify leaks and correct these deficiencies.
Helpful advice! There is no need to lay pipes over the entire floor area. Determine in advance the places in which you will have furniture. No pipes are needed there. These measures lead to significant savings in materials.
Remember that pipes cannot be joined inside the screed! Calculate in advance the required length of pipes for each heating circuit. For greater efficiency, it is not recommended to make the heating circuits too long - for example, for a pipe with a thickness of 16 mm, the maximum turn of the circuit can be 65 m, for a pipe with a thickness of 20 mm - 80 m.
DIY installation of a warm water floor (video 2)
Filling the screed
After laying all existing pipes and carrying out pressure testing of the system, you can proceed to the installation of the concrete screed. It shouldn't be very thick. After all, an excessive layer of concrete will not allow efficient heating of the room. We need to achieve maximum efficiency from the entire system, so we make the screed no thicker than 5 - 7 cm.
The use of self-leveling compounds allows you to distribute the leveling layer very evenly and at the same time quite thinly. When creating a water-heated floor with your own hands, the video shows what exactly such screed enjoys the greatest success with citizens.
When device screeds it is necessary to pay particular attention to the section where the supply and return pipes will come out. They must be carefully brought to the mixing unit for underfloor heating with their own hands. This element is designed to adjust the temperature of the coolant in the underfloor heating system.
The water supplied for heating the house can be heated up to 95 ° C. Hardly anyone can withstand such a temperature under their feet. The mixer mixes hot and cold water. Only after that, a coolant is supplied under the floor, but at a normal temperature. Most often it is no more than 35 ° C.
The drying time depends on what type of screed we used. Conventional concrete screed requires at least 3 weeks to dry. Modern self-leveling screed compounds can be used within a few hours. This is another argument in favor of using them when creating a water-heated floor with your own hands. The video of the installation process is sometimes provided with comments on which screed is best to take to level the floor.
DIY installation of a warm water floor (video 3)
Finishing works
For underfloor heating systems, tiles are most often covered (kitchen and bathrooms), laminate and parquet, linoleum. Less commonly, thicker coatings are used, such as batten.
Helpful advice! When laying laminate or linoleum, choose materials that have good thermal conductivity. This information is available at the time of purchase. They are written on the packaging or are available from the seller. Low thermal conductivity will significantly reduce the efficiency of the entire system, as it will not allow heat to reach the floor surface quickly.
Advantages and disadvantages of a water type underfloor heating
When creating a water heated floor with your own hands, the video of which you liked, do not forget about its disadvantages and advantages. Let's note the pluses:
- independence from electricity, if the heating system in the house is non-volatile;
- profitability;
- safety. Provided that the installation is carried out in accordance with time-tested technology;
- availability. You will have to spend only on a pipe and a collector for a warm water floor, which are absolutely necessary. All other components can be replaced with general construction materials.
The disadvantage is that the construction of such a structure requires a special tool and the ability to handle it. Longer term for the manufacture of the system, in contrast to electrical types, especially when using a classic concrete screed.
It is up to everyone to install a heated water floor system. You just need to do it according to all the rules. Then the effect of its use will definitely be as effective as possible. The safety of the system is ensured by its quality.
