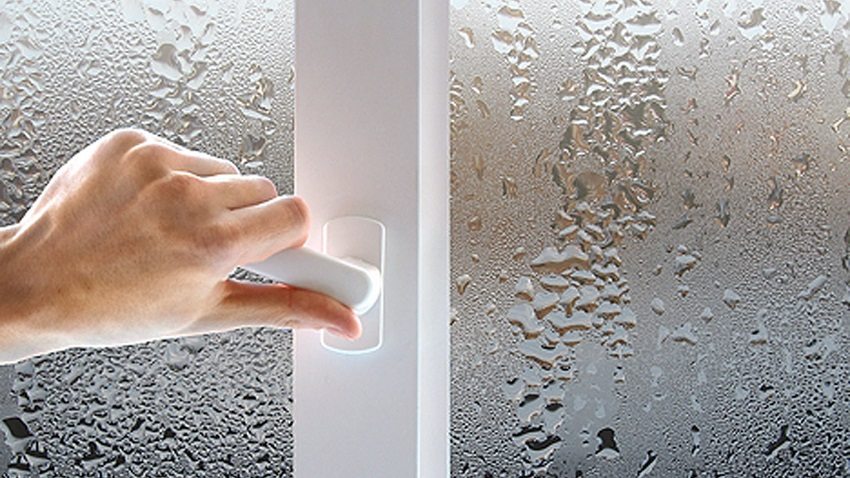
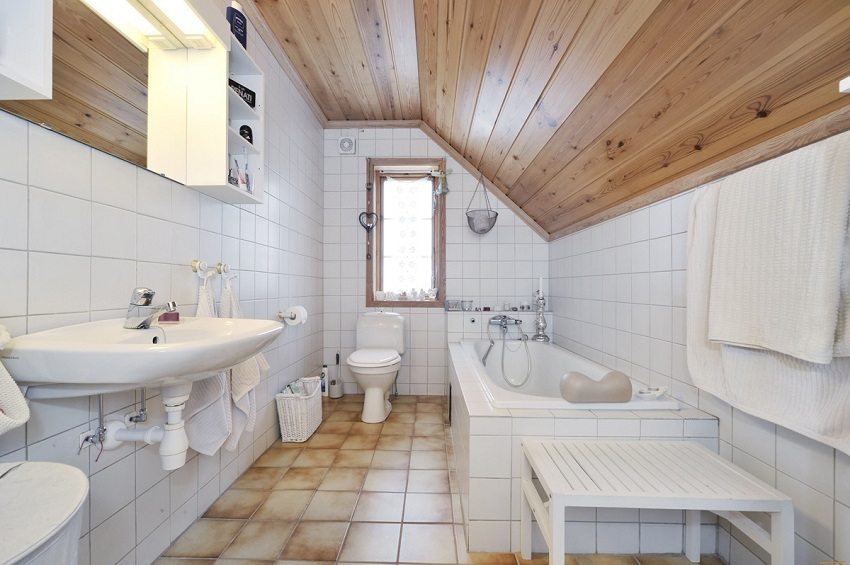
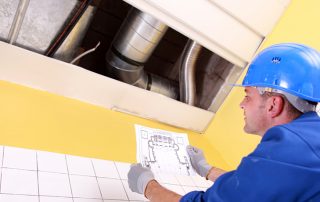
As soon as plastic ones are installed after dismantling the old window blocks, there is a problem of lack of oxygen, the room becomes stuffy, sometimes the effect of "crying windows" occurs, mold and fungus appear in the bathroom. The problem of insufficient natural ventilation can be solved by constantly opening windows and vents, which is quite inconvenient, especially in winter. Another solution is to install a forced ventilation system. The simplest and most affordable device is a wall inlet valve.
Content [Hide]
Inlet valve into the wall. Valve device
Among the various ways of arranging forced ventilation systems, there is a simple, but rather effective device - a supply valve device into the wall. Valves supply ventilationmade by different manufacturers may have a different appearance, but their components and basic functions remain the same.
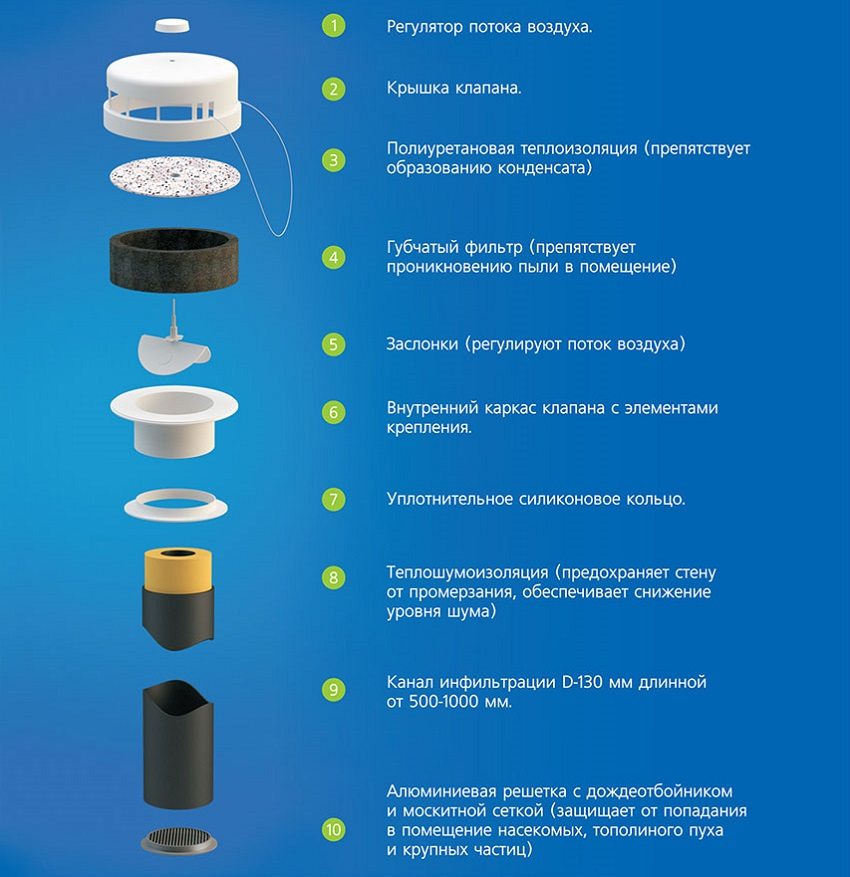
The wall supply valve is completed with the following elements:
- pipe (plastic cylinder) - usually its length is slightly greater than the thickness of the wall, inside it is covered with noise-insulating material;
- grate - closes the entrance to the pipe, preventing the entry of small objects, debris and animals;
- sealing ring with a flap - located on the inside of the wall, serves to block the flow of air in a strong wind;
- filter - cleans the supply air;
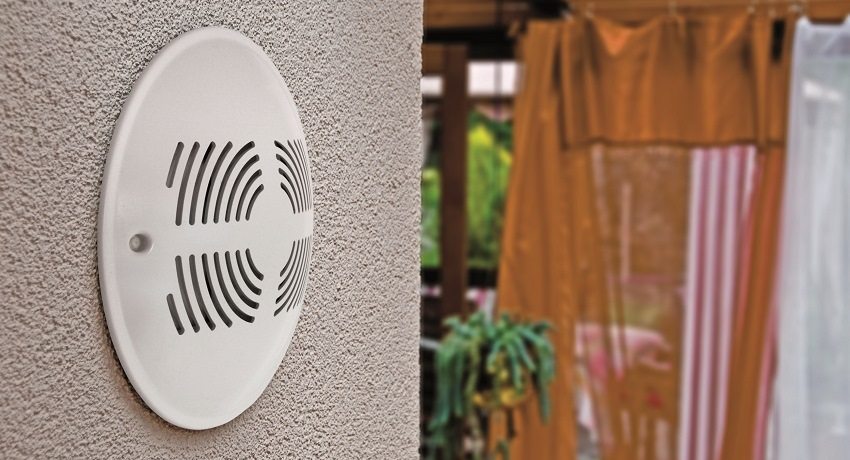
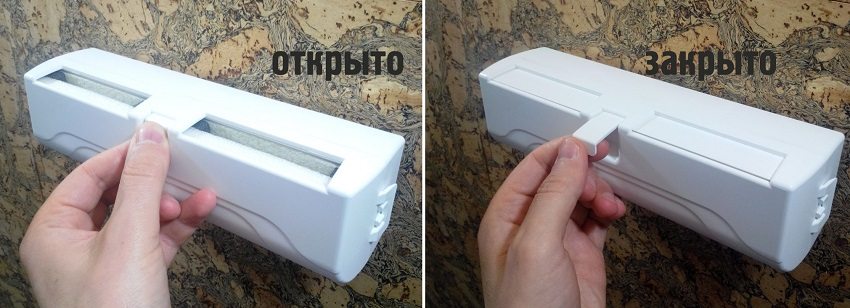
- block with a decorative cover (plastic head) - equipped with a supply valve and an air flow control knob.
Such devices are easily assembled by hand, work without being connected to the mains. Installation is carried out at any time, regardless of repair work.
Helpful advice! Choosing a wall ventilation supply valve, it is necessary to choose a model with a suitable operating temperature, dimensions of the plastic cylinder and valve cover.
If you do not take into account the dimensions of the pipe, it may turn out that its length will not be enough to pass through the entire thickness of the wall. And the dimensions of the plastic head may not allow it to fit between windowsill and a heating device for mounting the supply valve into a heated wall.
Functions and main advantages of the supply valve
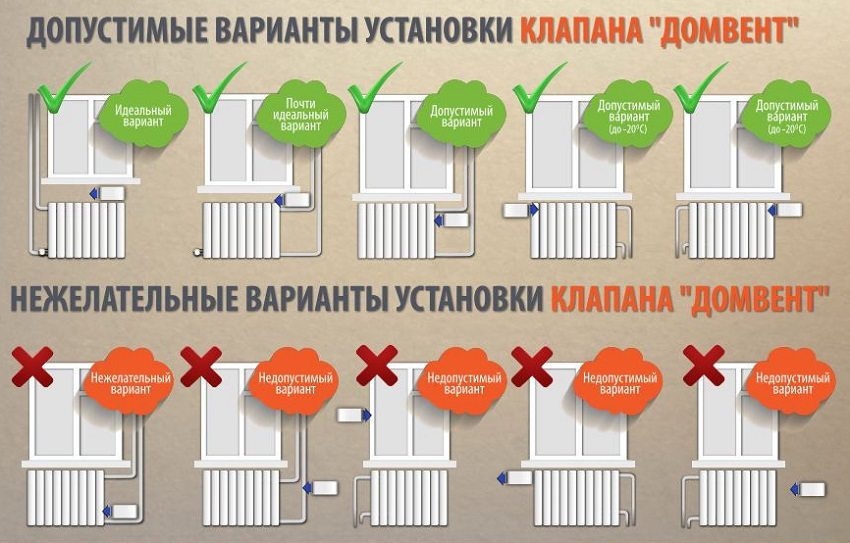
The main function of the supply valve is to constantly provide fresh air from the street, and the air entering through the valve will be already purified. In addition, the valve protects against noise, which is impossible with open vents: inside plastic pipe there is a gasket made of soundproofing material. Air supply in cold weather will not reduce the room temperature if you choose a place for mounting the supply valve in the wall above the radiator.
The inlet wall valve has a number of advantages over conventional ventilation and window valves:
- the cost of plastic windows does not increase;
- the light transmission of the window does not decrease;
- installed in any external wall;
- does not allow street noise and dust;
- works at a sufficiently low temperature;
- installation time is not limited to repair work;
- functions autonomously;
- provides high-quality air exchange;
- prevents condensation due to good thermal insulation.
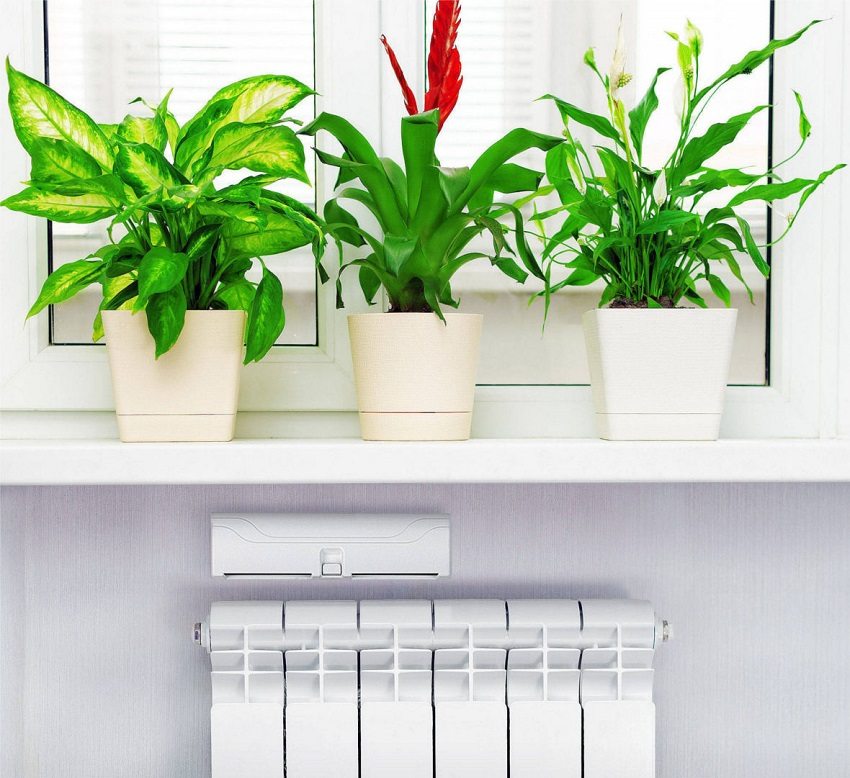
The air coming from the supply valve during the cold season will be heated by the heat of the heating radiators
Installation of the supply valve into the wall does not require special skills, it is easy to install and easy to adjust. In apartments with insufficient heating during the cold season, using the damper, you can adjust the volume of the supplied flow or install the device near heating radiators.
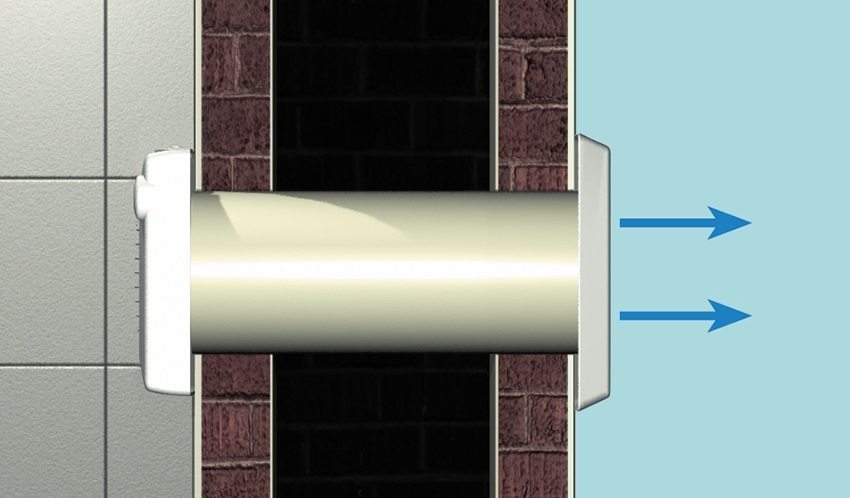
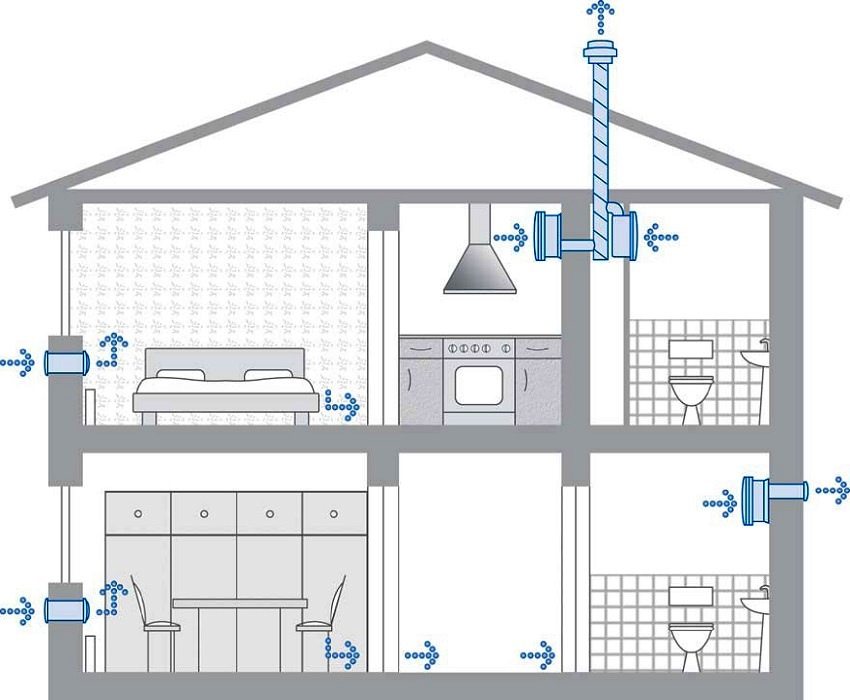
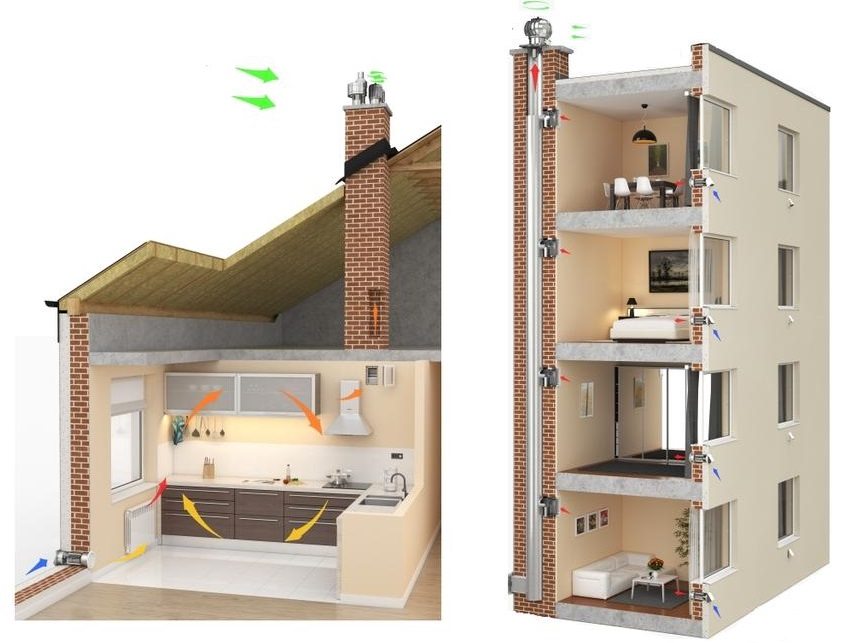
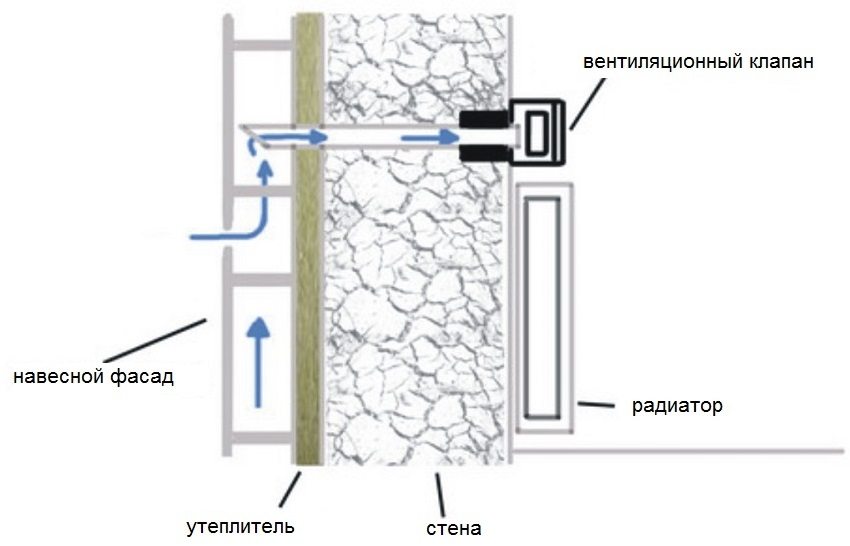
The principle of operation of the supply valve in a heated wall is as follows: air from the street enters through the grill into a pipe built into the wall and equipped with sound insulation. Then the air is purified using a coarse filter. Due to the shape of the valve, the noise level and the air flow rate directly into the room are reduced. The flow regulated by the damper is directed to the heating radiator and the already warm air is distributed throughout the room. So, with the help of a wall valve, air exchange is ensured at any time of the year, even in extreme cold.
Scope of the wall supply valve
The scope of use of supply valves is wide enough. They are used both in private cottages and apartments in multi-storey buildings, as well as in industrial and public buildings, preschool institutions and hospitals. In kindergartens, where it is very important to provide good ventilation without creating drafts, the use of a supply valve is especially important.
Related article:
Silent bathroom fan with a check valve - device, choice, installation features. INhood fan ides, device, bathroom fan selection, installation features.
Another no less important application of supply valves is their use to create the necessary microclimate in livestock and poultry farms. Installing in-wall poultry inlet valves plays a huge role in the climate control of such structures. Valve models are selected according to the requirements of the room and are located remotely from each other.
Taking into account that airtight plastic windows, the functions of natural ventilation, especially in "Khrushchevs", are markedly reduced. Ventilation with open windows leads to a significant decrease in temperature and the penetration of noise and dust from the street into the apartment.
Lack of adequate ventilation can be compensated for by installing supply ventilation... In this sense, installing a supply ventilation valve into the wall is an effective and affordable procedure.The design of such a device allows you to regulate the flow of air and heat it up due to the centralized heating system. In order to ensure the necessary air exchange, it is recommended to install a valve in each room.
Unlike the supply valve, the wall exhaust valve provides for ventilation channels in the room. Typically, such ventilation shafts are located within the walls of technical rooms (kitchen, bathroom, bathroom). If you install an exhaust valve in these rooms, it will be enough to circulate the air throughout the apartment or house. It is only necessary to connect the valve device to the ventilation duct and fix the grill.
Distinctive characteristics
The modern market offers different types of supply ventilation valves in the wall, providing additional supply of supply air.
The design of the valve device is simple, so there are no significant differences between different models. The length and material of the pipe can usually vary. All valves are necessarily equipped with air flow regulation, providing up to 40 m³ of inflow per hour, which is quite enough for oxygen supply.
Manufacturers provide valves with a number of additional functions, including device control. The possibility of regulation allows you to select the optimal volume of incoming air for different room conditions. For example, if laundry is being dried in the apartment or food is being prepared on gas stove, the room needs more fresh air supply.
The control system can be automatic or mechanical. In the first case, depending on the temperature, pressure and humidity of the air, the automation itself adjusts the desired mode, in the second, this is done manually. Different models of supply valves can be of different diameters and provide different inflow volumes. You can purchase a supply valve by spending from $ 30 to $ 100, and the higher the cost, the more likely it is to have automatic control in it.
Intending to purchase this or that model, read the reviews and the complete set of the supply valve in the wall (reviews on the operation of the device can be found on the Internet).
Features of mounting the supply valve into the wall, video instruction
Before installing the valve, check the draft of natural ventilation in the apartment. To ensure the efficient operation of mechanical ventilation, it is necessary that the doors in the rooms have a small gap (up to 3 cm) between the floor and the canvas. If the doors are installed without an appropriate gap, an aesthetic ventilation grill can be built into the lower part of the leaf.
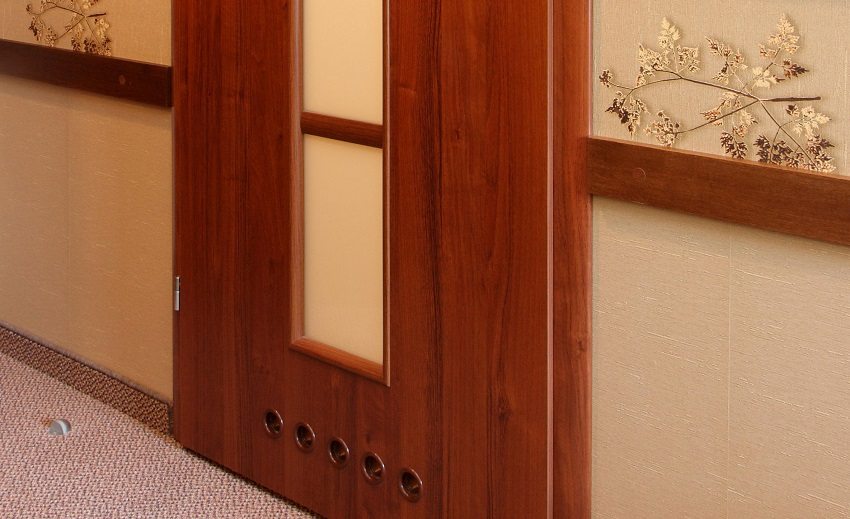
To ensure effective ventilation of the premises, ventilation holes are installed in the interior doors
It is recommended to choose a place for the ventilation valve under the windowsill. In this case, the air entering through the valve will immediately warm up due to central heating batteries and already warm to disperse around the room. But it is possible to place the valve anywhere on the outer wall, since the appearance of the device has a rather aesthetic appearance.
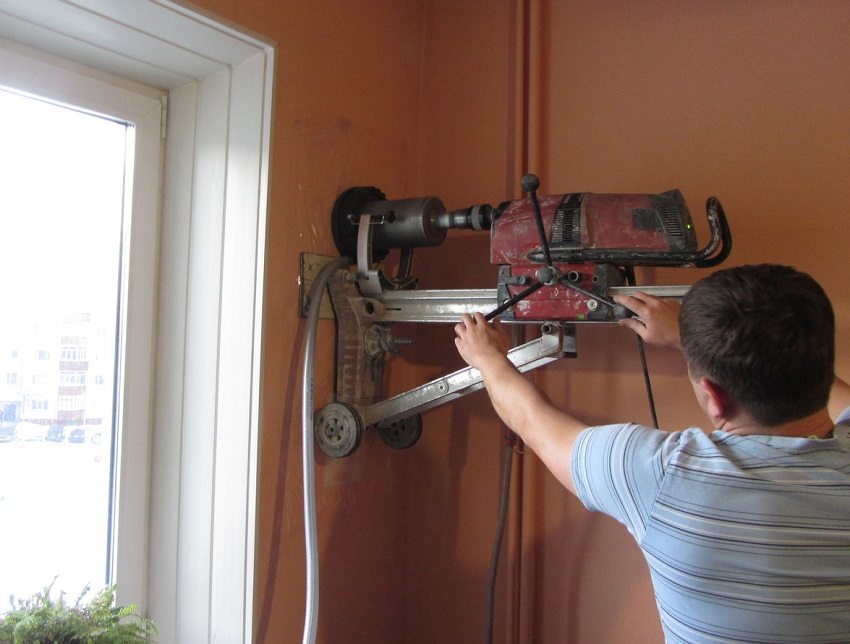
A through hole with a diameter of 40 mm is arranged in the wall. A pipe is installed in this hole and is covered with a lattice from the outside of the wall. It is recommended to make a slight slope of the pipe to the outside in order to avoid moisture penetration into the device. Insulation is laid in the gaps between the wall and the pipe. Each set of the supply valve is accompanied by an instruction and an assembly diagram. After the valve is assembled, a plastic head with an adjustment knob is installed. The valve is ready for operation!
Helpful advice! When planning to mount the supply valve in the wall, carefully check the installation site for hidden electrical wiring.
It is recommended to install the supply ventilation valve for apartments on the upper floors on loggias or balcony.
Installing a supply valve in the wall with your own hands
To install the supply valve in the wall with your own hands, you will need the following tools:
- powerful rock drill, drill rod with crown - for drilling a through hole in a bearing wall. The crown diameter is selected according to the hole;
- yardstick;
- construction level;
- curly screwdriver, construction knife.
Before you start drilling a hole, you need to make a markup. The hole is drilled with a slight incline to the outside. When the hole is ready, the valve pipe is inserted into it. Wrapping the pipe with insulation is a prerequisite. The pipe is installed from the outside flush with the wall, and from the side of the room - with a small ledge (about 1 cm). All remaining gaps between the pipe and the wall are filled with foam.
Helpful advice! If the outer wall, where the ventilation valve is planned to be installed, faces the roadway or industrial area, installation on it is not recommended.
After installing the pipe from the outside, it is closed with a protective grill with shutters so as to prevent precipitation from entering it. Further, the rings of the filters included in the valve kit are inserted, the body is superimposed and using dowels and self-tapping screws, the device cover is fixed to the wall.
If the valve is properly installed, the air flow is adjusted by opening or turning the damper. During operation, it is necessary to change or clean the filters at intervals of two times a year.
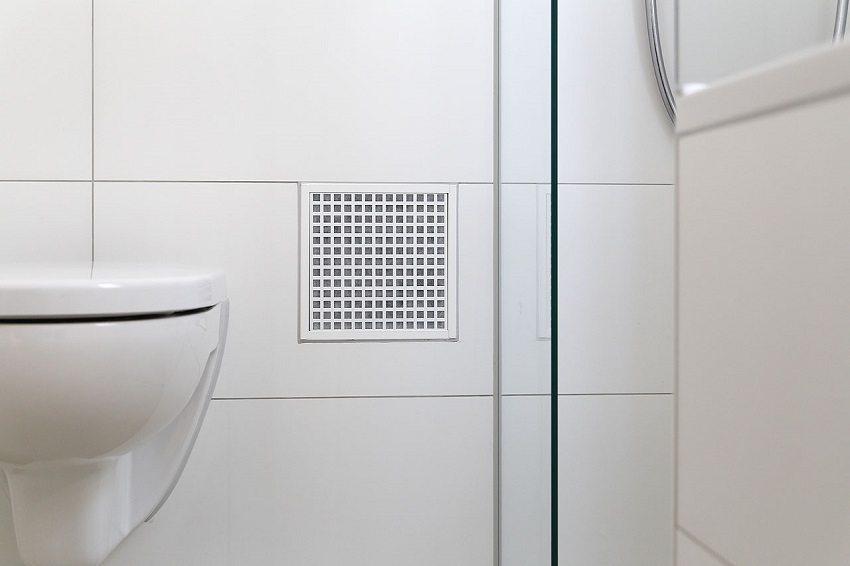
For effective air exchange, it is necessary to monitor the cleanliness of the ventilation grill and periodically check the draft in the ventilation duct.
If desired, it is possible to install a home-made supply valve in the wall, which is similarly mounted and can be additionally equipped with a fan for more efficient air exchange. Examples of assembling homemade valve designs can be found on the Internet.
So, with the help of an inexpensive and efficient device, high-quality air exchange is ensured, eliminating street noise and dust.
